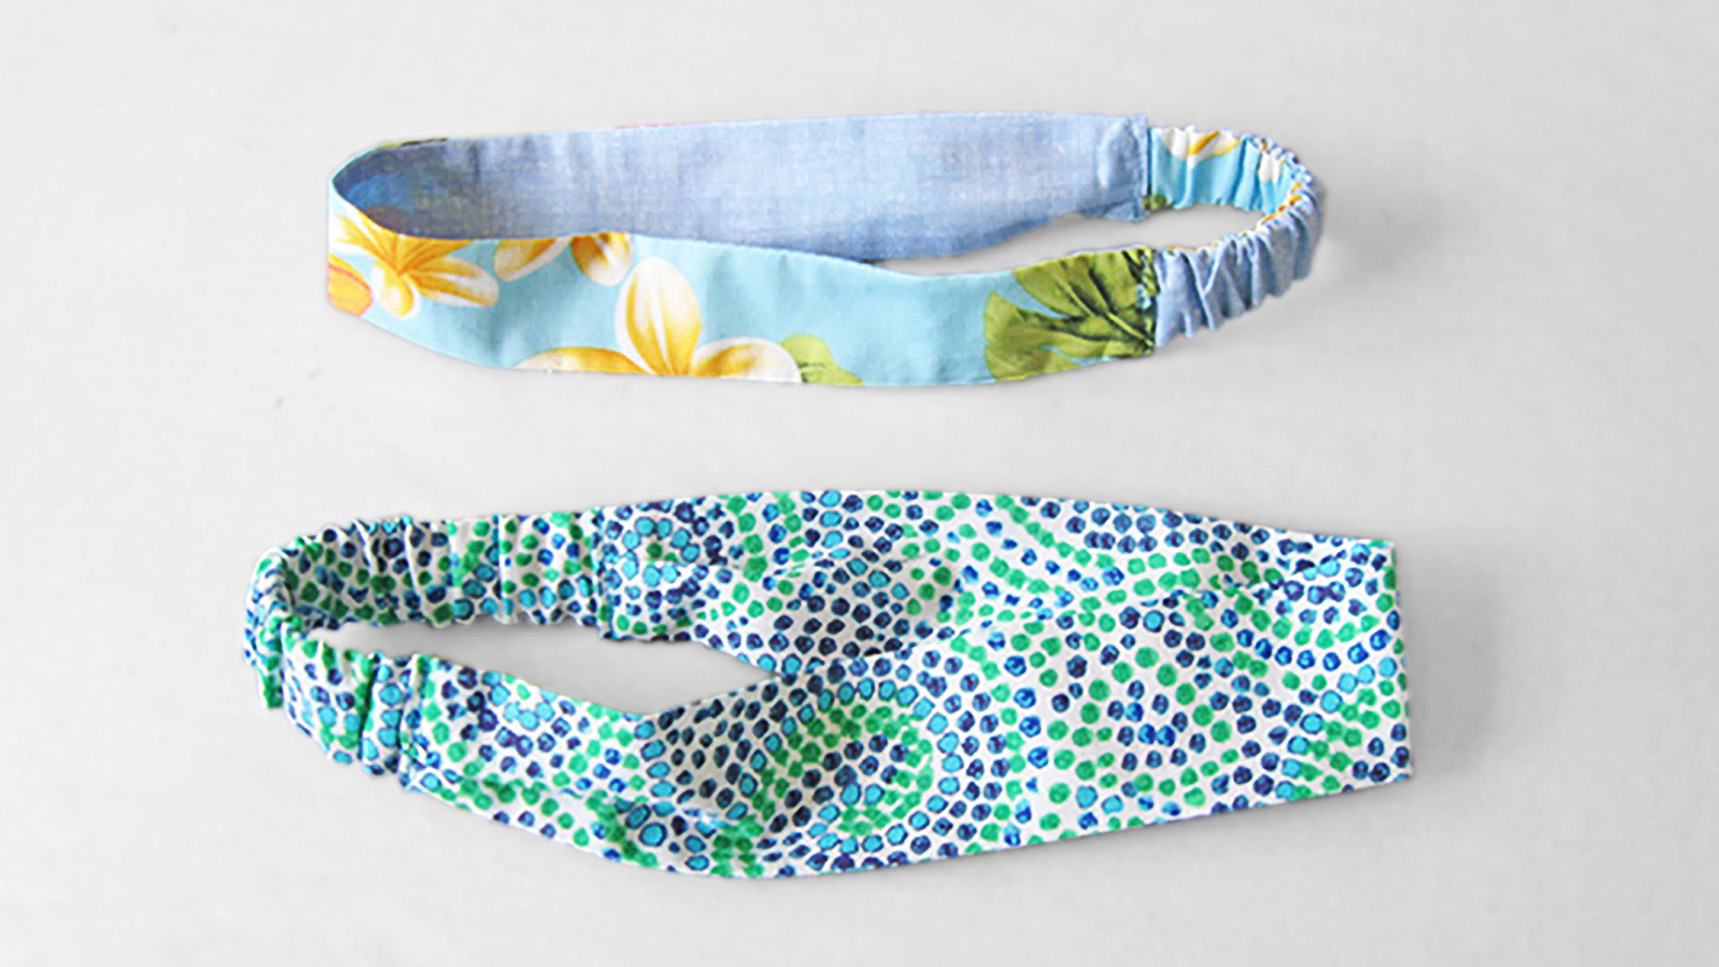
This basic headband wins the prize for cutest stash-buster ever. Make one to match every outfit, because why not? Learn how to sew this cute headband in 7 simple steps.
Fabric Headbands
Level: Easy
What You Need
- Cotton fabric
- ¾" wide elastic
- Scissors
- Ruler
- Iron
- Safety pin
- Thread
- Pins
Good to Know: The headband for this pattern is 2" wide, but you can adjust the width by changing the size of the large rectangle, making it wider or narrower as you like. Just make sure to include the ⅜" seam allowance. For the same look in a child's version, measure around their head. The main headband part should be about ⅔ of this measurement, and the elastic part should be about ⅓.
Instructions
1. Cut the Fabric and Elastic
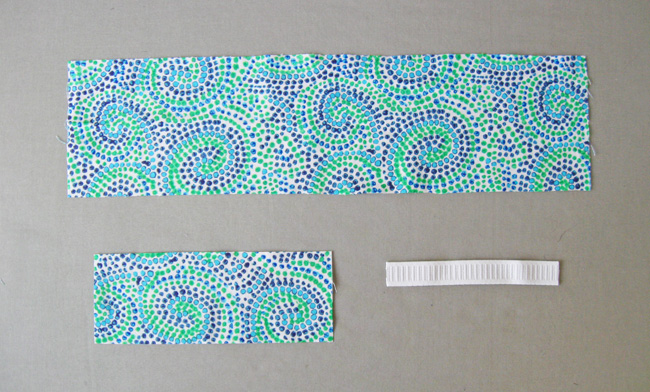
Cut out two fabric pieces: one 18″ x 4¾" and one 9″ x 2¾". The larger piece will make up the main portion of the headband and the small piece will cover the elastic.
If you'd like your headband to be reversible, cut two 18" x 2¾" pieces (from two different fabrics) and two 9" x 1¾ pieces (also from two different fabrics).
Good to Know: The construction is the same for the reversible headband, but instead of folding over the one piece of fabric, you'll have a second seam to join the two fabrics together on both sections.
Cut a piece of elastic so it's 6" long. We used ¾" wide elastic, but anything from ½" to 1" works great, depending on what you have in your stash.
2. Fold and Press
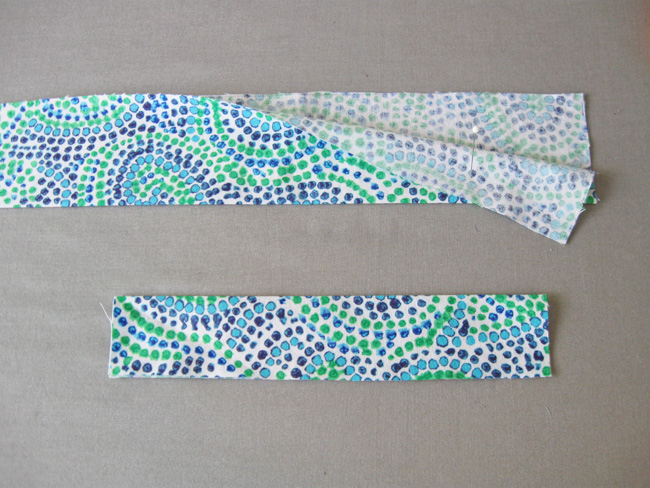
Fold both fabric pieces lengthwise in half, right sides together, and press along the folded edge.
Good to Know: Pressing the crease at this point makes it easier to press when the seam is finished and you turn it right-side out again.
3. Stitch the Edges Together
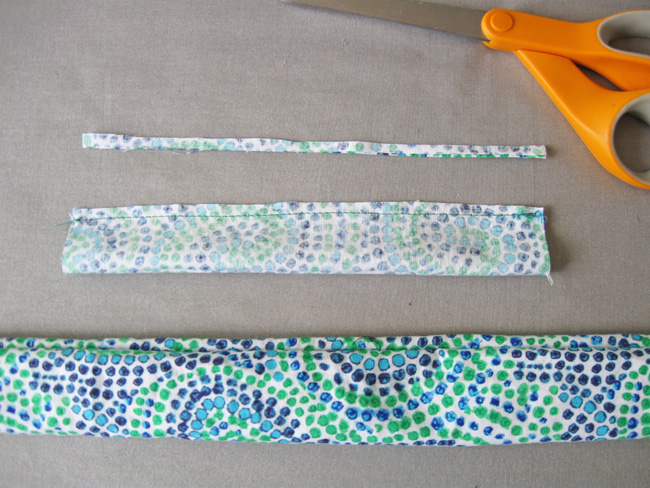
Stitch the long edges together on both fabric pieces using a ⅜" seam allowance. On the smaller piece, trim the seam allowance down to about ⅛" so it'll be less bulky when it covers the elastic. Turn both pieces right-side out.
4. Press the Headband
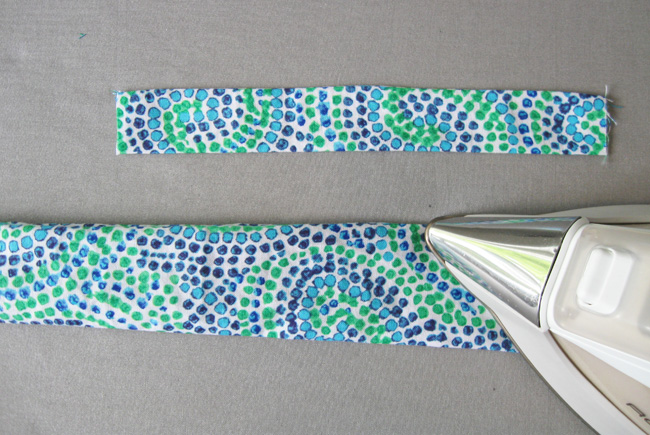
Press both headband pieces flat, making sure to get the stitched seam up to the edge.
5. Press the Ends
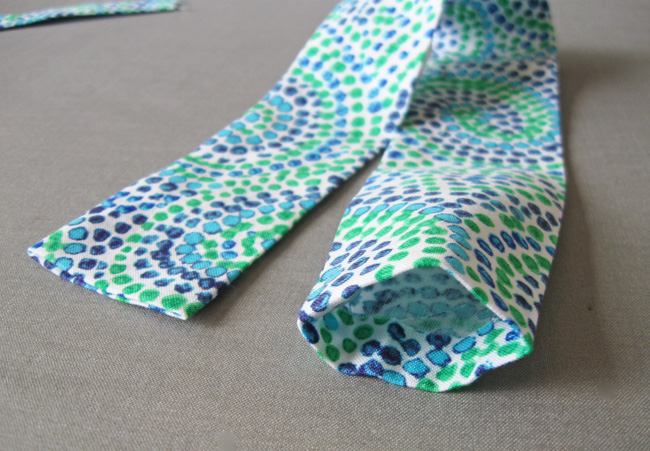
On both ends of the longer headband piece, tuck the edge in about ½" and press it inside. Set this piece aside.
6. Make the Elastic Portion
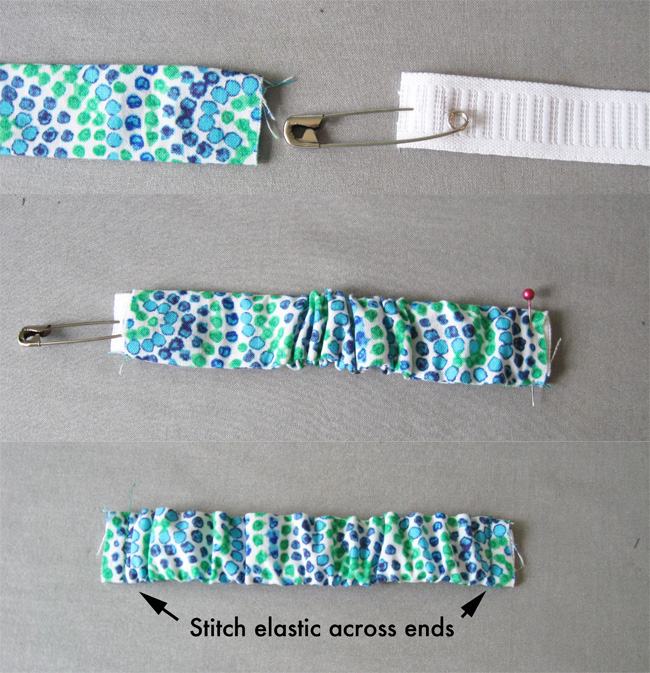
Attach a safety pin to the end of your elastic and thread it through the shorter piece of fabric, making sure the other end of the elastic stays even with the edge of the fabric. Put a pin there to hold it in place, then scrunch the fabric down around the elastic and pin at the other end.
Stitch through all layers of fabric and elastic on both ends to secure the elastic.
7. Attach the Elastic
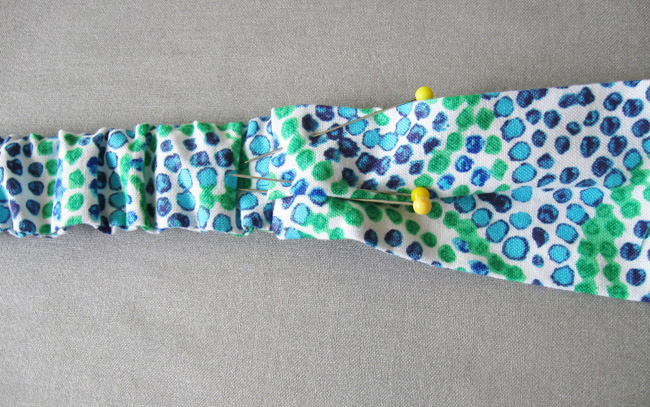
Tuck one end of the elastic into the opening of the larger headband piece and pin in place. The larger piece side will be a bit wider, so match up the edges and fold over the extra fabric in the middle to make a small pleat.
Pin the other side in the same way. Make sure your headband and elastic parts are both flat and not twisted in the middle.
Stitch back and forth across the pinned sections a few times to secure. (You can use a straight stitch or zigzag stitch.) If your headband is a bit too loose, you can shorten one side of the headband piece.
Voilà: a great hair day, guaranteed!

I want to start making bonnets and scrunchies
I would love to make this headband. How can I get the pattern?
I love headbands
Love tutorial on headband
Love this tutorial! No difficulty making these. Found some beautifully patterned cotton pillowcases at the thrift store and was able to make 4 out of each one for myself and friends. Looking forward to making more to match up with my outfits.
I love this easy headband sewing tutorial! The step-by-step instructions are so clear, and I can't wait to make one in every color for myself and friends. Thanks for sharing.
Made these for granddaughter’s basketball team in her senior year. Made in two colors red and white with monogram P. H. S. 2014.
<strong>I like doing different type of crafts. That looked so cute.
Great tutorial, very easy to understand.
This was an easy project to do. I have to wear headbands to hold my hair back. So easy. Thank you so much 😊