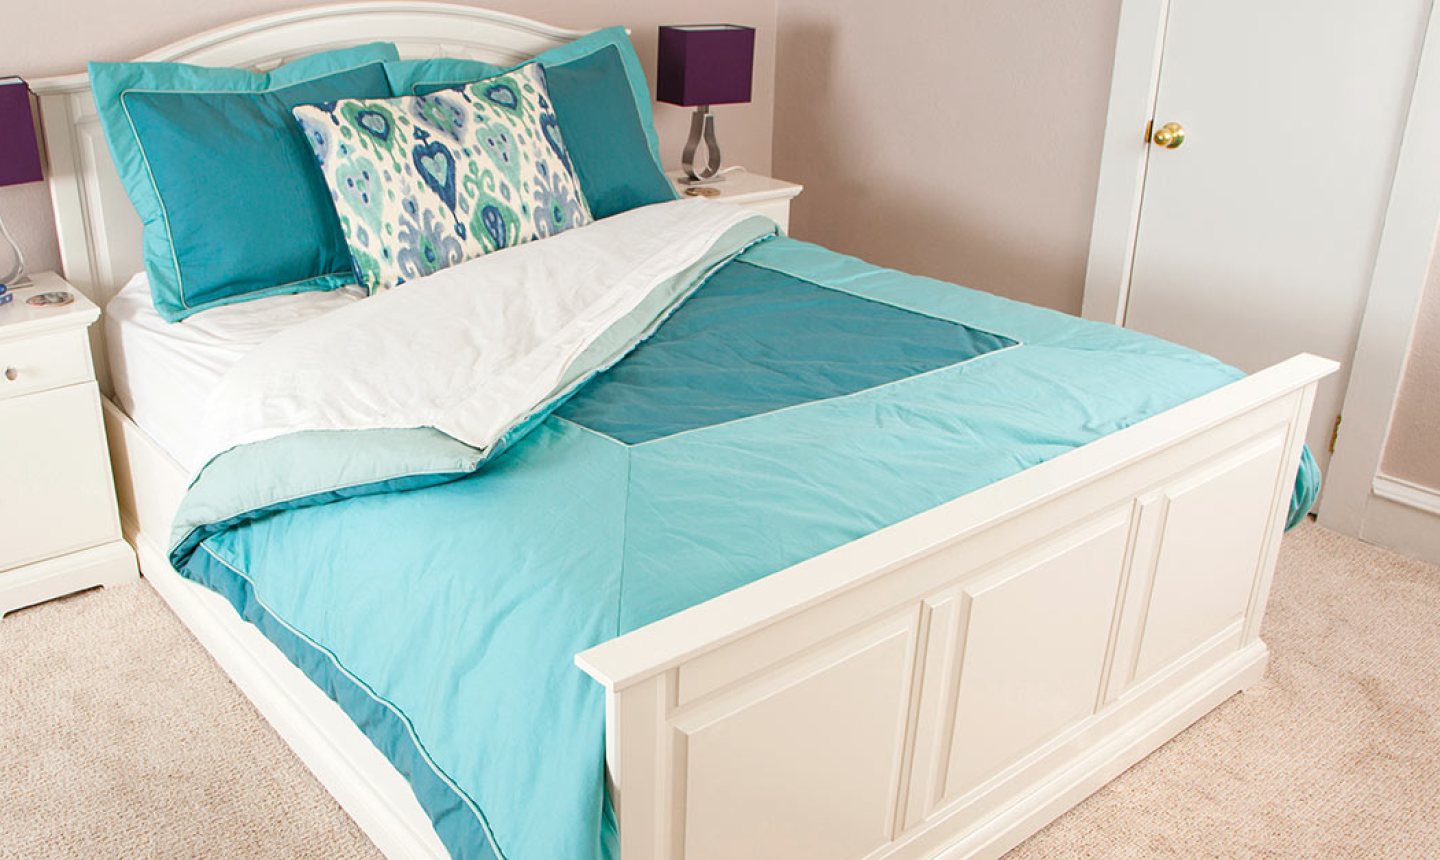
A custom duvet sounds like a major splurge. After all, it's designed to fit your bed perfectly and comes in any color or pattern you want for your dream bedroom. But what if we told you that, in this case, custom is cheaper than off the rack? It's true — because you can make this one yourself!
Custom Duvet Cover
Level: Easy
What You Need
Instructions
1. Measure
First you need to determine what size insert you need. Duvets are typically bigger than the mattress size they're designed for. For reference, here are the most common mattress measurements in the United States (though these vary in other countries):
Pick your duvet insert according to what will fit your bed's measurements. You can often find these measurements listed on the packaging or on the tag at the bottom end of the duvet.
Open the insert and measure the length and width yourself; if your duvet is very thick or fluffy, be sure to measure over the top of it from end to end to accommodate its height as well. Our duvet measures 86" x 86".
2. Cut the Top Sheet
Cut the sheet you want as the top of the duvet cover so it's 10" longer and 2" wider than your insert. We'll be creating an overlap on the underside of the cover that closes with buttons. Note that one short end of this sheet will be hemmed with a 2" hem allowance instead of sewn shut.
3. Cut the Second Sheet
Cut the sheet that will be the underlayer of the cover so it's 6" shorter and 2" wider than the insert. Note again that one of these short sides will be hemmed instead of sewn.
Good to Know: The underside is shorter because the top will overlap it by about 8½".
4. Cut the Interfacing
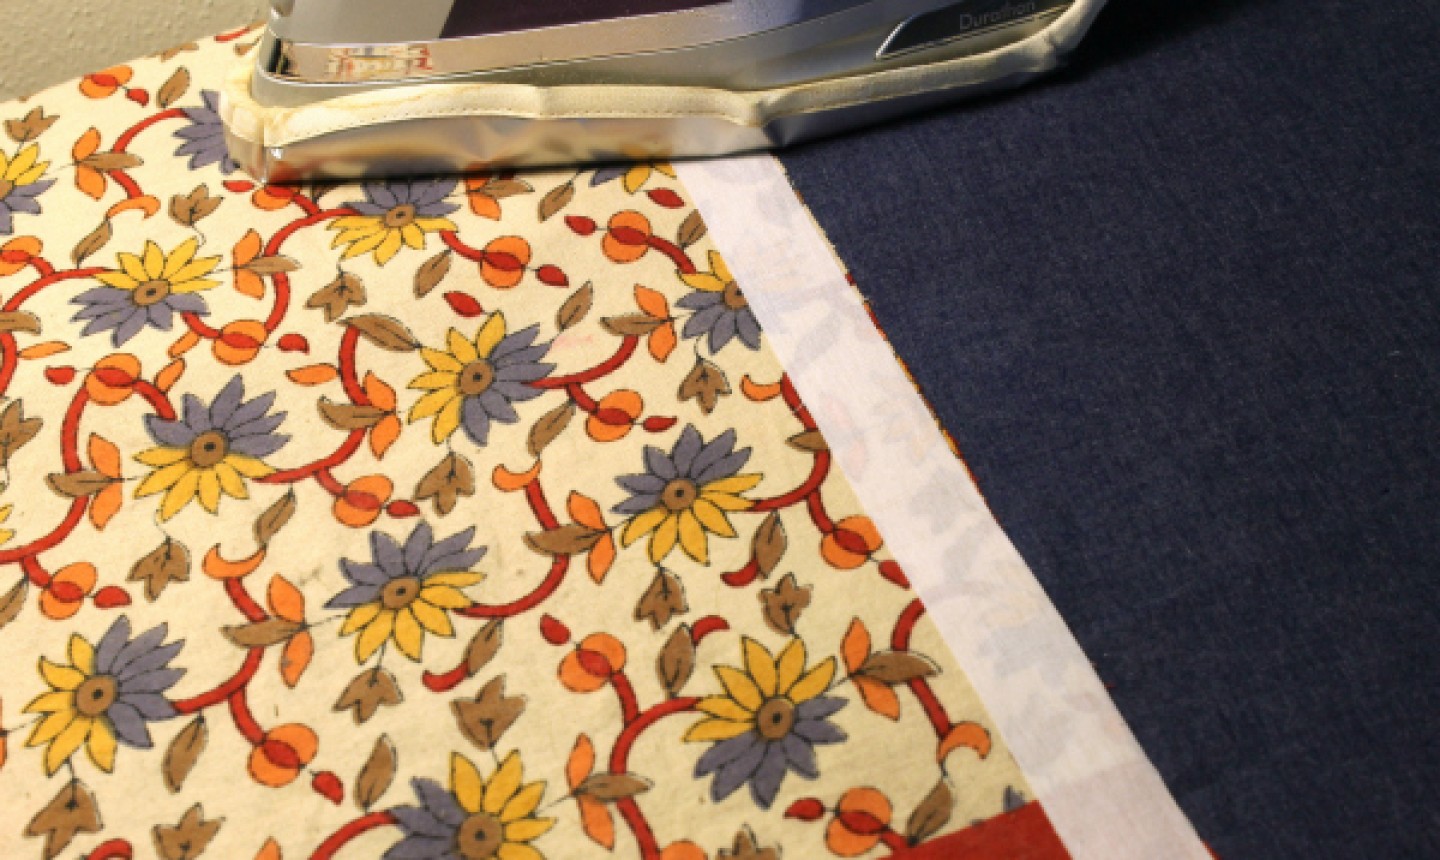
Cut two 1" wide strips of fusible interfacing that are as long as your duvet cover is wide.
Pro Tip: You may need to piece shorter lengths of interfacing together to achieve the full duvet length, especially if you're making one for a larger bed.
Fuse the strips to the wrong side of your top sheet, along the raw edge of one of the short sides. Do the same to the edge of the short side of your bottom sheet.
Pro Tip: If you have a directional print on either sheet, apply your interfacing at the bottom end of the sheets (whichever will be at the foot of your bed).
5. Hem
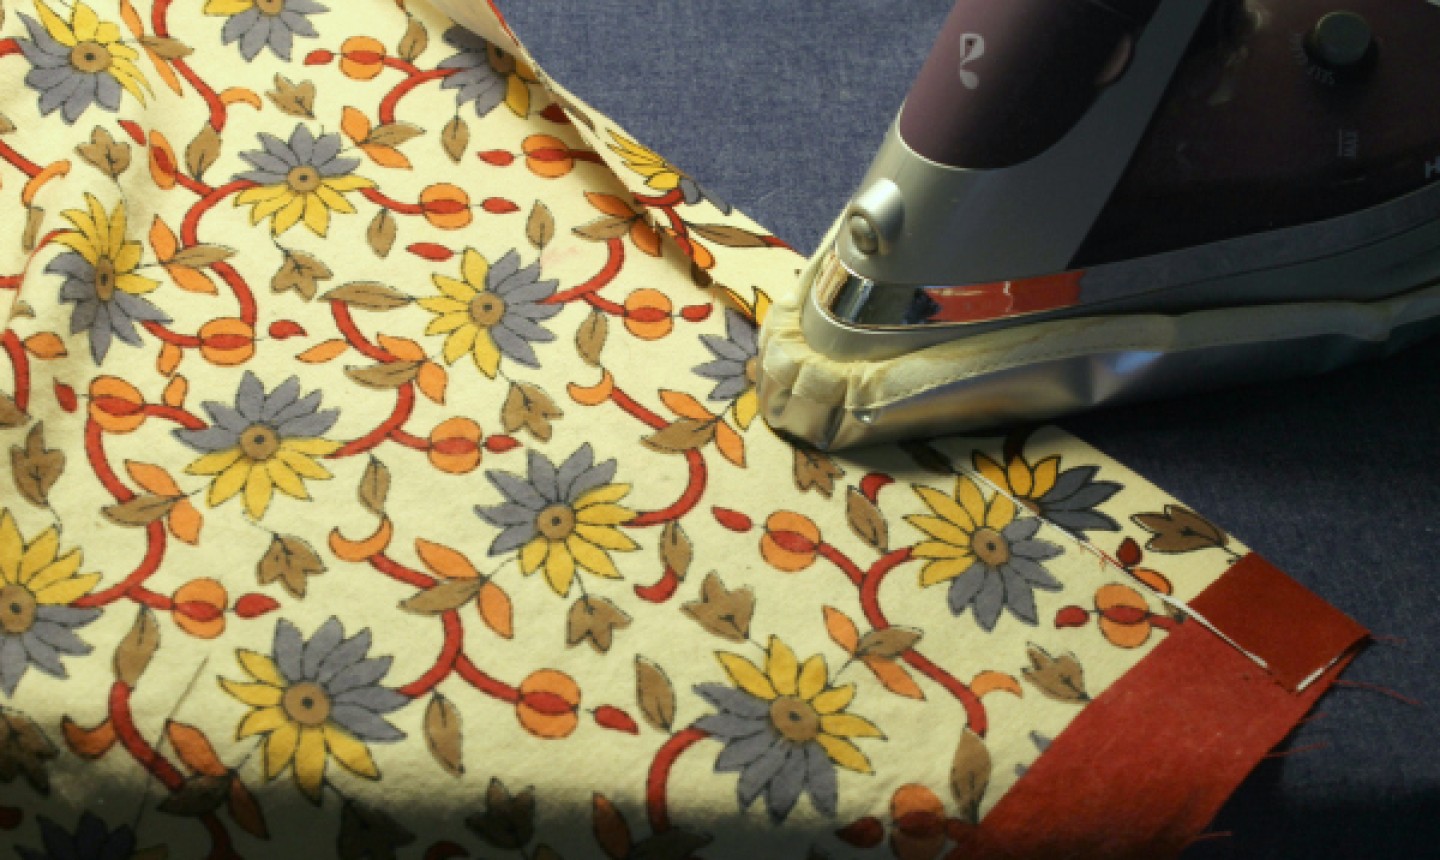
Hem the edges you just interfaced by folding and pressing 1", then folding and pressing 1" again. Do this on both sheets and topstitch in place.
6. Create the Overlap
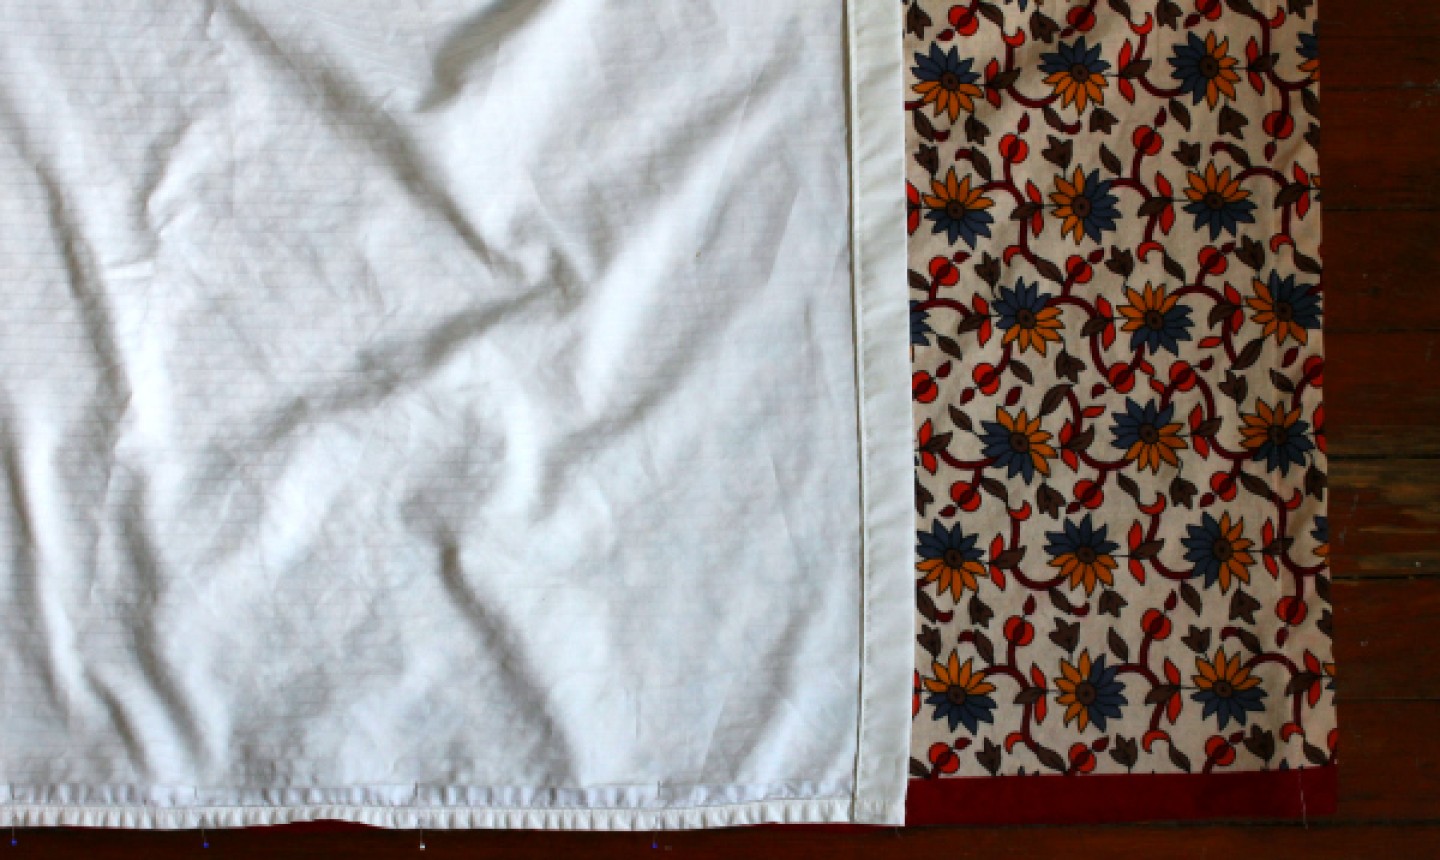
With right sides together, pin the short side of the top sheet (the one without interfacing) to the short side of the bottom sheet (again, the one without interfacing). Smooth out the rest of the sheets and align their long sides with pins. Remember the top sheet is longer than the other, so they won't match up exactly.
Fold the top sheet over so the two interfaced button plackets overlap by 1".
Good to Know: From your current point of view, the bottom sheet should be pinned on top of the top sheet, so once it's sewn and turned right-side out, the top sheet will overlap the bottom.
7. Sew
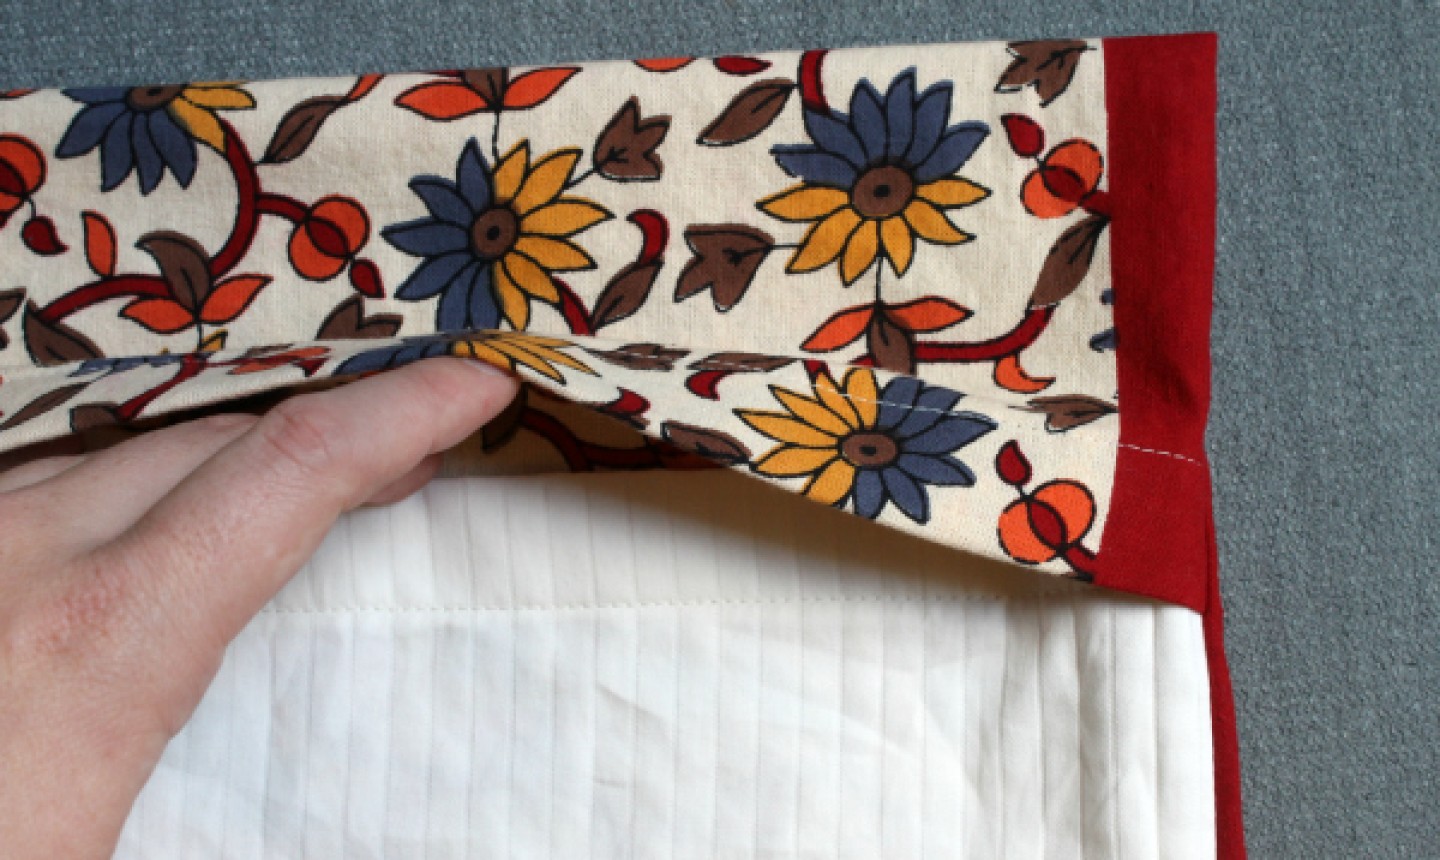
Sew all three sides at ½" seam allowance, pivoting at the corners and avoiding the folded edge. Turn the piece right-side out to check the overlap is correct.
To prevent fraying on the inside, turn the cover back wrong-side out and finish the sewn edges with a serger or zigzag stitch . Turn right-side out again and press the corners.
8. Make the Buttonhole
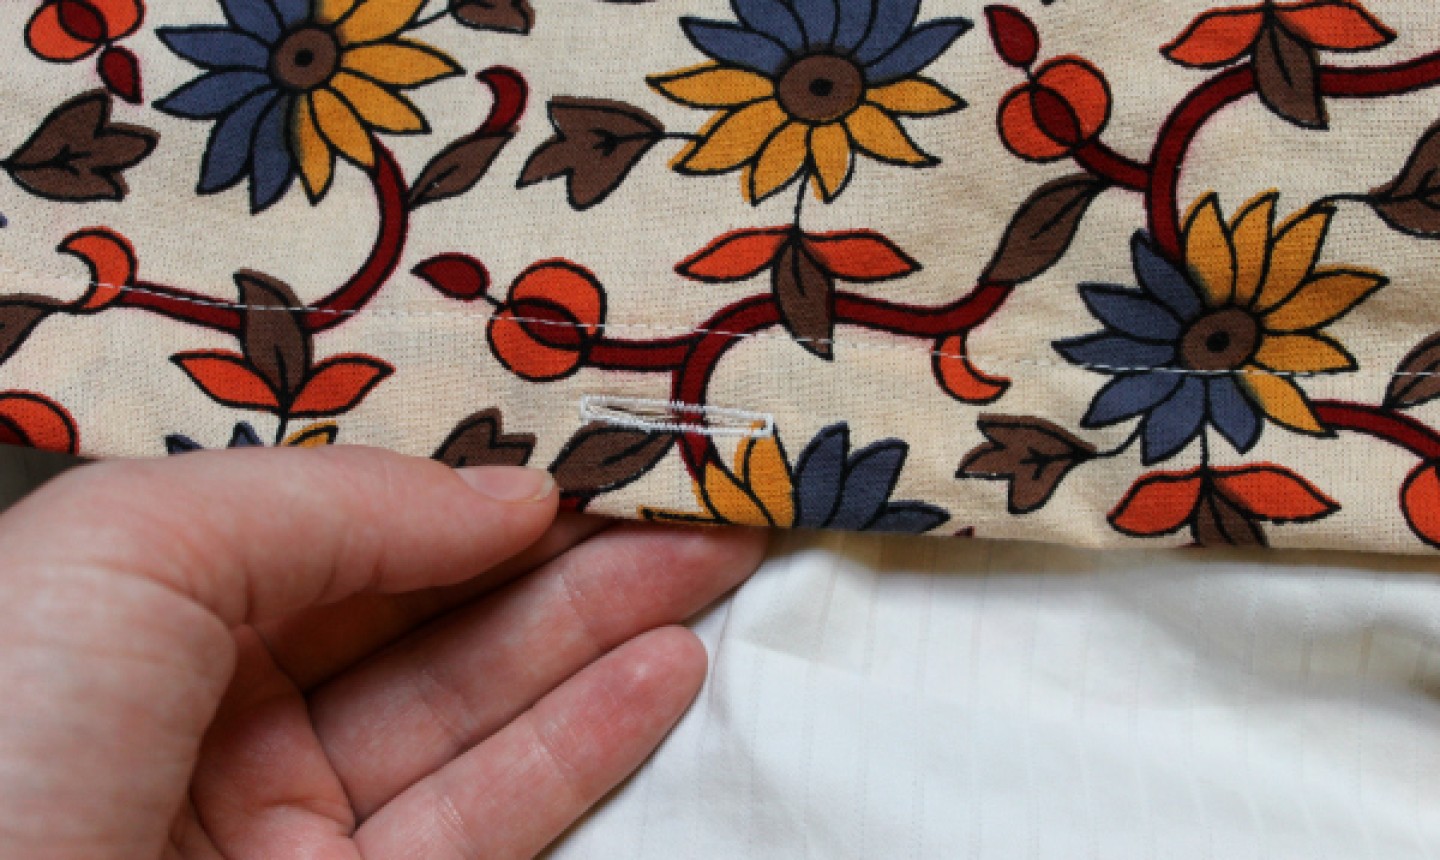
Mark the buttonhole position on the top sheet where it overlaps the button placket. Make sure the buttons are equally spaced apart and sew. Open the holes with a seam ripper.
9. Sew on the Buttons
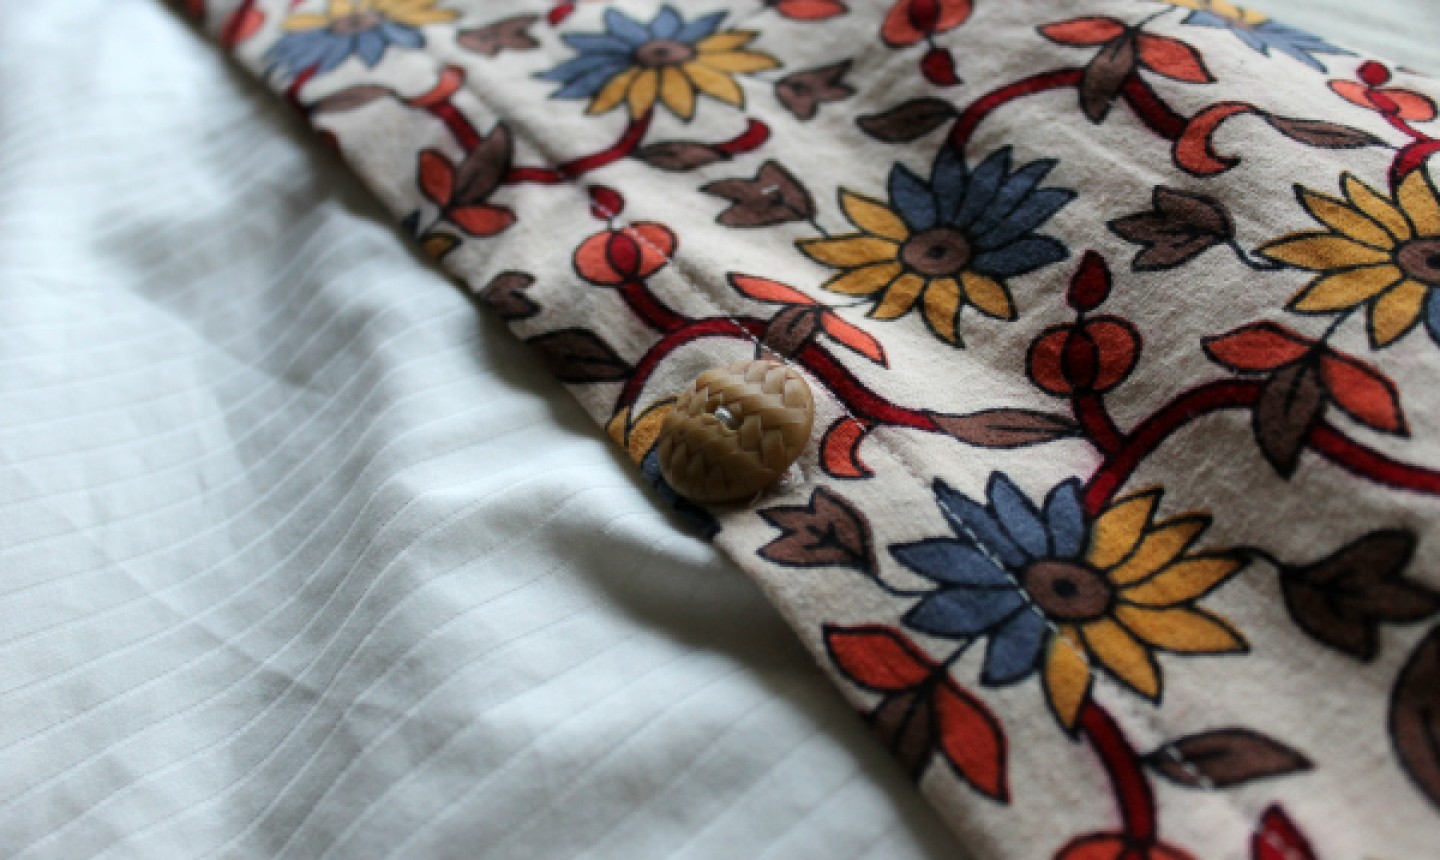
Pin the top overlap to the bottom sheet placket, then mark the centered position of the buttons on the bottom sheet through your buttonholes. Sew on buttons at your markings.
10. Insert
Stuff your cover with the duvet insert, button up the placket and you're done!
Tips for Sewing a Custom Duvet Cover
A few things to keep in mind when stitching so you nail it every time.
1. Use Your Fave Fabric
If you have fabric you want to turn into sheets (or just don't have sheets that are large enough to cut down into a duvet cover), DIY your own.
Most people sew duvet covers from a quilt weight cotton fabric or one with a similar weight and fiber content. But here's the thing: it's rare to find this weight in a width larger than 42-45" from selvage to selvage. Because a comforter is slightly larger than the mattress, even a twin bed (with a 38" mattress width) will need a comforter that's wider than the typical quilt weight width.
To use this type of fabric from the bolt, create a center panel for the duvet, then take a second length of fabric, cut it in half and sew it to either side of the center panel. This works best with an all-over print so the seams don't show, or you can choose different fabrics to create an intentionally striped look for the duvet.
2. Experiment With Closures
There are a ton of ways to address the closure, so there's no need to stick with buttons if that's not your thing. One popular option is an invisible zipper. You can sew it in so it's fully enclosed, leaving only the zipper pull visible at the bottom edge. If you do go with this option, all you'll need to add to your bottom edge is a ½" seam allowance; then you'll install your zipper at the ½" mark.
You could also opt for velcro, snaps or ties. If you're choosing velcro or snaps, you'll need to sew them to the seam allowance of the opening. So depending on the width of your velcro or the diameter of your snaps, make sure you add enough to the bottom edge to allow you to attach them. If you're using ties, you can sew them directly to a seam allowance, so the typical ½" works perfectly.

This is exactly what I have been looking for! The directions are perfect. Thank you for sharing this!
I followed these instructions yesterday and I got great results, thank you! I had never done a flap like that. I did the buttons and buttonholes before I sewed it all together (I sewed the buttons on with my machine) and it seemed easier to me, Now, pillows!