Buttons are so much more than closures — they’re also a way to tie your piece together and give it a flawless finishing touch. While these little additions can seem intimidating at first, with this step-by-step tutorial you’ll have them fastened on in no time.
How to Sew a Button
Level: Easy
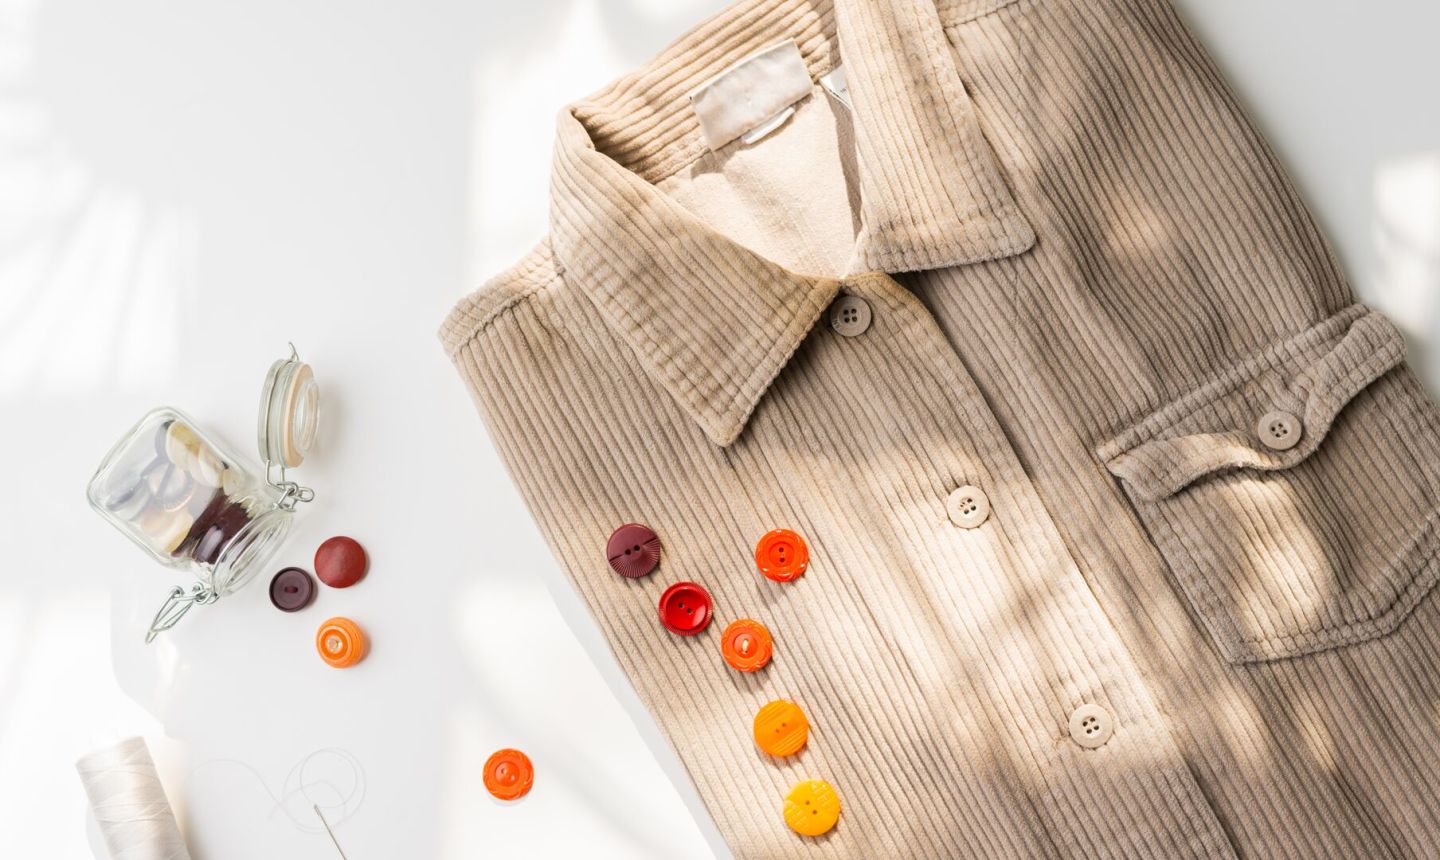
What You Need
Good to Know: There are a few different kinds of buttons, but for this tutorial we’re using a button with two holes.
Instructions
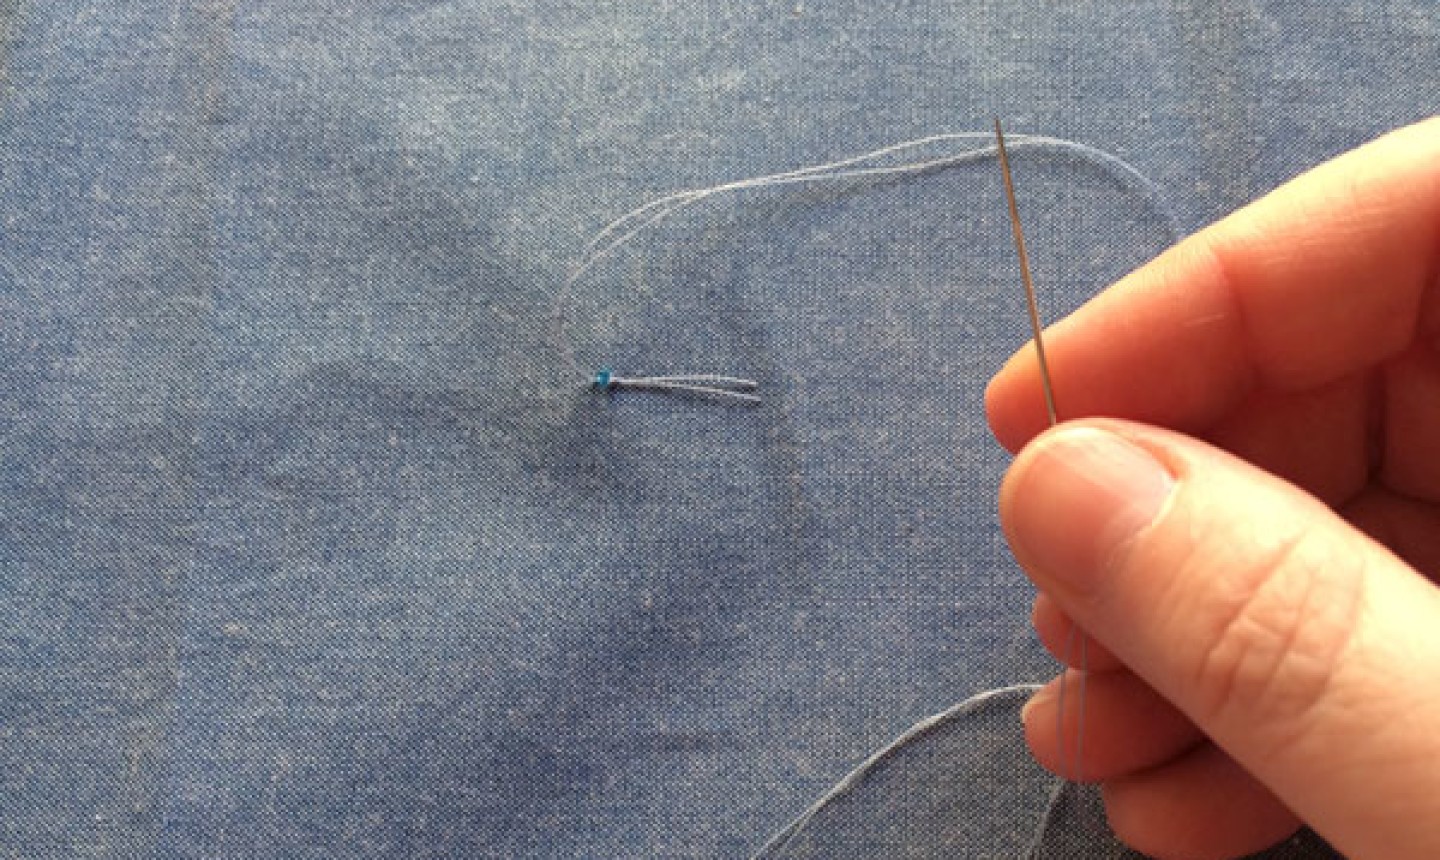
1. Thread Up
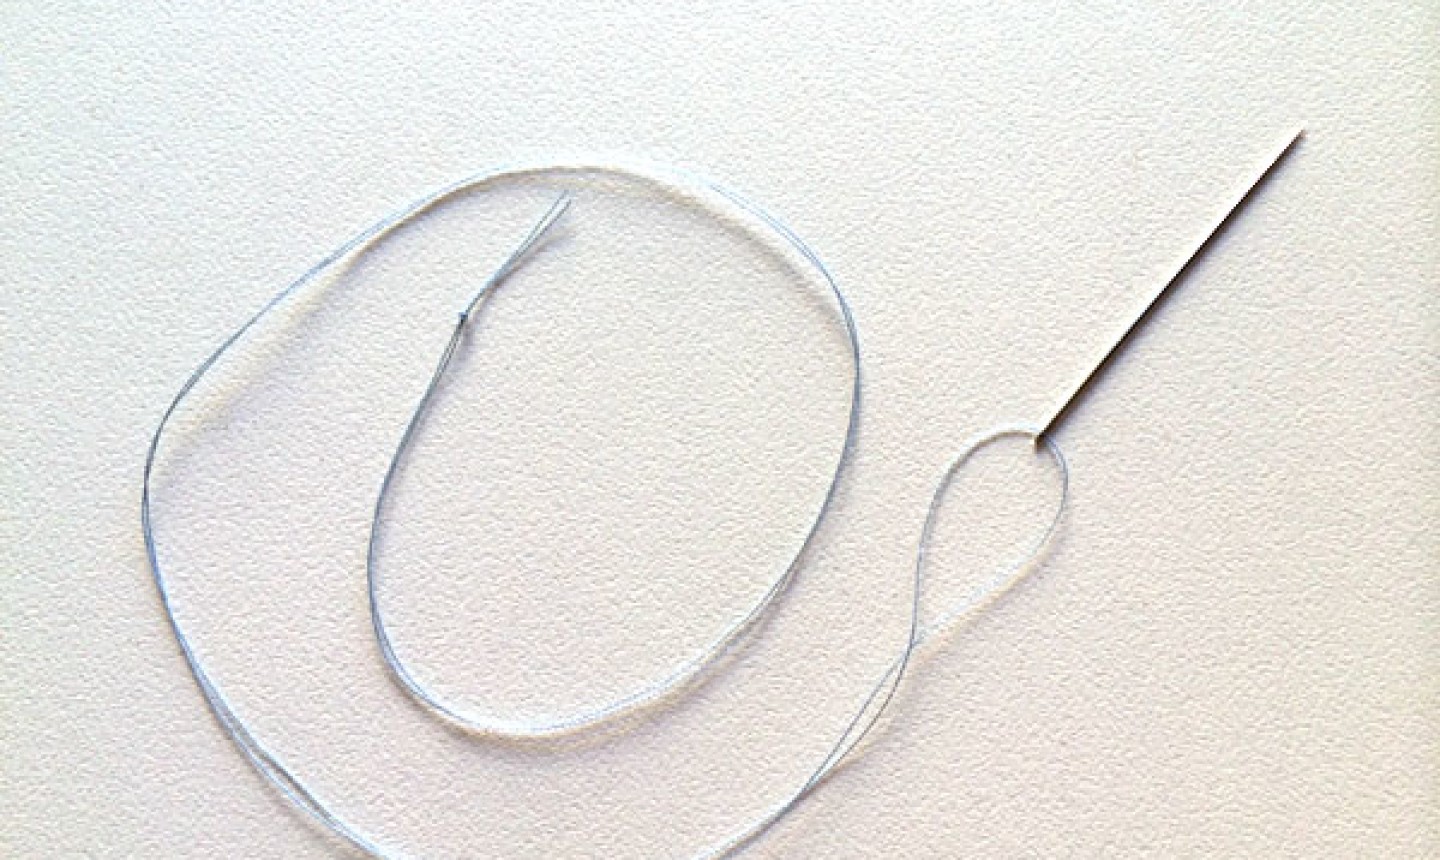
Loop the thread through the needle’s eye. Cut the end and move the needle so it’s roughly in the center, with the two ends touching. Knot the ends together.
2. Mark Your Spot
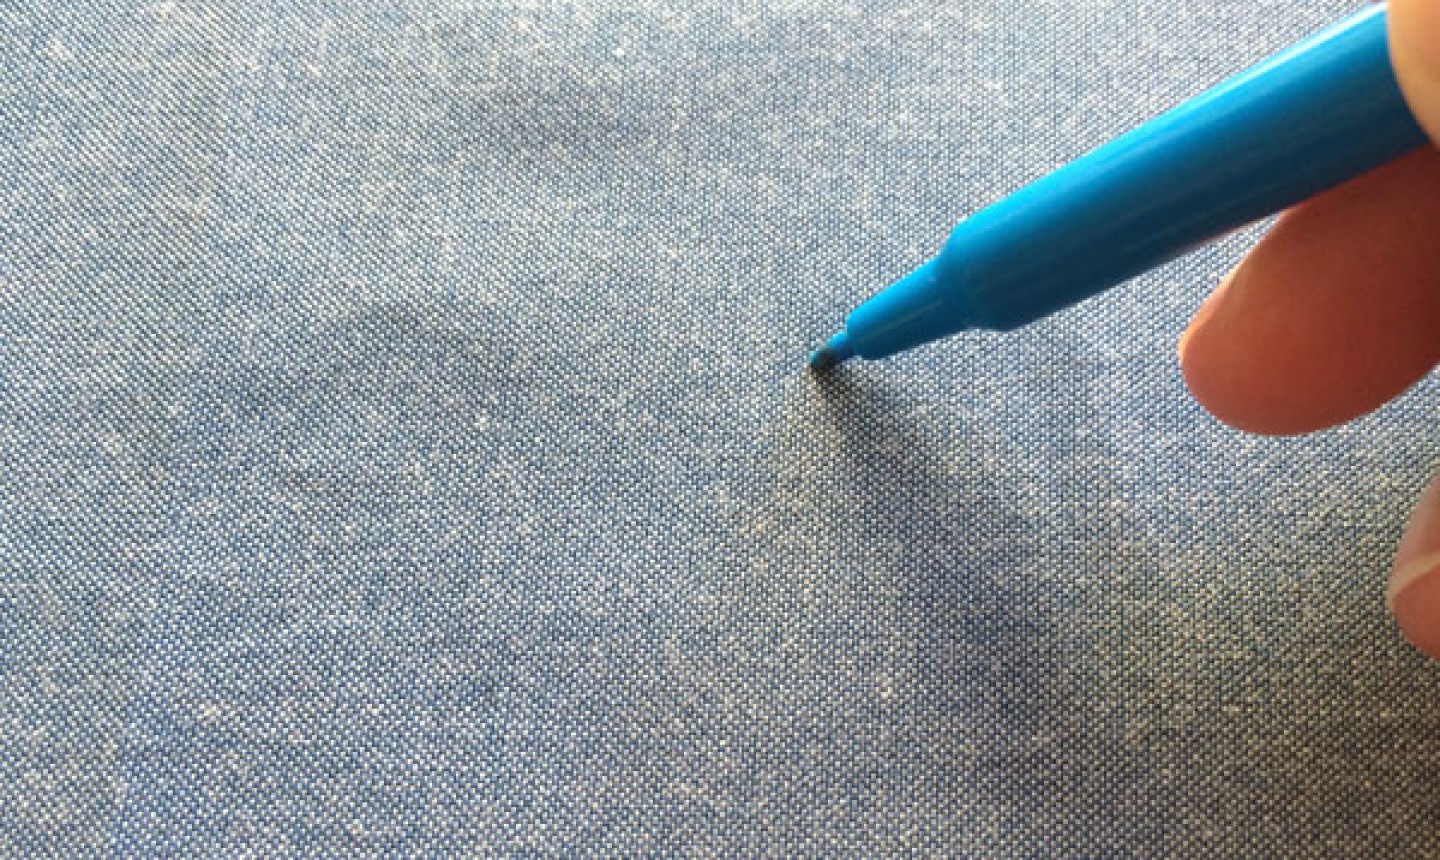
Use a fabric marker to define where you want the button placed.
3. Anchor the Thread
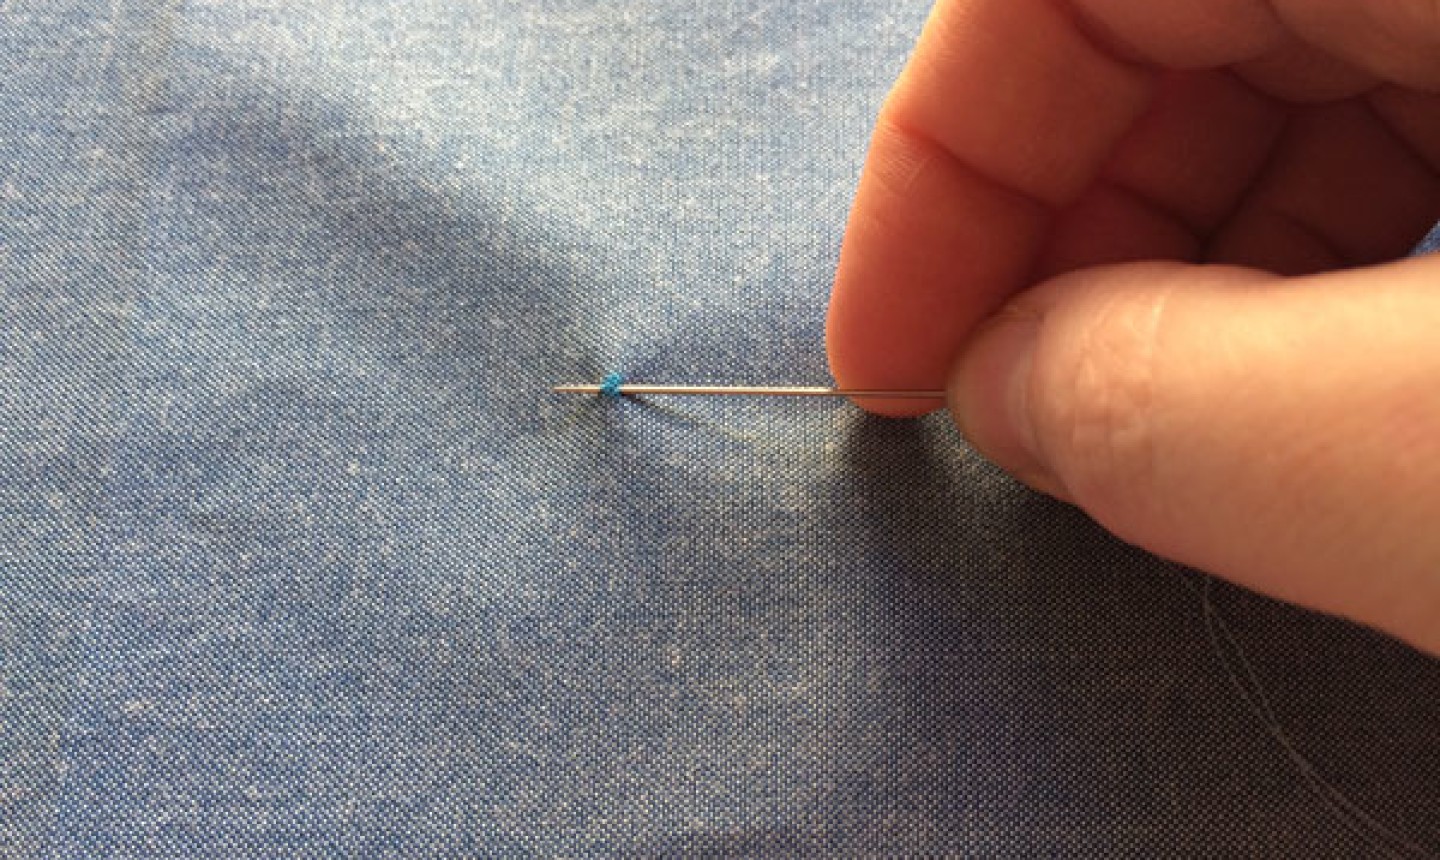
Insert the needle through the fabric on top of your mark. Don’t come up from or stitch down into the wrong side — you want to go in and out at the dot so you remain on the right side of the fabric.
Your knot and thread should all be on the right side of the fabric.
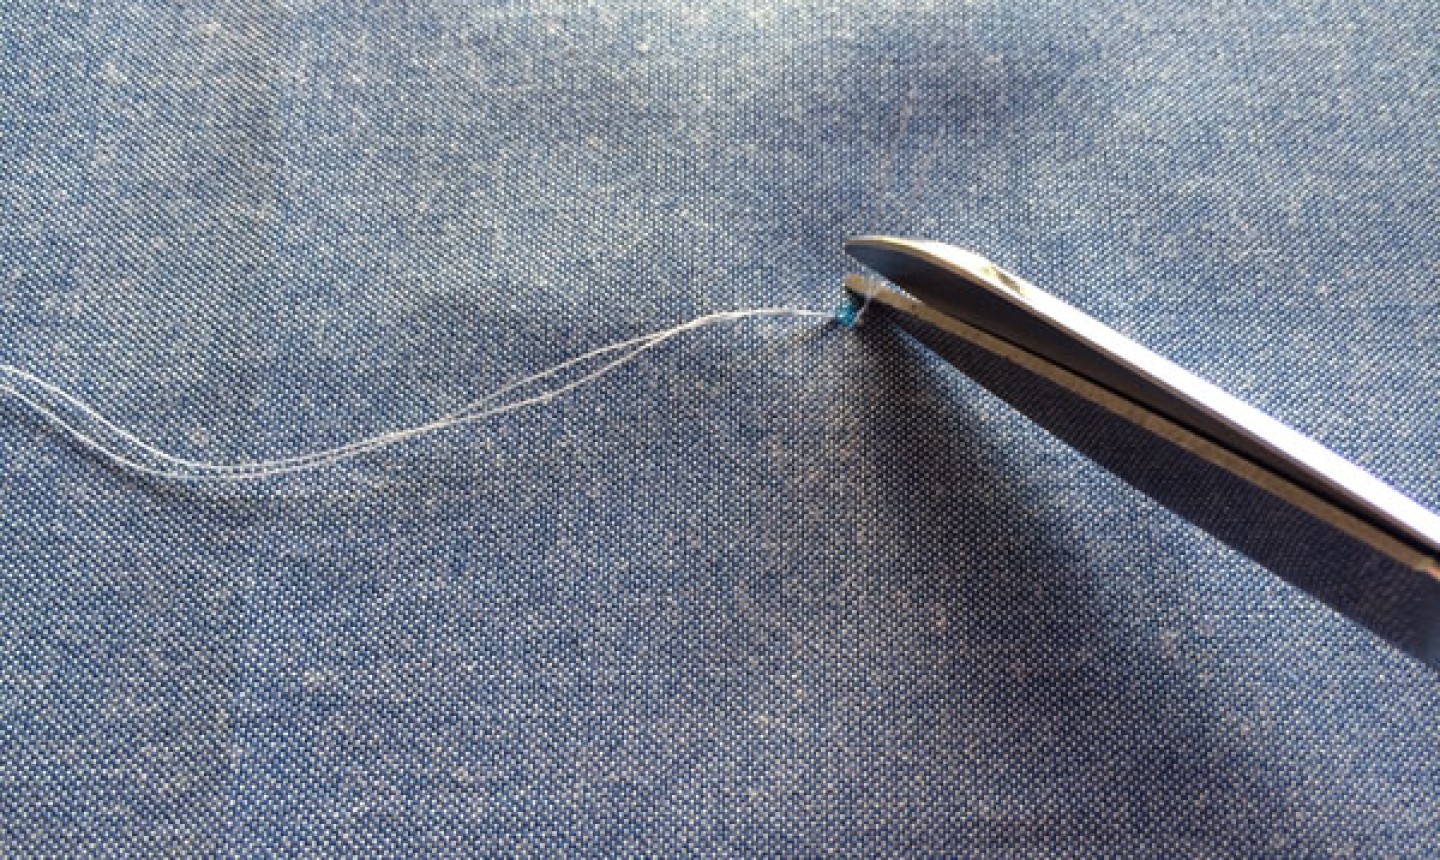
Trim the excess thread after the knot.
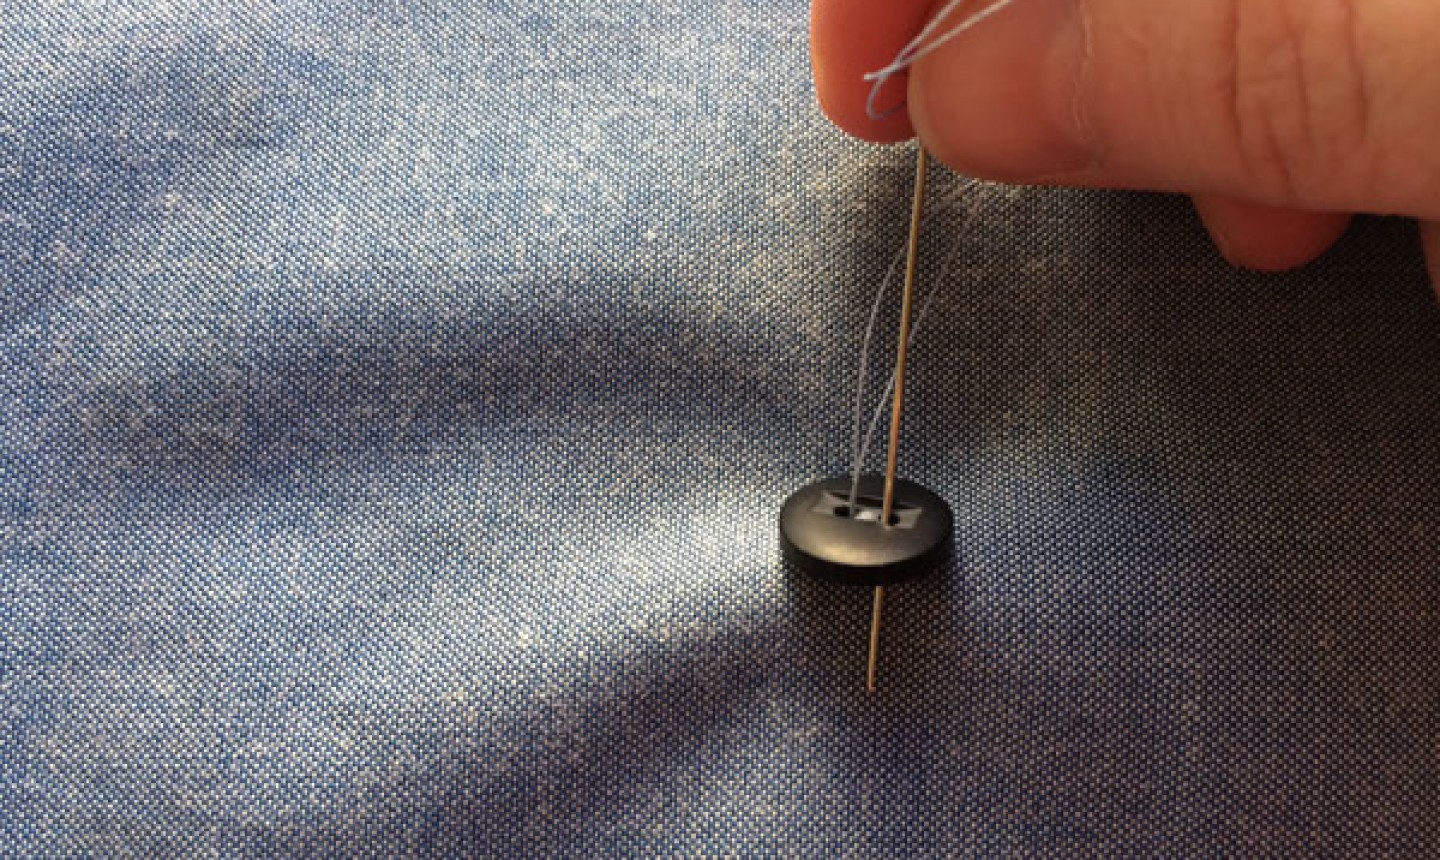
4. Secure the Button
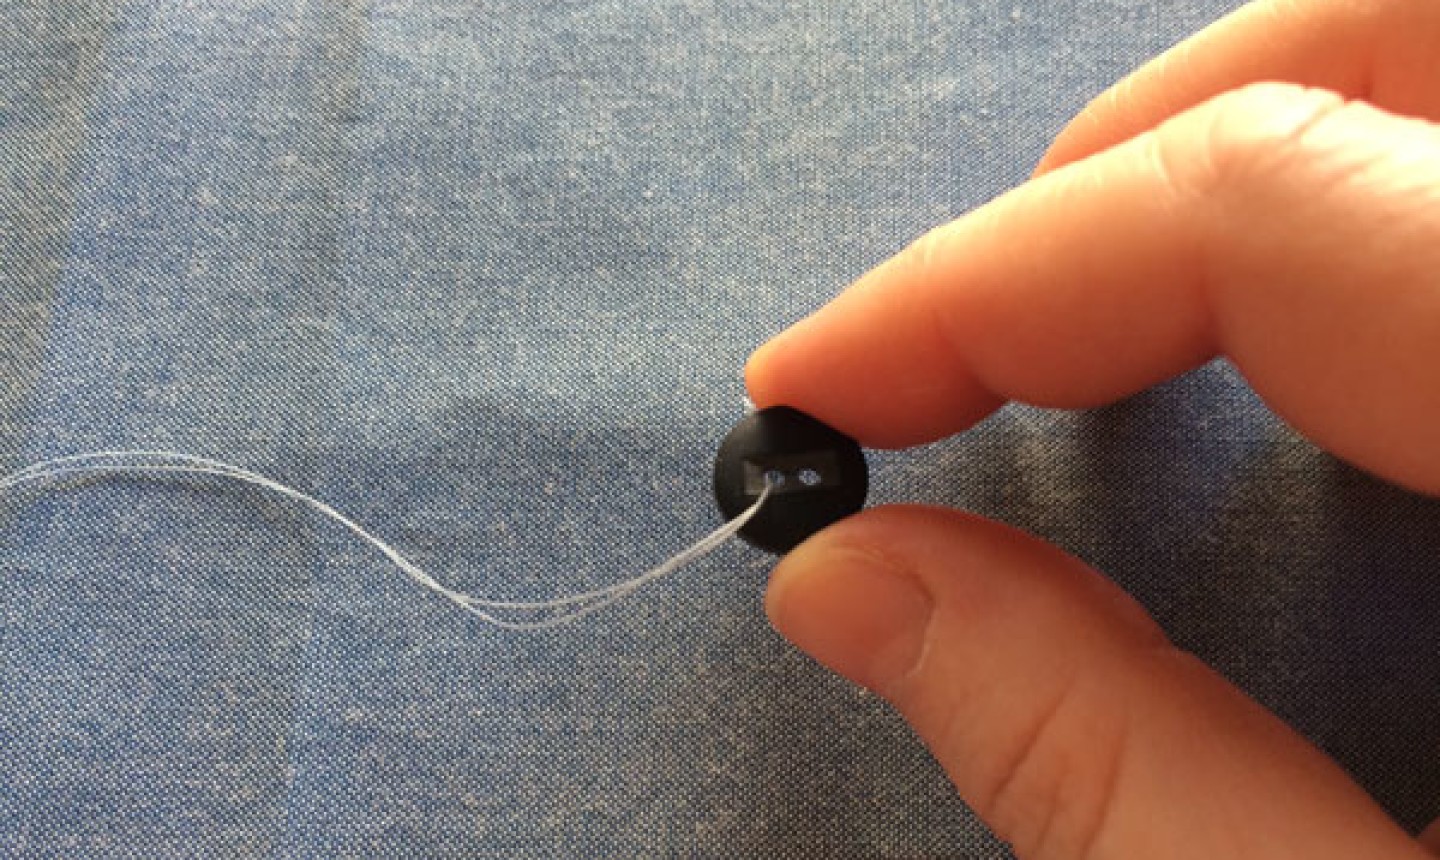
Insert the needle into the button, passing from the underside up through the top.
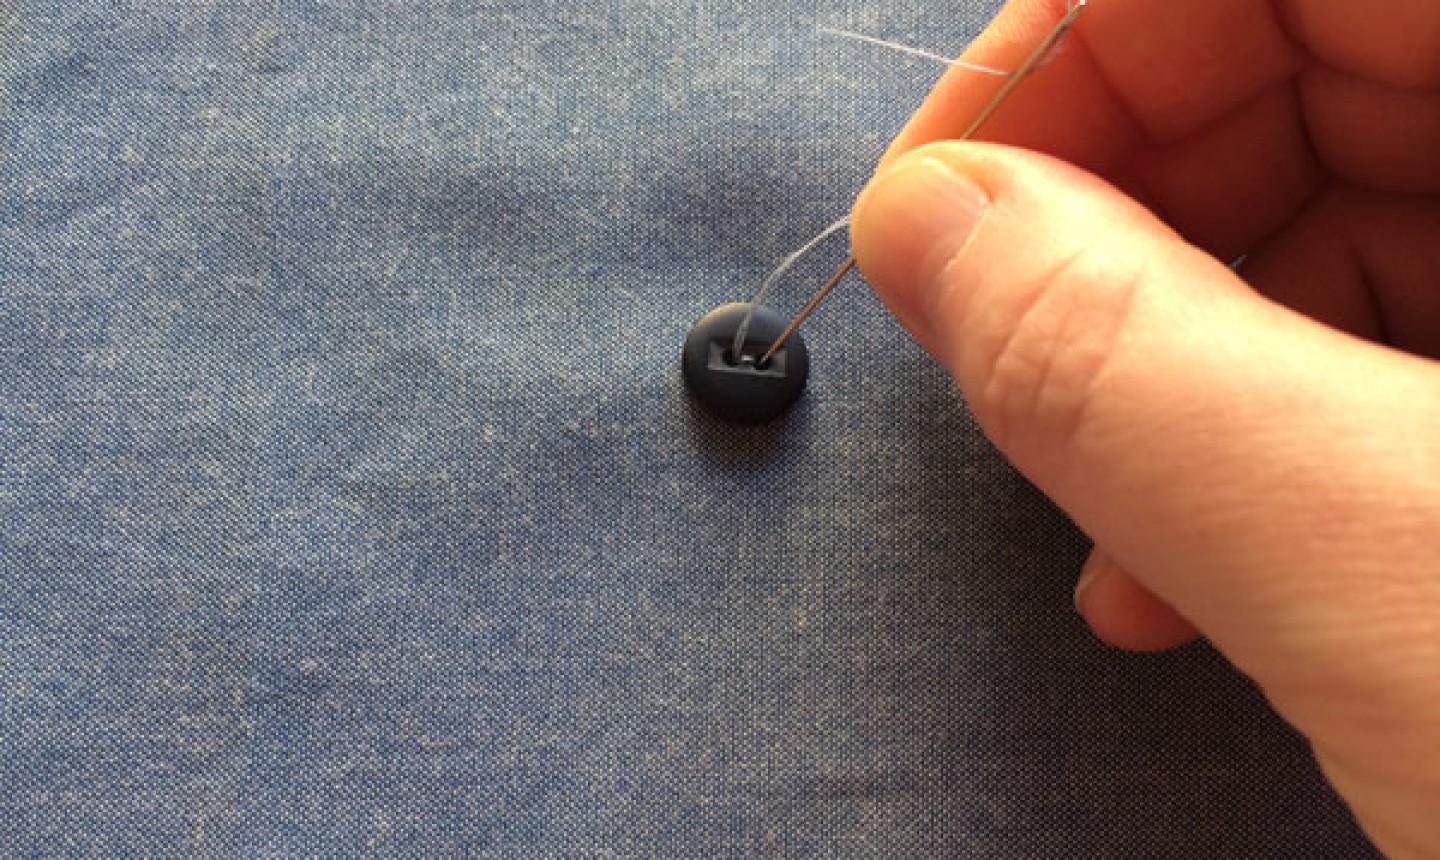
Place the button on the marked spot and insert your needle down into the opposite hole and out to the wrong side of your fabric. Continue working through the eyes of the button from side to side, right side to wrong side, until the button is secure.
5. Finish
Once the button is sewn tight, hold the needle and thread on the right side of your fabric. Insert the needle into the opposite eye, but don’t work through to the wrong side of your fabric. You just want to go through the button.
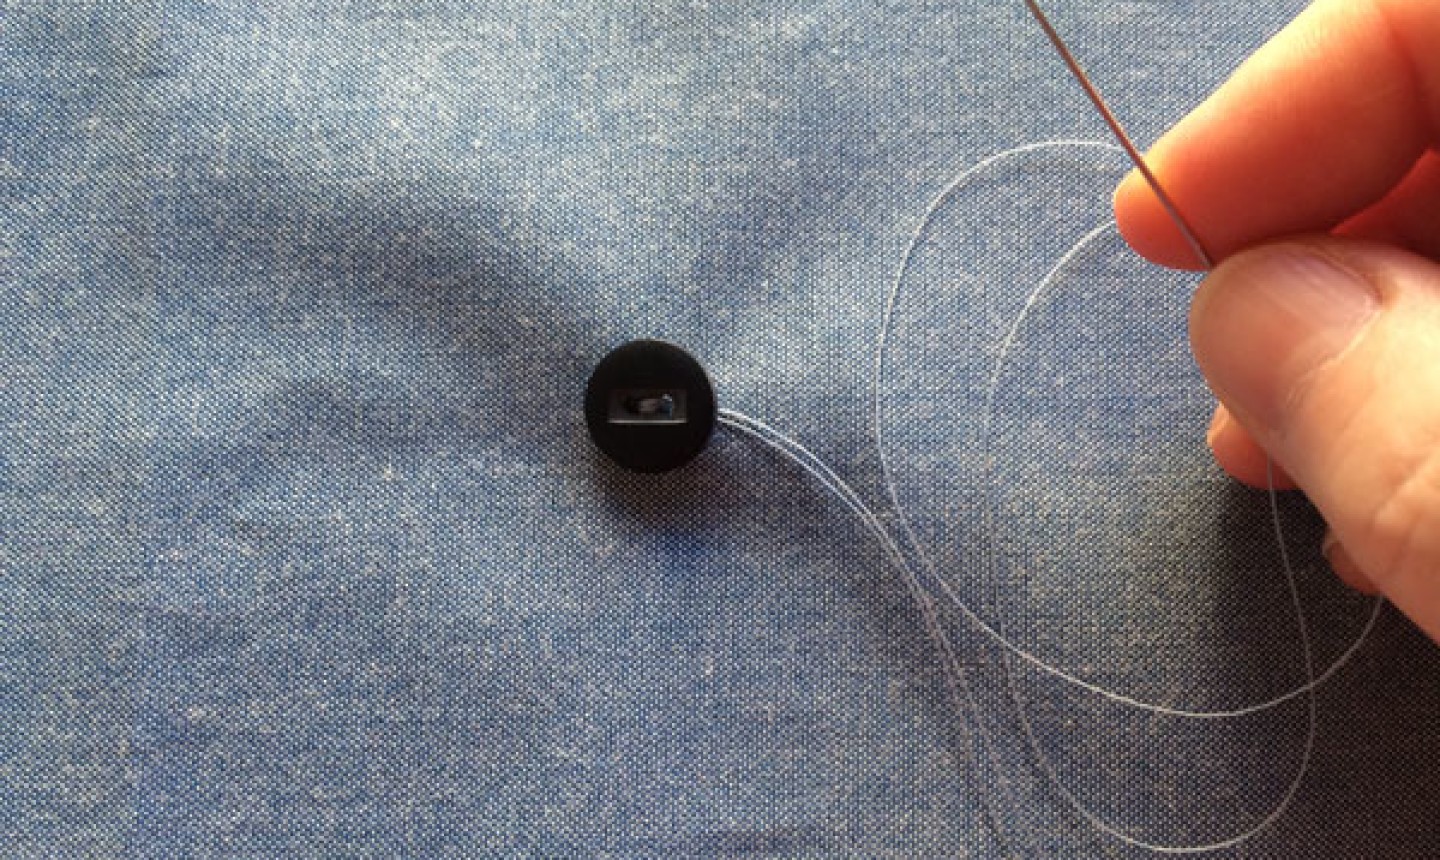
The thread should now be coming out from underneath the button, as pictured above.
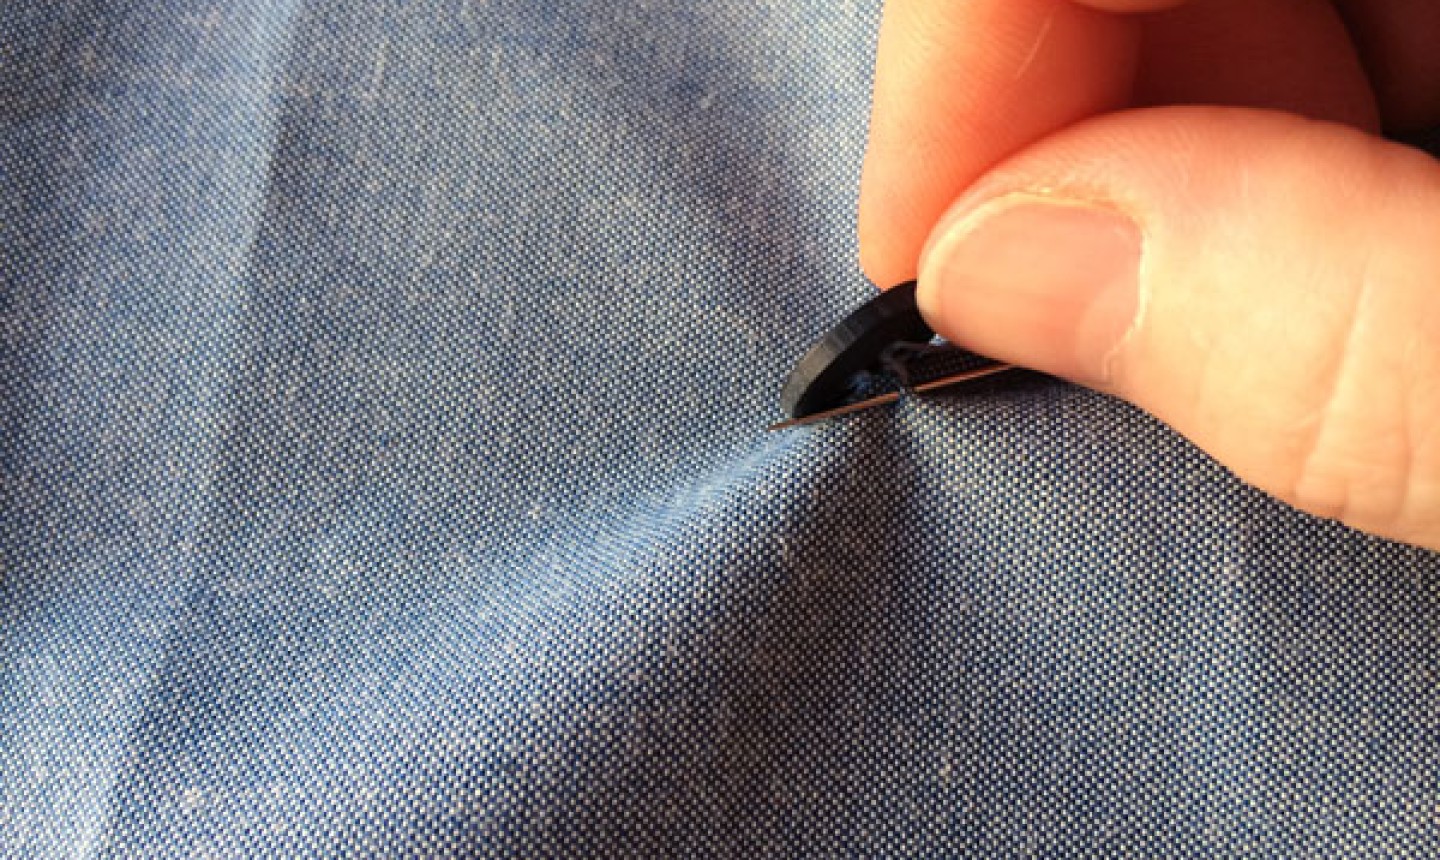
Insert the needle through the fabric (this should be similar to the first stitch you made in step 3), directly under the button.

Pull the threads until you create a loop.
Insert the needle through the loop and pull the threads tight to knot. The knot will be hidden under the button. Repeat if necessary to secure the threads.
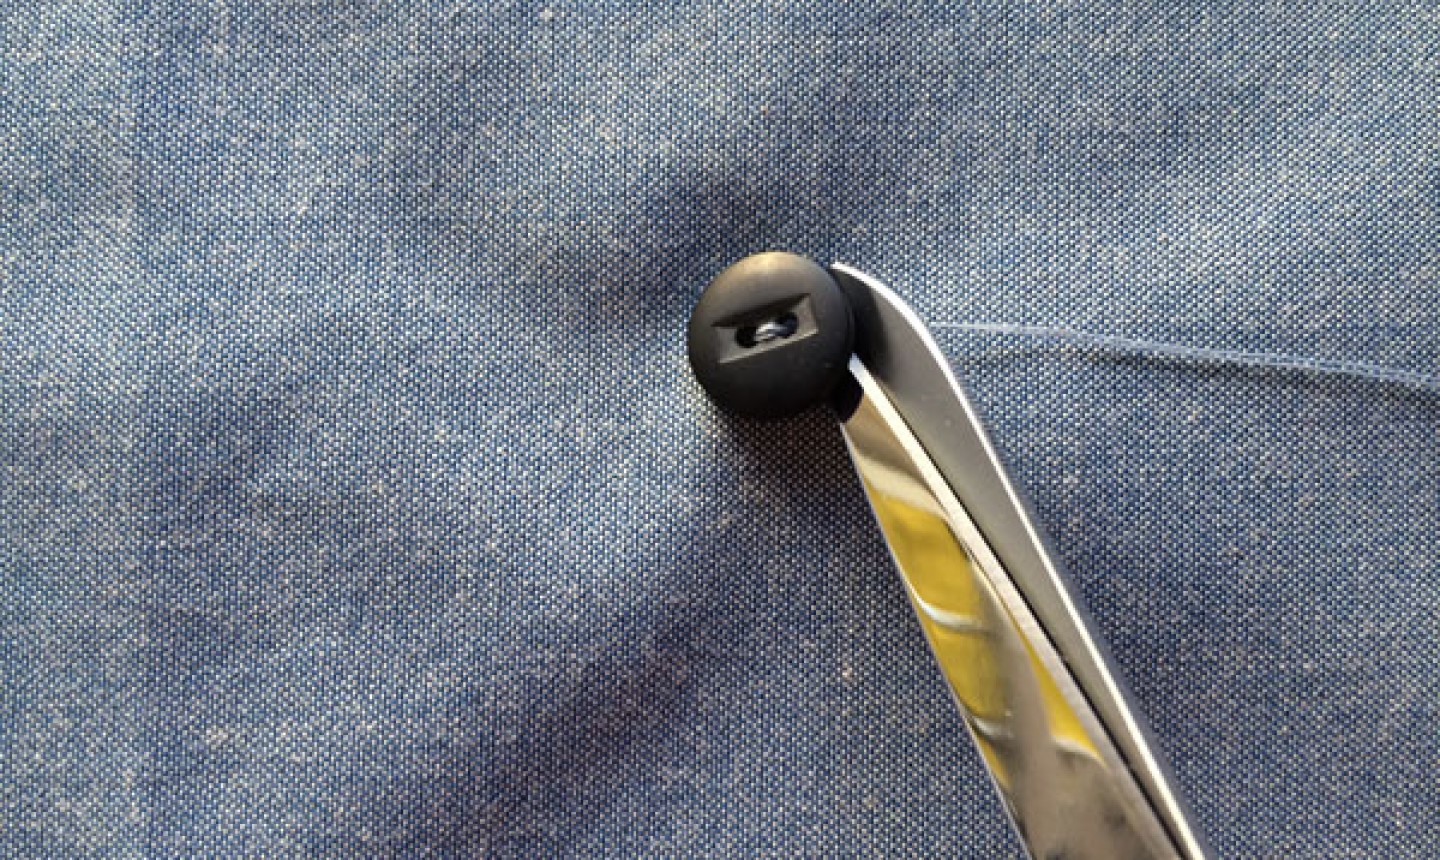
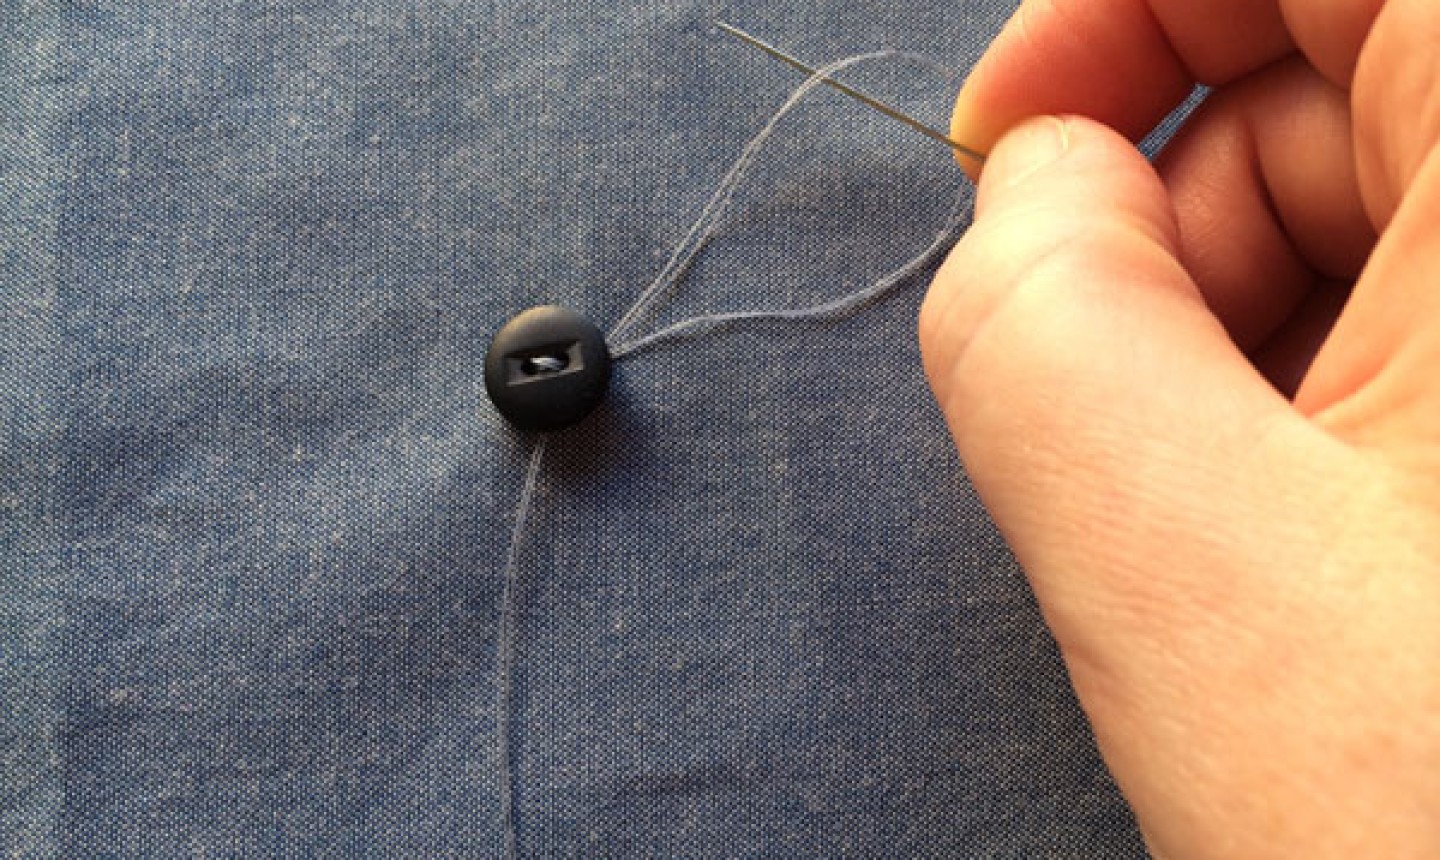
Snip the thread under the button after knotting.
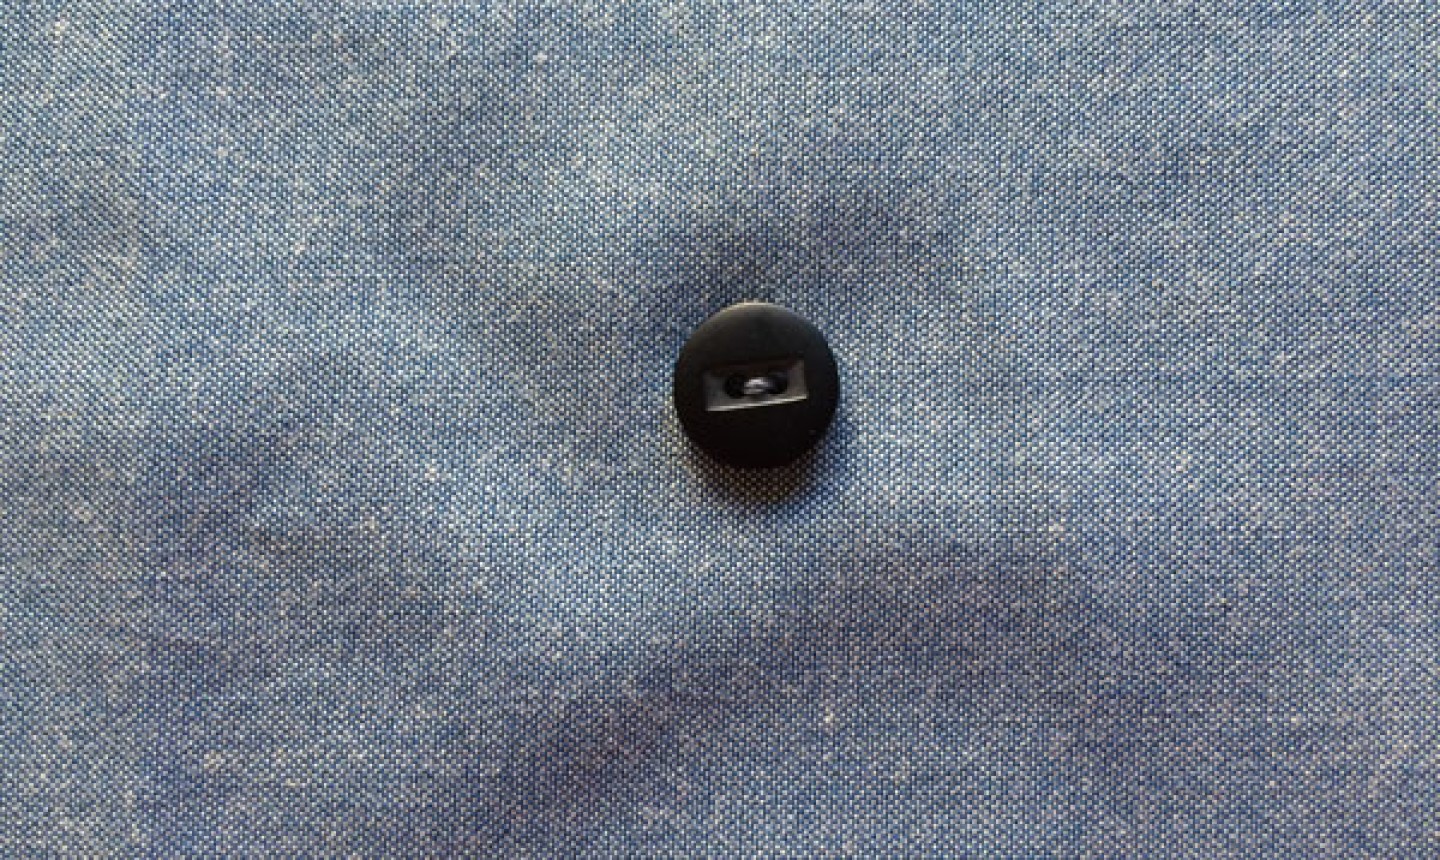
The wrong side of your fabric will be clean and free of all knots. Now you have a button with a clean finish on both sides!
Share tips, start a discussion or ask other students a question. If you have a question for an expert, please click here.
Already a member? Sign in
No Responses to “How to Sew a Button on Any Garment”