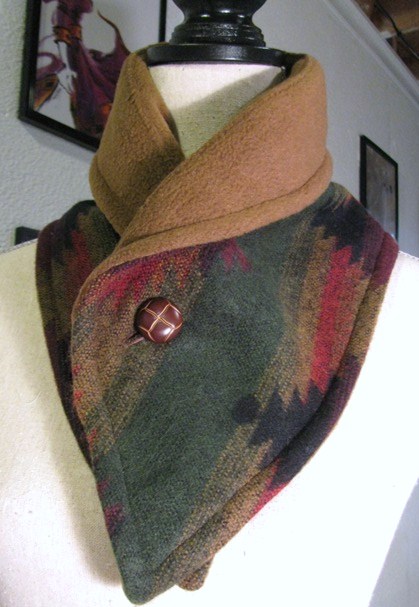
There are so many reasons to have a neck warmer in your mix of cold-weather accessories. Like a winter scarf, you can wear it over a coat or jacket to keep you feeling cozy. But if you lighten up the fabric, you can also use it to give a new look to a round-neck sweater, dress or top. Plus, the simple pattern and minimal fabric requirements make this the perfect stash-buster.
Good to Know: To keep things extra cozy, we used wool for the outer layer and fleece for the lining. Fleece provides extra warmth and comfort, as wool can be irritating when directly against skin. A medium weight knit or flannel would work well for a neck warmer, too.
Neck Warmer
Level: Easy
What You Need
Instructions
1. Draw the Pattern
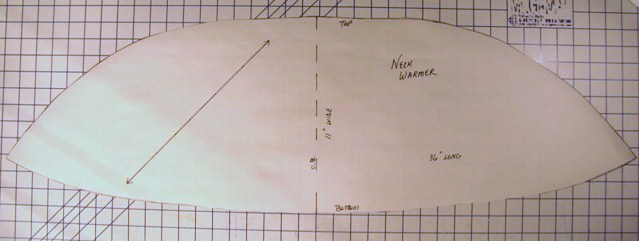
Cut all your fabric into pieces 36" in length. If cutting on the long or cross grain, the fabric should be 11" in width. If you're cutting on the bias, cut to 26" in width.
Using the image above as your guide, draw the pattern onto a piece of craft paper. Make special note of the location of the top and bottom of the neck warmer.
2. Cut Out the Pieces
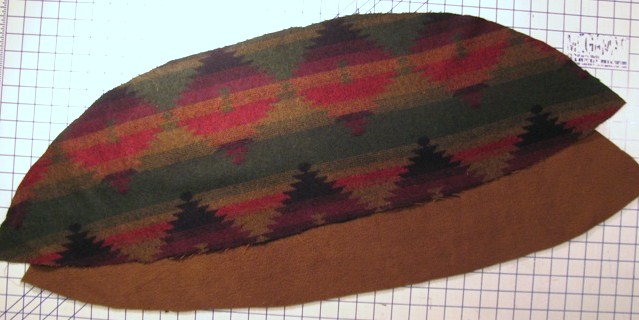
Cut out the outer layer and lining pieces using the drafted pattern.
3. Prepare the Buttonhole
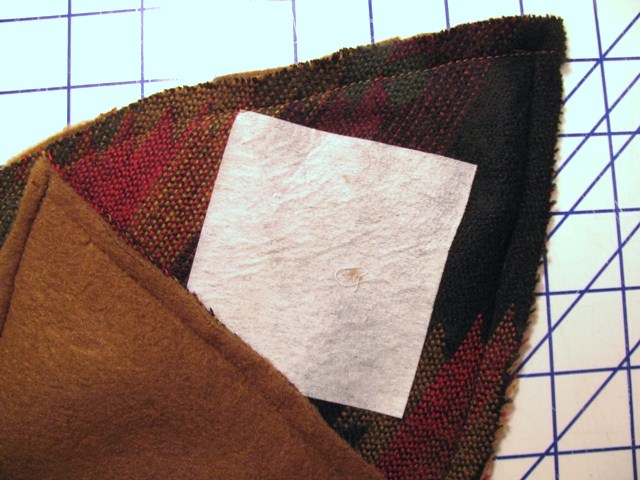
If adding a buttonhole, fuse interfacing to the underside of the outer layer fabric where you intend to place it.
4. Pin the Pieces
With right sides together, pin the outer layer to the lining around the entire perimeter of the neck warmer. Allow the lining fabric to extend slightly beyond the outer layer — this will ensure the lining fits more snugly under the outer layer.
5. Stitch the Pieces Together
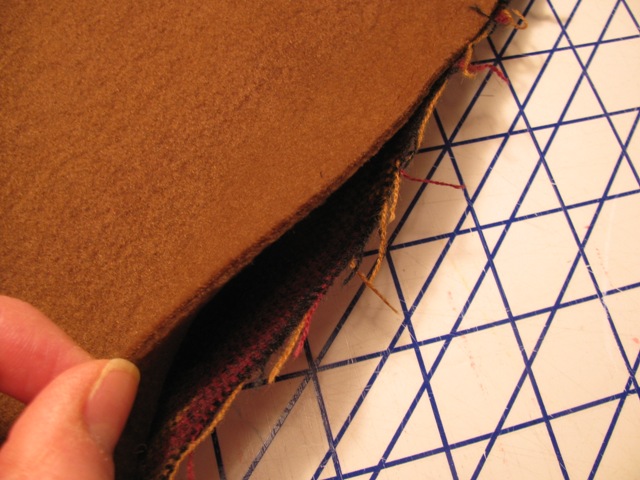
Stitch the scarf together using a ¼” seam allowance. Leave a 3" opening at the bottom (as in the photo above), so you can turn the neck warmer right side out.
6. Turn the Neck Warmer Right Side Out
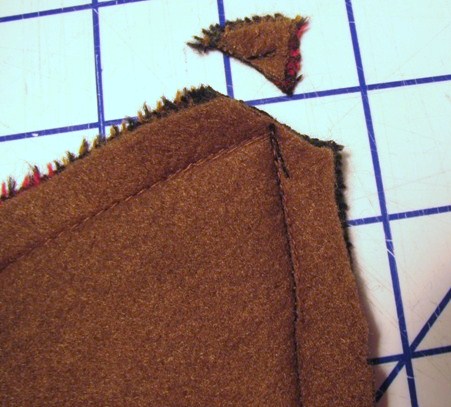
Trim off the two corners, then turn the neck warmer right side out. Hand stitch the 3" opening closed.
7. Pin the Edges in Place
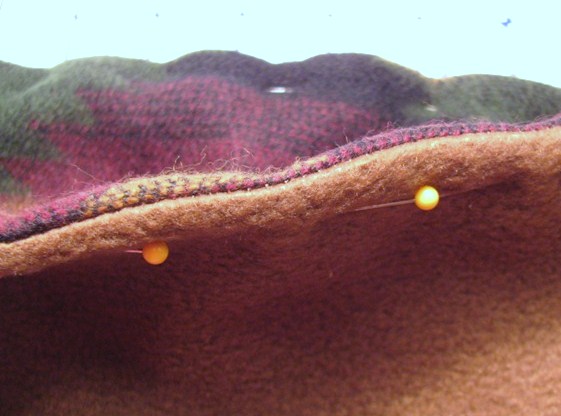
With your fingers, carefully turn out the seam edges and corners. Press the edges, then pin them in place to get ready for topstitching.
8. Topstitch
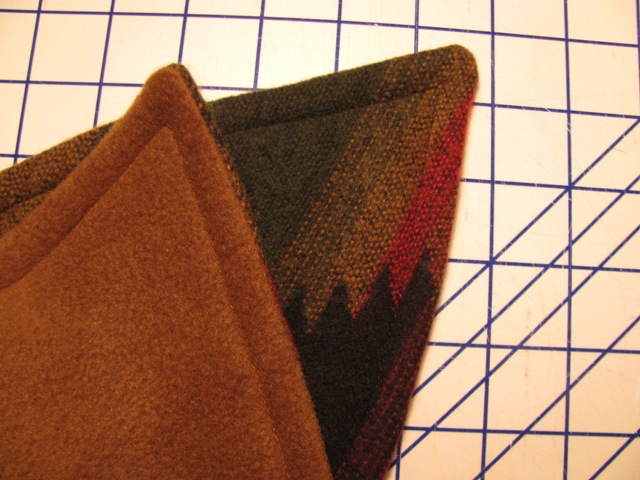
Topstitch the neck warmer using a ⅜" seam allowance.
9. Make the Buttonhole
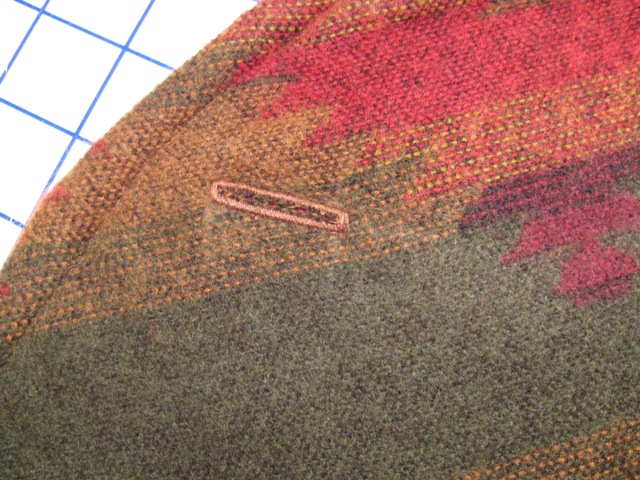
Mark the location of the buttonhole with chalk or a fabric pen, then stitch in place. Sew the button to the corresponding flap.
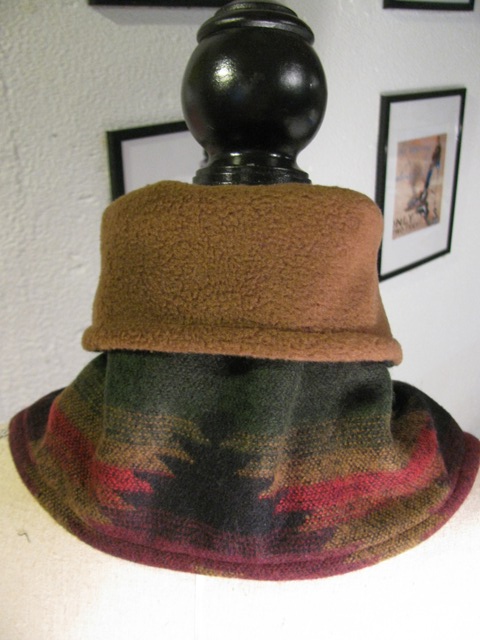
Here's the finished neck warmer, seen from the back. You're officially ready for a cozy winter!

Need picture of pattern for bias with 26" width.
Thanks for this pattern, the neck warmer is beautiful. Buttonhole placement on the pattern would have been nice.
Look forward to receiving ideas for little sewing/quilting projects
what type of material did you make this in? what do you recommend to use..?
I love the shape of this neck wrap but I’m wondering if you have a pdf pattern? Thank you.
I totally am lost need further instructions, or video,
is there anyway to get a pattern
I'm gonna alter this pattern a little and make a few Christmas gifts for my family members in different fabrics :)
May I have the neck warmer pattern please?
Could I have the neck warmer pattern please?