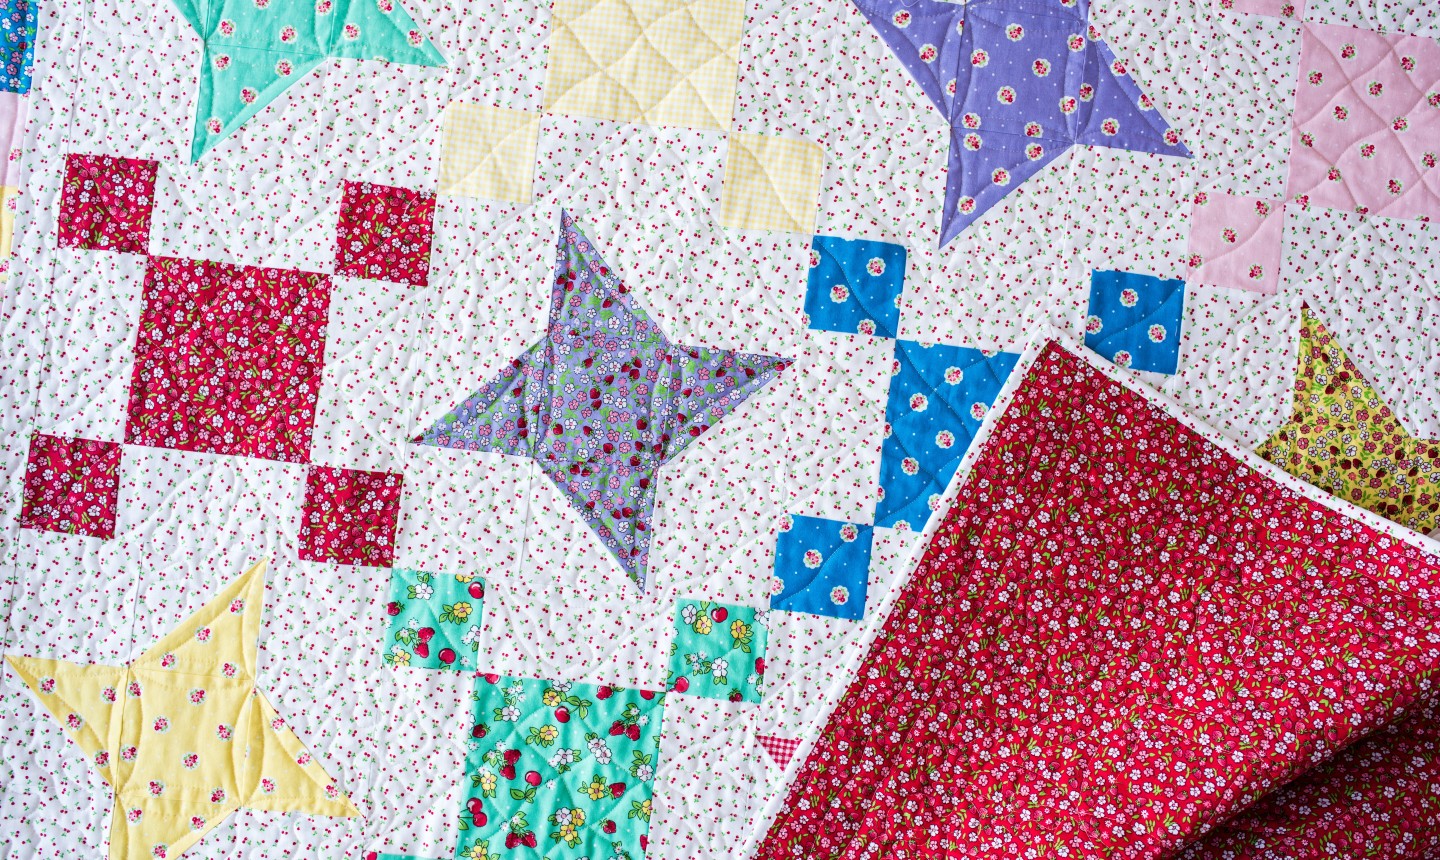
So you’ve finished piecing your quilt top — woohoo! Before you build your quilt sandwich and start quilting, you have one step to complete: you need to make a quilt back. Read on to learn how to piece a quilt backing to finish off your quilt.
Quilt backing is the bottom layer of a quilt sandwich. They can be made from large cuts of coordinating fabric (such as 44″-wide quilting cotton ) that are stitched together to fit your quilt, or they can be cut down from 90″ or 108″ cuts of quilting cotton that are specially designed for backing large projects. They can be simple and solid, or you can accentuate the backing with strips and blocks — whatever you feel like stitching!
How to Piece Quilt Backing
If you have several yards of matching (or even mismatched) fabric, you can join it to make a basic pieced quilt backing.
1. Pick Your Fabric

There are a few different fabrics you can use for quilt backing . Quilting cotton (whether plain or patterned) is overwhelmingly the most popular choice, though patterned can be tricky to piece on a large-scale quilt.
Pro Tip If you want a patterned backing on a large quilt but don’t want to take the time to align the fabric, you can use simple bed sheets. They’re much bigger than quilting fabric and don’t require extra time and effort.
Another popular choice for quilt backing is minky, a soft, synthetic fabric that feels oh-so-luxurious. These synthetic fabrics are larger than traditional quilting cotton, but they can be tricky to work with because they stretch. They also don’t shrink, so if you opt for minky, make sure to pre-wash your quilt top first.
To determine how much backing fabric you need, keep in mind that all sides of a quilt back should be at least 4″ longer than your quilt top. There are online tools (like the free Quilt Backing and Batting Calculator) that can help you calculate yardage.
2. Consider the Seam Allowance
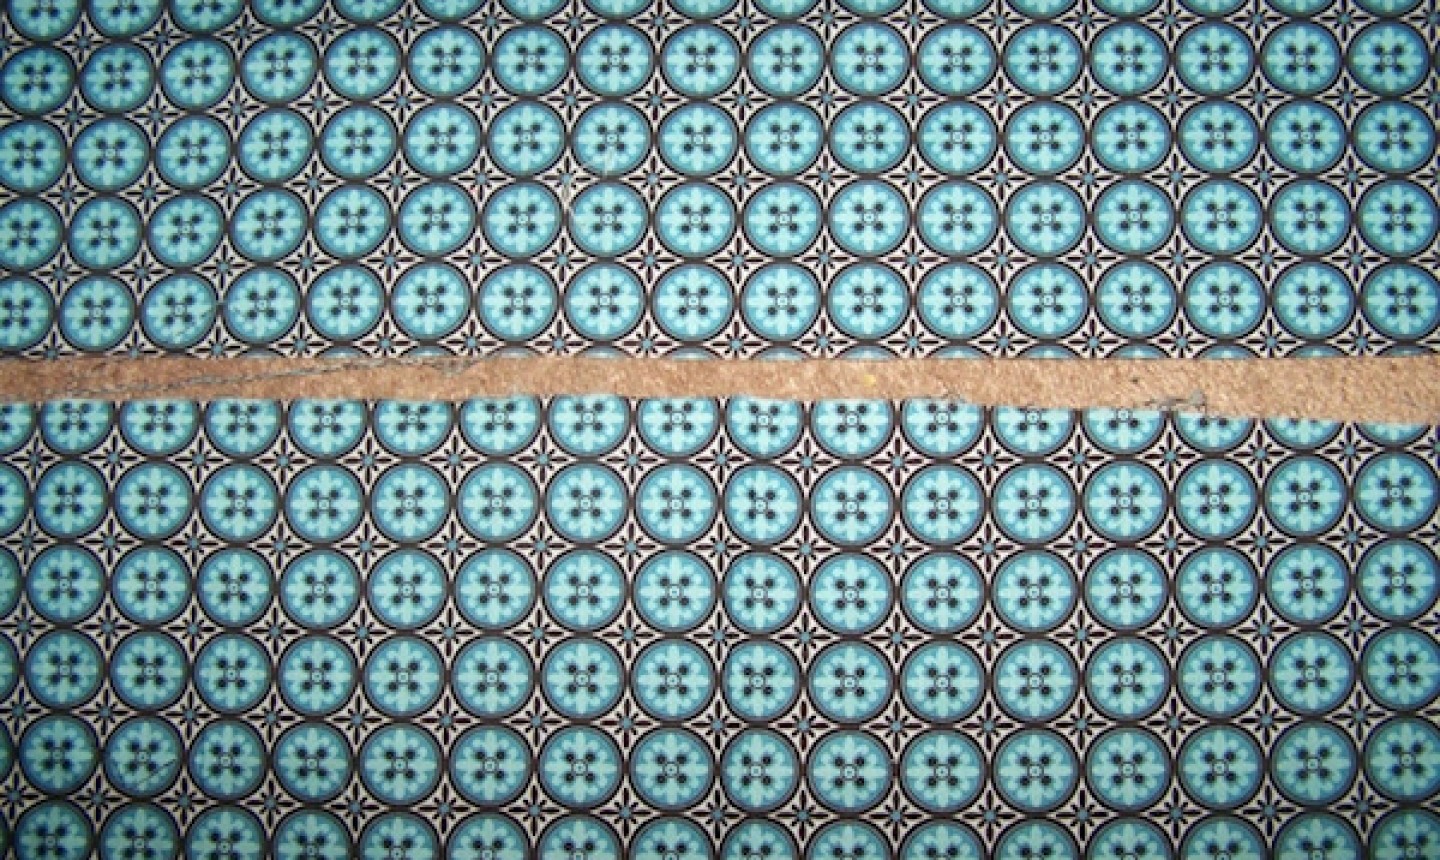
Remember to account for the seam allowance. This is especially important if you’re trying to match prints. For example, in the photo above, the blue circles will not line up when pieced together, so you may want to cut off extra fabric from one side so the pattern appears continuous when sewn together. A (pressed open) ½” seam allowance will make the seam more durable.
3. Sew It Together
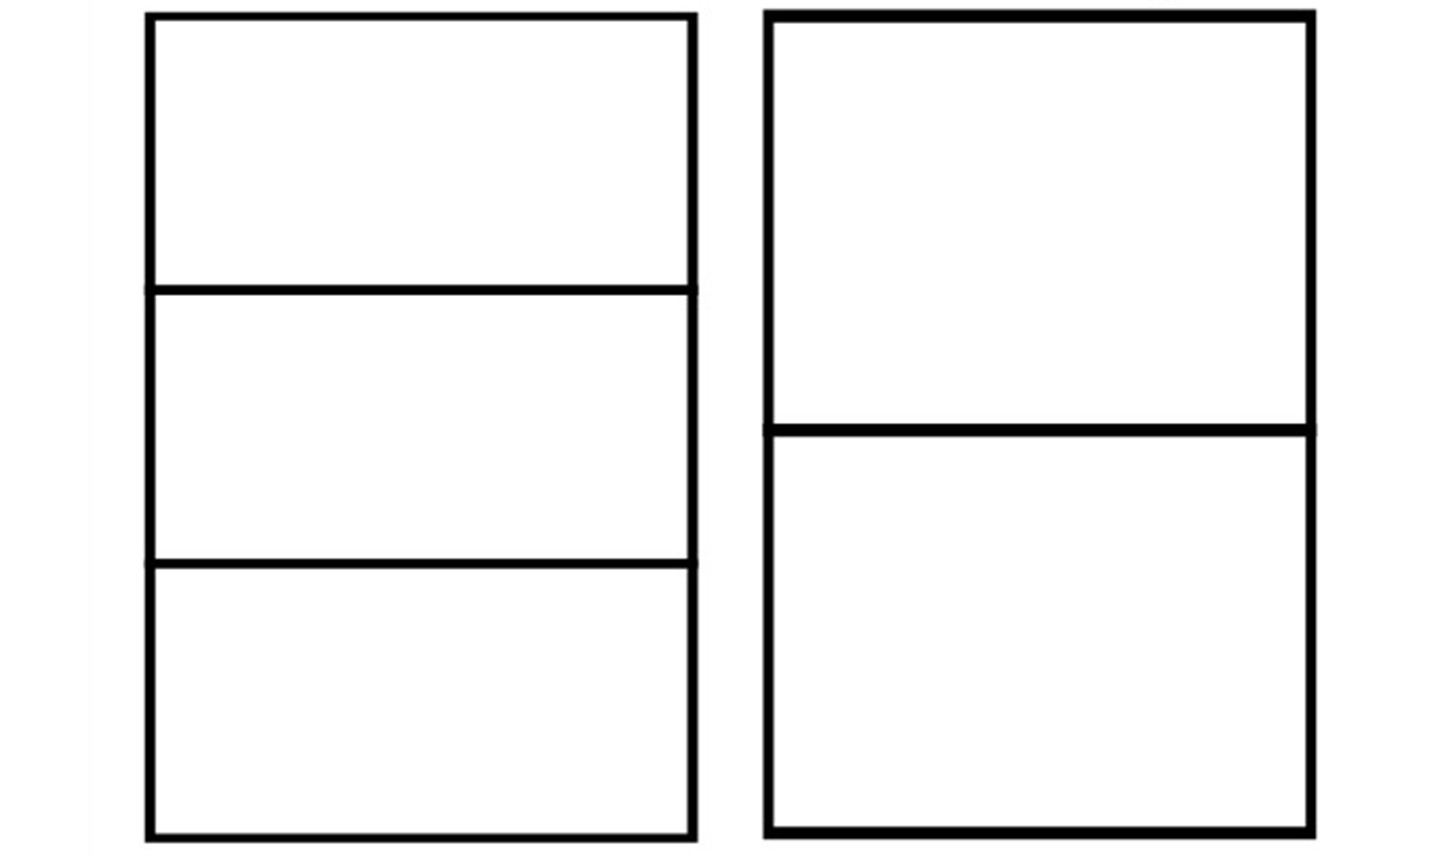
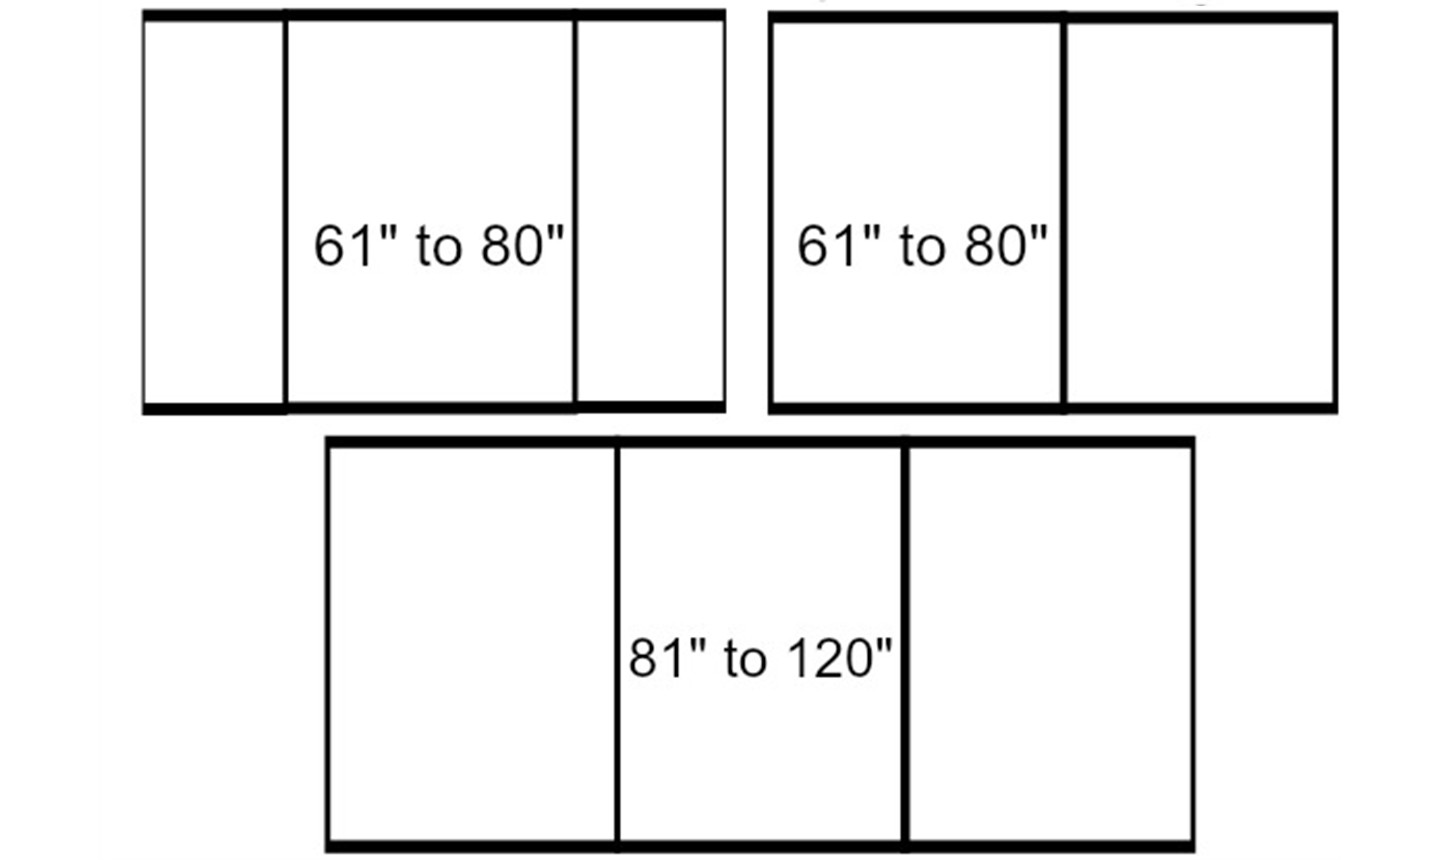
The seams used to piece quilt backing can run vertical or horizontal depending on the size and shape of your project. Typically, to make the most of your fabric you want to use horizontal seams for 40″-60″ quilts (pictured above) and vertical seams for quilts that are 61″ or larger (pictured below).
Pro Tip Always test for the grainline of the fabric, and join the fabric along that matching grain. This means the crosswise grain will be pieced to another crosswise grain for more stretch, and the lengthwise grain will be sewn to another lengthwise grain for less stretch.
Ideas for Your Quilt Backing
Now that you know how to piece a quilt backing, consider these fun options for your soon-to-be-finished quilt.
1. Patterned Background
It’s much easier to add a patterned background to a mini quilt , but if you want to go big and use this backing, you totally can — even if your fabric isn’t quite big enough. To sew fabric together to fit the quilt, you need to consider the direction of the print and have a method for piecing it to make it look cohesive.
Get a step-by-step tutorial for building this backing in our class Creative Quilt Backs.
2. Pieced Strip
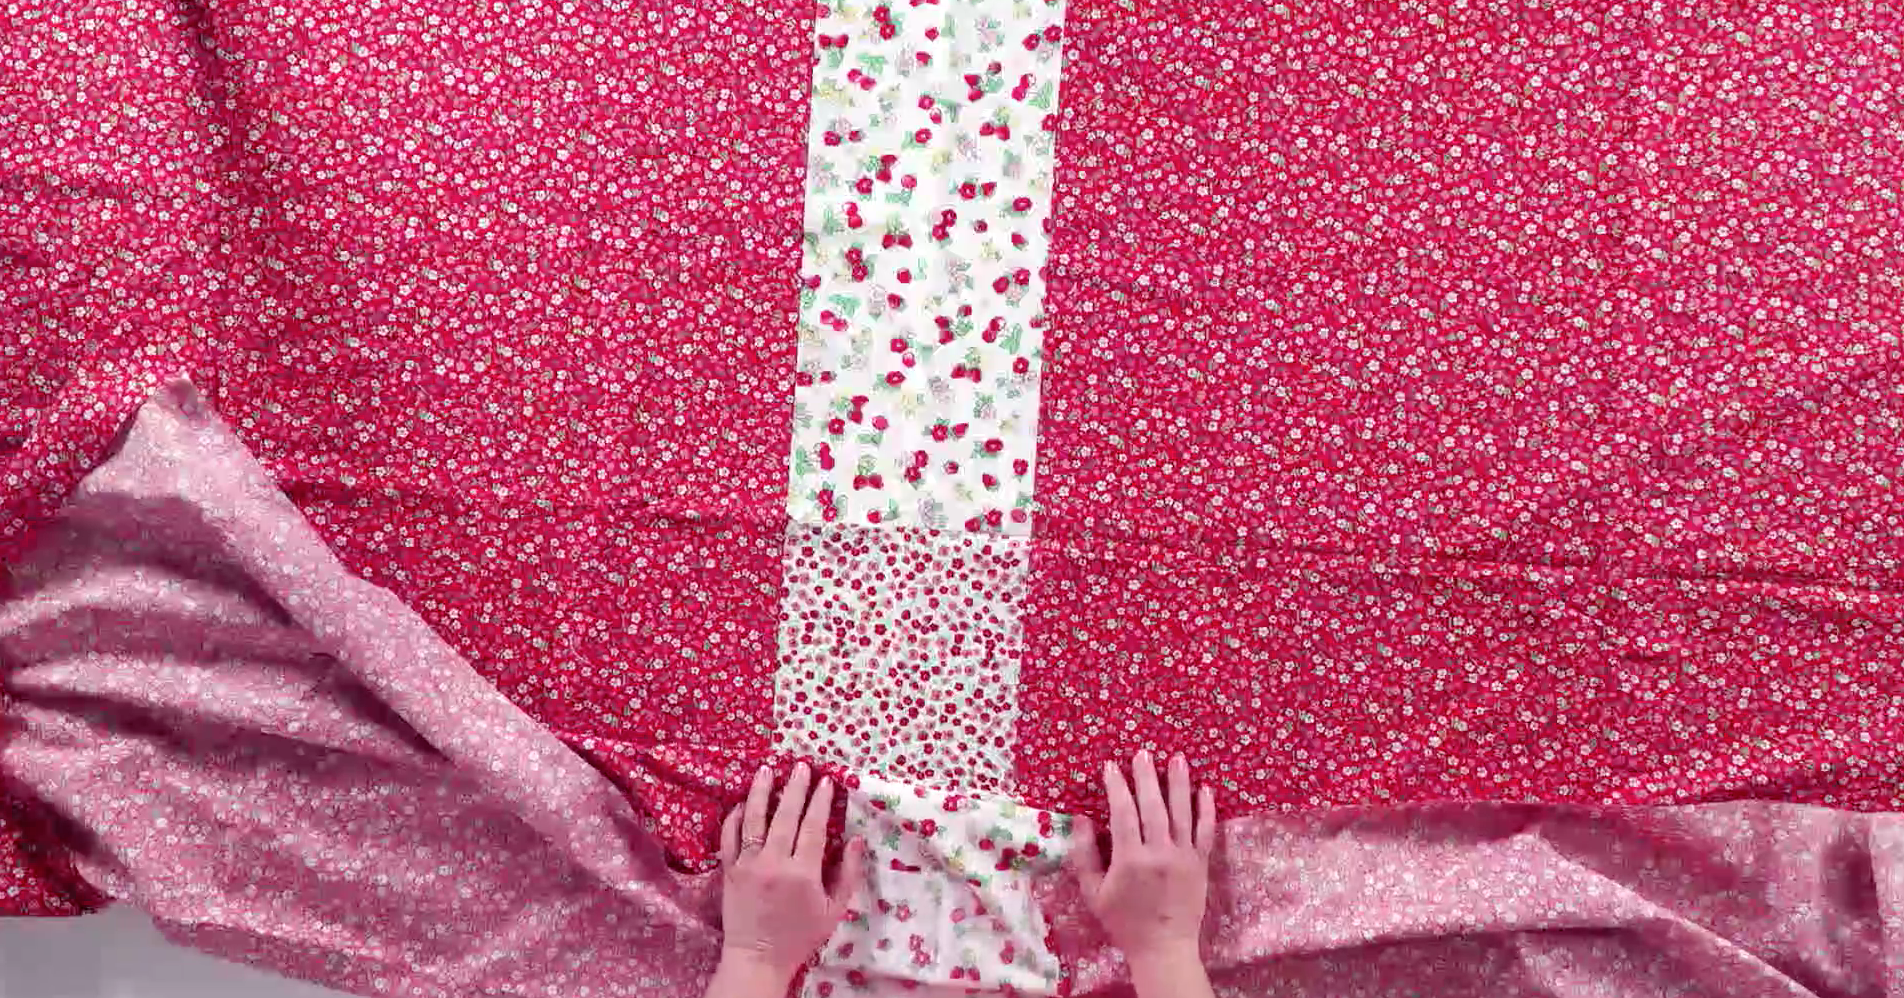
When you need your backing fabric to be just a tiny bit wider, consider adding a simple strip piece. It extends the fabric while adding a little pop to a piece that could easily be plain.
Get a step-by-step tutorial for building this backing in our class Startup Library: Quilting.
3. Extra Blocks
A slightly fancier version of the pieced strip, this method uses leftover blocks from your quilt top to piece together a strip for the backing. It’s a fun way to make your quilt more cohesive.
Get a step-by-step tutorial for building this backing in our class Creative Quilt Backs.
4. Super Scrappy
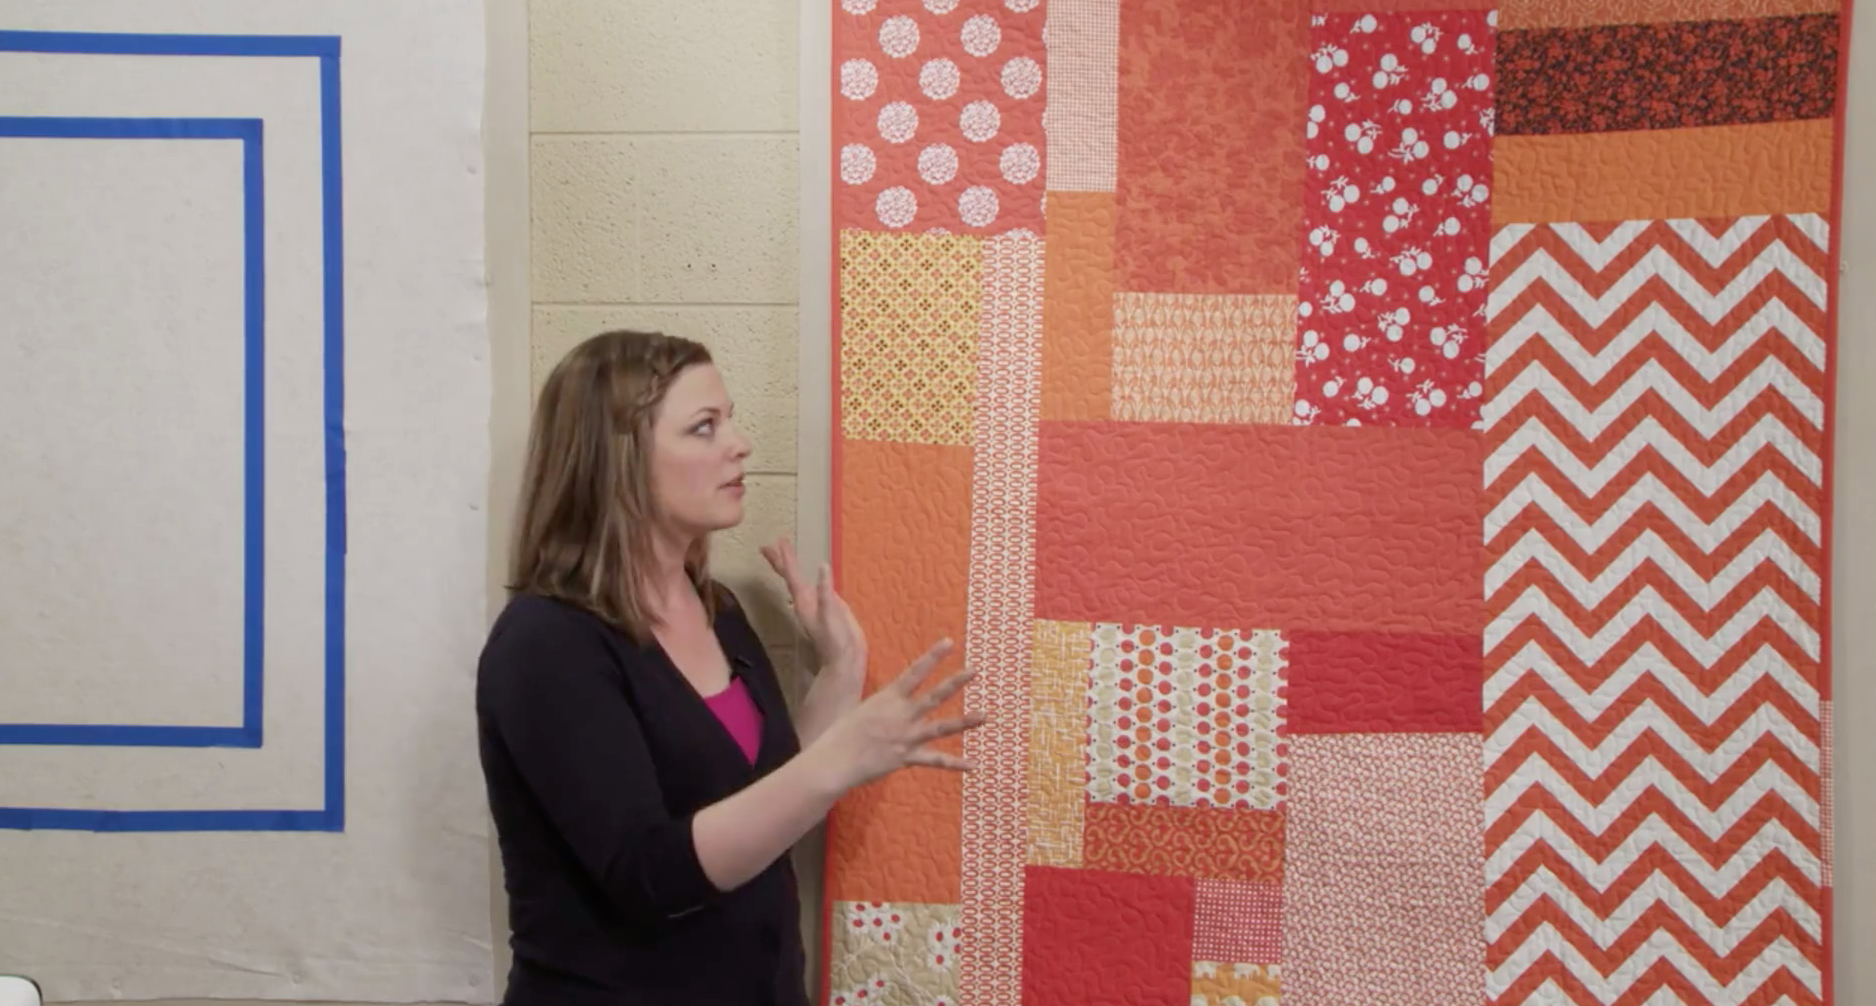
Got scraps? This method is a go-to way to bust ’em. By using scraps to piece a quilt backing, you get this improvisational look that’s kind of random but definitely eye-catching. It’s a no-waste way to carry your quilt top motif over to your backing.
Get a step-by-step tutorial for building this backing in our class Creative Quilt Backs.

I have a quilt 65inches x 75 inches. Do I go a horizontal seam by sewing 44x44 and the cutting at 65 across the two sewn pieces?
Thank you, this was very helpful! I am making a baby quilt got a bit carried away with the size. I usually make them so the back is just one seamless piece of flannel.
I am trying to sandwich my quilt. I am confused! If you're quilting on your domestic machine, should your backing be 4 or 6" larger than the top?
When using Minky (or cuddle fabric) for a back, do you piece them the same way as above? Any other tips for using Minky? Thanks
I just wondering if you will be offering materials like fabric, notion etc. or you will just offering classes. I've been a customer for so long and one reason why I love to shop at craftsy because of their pattern, fabric and quilt kit. When you attend the class, it will be nice to have an option of getting your fabric. I love the fabric they offered. For the classes, I've been attending too but I still ;like the option of buying the fabric from craftsy because most of the fabric store even on-line, you tube, you can watch tutorial. Hopefully, you will offer materials too. Thank you
My personal opinion about using a sheet for the back of your quilt is DON'T! Even if the material is 100% cotton, the thread count and weave has a tendency to pull your quilting stitches thru from the front of your quilt. I know that people use this technique but after you have put so much time and money into the top, DON'T ruin your hard work by using a sheet!