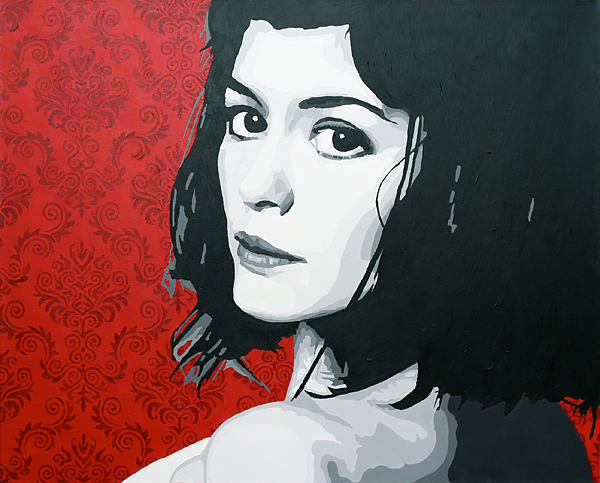
Once a painting is complete, there are many reasons to photograph it: Some artists paint on commission and want to keep a record of their work before delivering it to the client. Some artists keep a website of their portfolio and need a digital representation of a physical piece. Some artists make reproductions of a painting to generate additional sales.
Whatever the case, it is nice to know some of the basics of how to photograph paintings — whether you’re a painter taking your own photos, an artist hiring a photographer to document your work or a professional photographer. Of course, the methods differ based on the medium, but these tips should get you started.

The gear
There are three things you absolutely need: a digital camera, telephoto lens and a tripod.
The quality of your camera will determine how large of a file and how much detail you can capture. A sturdy tripod will make sure your photos are level and as clear as possible — though there are other ways to stabilize your camera if a tripod isn’t accessible.
The quality of the lens will determine how accurately you can capture the color as well as clarity and sharpness. Wide lenses have more distortion than telephoto lenses, which becomes more evident while photographing square or rectangular pieces. The focal length of the lens will depend on the size of the painting. You’ll want a lens that’s ideally longer than 50mm, but for a medium size painting (about 18×24 inch), I would shoot with a 100mm lens. For a mural size, it may not be realistic to shoot with a 100mm lens, so you would have to adapt.
Light
Lighting will depend upon your budget and how important an exact representation is. But just because you’re on a tight budget doesn’t mean you can’t get the lighting right. It is possible to achieve acceptable results outside on a cloudy day, for example.
For more control and better results, you can use photography strobes or speedlights — even if you’re on a lighting budget. The key (in most cases) is to make the light as soft as possible. This means using softboxes or umbrellas to spread the light out.
Positioning in the room will affect the photo, too. If the walls of your room are positioned a few feet from the edge of your painting, you could also bounce the lights off the wall or ceiling. Position the lights on either side of the painting, at greater than a 45-degree angle from the camera. You want to make sure most of the light hits the painting at a small angle to eliminate reflections and hotspots back to the camera and to bring out some texture in the paint.
Color temperature
Be aware of the color temperature in your shooting environment. If you choose to photograph outside, mid-day, the temperature will be pretty even and your paints will look accurate. If you shoot late into the afternoon or evening, the lighting goes from very warm to very cool and could alter your color accuracy. If you photograph indoors, be sure not to mix light sources — if some of your light is natural light, some is from strobes and some is from household lightbulbs, you’ll end up with an odd mix of color temperatures.
Focus
Autufocus can do a very good job, especially for those who are artists (not photographers) by trad — but autofocus is not foolproof. For paintings, I prefer to use the live view mode on my camera, zoomed in to see the detail, and to manually focus. This helps ensure that the focus is exactly how I want it.
Settings
Getting the settings right for photographing paintings is fairly easy. First, make sure you ISO is set as low as possible low—100 or 160. This keeps your files clean and free from digital noise.
Next, set your aperture somewhere toward the middle of your available range — usually somewhere around f/8. Every lens has a sweet spot where the image is the sharpest from edge to edge, and that sweet spot is typically somewhere in the middle. It may take some testing to find this spot.
Shutter speed won’t be important because you are (or should be) using a tripod for stability and your subject is still.
Post-production
If you shoot RAW images, you can easily take your image into Lightroom or Photoshop and color correct it to accurately reflect the colors on the canvas or paper.
You can also correct for any distortion in your lens. In Lightroom, there are built-in corrections for most popular lenses — it’s as simple as checking a box. Distortion and vignetting go away instantly.
For very large projects, Lightroom and Photoshop both have functions for stitching together multiple images. You can take several photographs of your murals and other large projects and stitch them together to create one very large file that shows your entire work of art.

Share tips, start a discussion or ask one of our experts or other students a question.
No Responses to “Capturing Art on Camera: Photographing Paintings Made Easy”