White chocolate is a fantastic member of the dessert community. It’s a delicious and sweet addition to a beautifully decorated cake, fabulous as a filling, and great as a doughnut glaze or cake pop coating.
Melting white chocolate isn’t quite so easy.
Have you ever melted white chocolate only to end up with a scorched, lumpy mess which had to be thrown out? This is a common baking setback, but one that can easily be overcome with the proper know-how.
White chocolate is, in fact, trickier to melt than its dark chocolate counterparts. That’s because its composition is different from that of regular chocolate. White chocolate is made with a blend of sugar, cocoa butter, milk products, vanilla, and a fatty substance called lecithin. Technically, white chocolate is not a chocolate, because it doesn’t have the key ingredient: chocolate solids.
What makes melting white chocolate difficult is its low burn point. White chocolate has a burn point of 110 degrees, as opposed to its darker chocolate counterparts, which hover more around 115 degrees. Those few degrees can really mean the difference between smooth, melty chocolate and a scorched, solid mess. Unfortunately, it is not likely that you’ll be able to salvage white chocolate once it scorches, so it’s important to get the method right the first time.
We’ll cover the basics so that you can melt white chocolate easily.
Don’t fret: it’s really not that hard, and once you’ve mastered these simple skills, everyone will want to stop the world and melt white chocolate with you.
Regarding the equipment
Using a double boiler really is the most effective way to melt white chocolate evenly and reliably. However, a microwave will work, too.
If you’re not familiar with a double boiler, it is a special set of pan made up of two parts: the bottom part is a saucepan that holds hot water, and a bowl that fits securely over the saucepan. White chocolate is placed in the top bowl and allowed to melt over indirect heat.
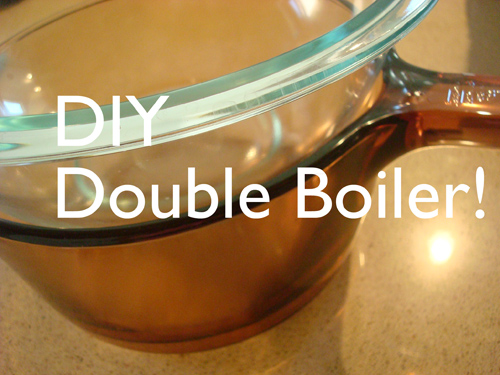
Don’t have a double boiler? Don’t panic. You can create one quite easily using common household items: a saucepan and a medium bowl. Choose a small or medium saucepan and a shallow bowl that fits over the top of the saucepan, so that the bowl can fit in the saucepan but the top of the bowl will keep it from falling in. Fill the saucepan with a small amount of water, so that it does not touch the bottom of the bowl when it is placed on top. Basically, what you are doing here is ensuring that the boiling water will warm the bowl, but you want a buffer to keep it from getting too hot too fast and scorching the white chocolate after you did all this setup work.
More tips for melting success
Avoid liquid. Don’t allow any liquid to get into the white chocolate as it melts. Once the mixture is warm, any added liquid will make the white chocolate seize and become lumpy. So take these steps:
- Add any flavoring, shortening or butter, or color extracts before melting, as this will allow them to heat at the same rate as the white chocolate and won’t cause it to seize later on.
- Use a clean, dry spoon for mixing (metal or silicone work best as they are less prone to store moisture than a wooden spoon). Or, use a spoon-shaped rubber spatula.
- Don’t lift the top of the double boiler during the melting process, because escaping steam can turn into moisture that makes the white chocolate lumpy.
- Don’t cover the top of a double boiler while heating, because this can create steam, too.
It’s true that once white chocolate scorches, chances of revival are not great. But if you have some lumps or bumps but the white chocolate is otherwise still usable, you may be able to salvage it to a certain degree.
Add an unflavored oil (such as canola), shortening or butter, milk, or cream which has been warmed to the same temperature as the white chocolate before adding, or you may worsen the lumpiness. Add 1 tablespoon at a time, and stir constantly until the chocolate returns to a smooth state. Usually just a few tablespoons will be sufficient.
Of course, this “revived” white chocolate is still probably not going to have a perfect texture or smooth finish, and is probably best suited to fillings or as a component rather than a decorative ingredient (candy coating or toppings).
Are you ready to get melting?
Step 1:
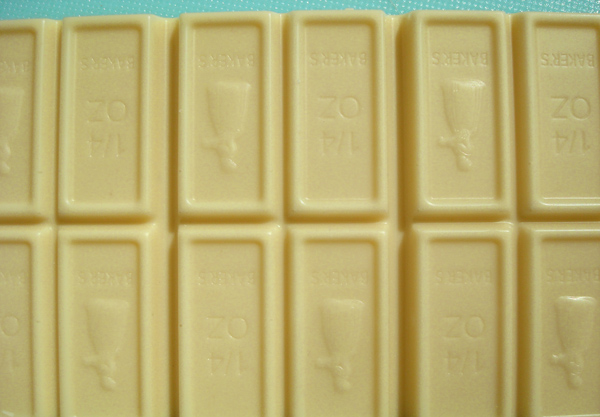
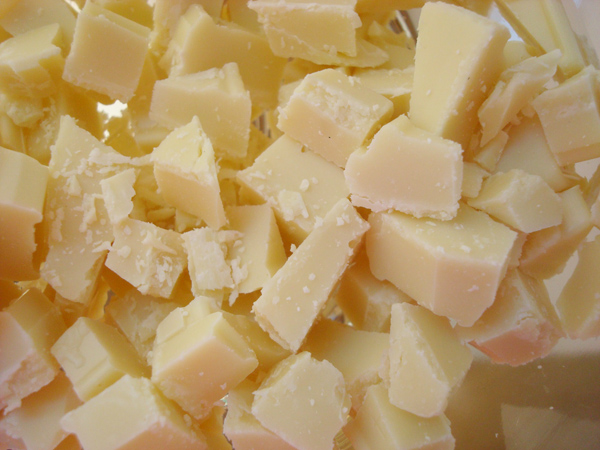
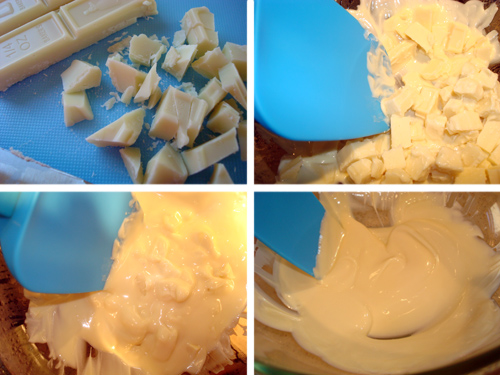
If you are using white chocolate from a bar or from bulk pieces, you will need to cut it into smaller pieces. Use a sharp kitchen knife to cut the white chocolate into small pieces, roughly 1/4 inch each. If you are using white chocolate chips, this step is not necessary. Place the white chocolate (and whatever other extracts or flavorings you’ll be using) in the top of your double boiler or into your bowl.
Step 2:
Now, we’re going to get the bottom half of your double boiler heated. Fill the bottom half of a double boiler with about 1 inch of water. Or, fill your pan with enough water so that it is below the level where the bottom of the bowl will fit. Heat the water on medium high heat until it begins to come to a light boil.
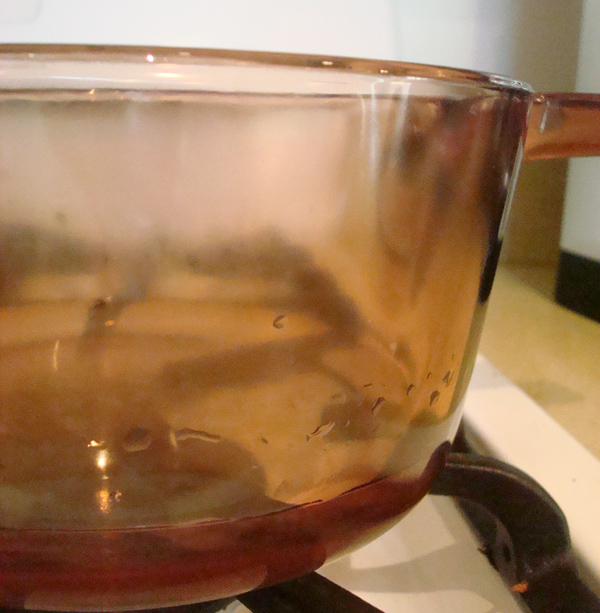
Step 3:
Reduce the heat to low. Now, place the top of the double boiler or bowl with the white chocolate sits atop the boiling water. Stir the white chocolate gently but continuously. It will begin to melt. Continue stirring until it is mostly melted, but a few bumps still remain. You can remove the top of the double boiler now. Be careful when removing it, as any escaping steam can add moisture which can cause the white chocolate to seize.
Step 4:
Transfer the bowl or top of the double boiler to a heat-safe surface where you can continue gently stirring. The few remaining unmelted bits should melt in the residual heat.
Melting in the microwave:
You can also melt white chocolate in the microwave. Cut the white chocolate as specified in Step 1 above, but place it in a microwave safe bowl.
Step 1:
Adjust your microwave to 50 percent strength. You don’t want to melt white chocolate on high, because it may make it burn.
Step 2:
Heat the white chocolate for 30 seconds, and then take it out of the microwave and give it a stir. Depending on your microwave, you may see very little result.
Step 3:
Continue heating in 30 second intervals on medium heat, stirring as needed. Once the pieces are mostly melted, remove from the microwave and let the remaining bits melt in the residual heat.
Now, your melted white chocolate is ready to use. You can dip cookies or fruit in it, use it for cake decorating, or add a decadent swirl to bread pudding or French toast.
Thank you. Finally a success melting white chocolate over a double boiler. Easy