Half-square triangle and quarter-square triangle quilt blocks are two basic quilt blocks that not only create beautiful quilt designs when used alone but also stand as the foundation pieces when quilting many other popular blocks. Read on to learn precise methods for perfect piecing of these two basic blocks.
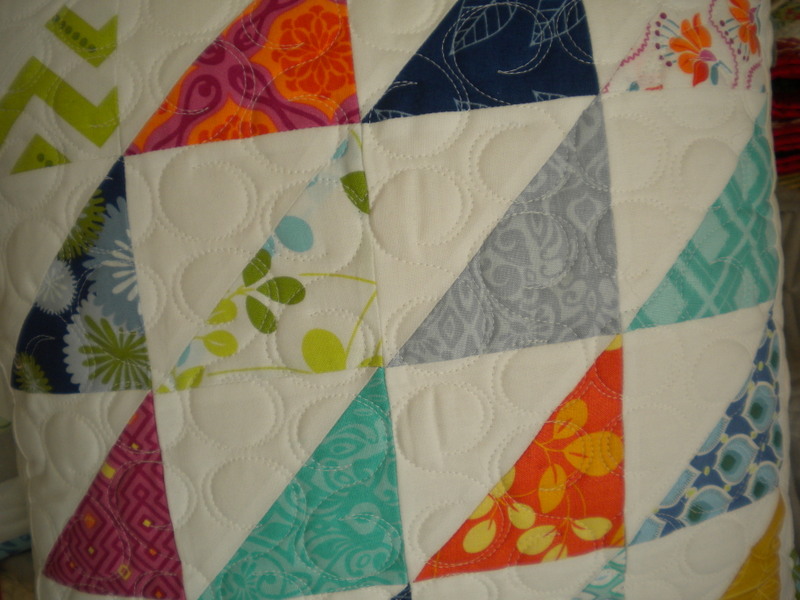 Photos via A Quilting Life
Half-square triangle quilt blocks
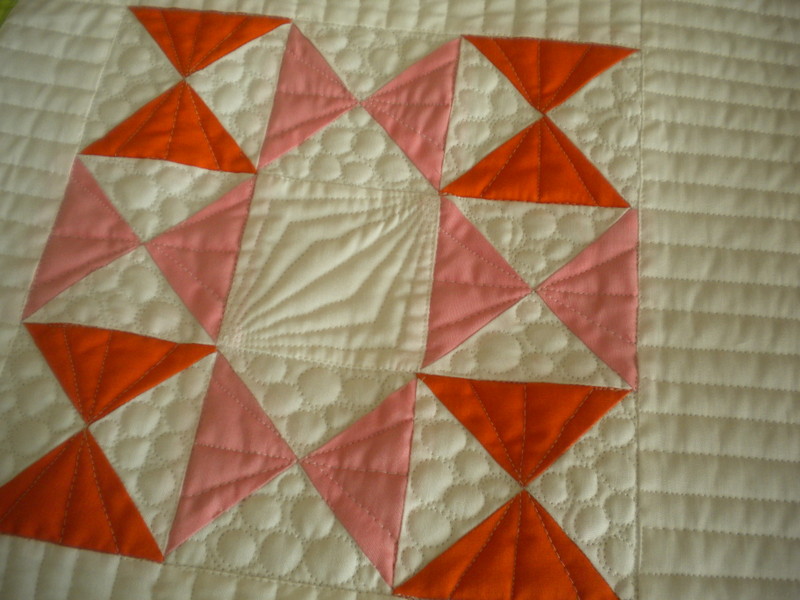
Half-square triangle quilt blocks are a standard in many quilts. Combine these blocks with other blocks or make an entire quilt using half-square triangle blocks. This traditional block can be made in any size but is also a foundation segment for many other quilt blocks. Using light and dark fabrics in the same block allows for a variety of setting options, which can create a variety of effects. Half-square triangle quilt blocks can also be created using many fabrics of similar value, creating a traditional scrap quilt.
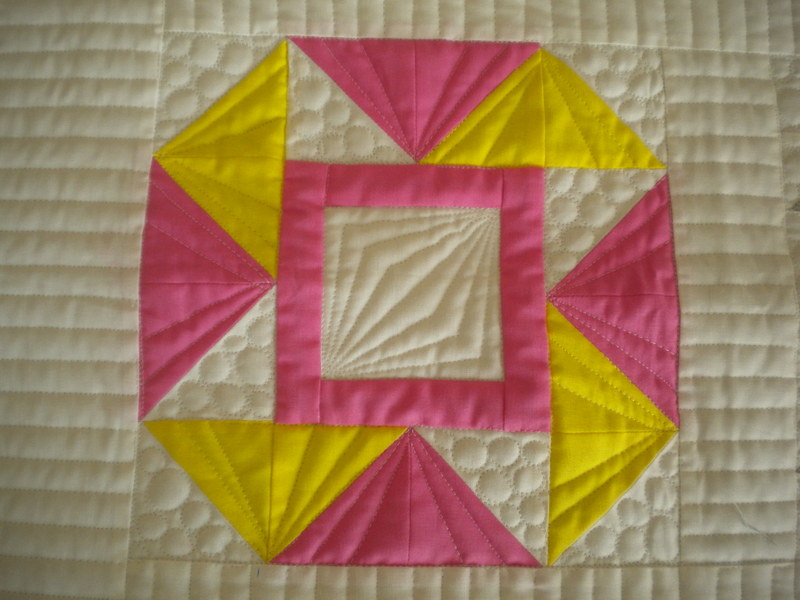
How to piece a half-square triangle quilt block
The easiest way to create half-square triangle quilt blocks is to work with squares. By using square pieces of fabric to create your block you will not have as many delicate bias edges to handle as you would if you were creating this block from triangles.
Step 1:
Begin with two squares 1” larger than your desired finished half-square triangle block. For example, if you are creating 2” finished half-square triangle blocks, you will use 3” squares of fabric to create your blocks. This method creates two identical half-square triangle blocks using two different fabric squares.
Step 2:
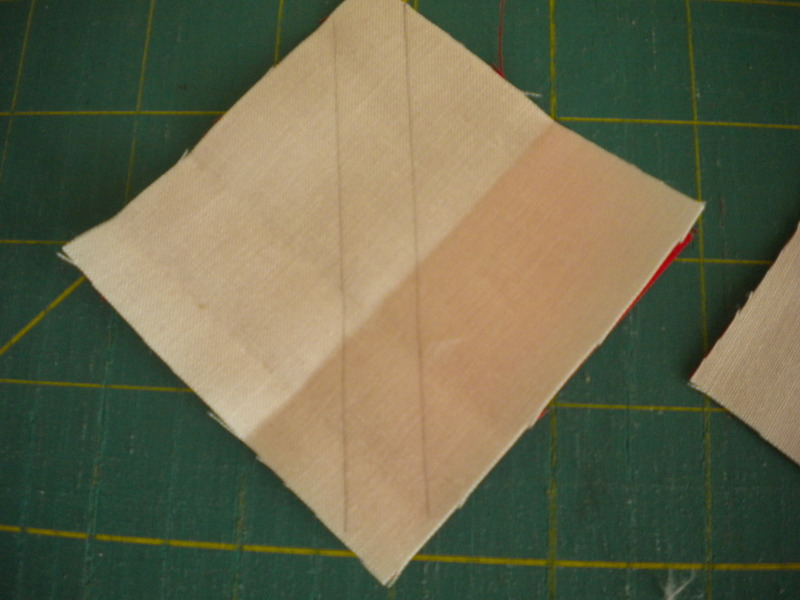
Place two fabric squares right sides together. It often helps to press the fabrics together with an iron so they “adhere” and are easy to work with. Draw a line across the diagonal on the wrong side of one of the squares using a mechanical pencil.
Step 3:
Sew a scant ¼” seam on either side of your drawn line. In the photo above, the sewing lines are represented by the two pencil lines.
Step 4:
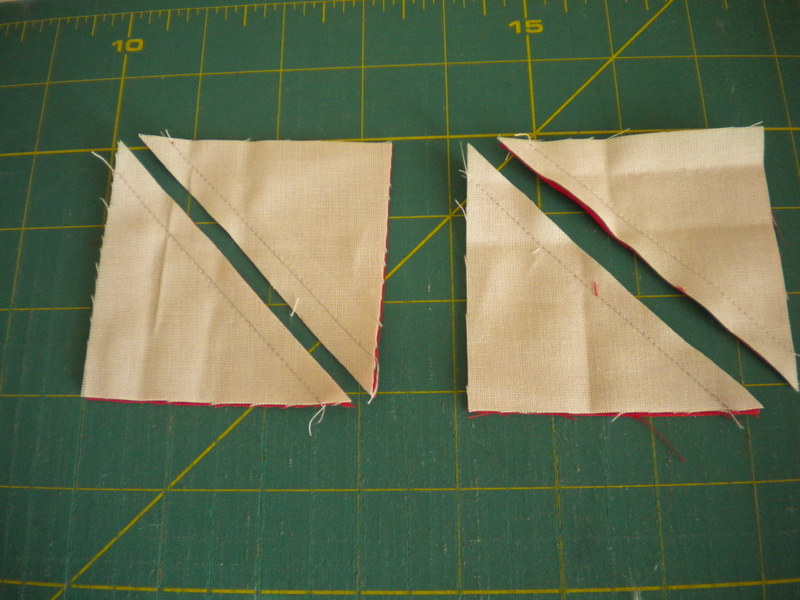
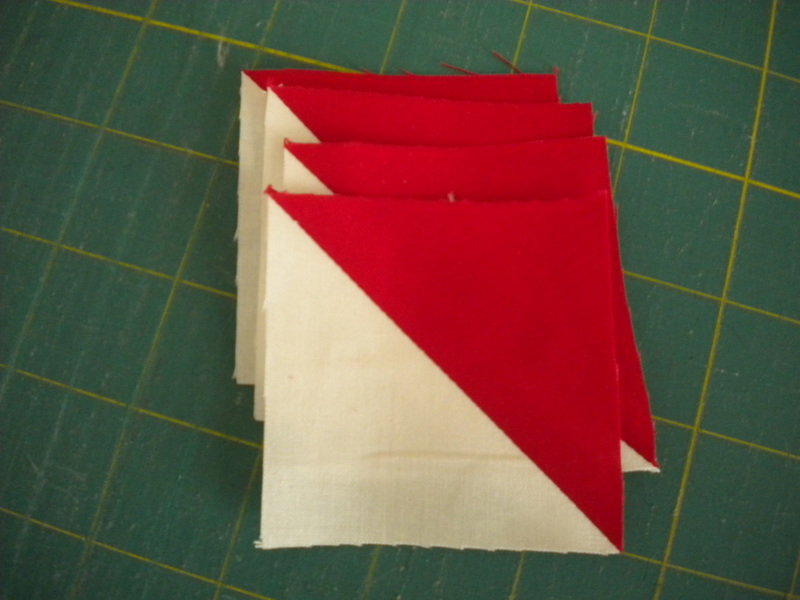
Cut apart on the drawn line. This creates two half-square triangle blocks, each made up of a triangle of each of the two fabrics.
Step 5:
Press your seam open. While some quilters prefer to always press toward the darker fabric, pressing your seam open actually makes it easier to later sew the blocks together into a quilt. There will be less bulk in your seam allowances, and your finished quilt top will be more flat.
Step 6:
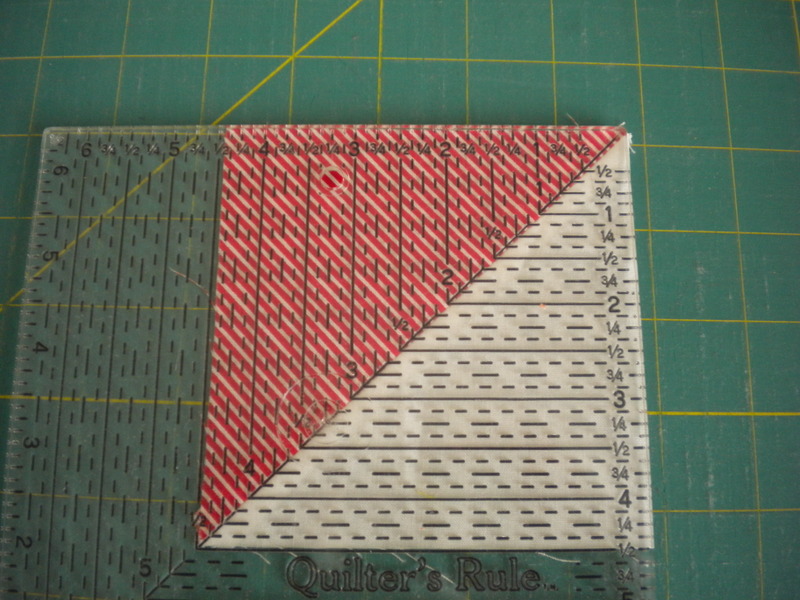
The final step in creating your block is to square it up to make sure your block is the exact desired size.
Using a square ruler with a diagonal line across, line up the diagonal line with your seam. Be sure your block measures the desired size, trimming top or side edges as necessary.
Quarter-square triangle quilt blocks
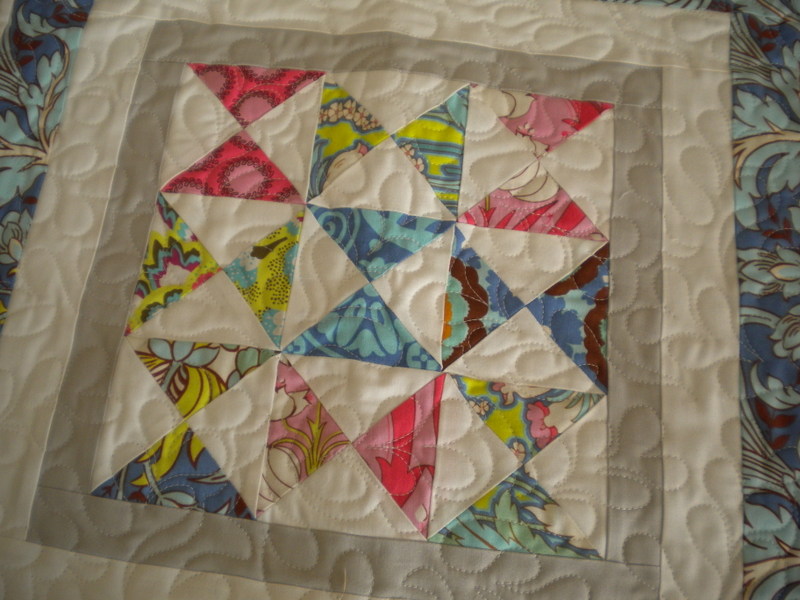
Quarter-square triangle quilt blocks are a traditional square quilt block made up of four equal triangles. The block can be made up of any desired combination of fabrics -- two pairs of two fabrics, four different fabrics, or any other combination of one to four fabrics. By varying the placement of these blocks, a variety of secondary designs and patterns can be created in quilts. As with the half-square triangle blocks, fabrics of similar value may also be used to create charm style or scrap quilts with these blocks.
How to piece a quarter-square triangle quilt block
As with half-square triangle blocks, the easiest and most accurate way to piece a quarter-square triangle block is to use fabric squares to eliminate working with bias edges. In fact, the easiest way to make quarter-square triangle blocks is to begin by making half-square triangle blocks.
The formula is a bit different -- since quarter-square triangle blocks have additional seams, you will need bigger pieces to create your blocks. Use squares that are 1” larger than the unfinished size of the block you are making. For example, if you are making blocks that measure 2 ½” unfinished, you will use 3 ½” squares of fabric to create your blocks.
This method will make two quarter square triangle quilt block with two different fabrics, each fabric repeated twice in the block.
Step 1:
First follow the directions above for creating a half-square triangle block to create two half-square triangle units.
Step 2:
Press the seams to the darker fabric in both units, but don’t trim the blocks.
Step 3:
place the two half-square triangle blocks right sides together so that the diagonal seams “interlock” or “nest.”
Step 4:
Draw a diagonal line on the wrong side of one of the blocks just as you did when creating the half-square triangle blocks. This diagonal line should be perpendicular to the diagonal seam of the block.
Step 5:
Sew the two half-square triangle blocks together taking a scant ¼” seam on either side of your drawn line.
Step 6:
Cut apart on the drawn line and press open. This method creates two quarter-square triangle blocks.
Step 7:
Trim to size following the directions for trimming half-square triangle blocks.
Now that you know how to create half-square triangle and quarter-square triangle blocks using a simple and accurate method, a world of possibilities is open to you!
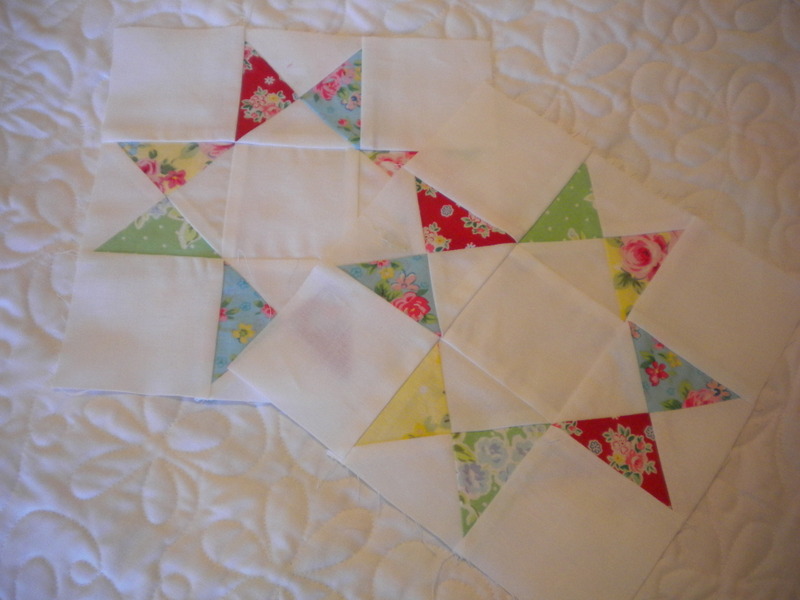
Now that you know how to make half-square and quarter-square triangles, be sure to come back to the Craftsy blog tomorrow! We'll be sharing some fun half-square triangle quilt patterns to try. And Wednesday, we'll take a look at some fabulous quarter-square triangle patterns!

Share tips, start a discussion or ask other students a question. If you have a question for an expert, please click here.
Already a member?
No Responses to “How to Make Half-Square and Quarter-Square Triangle Quilt Blocks”