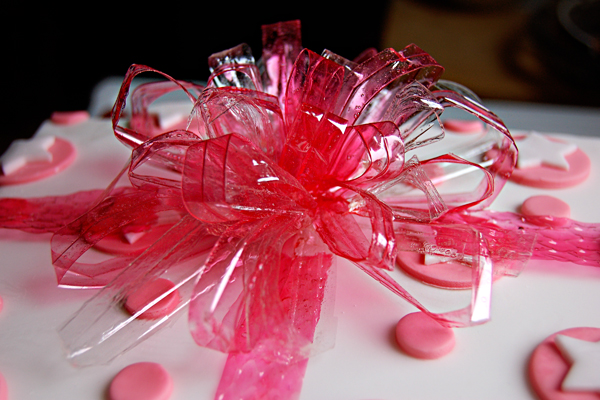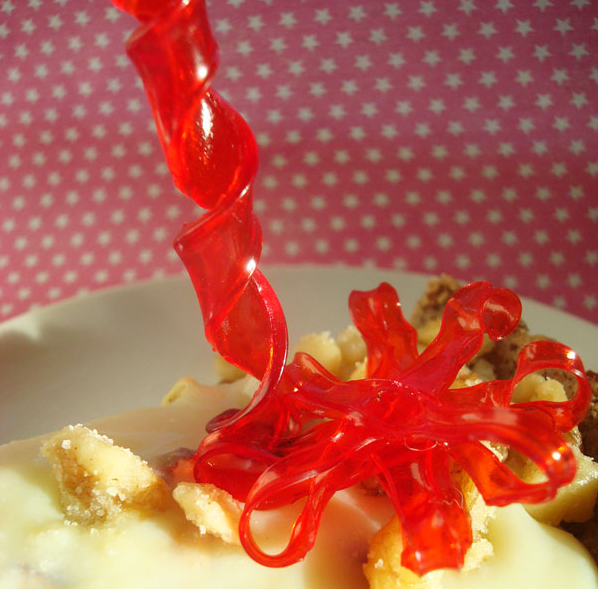
If you're into creative cake decorating, meet your next make: gelatin plastic. Once hardened and dry, gelatin plastic maintains a beautiful shape and translucent consistency, which mimics rock candy or even stained glass. It's a simple way to create an avant-garde look to your sweets, especially if you twist it into spirals or a bow.
One thing to keep in mind before you start mixing your ingredients together: gelatin plastic is primarily considered a garnish. Will a bite be harmful? No. Nothing in gelatin plastic is toxic, so it's completely safe for consumption. But gelatin plastic has the consistency of, well, plastic. So while you can eat it, it's best to remove the garnish before you eat, just as you would birthday candles.
Gelatin Plastic
Level: Easy
What You Need
Instructions
1. Whisk and Heat
Combine the gelatin, water and food coloring in a medium saucepan and whisk. Once combined (it's OK if it's still a little grainy), place the pan over medium-low heat for about 30 seconds, or until the gelatin has dissolved and the mixture begins to thicken. It may slightly bubble along the edges of the pan.
2. Pour
Pour the mixture into the top of the plastic lid. Spread it gently with the back of a spoon to ensure even coverage and discourage bubbles. (A few tiny bubbles are inevitable, but try to break up cloudy patches or bubble clusters.) Don't fuss with it too much, as the gelatin will begin to set quite rapidly.
3. Let It Cool
Let the gelatin cool on this surface for 20-30 minutes. The entire disc should come off of the plastic surface with no trouble at this point; you can test it by trying to lift an edge. It should come off like a resealable label, with slight tackiness but little resistance.
4. Shape

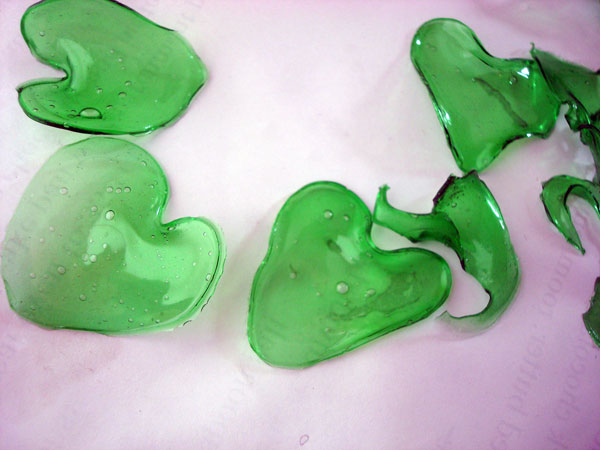
Use your cookie cutters to cut the gelatin into shapes of your choosing, or cut the gelatin into strips to form spirals or ribbons.
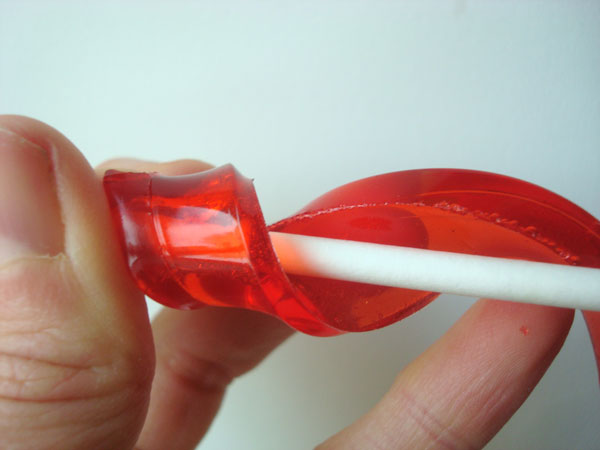
If making spirals, wrap the strip of gelatin gently around a rounded surface, such as a dowel, straw or lollipop stick. Or create a ribbon by forming a series of loops and holding them together at the center. For more advanced shapes, make sure you have a support structure to help keep it in place as it dries, as gelatin tends to warp as it hardens.
5. Let It Dry

Let the gelatin dry for at least 12 hours. (Thicker pieces may take longer.)
Pro Tip: If you let flat shapes dry on a baking sheet, be sure to rest a sheet of parchment paper on top to keep them from warping. If they do warp, however, remember they can make interesting decorating components!

Once your gelatin plastic is set, it's ready for decorating!
Good to Know: You want your gelatin to dry on a covered surface, be it on a work area or a parchment-lined baking sheet. Don't let the shapes harden directly on a counter surface, as it can be quite difficult to remove once it hardens. Don't use plastic wrap to cover the shapes either, as it can capture moisture and keep the shapes from drying properly.
Store your finished gelatin plastic in a single layer in airtight containers for up to one month. Avoid extremely hot, cold or humid conditions.

I can’t wait to try this. I am always looking for new things to accent my decorated cakes.
<strong>As a vegetarian I would not be using gelatin. Is there an alternative?
Can agar agar be used as a vegan replacement for gelatin?
A must try
Hos many sheets of gelatine in a envelope. Or gram to be absolutely correct. Would help a Scandinavian reader !
Very interesting, I will certainly try it.
Please send me updates
I will like to receive updates. Thank you.
Awesome help with ginger bread house