Your sock heel is pretty much the last thing in the world you think about — ever. Except when it’s time to knit a pair of socks. That’s when sock heels get their revenge. How? By being so freaking hard to knit, at least the first time (or second … or sixth time). When you’re learning how to knit a cuff-down sock, things usually go pretty smoothly, but the pattern can get crazy once you get to the heel.
Without the right instructions, it’s easy to end up with lots of ripping and frustration, and you might even be tempted to give up on the whole sock thing for a while. But don’t lose hope! Heels are totally doable, and we’re about to make them a LOT easier. Here, we’ll show you how to set up your double-pointed needles so you can knit a simple DIY sock heel, which also happens to be a lot sturdier than most socks you buy at the store.
Setting Up Your Needles
Some patterns are awesome about giving you the instructions you need to set up for the heel, while others just assume you know.
Keep in mind that it’s fine to work the cuff and leg in the round, with the stitches evenly divided between three or even four double-pointed needles — but you’ll need to do some rearranging once you reach the heel.
For this tutorial, we’re knitting the Very Vanilla Socks by KBJ Designs. This sock pattern is really basic, so it’s great for a first-time sock knitter or a knitter who just wants a quick knit without too much fuss.
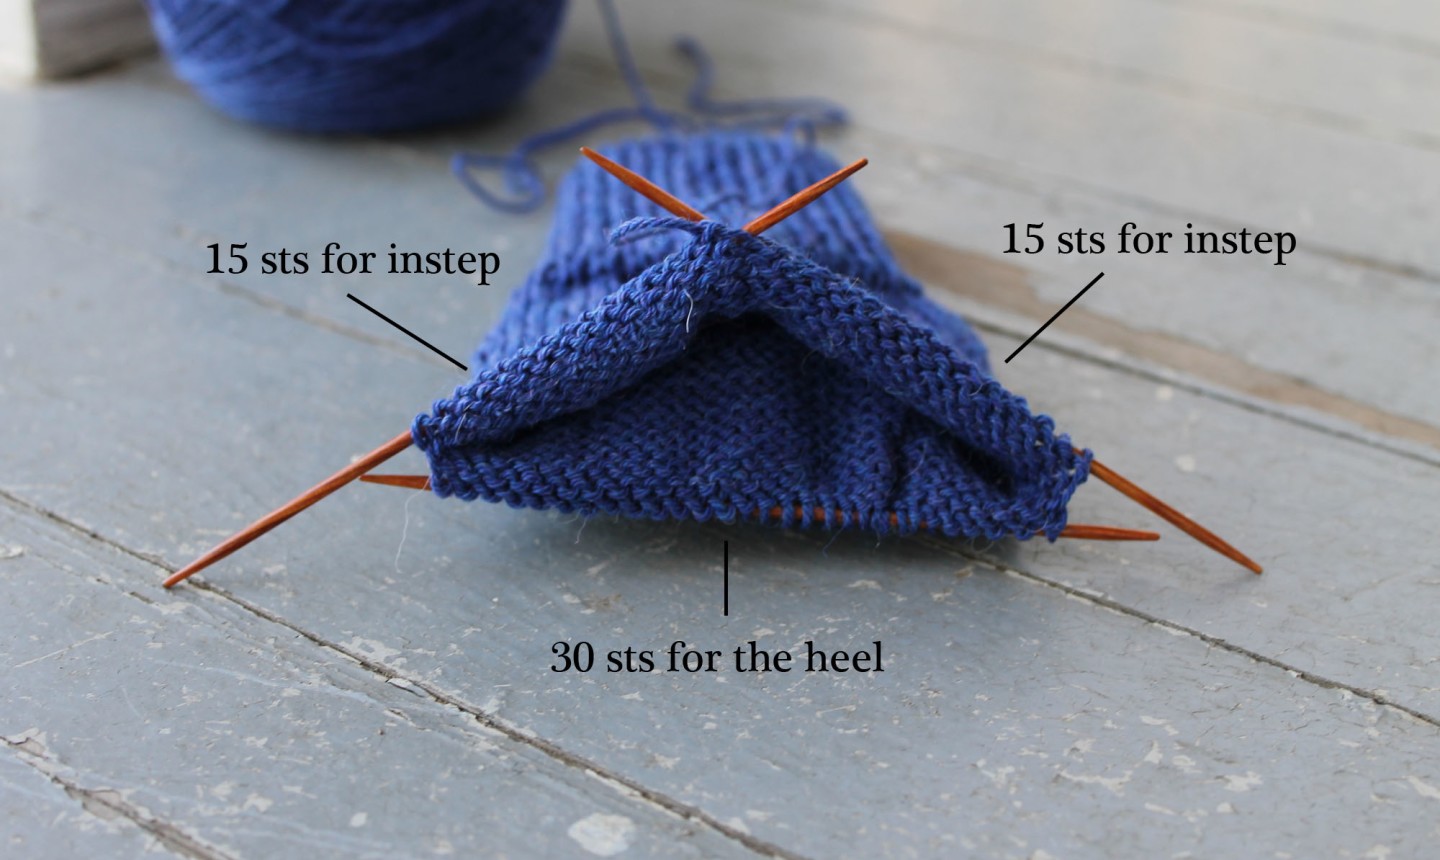
This particular pattern gives us the following instructions after we finish the leg and begin the heel: “The heel flap is worked back and forth on half of the sts. The remaining 30 sts will be worked later for the instep.”
You might want to put all your heel stitches on one double-pointed needle, then divide the instep stitches on the other two needles. When you rearrange them, they’ll look like this:
Knitting a Sturdy Heel
Now we’re ready to start knitting the heel. This won’t hurt a bit, promise! Plus, your new socks should last a while, so you won’t have to do this all the time — unless you want to, of course.
You know how the heel is usually the first thing to wear out in your store-bought socks? You can make your handmade sock heels way sturdier than that by slipping stitches. The Very Vanilla Sock has a heel like that, and here’s how it’s done:
Notice two things here: first, we’re now going to be turning and working in rows instead of rounds. We’ll only be working from the needle that holds the 30 heel stitches. And second, we’re going to be slipping every other stitch of that first row to create a strong, thick heel.
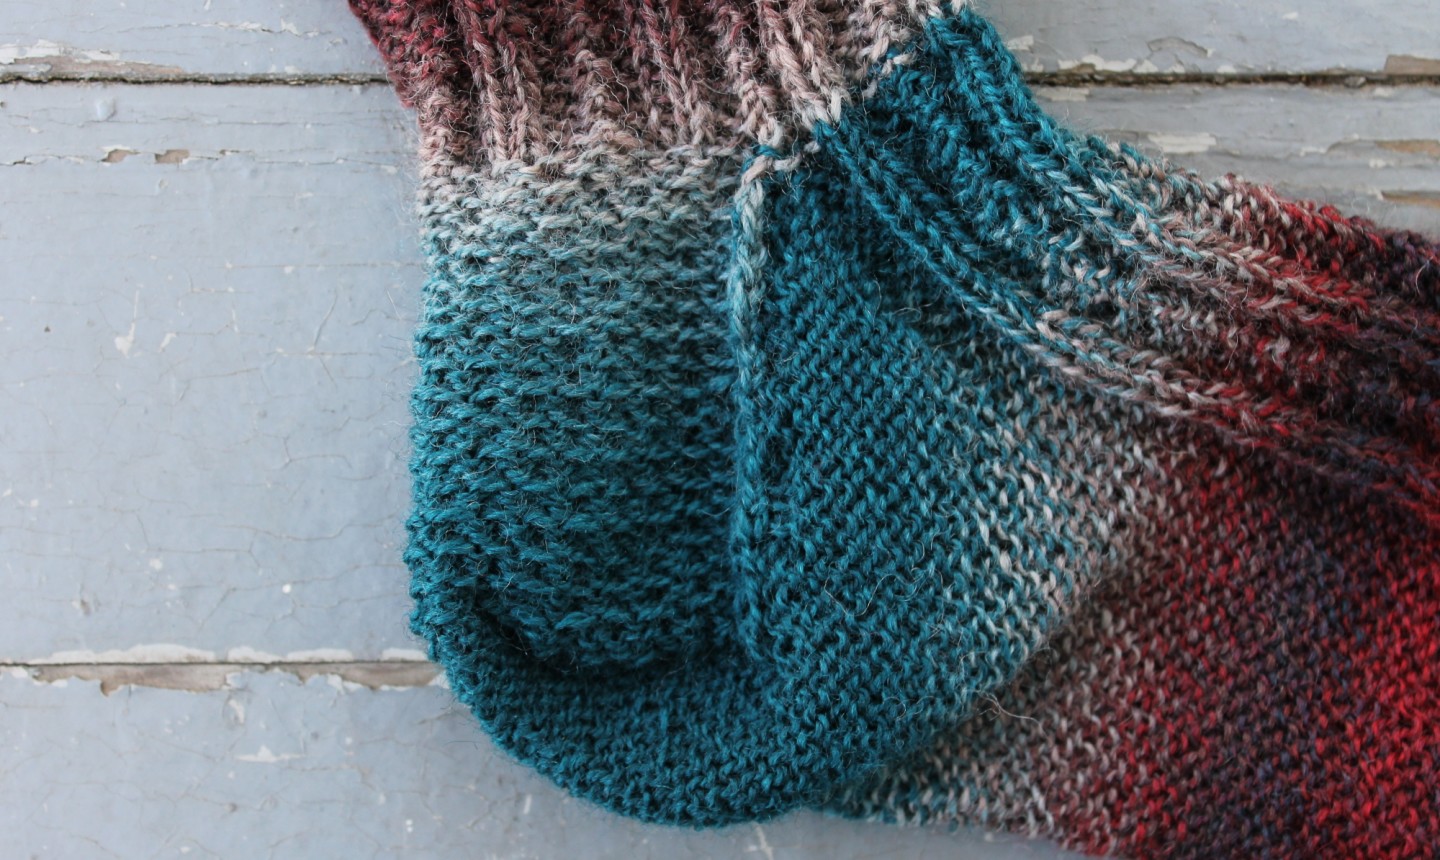
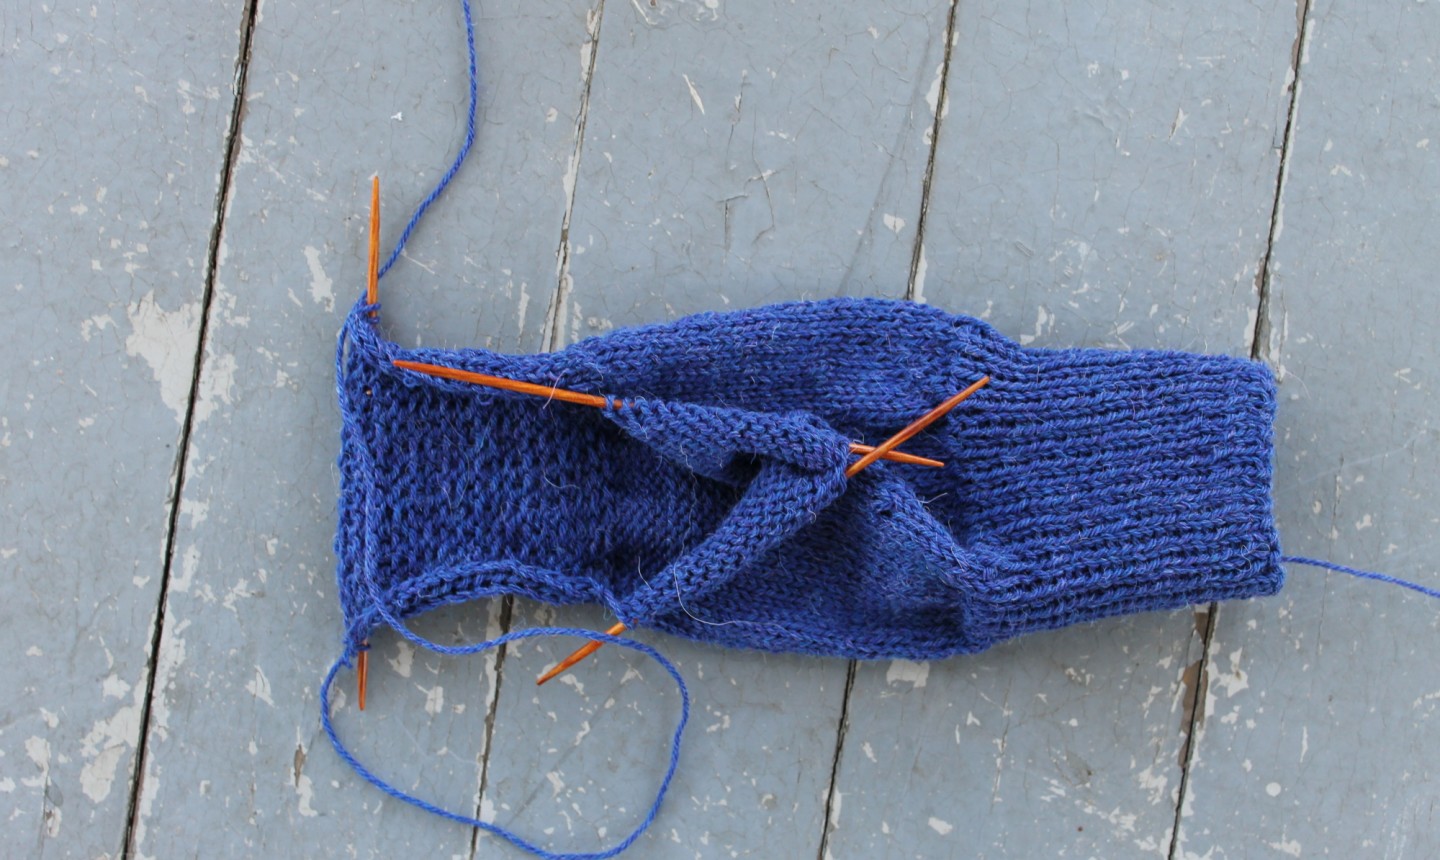
You’ll repeat these two rows to form the entire heel. Once you knit the heel, your needles will look a little odd. The heel will extend past the instep stitches. You’ll find that your in-the-round work looks a lot different:
And there’s the heel! If you keep following your pattern, you’ll probably turn the heel, then pick up stitches to shape the gusset before moving on to the foot.
You’re just about done. Get ready to put on your fabulous hand-knit pair and kick up your heels!
I became a premium. member, I am not finding a start to finish video to knit socks meant for total beginner.