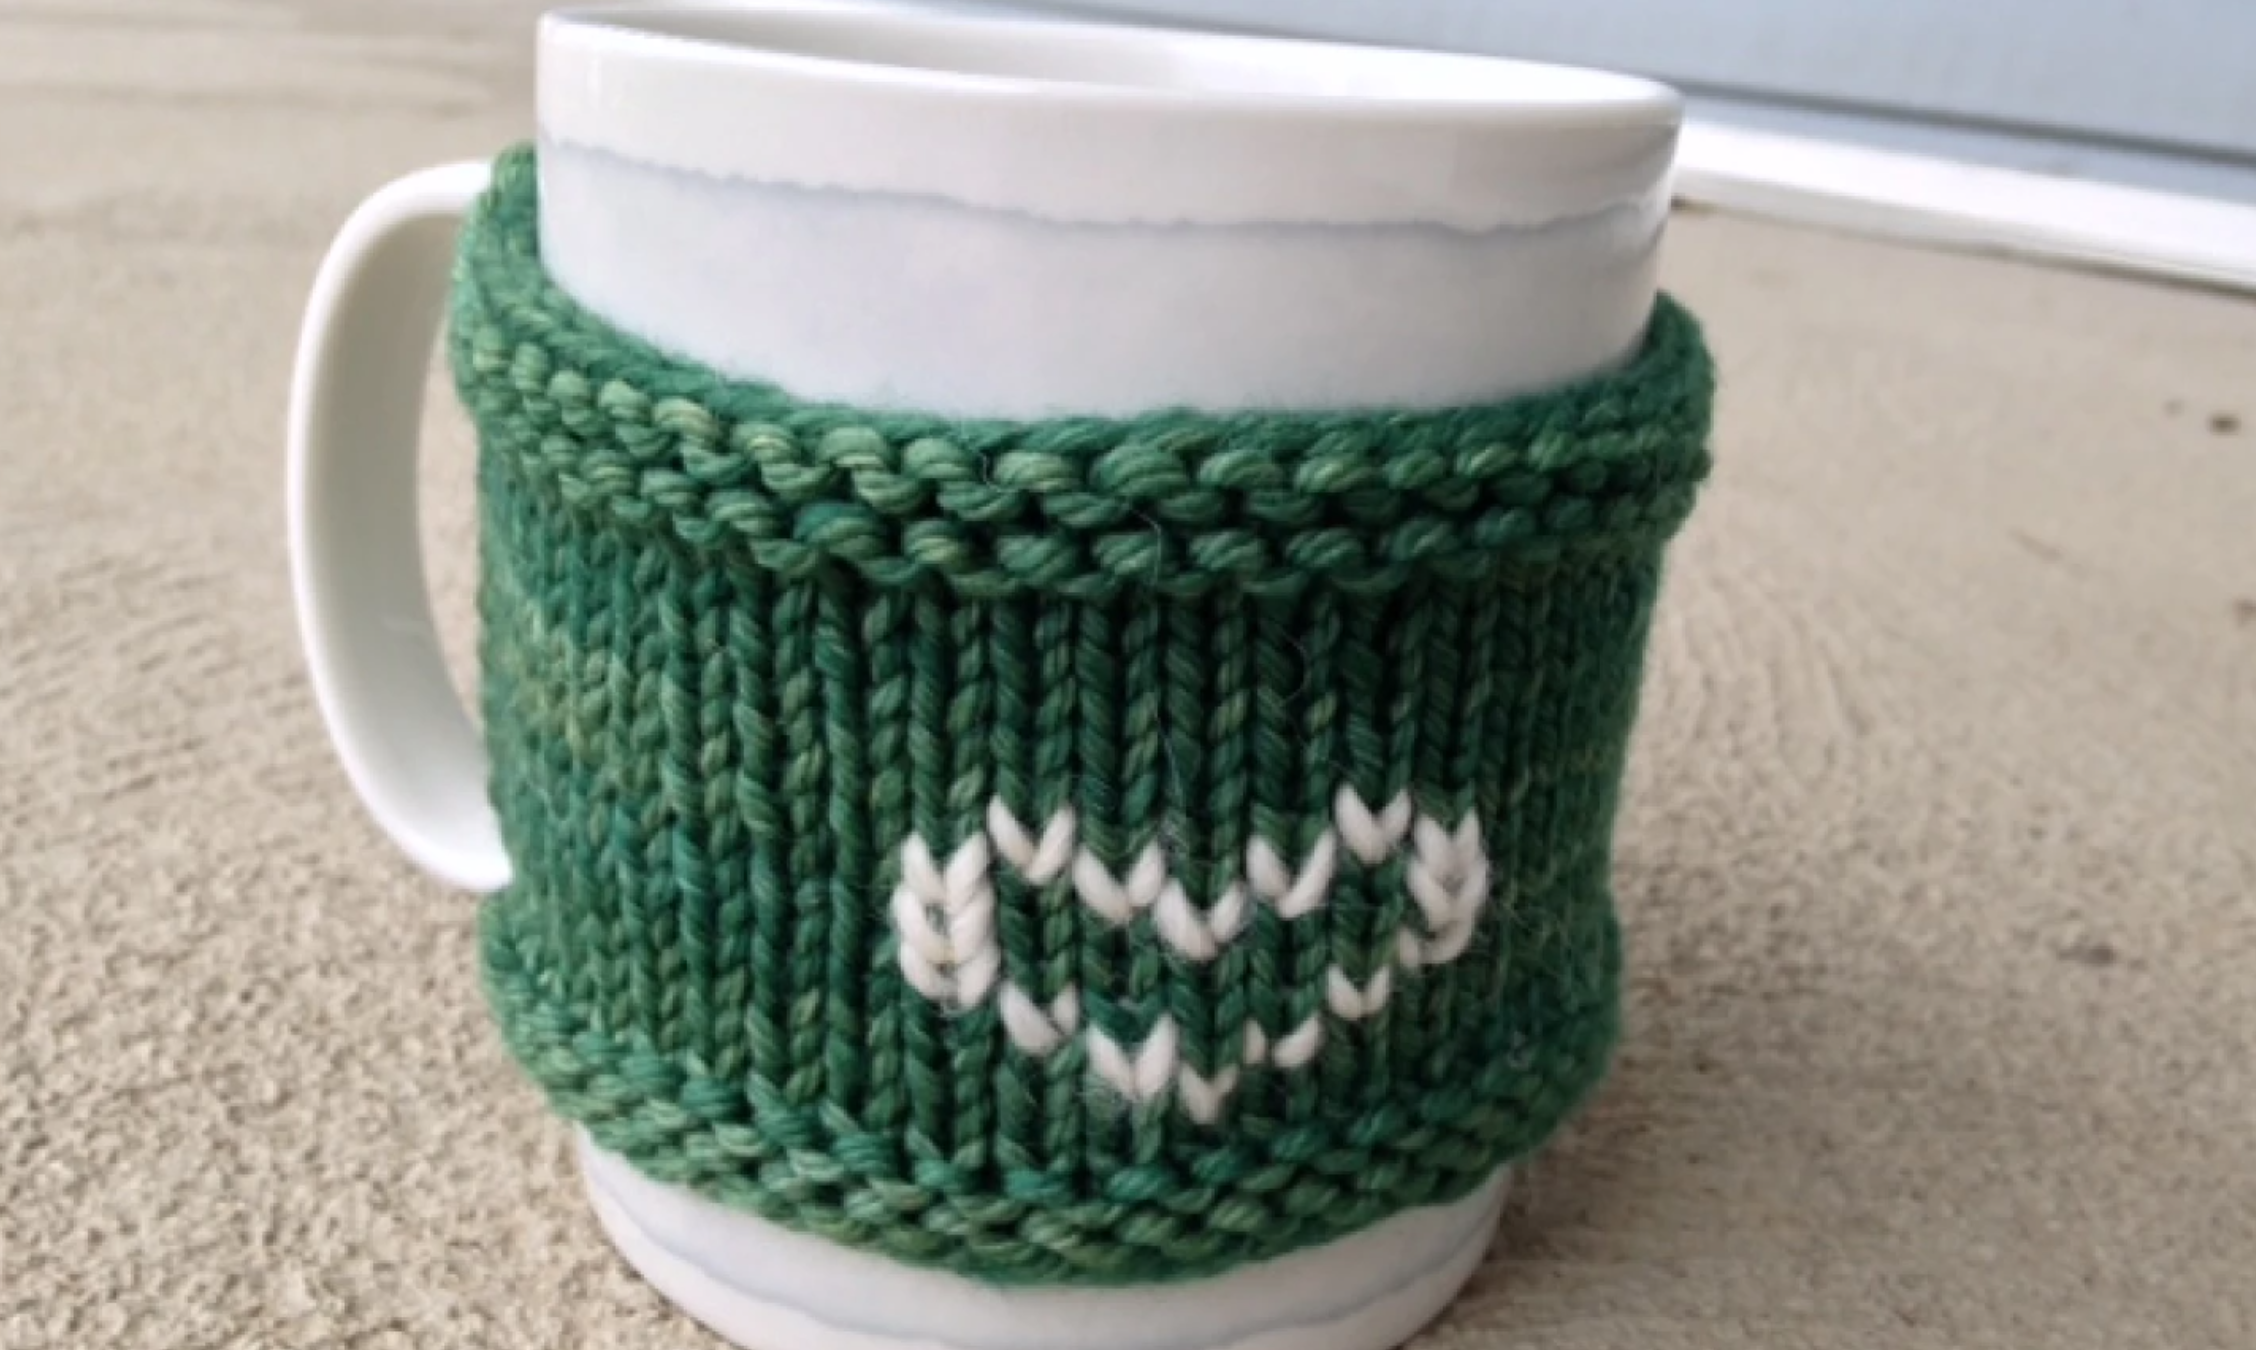
Mug cozies are a must-have for coffee lovers, and make great Valentine's Day gifts when embellished with a little knit heart. Work in the magic loop and you'll have a cute coat for your cup of cocoa in no time.
Knit Mug Cozy
Level: Easy
What You Need
Gauge
18 stitches x 28 rows = 4"
Finished Size
12" circumference
4¼" height
2½" handle height
Good to Know: The finished size is based on the mug you're making a cozy for; your measurements will likely need to be different. See below for tips on customizing this pattern to match your mug.
Abbreviations
Pro Tip: Choose a mug with straight sides and minimal curves, then measure your mug's circumference, height and handle height before starting.
Instructions
Begin the Cozy
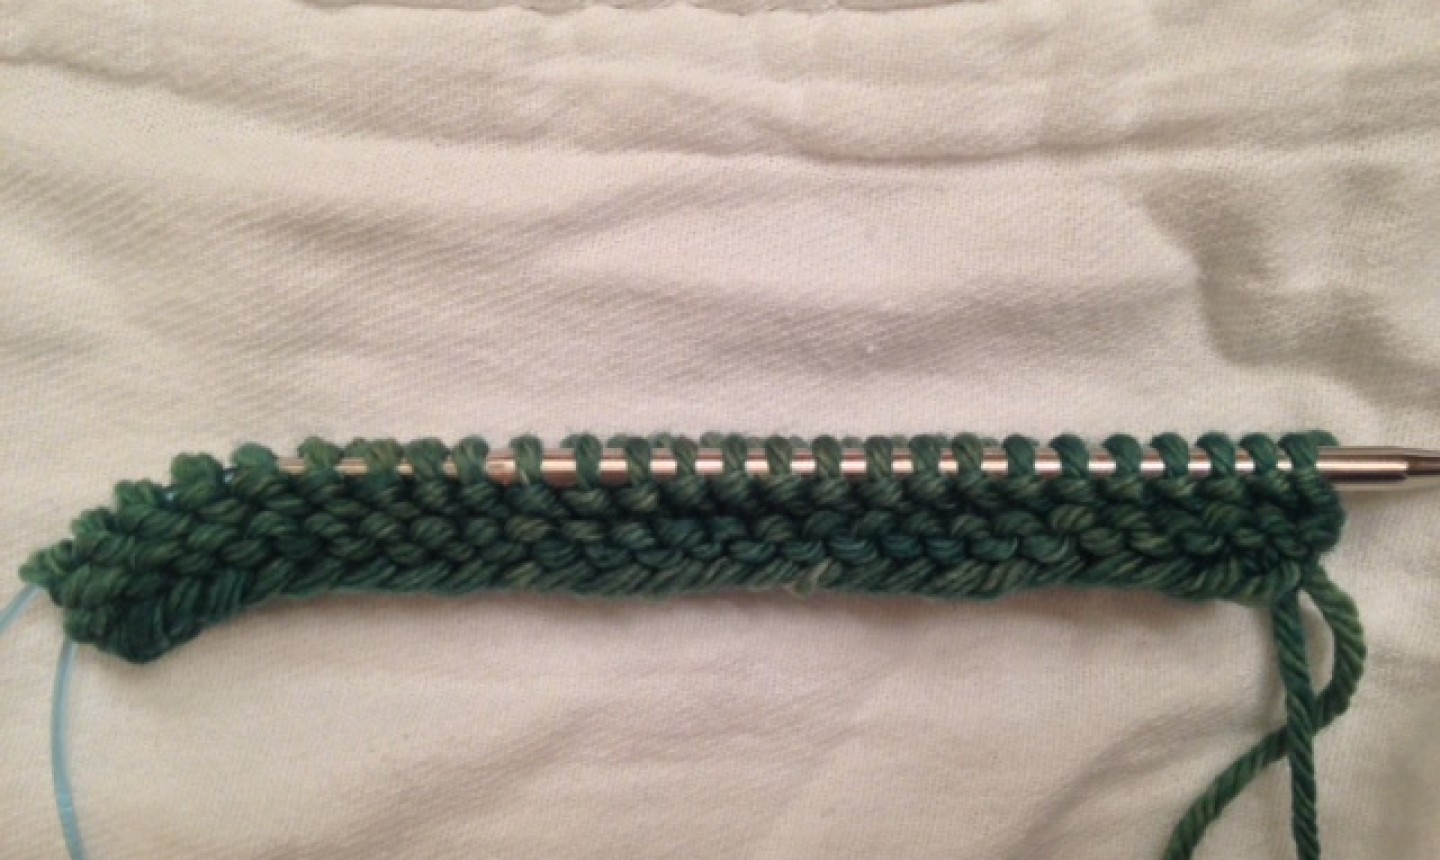
CO 52 sts, join to knit in the round.
Beginning with a purl round, work 4 rounds in garter stitch.

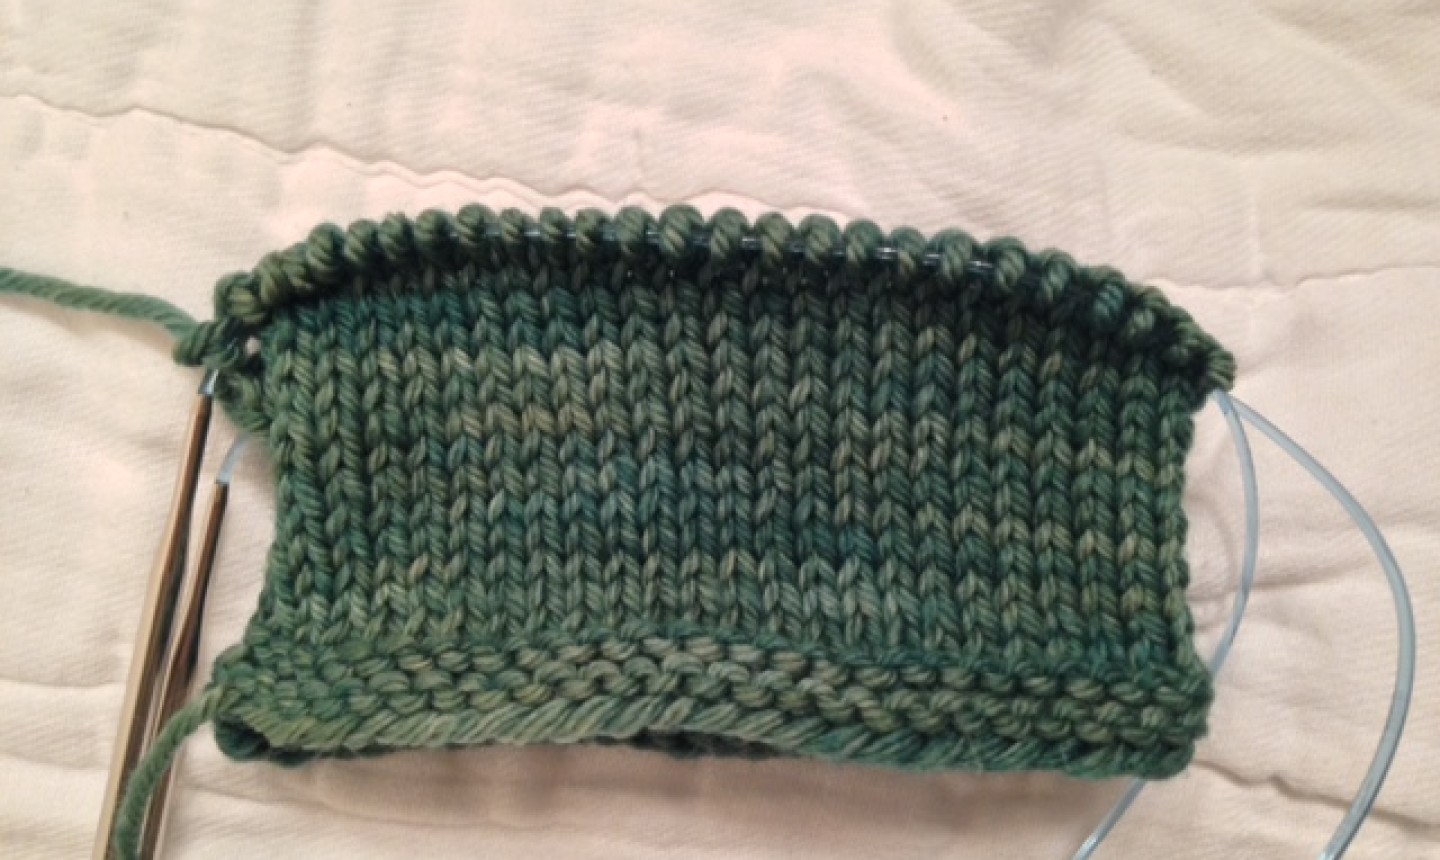
Row 5 (WS): Purl 2, p2tog, purl to 4 sts from end, p2tog, p to end.
Row 6 (RS): Knit.
Work cozy in stockinette st until piece measures about 1 row more than 2", ending on a WS row.
Knit the Handle Space

Next row: K 2, m1L, k to 2 sts from end, m1R, k to end.
Next row: Purl.
Next row: Knit to end, join to knit in the round.
Beginning with a purl round, work 3 rounds of garter stitch.
Bind off all sts. Weave in ends.
Finishing

Finish your cozy with a bit of embellishment. Thread a darning needle with scrap yarn and use duplicate stitch to make a heart, flower, initials — anything you want!
How to Customize Your Mug Cozy's Size
1. Determine how wide you will make your cozy by subtracting 1¼" from the height of the mug.
2. After checking your gauge, cast on enough stitches for a circumference that is about ½" to 1" less than your mug circumference.
3. Work in the round with your preferred edging for about ½". Then begin working in rows, decreasing two stitches on the first row, to make room for your mug handle.
4. Work even until the flat portion measures the height of your handle. Increase two stitches and then begin working in the round again.
Pro Tip: If your mug has a very tall handle, work the entire cozy flat and add a button or other closure to keep it snug.
5. Continue with this until your cozy measures the width you determined earlier. Bind off, weave in the ends and you're done!

I’m so thankful you put patterns on that are easy for us beginners. Thank you so very much🌹🫶🏻