
Hand embroidery brings a personal touch to just about any project, whether you’re adding a quick quilt label or stitching your favorite quote to hang on the wall. Check out these easy stitches for perfect hand embroidered letters. One of the best ways to make a big impact: choosing a font for all your pretty letters. You can play around in a word document to check out different varieties; once you’ve found one you like, transfer it to your fabric and start playing with these four stitches (we used full six-strand embroidery floss) to find a style you totally love.
Pro Tip: Regardless of which stitch you choose, try to keep it short. Doing so lets you capture the curves of a letter without any straight bits poking out.
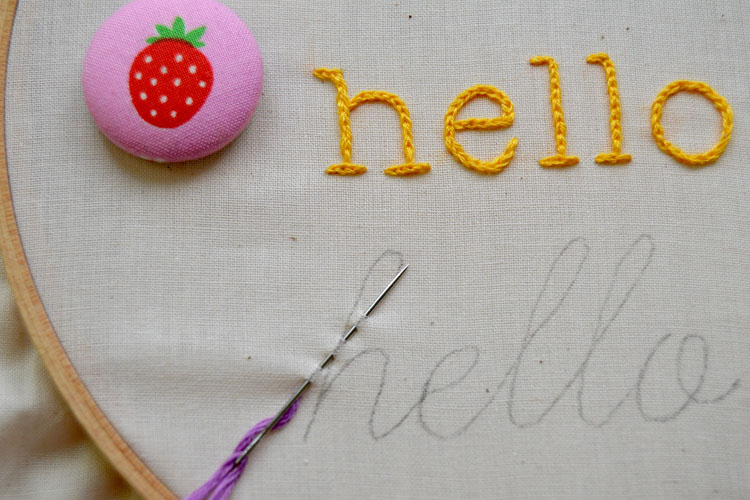
Backstitch Letters
The standard backstitch makes for a nice outline in hand embroidery. It’s perfect for lettering (both in a single or double layer) or for outlining block lettering.
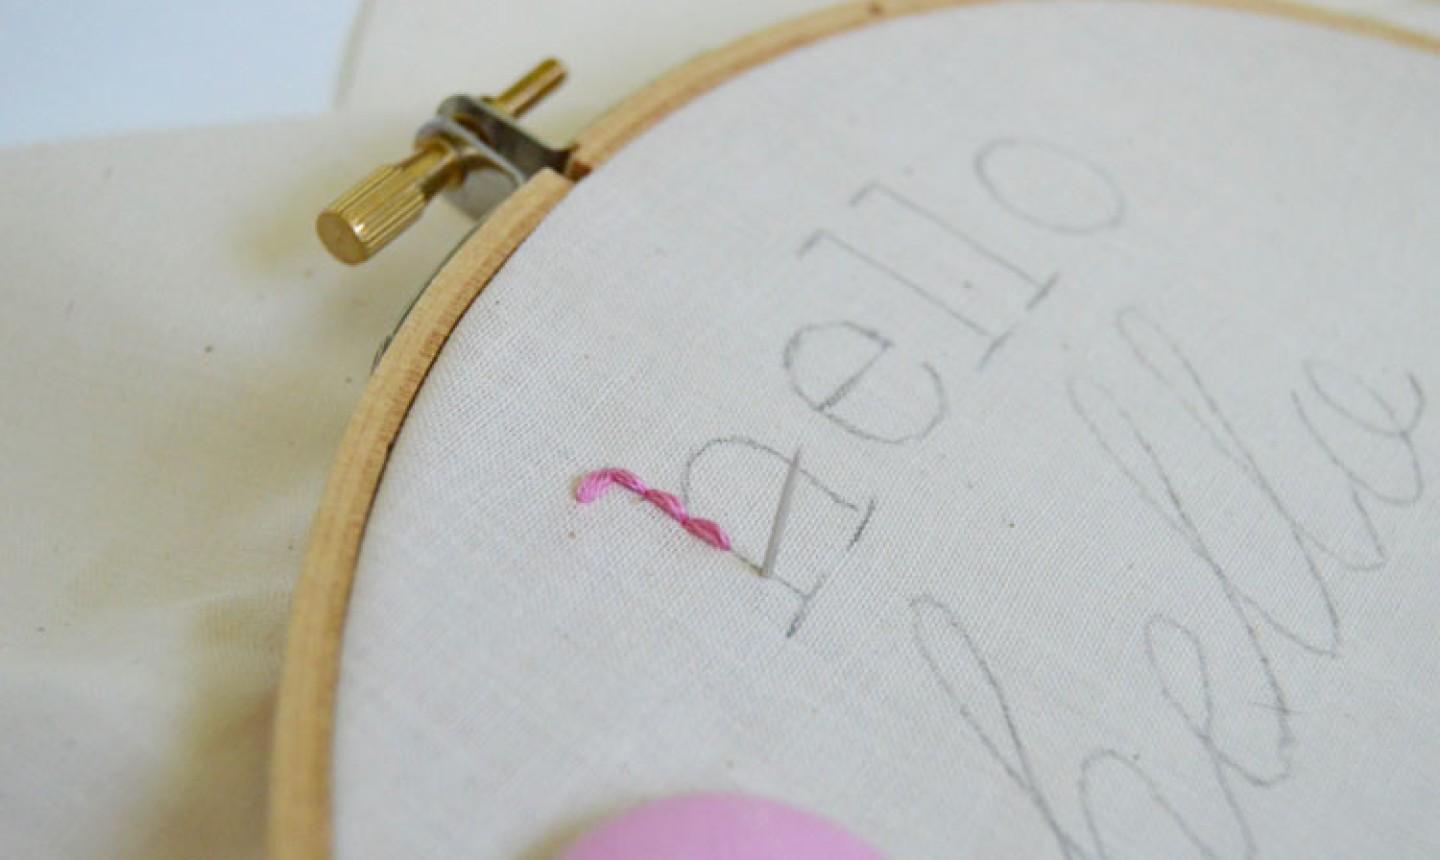
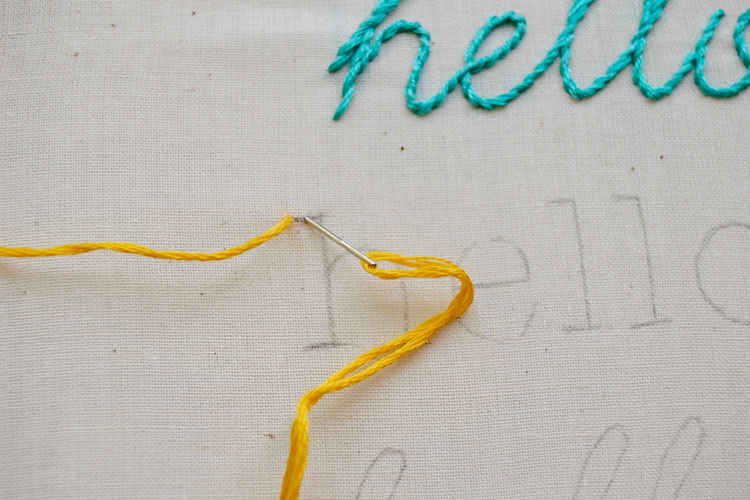
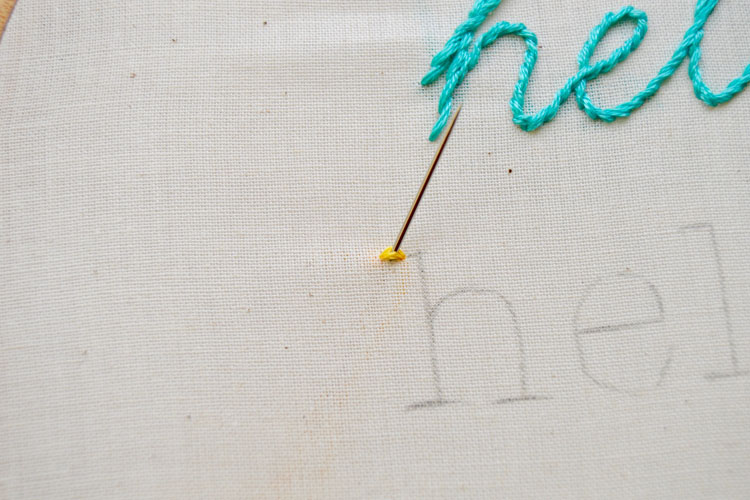
To start the backstitch, come up underneath the fabric and pull the needle and floss through. Make your first stitch, then bring the needle back up underneath the fabric a full stitch length, leaving a space between the needle and the previous stitch. (Lots of stitchers recommend using a length that’s about the same as a grain of rice.)
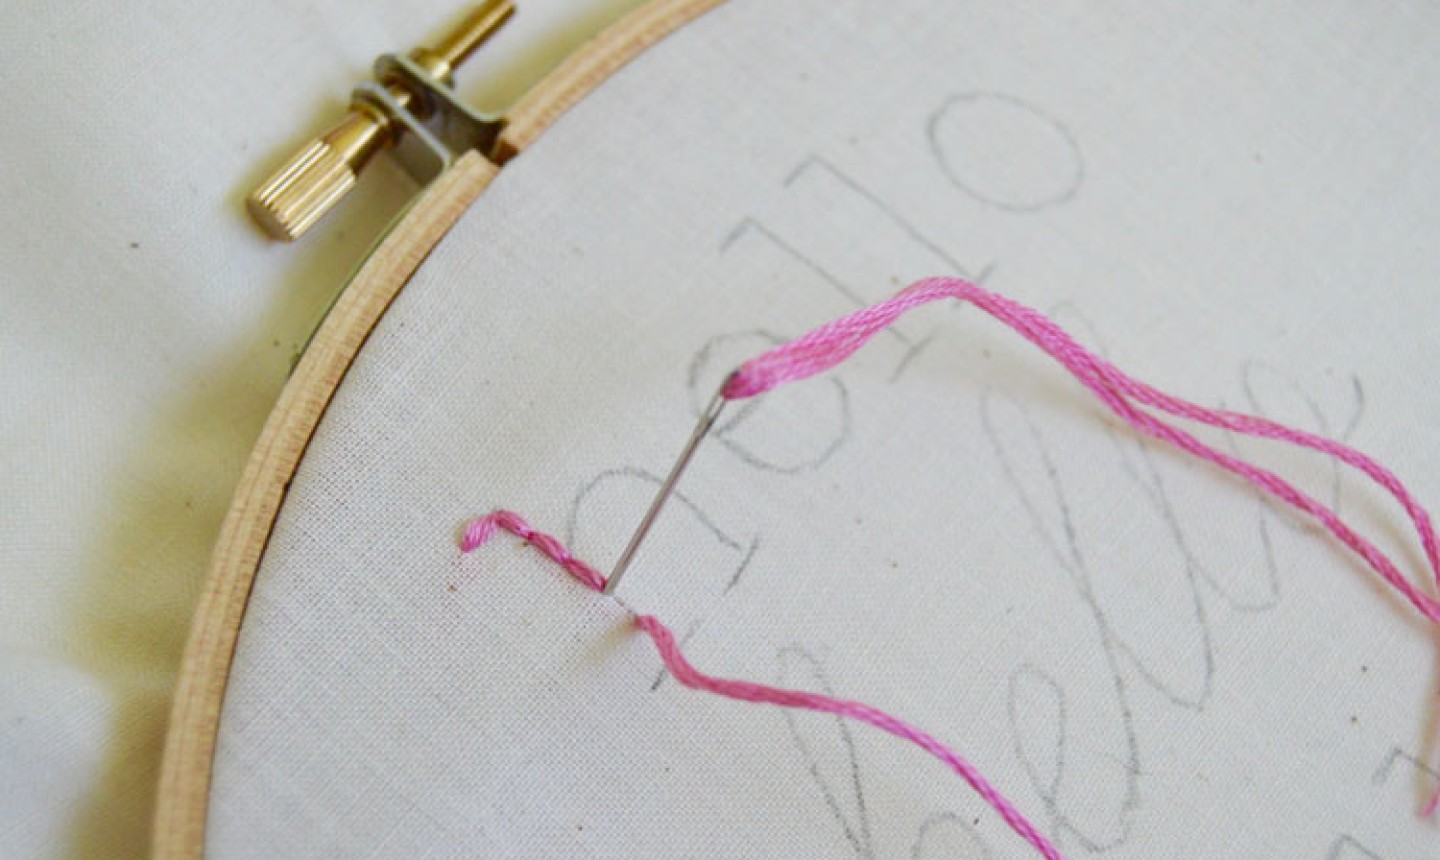
Bring the needle back and pass through at the end of the previous stitch to create a full line.Pull the needle through and move forward in the same way until you stitch the whole letter.
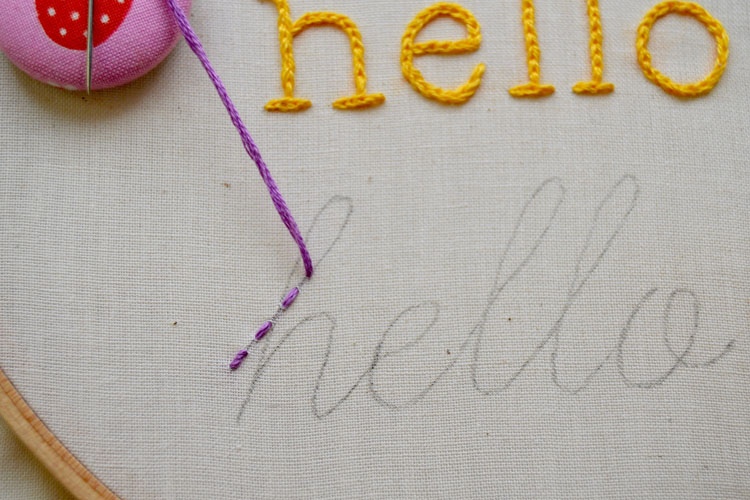
Stem Stitch Letters
Great for cursive fonts, the stem stitch adds a cool surface dimension that makes the letters look like twisted rope. (This stitch is also used to create flower stems, since it looks a bit like twisted vines.) Bonus: you can manipulate the previous stitch to give it more curvature as you move forward with your line of embroidery.

To start, bring the floss up though the fabric from the underside for one stitch.
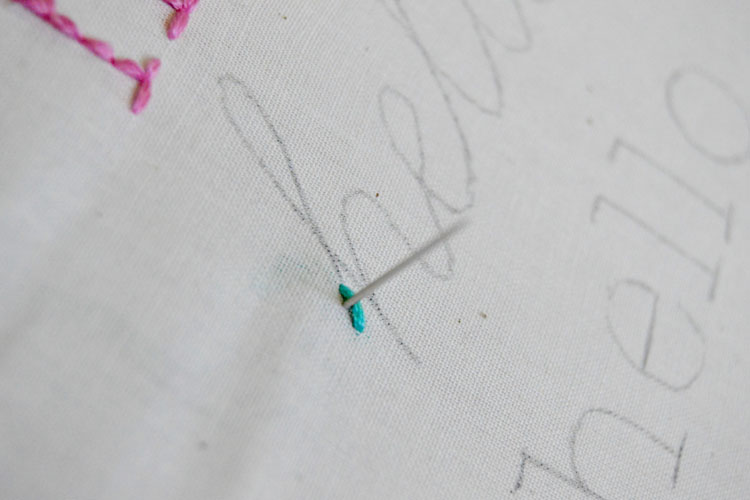
Bring the needle back up just to the side of the stitch you just made.
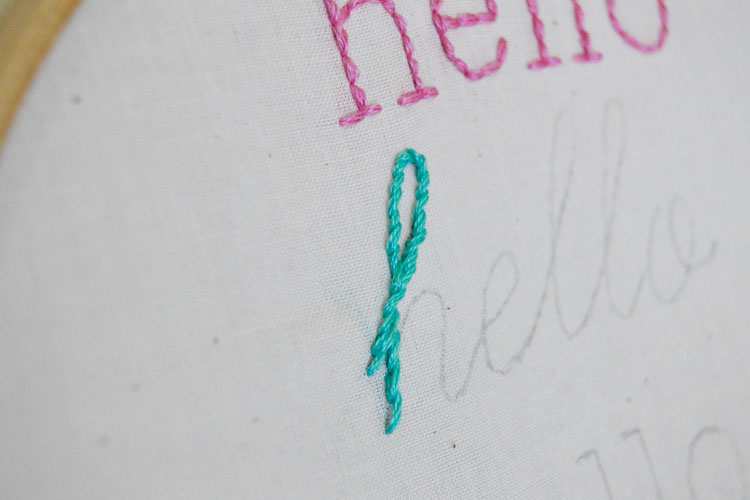
Keep going in this same motion until you finish the letter.
Split Stitch Letters
Just like the stem stitch, the split stitch adds texture and dimension to letters by giving them the appearance of a plait or braid. The key: instead of coming up underneath the side of the stitch, the needle pushes through the center of the previous stitch, literally splitting the floss for an elegant design.
To start, bring the needle and floss up through the underside of the fabric and back down to make one stitch.
Bring the needle up through the center of the previous stitch, splitting the floss.
Continue in the same way until you complete the letter.
Running Stitch Letters
The running stitch looks like a dashed line. It can be worked completely on the surface or one stitch at a time — totally up to you.
To start, bring the floss and needle up through the fabric. Bring the needle in and out, catching a bit of the fabric with each stitch.
Pull the needle through, and you’ll see your dashed line start to form.
Continue until you complete the design.
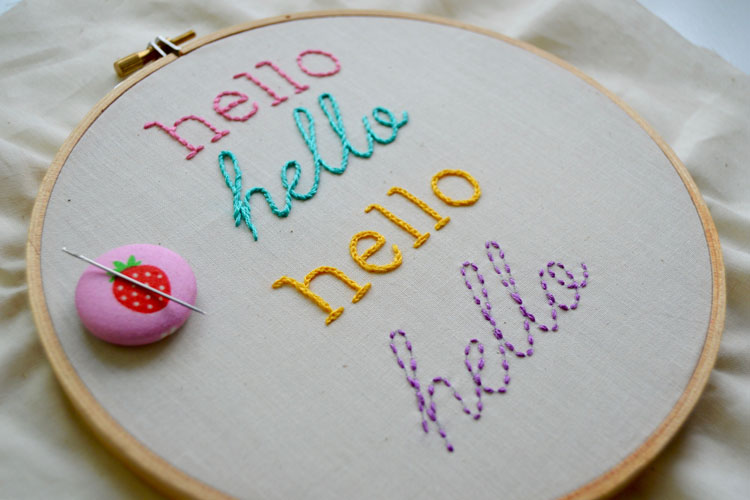
Hello, perfect hand embroidered letters!

Thank you, i am just learning and these will be amazing help
I feeling really inspired from this. I will try this tonight
I really enjoy this easy instructions with the illustrations. Congratulations. Thank you
Your method of modeling how to create the different stitches was very helpful. Thanks!
Djdyf
My stitches are not so perfect as yours but I appreciate tutorial.
Want to stitch Xmas stockings
Thank you for such an awesome explanation visually and verbally.
What type of fabric did you use for this?
Thanks for the illustrations. Couldn't find lettering in my books so this was helpful to know what to use for a label on the center of a drysden plate tie quilt.