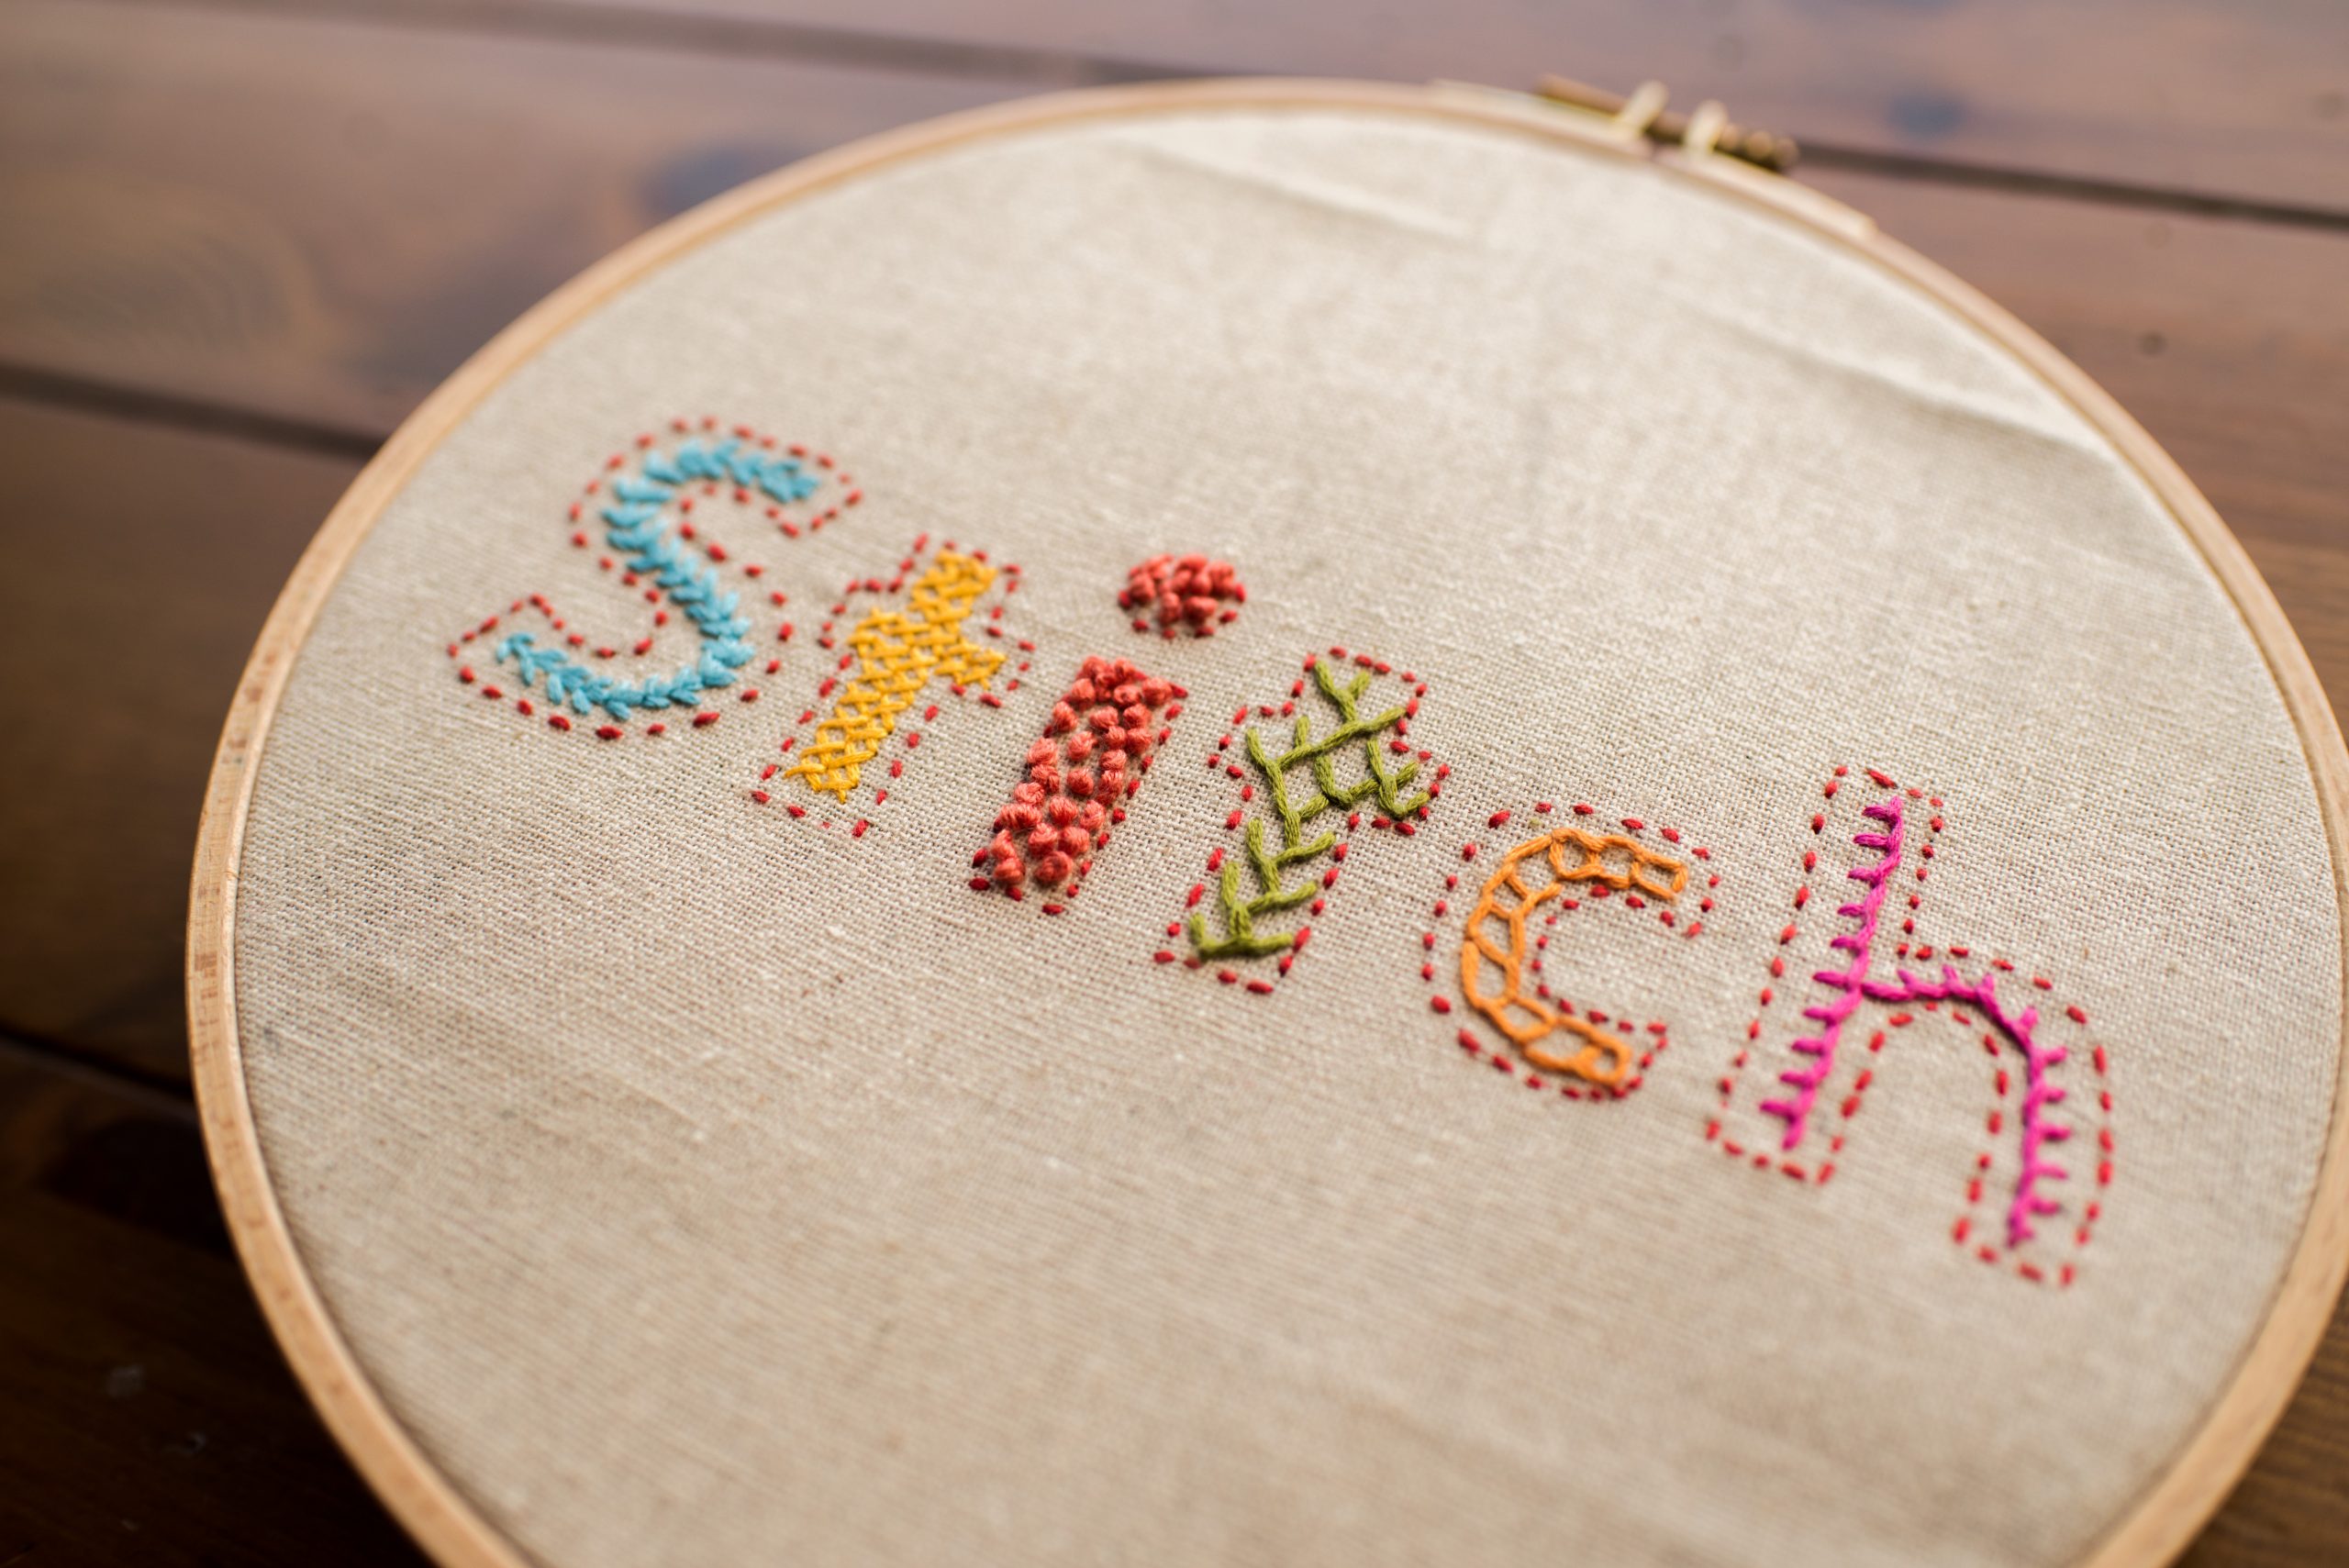
Whether you’re stitching an inspirational quote in big, colorful font or adding subtle detail to a larger project, it’s easy to add a personal touch by stitching your own handwriting. And while the technique you use totally depends on your personal style, some stitches are a better fit for lettering than others. Choose your favorite stitches from the ones below, write your phrase legibly and you’ll be on your way to perfectly handwritten embroidered letters.
Pro Tip: Try to balance the size of the letters with your ply. A good rule of thumb: the smaller your embroidered letters, the less floss you should use. So if your handwritten phrase is smaller, a 1- or 2-ply floss is a better bet. If you’re stitching huge words, full 6-ply floss is a good idea.
1. Backstitch
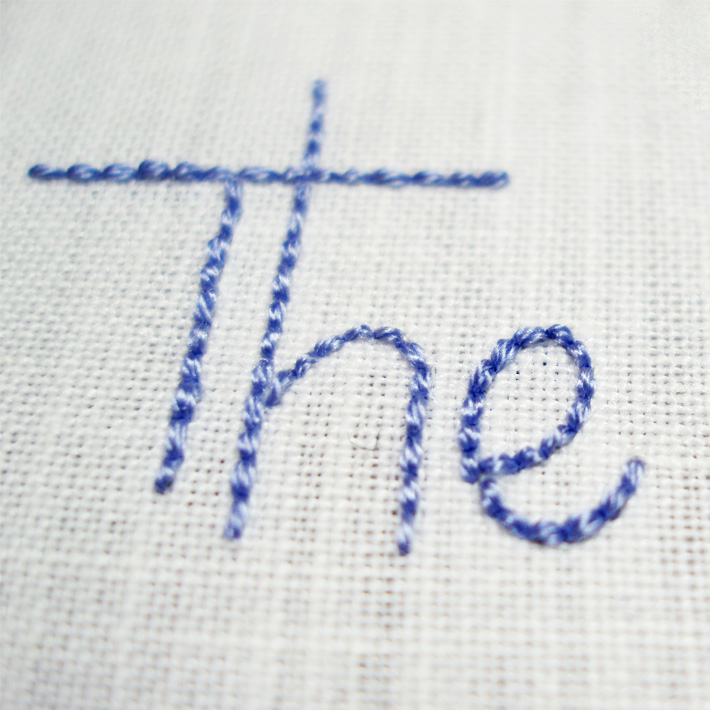
Backstitch is one of the basic embroidery stitches all beginners learn. It can be a little blocky and not as fluid as some of the others on this list, but if you shorten your stitches around curves, it’s a great option for handwriting. Work your stitches in smooth, even lines for the best result.
2. Whipped Backstitch
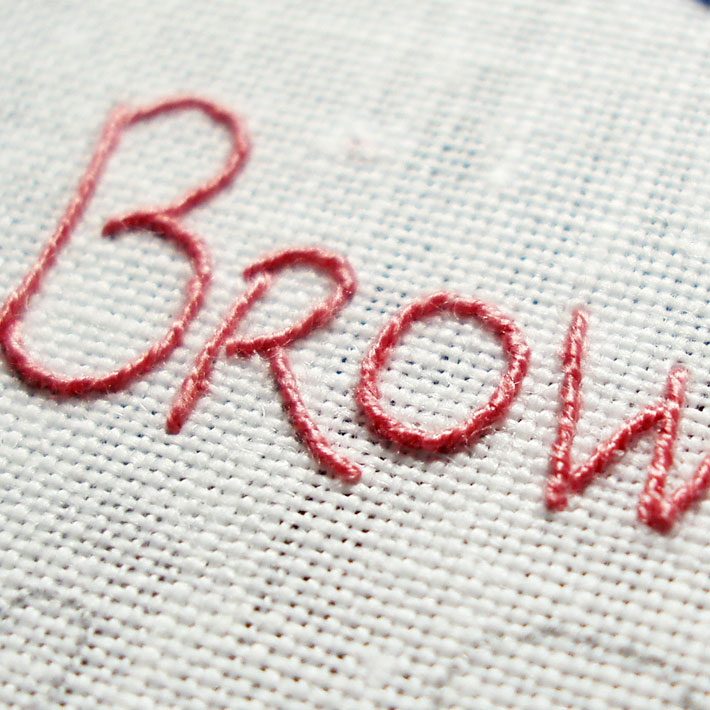
If backstitch isn’t fluid enough for your writing style, you can whip it to produce much smoother lines. Simply work the backstich first, then add the whip lines through those stitches. The result will be a smooth and solid line, so you can use it for large letters as well as tiny ¼” high words (so long as you change the ply of floss).
3. Double Running Stitch
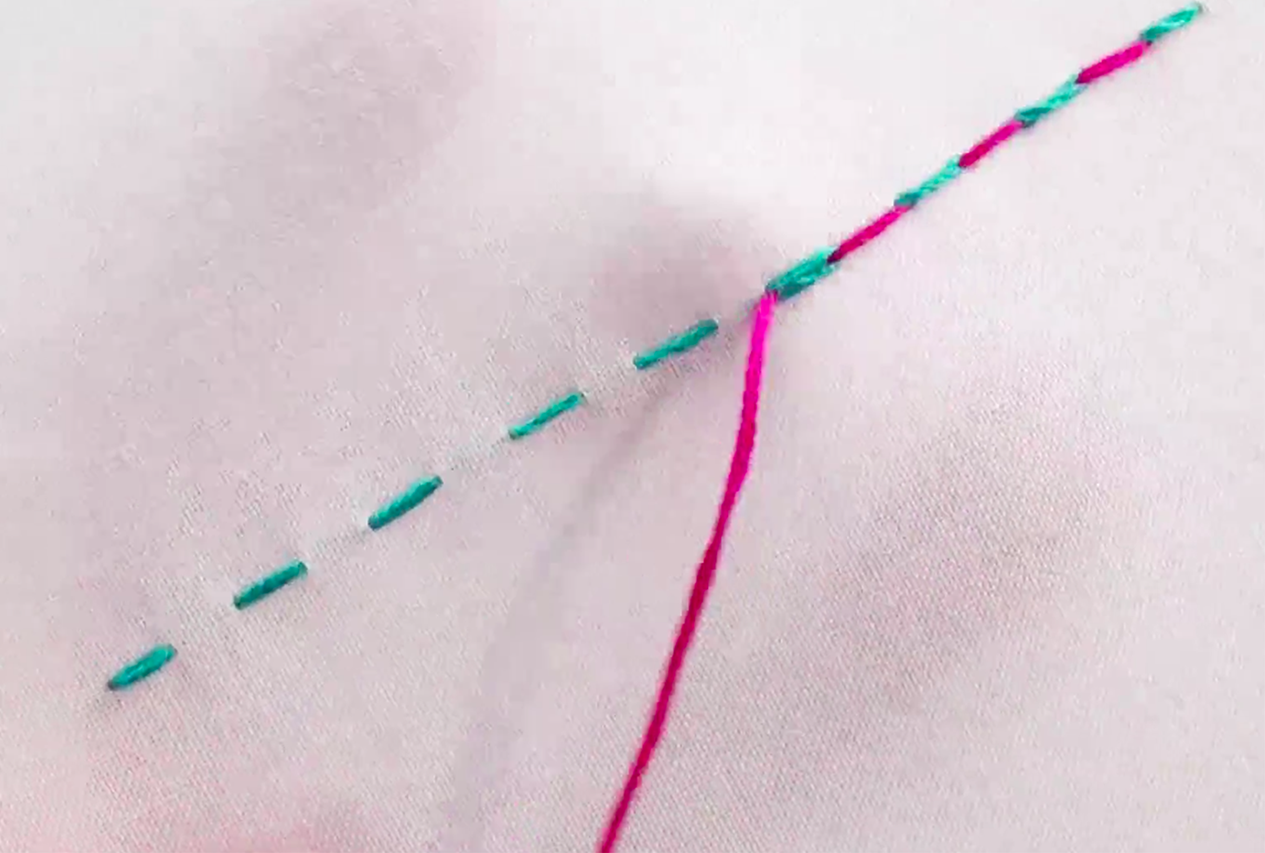
Like backstitch, this is another super simple technique. Embroider your writing using a simple running stitch, then go back and fill the gaps with another running stitch. Warning: if you use the same color floss, it’ll look very similar to backstitch, so you may want to change it up by giving your words an alternating color pattern.
4. Stem Stitch
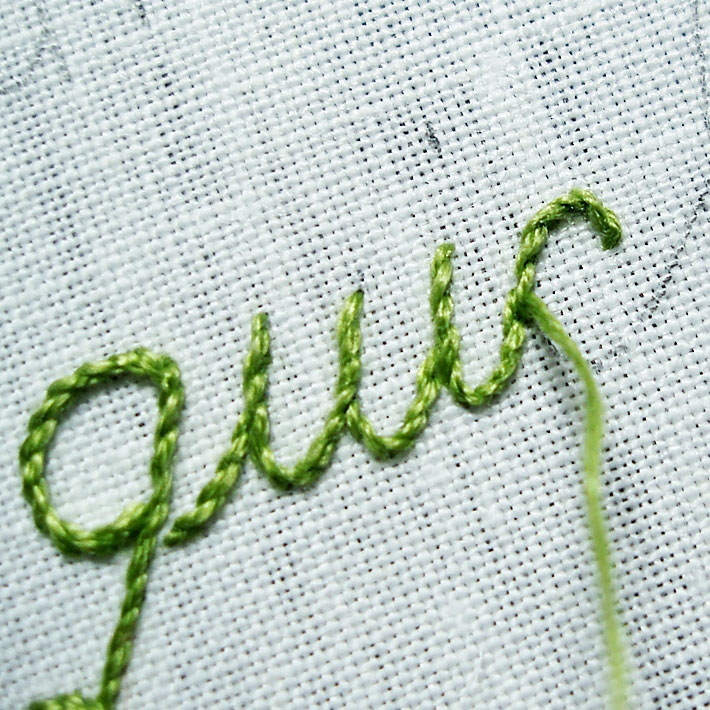
If you’re looking for a stitch with a little more texture (maybe something rope-like?), try the stem stitch. This one’s wonderful for fine, curving lines. To keep your stitch nice and neat, remember to shorten the stitches as you take tighter curves.
5. Chain Stitch
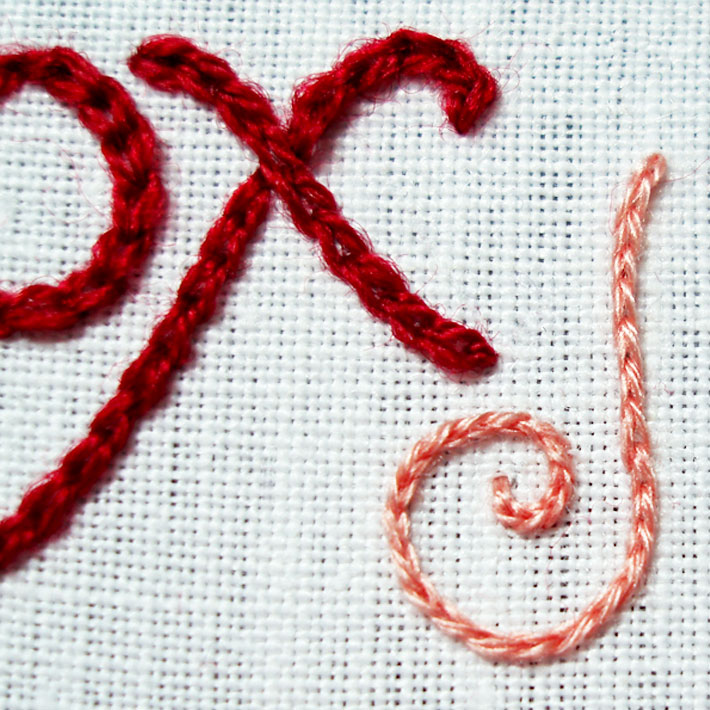 Chain stitch works well for creating small, delicate letters when a very fine thread is used. If you’re after a bold, chunky look, use a heavier thread — crewel wool, perle cottons or buttonhole silks all work well.
6. Threaded Stitch
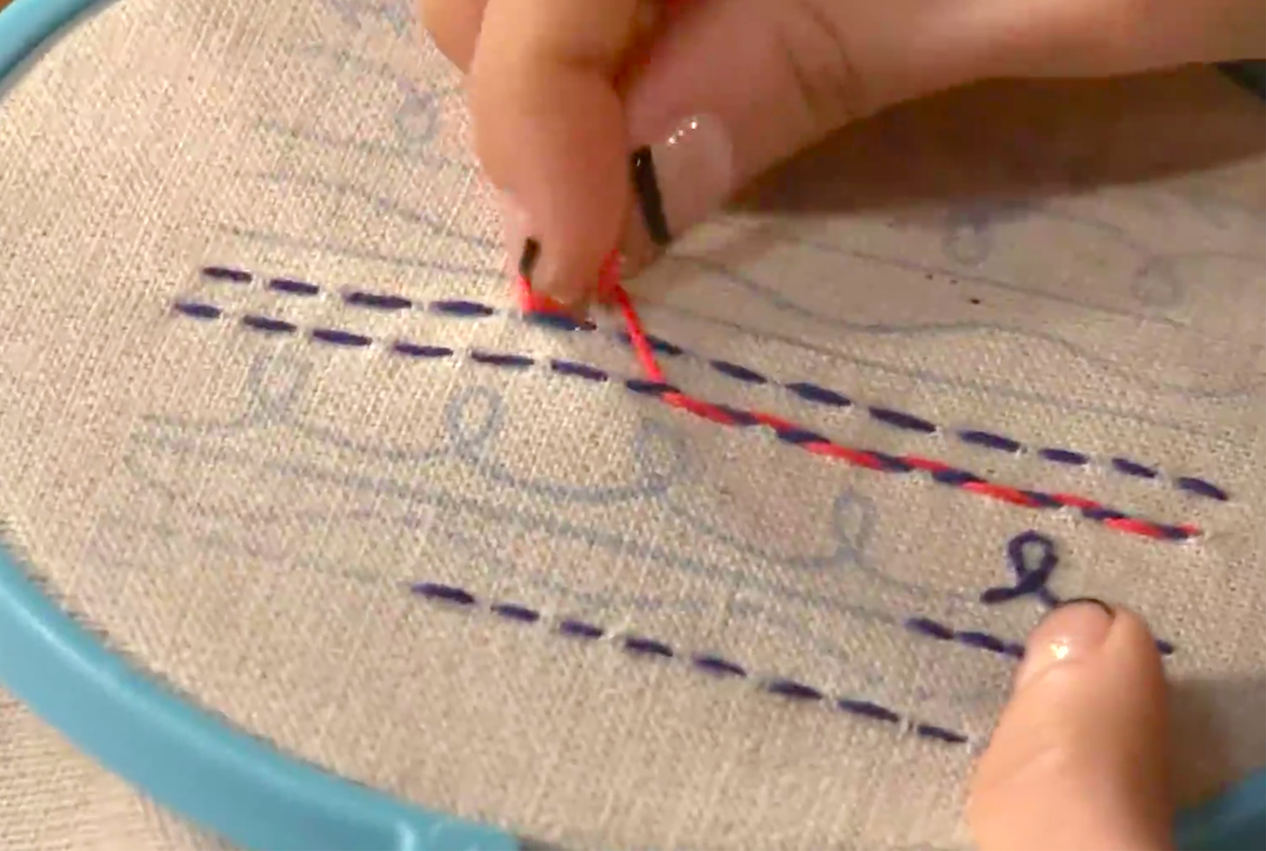
Threaded stitch is very similar to whip stitch, but instead of whipping the floss through your stitches in one direction, you weave it in and out. This creates a nice fluidity that works well for handwritten letters.
7. Split Stitch
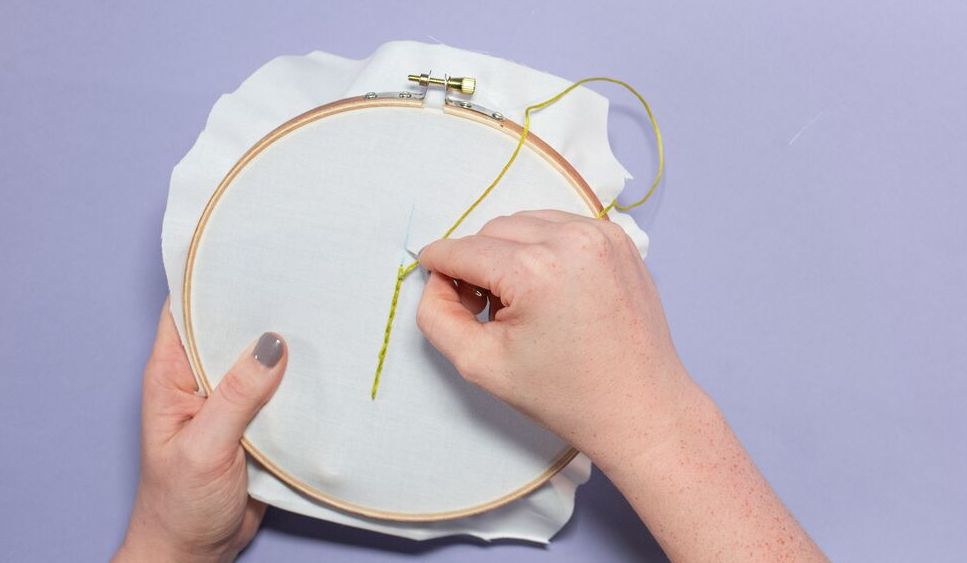
Split stitch is a continuous line stitch that’s also pretty decorative — when finished, you’ll have a gorgeous braided look. And because each stitch splits the one before, it’s a go-to for embroidering curved lines, aka cursive handwriting.
8. Couching Stitch
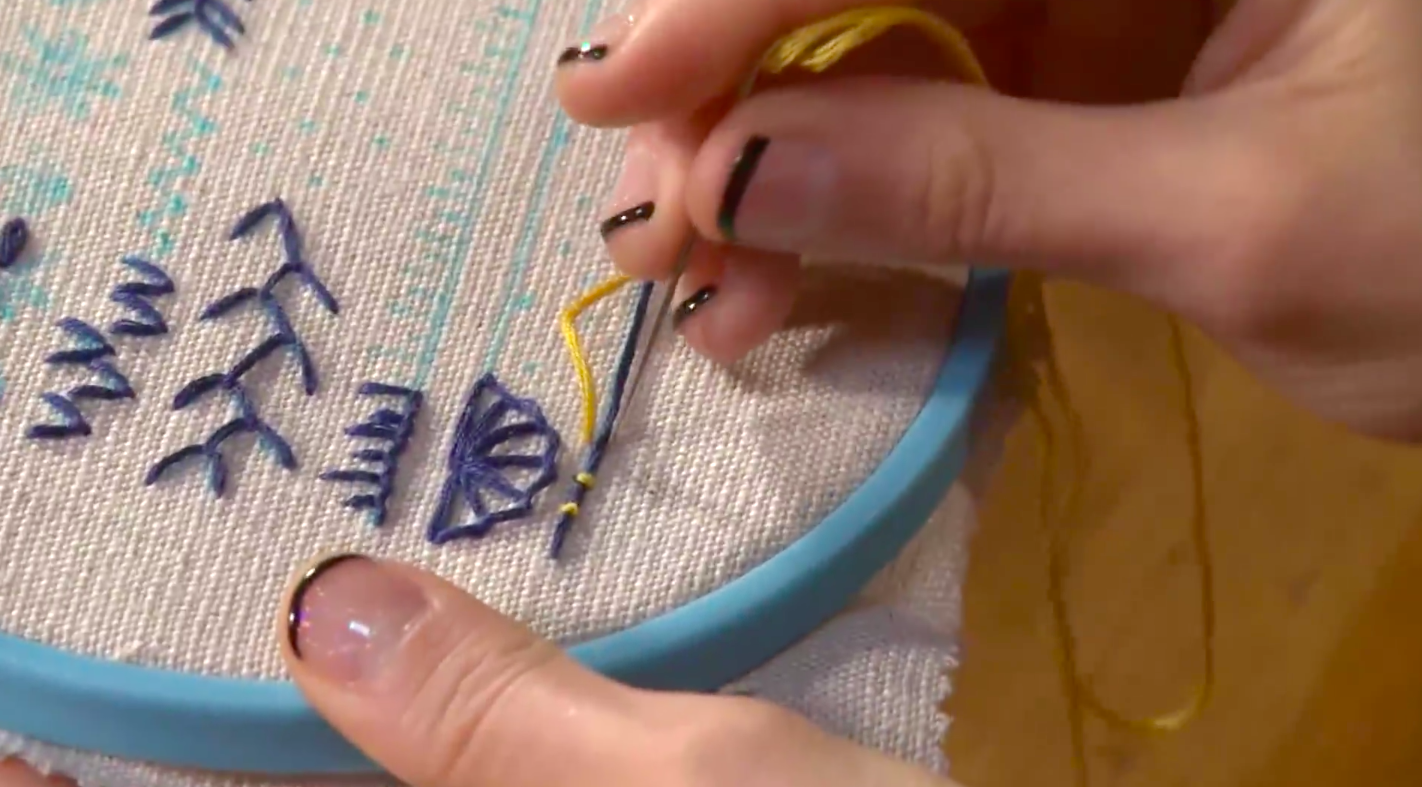
Couching is when you lock down a single length of thread with smaller stitched loops. It’s a great way to get seamless letters of all shapes, whether it be lines or curves. Plus, couching with a color that contrasts your long strand produces a fun effect in your lettering.
9. French Knots
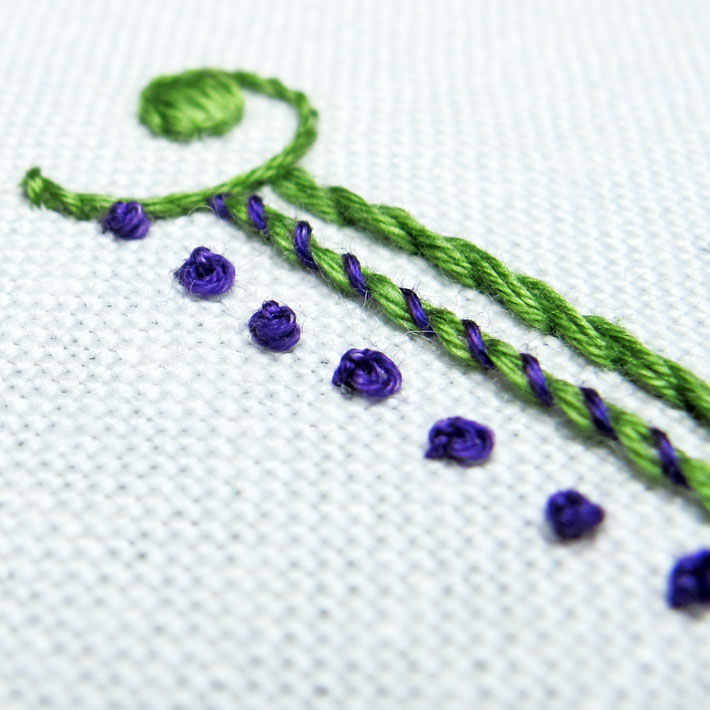
Don’t underestimate textured stitches! When evenly worked, French knots are a unique way to add texture to your embroidered handwriting. Use the same ply floss to make sure they’re all a consistent size, and wrap the string around your needle the same number of times for each knot.
10. Coral Stitch
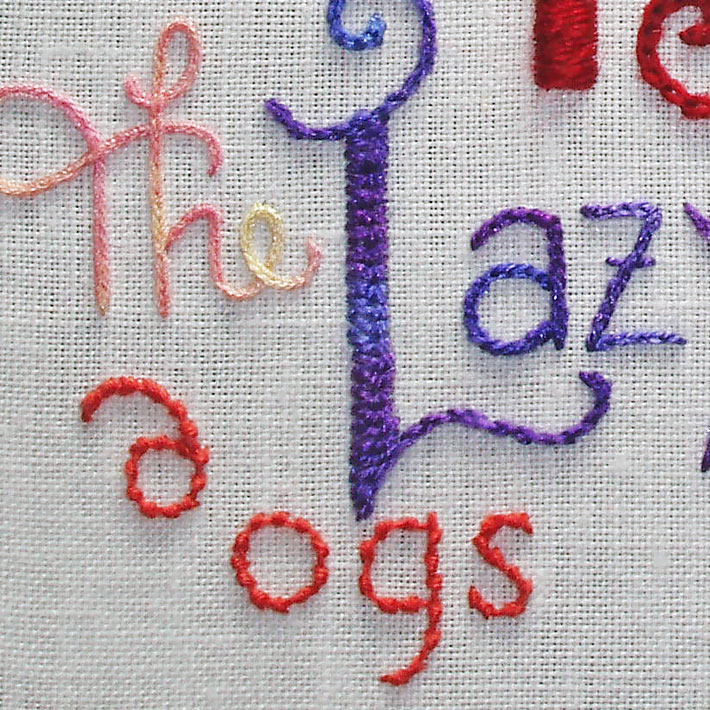
Coral stitch makes a straight line joined by bumps that are easy to read and visually appealing. Use the knots throughout your embroidery, or to accent any points or ends in your letters.
Is it possible that you might have any sort of letter patterns I could use to transfer? I'm trying to do a name on a sweater and it would be easier for me if I had a template for each of the letters like you have in the word quick or hello… Any ideas