Have you ever wondered how the pros make beautiful cake balls, coated with perfection? Cake balls, also known as cake truffles, are very easy to create and decorate. I’ll teach you how to dip cake balls beautifully and prove that it’s not as elusive a process as it seems!
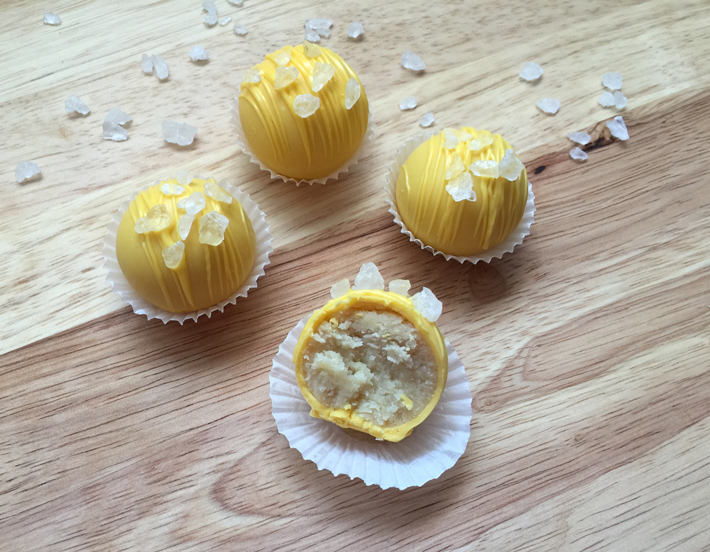
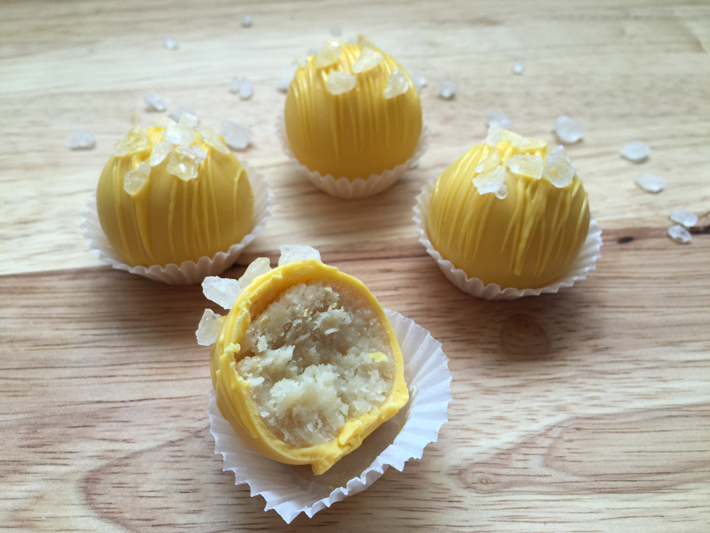
How to make cake balls, two ways
There are two ways to do this. Option one is great for those that have never made cake pops and also for dipping denser and heavier treats, like Oreo Truffles. I personally prefer Option two. It’s definitely a more efficient way of dipping if you have prior experience with making cake pops. You’ll need different tools depending on the option you pick. I’ve listed them separately below each choice.
For both options you’ll need:
- Cake pop dough rolled into balls
- Candy wafers in color of your choosing
- Sprinkles (optional)
- Candy cups
- Waxed paper
- Toothpicks
- Ziplock bag
Preparing cake balls and candy coating
Step 1:
Making cake pop dough is simple but takes some time and preparation. Please refer to this excellent Making and Shaping Cake Pop Dough tutorial if you need to become more familiar with the process of making cake pop dough, as well as portioning and shaping it.
Roll portions into balls, place on a waxed paper–lined cookie sheet and refrigerate for 10 minutes or so.
Step 2:
Melt and thin candy wafers in a small microwave-safe bowl. Please refer to this Melting and Dipping tutorial to brush up on the process.
Option 1: Using a dipping fork
Additional tools needed:
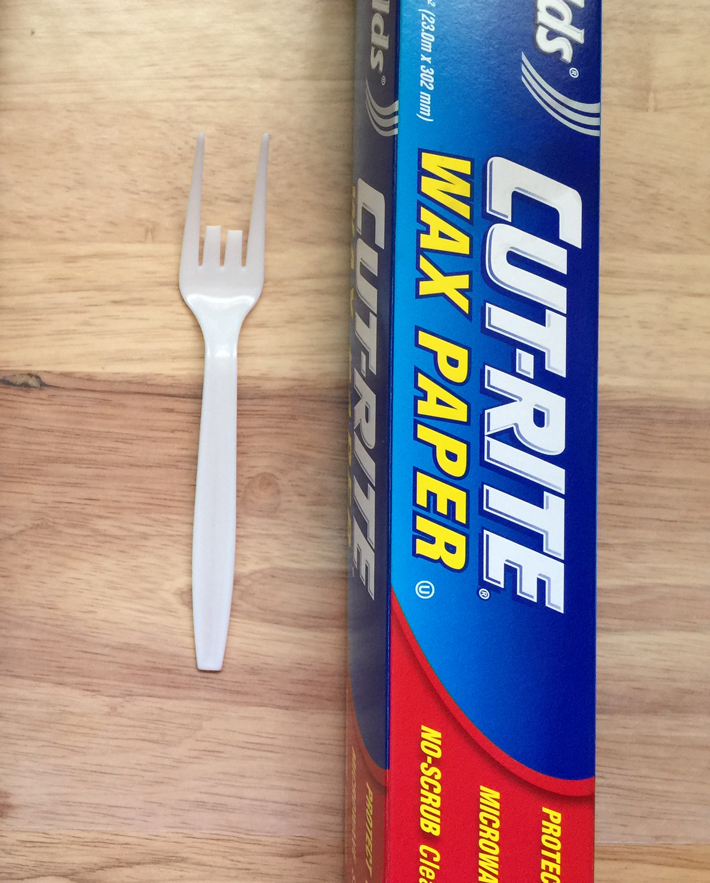
- Plastic fork(s)
- Waxed paper
There are many pricey candy dipping tools you can buy at craft stores or bakery supply stores. Save your money. You’ll need the cheapest plastic forks you can buy. The more flimsy, the better!
Step 1:
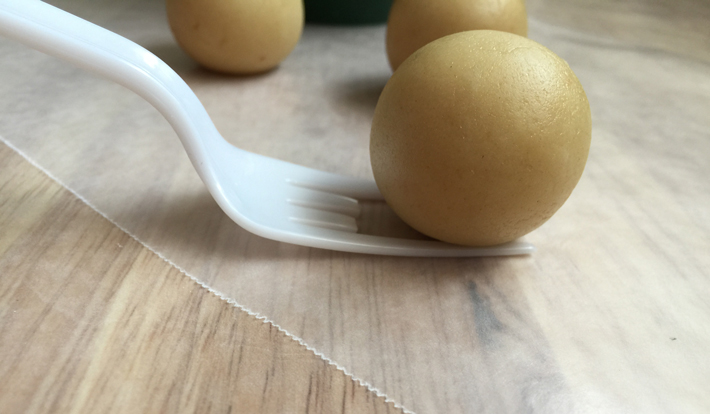
Line your work surface with waxed paper. you will also be placing coated cake balls on this surface.
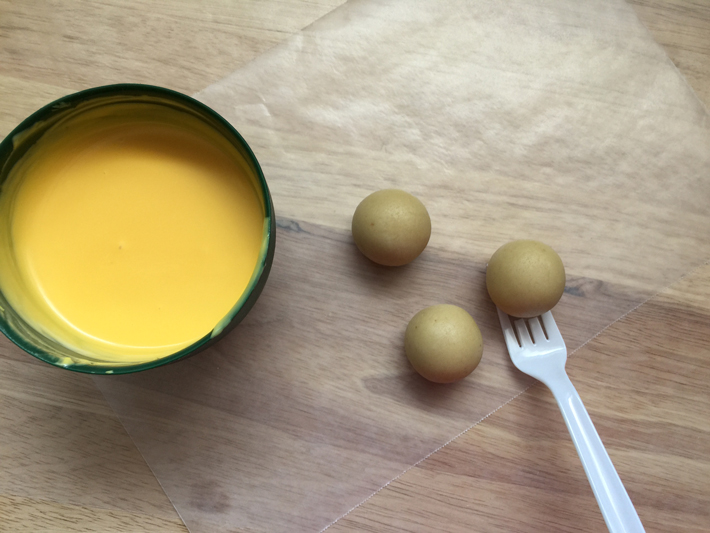
Snap off the two middle tines on the plastic fork(s) and discard them. The fork should be pretty flexible with just the two outer tines.
Step 2:
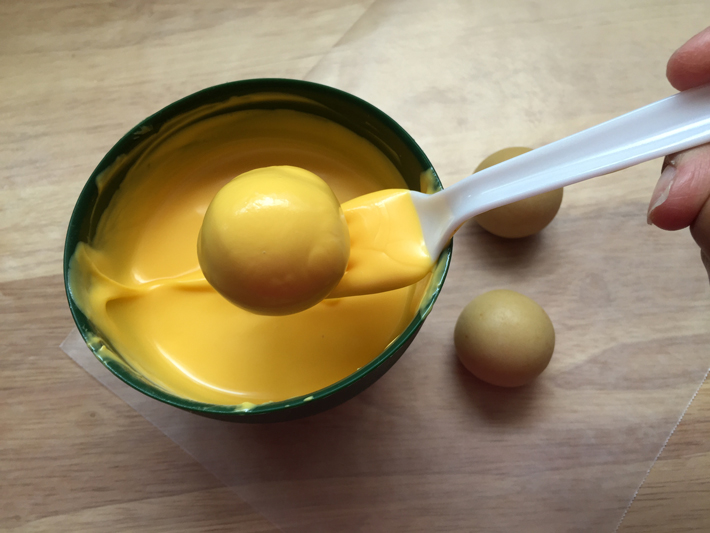
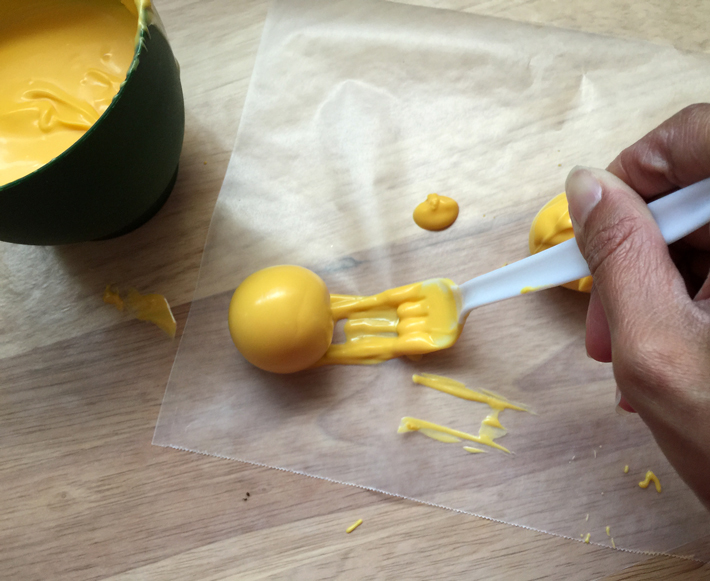
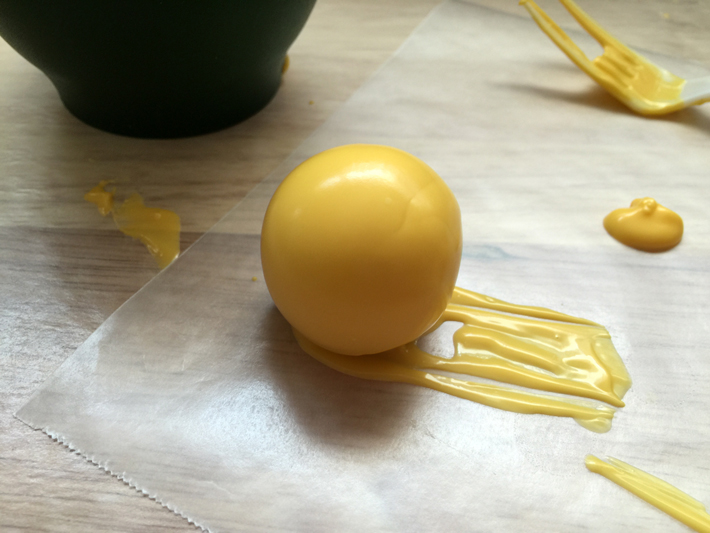
Place a cake ball on the fork. Dunk into the candy coating, lift out and gently shake off the excess. Gently place on the waxed paper and push the fork down as you slide it out from under the cake ball.
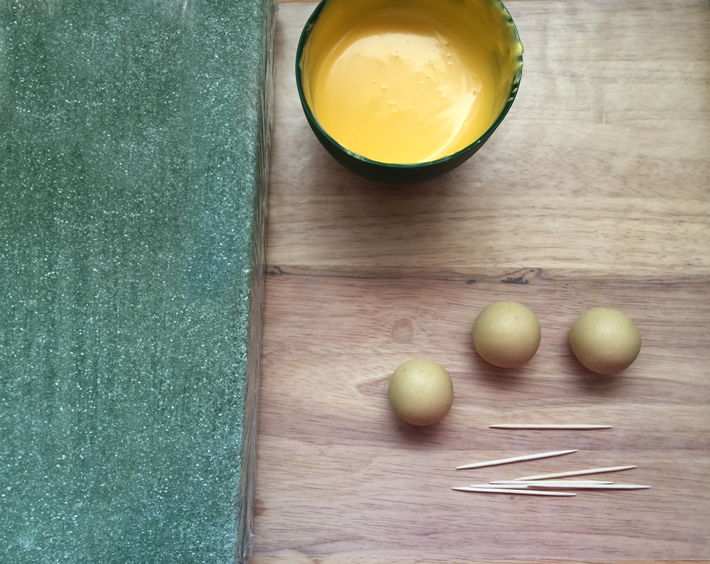
Option 2: Using toothpicks and styrofoam
Additional tools needed:
- Styrofoam block
- Plastic wrap
- Toothpicks
The way this works is just like making cake pops, but with toothpicks instead of sticks!
Step 1:
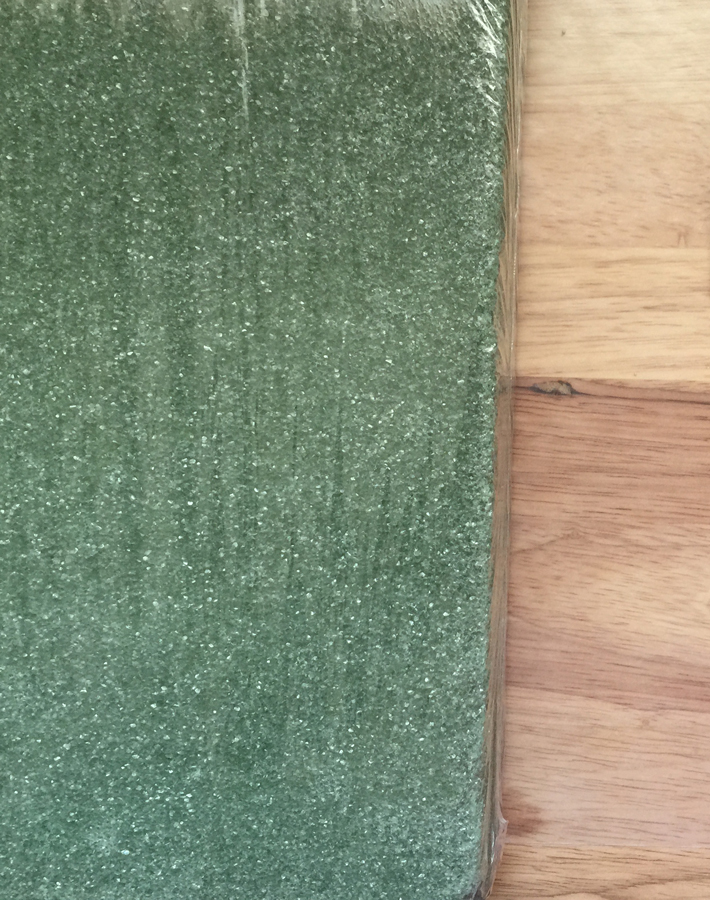
Wrap a styrofoam block completely in plastic wrap to keep the styrofoam particles away from the food. It also makes for an easy clean up!
Step 2:
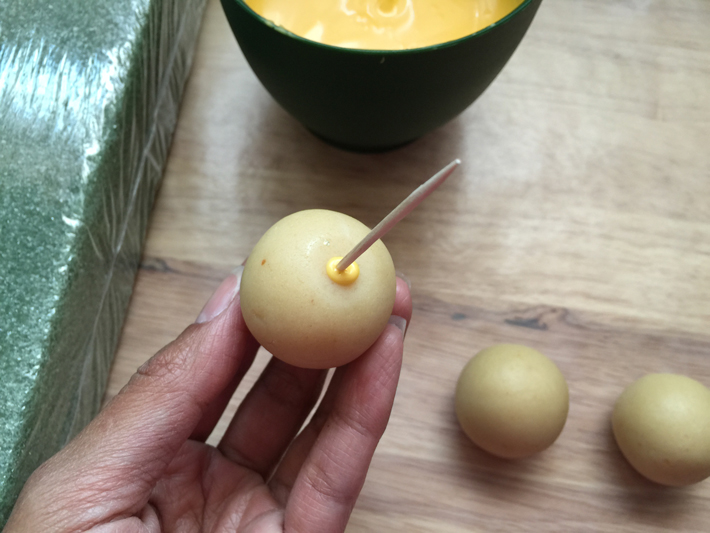
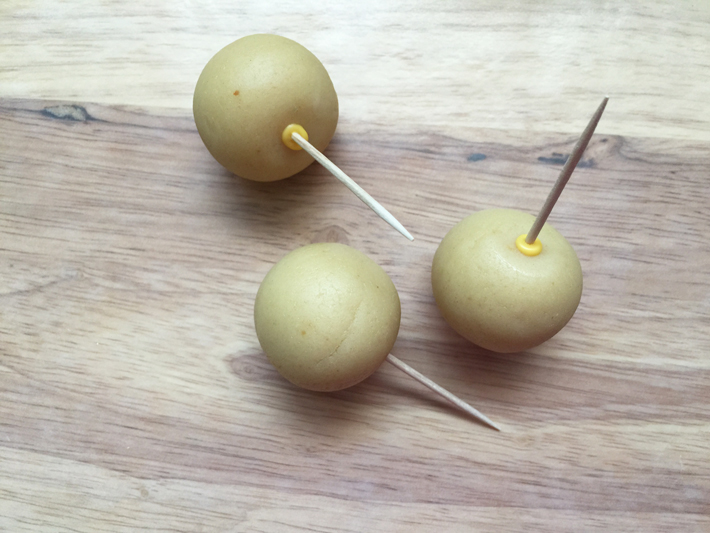
Dip about ⅓ inch of a toothpick into the candy coating and insert about half way into the cake ball. Do this for all the pieces.
Step 3:
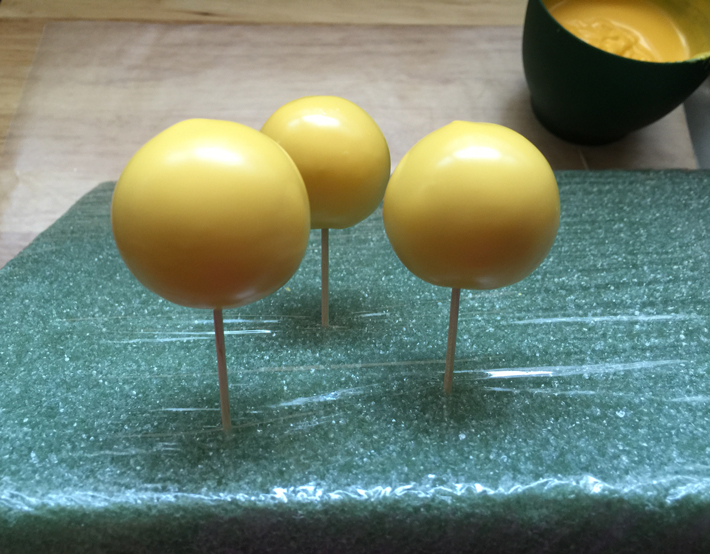
Dip each cake ball by holding them upside down by the toothpick and submerging the ball into the candy coating. Gently lift out and shake off excess while still upside down. Turn right side up and stick the toothpick into the styrofoam block. Let dry completely.
Step 4:
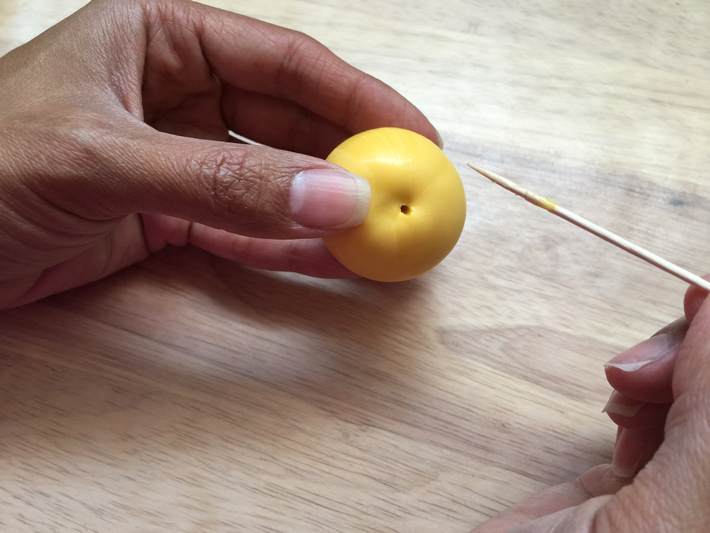
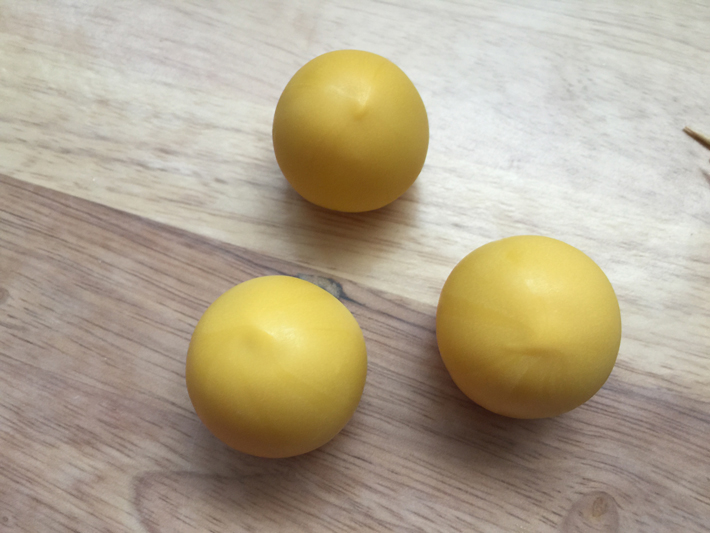
Once the coating is set, remove from the styrofoam and gently twist out the toothpick from each cake ball.
Decorating the cake balls
Grab your sprinkles!
Step 1:
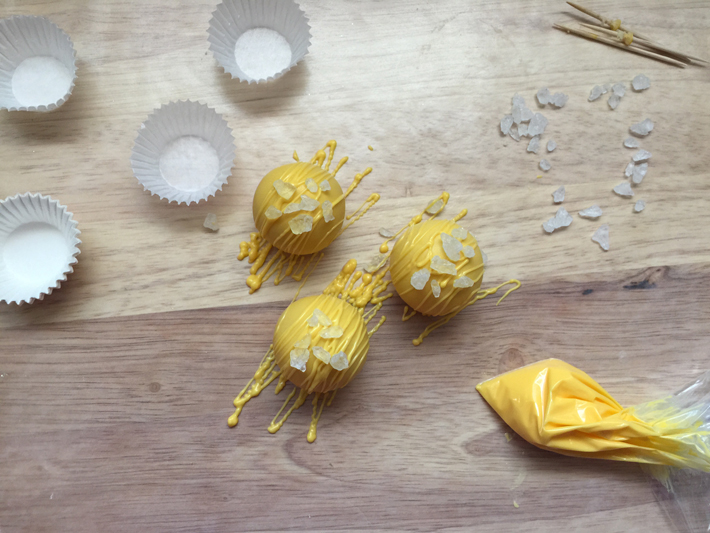
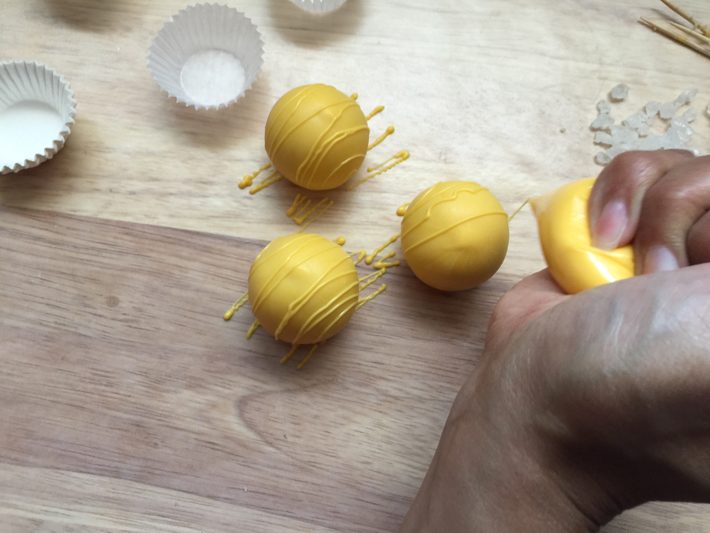
Place the cake balls on waxed paper and drizzle over the top with candy coating placed in a ziplock bag. Add sprinkles if desired. Let dry completely.
Step 2:
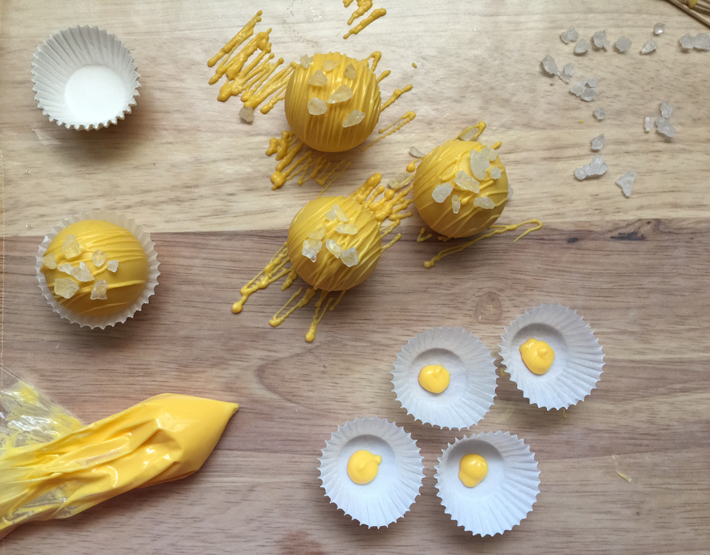
Separate candy cups. Pipe a dollop of candy coating in each cup to help adhere the cake ball inside it. Place a cake ball in each candy cup. Only pipe a few cups at a time to prevent the coating from hardening before a cake ball gets nestled in. Refrigerate in airtight containers.

Loved the plastic fork trick!