Let’s be real: cakes are just as much about looks as they are taste. So knowing how to crumb coat and frost a cake is definitely a skill worth mastering. Here’s what you need to know to make your confections look like they were crafted by a pro.
What You Need
- Baked cake (use your favorite recipe)
- Turntable
- Offset spatula
- Bench scraper or straight icing spatula
- Buttercream
- Leveler or serrated knife
- Piping bag (optional)
- Large round piping tip (optional)
How to Crumb Coat a Cake
Before learning how to frost a cake, you need to know about crumb coating. This is when you add a thin layer of frosting to the exterior before adding a thicker, final coat of frosting on top. The thin layer of frosting traps stray cake crumbs and prevents them from popping up in your finished cake. Adding a crumb coat also helps fill in any gaps between your cake layers to create a solid surface.
1. Stack the Layers
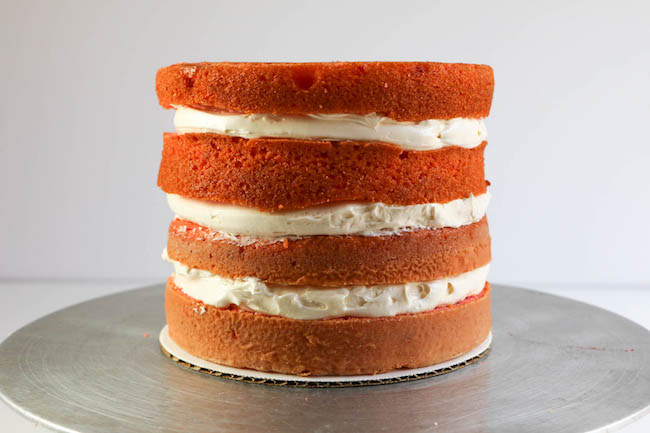
The first thing you need to do is level your cake. All cakes need to be level, or the cake will crack and not hold its shape. You can use a leveler or a long, serrated knife to carefully cut the top off the cakes.
Once leveled, stack your cakes on top of each other. Use the offset spatula to spread a generous amount of buttercream between each layer, holding the cake in place. You should stack each layer top-side down, so the bottom of each cake faces up. This will reduce crumbs.
2. Coat the Cake
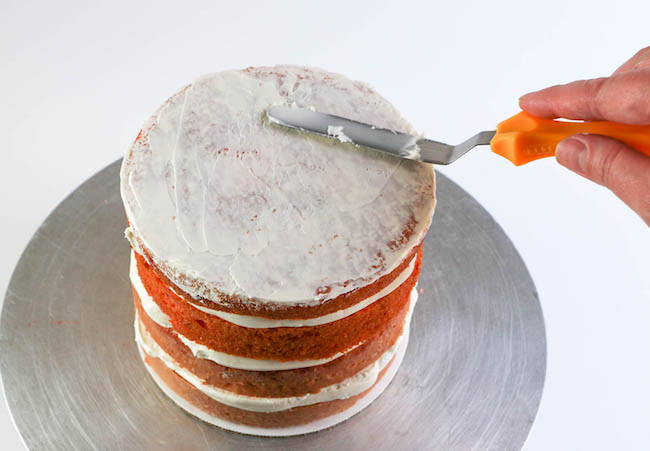
To crumb coat your cake, put some of your buttercream into a separate, smaller bowl — that way you won’t risk getting crumbs in the frosting you’ll use for the final, perfect coat.
Use an offset spatula to add a small amount of buttercream to the top of your cake, then smooth it out with your bench scraper.
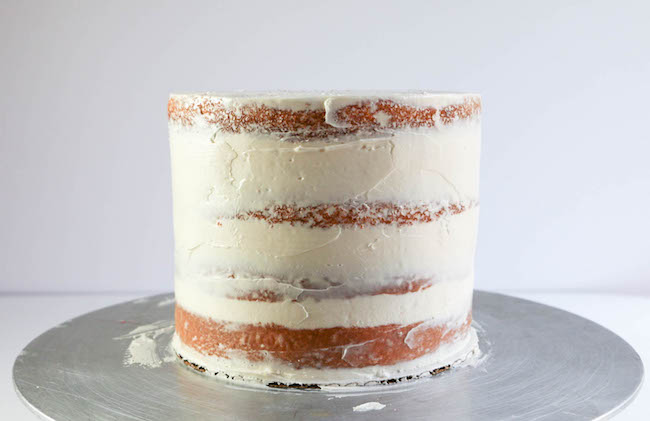
Do the same for the sides, until your buttercream is applied thinly throughout. Don’t fret if the crumb coat isn’t entirely smooth, but make sure to catch any holes — a gap-free surface is the key to a flawless final coat.
Pro Tip: If you find the layers of your cake are sliding around as you work, place the cake in the fridge to harden. After about 20 minutes, the cake should be much easier to work with.
Once your cake is crumb coated, place it in the fridge to set for 15-20 minutes, or until firm to the touch. If you’re working with American buttercream, the cake can be left at room temperature until the buttercream has formed a crust (about 20 minutes).
How to Frost Cake Rustic-Style
Once the crumb coat is set, you’re ready to actually frost your cake. A loose, rustic look is an easy aesthetic for beginners to pull off.
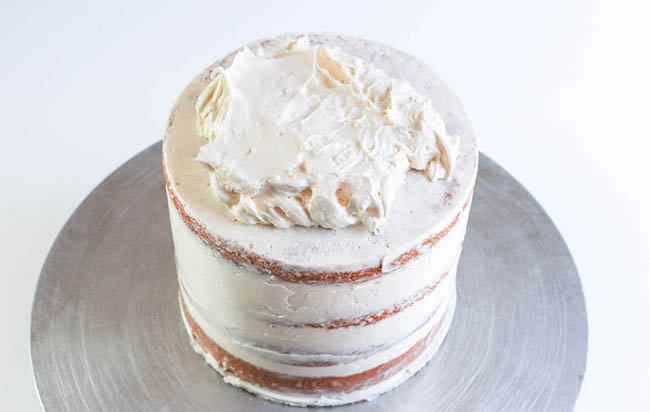
1. Plop the Frosting on the Cake
Scoop a mound of frosting on top of the cake. (Aim for a little over 1 cup for a 6″ round cake, or about 2 cups for an 8″ round cake.) This may feel like a lot of frosting, but it’s correct.
Use an offset spatula to spread the frosting out while rotating the turntable, pushing the frosting over the top edge to make an overhang. Move the spatula through the frosting to create fluffy peaks and valleys.
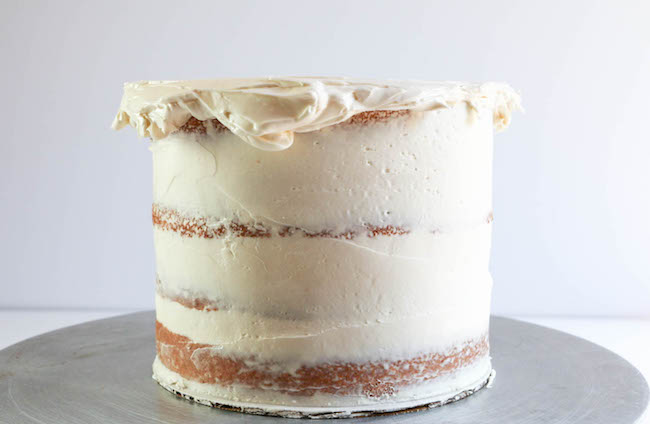
2. Spread the Frosting Down the Sides
Use the offset spatula to spread a thick layer of additional buttercream onto the sides of the cake while continuously rotating the turntable. Pull the excess frosting from the top edges down onto the sides as well. Create fluffy peaks and valleys all over the sides of the cake, just as you did with the top.
3. Clean Up the Top Edge
Knock down any buttercream that’s poking up and spread as needed to make the edge fairly even all around. Avoid overworking things here — once you have a nice rustic look, you’re done!
How to Frost a Smooth Cake
This is what you should do when you want a more smooth, professional finish.
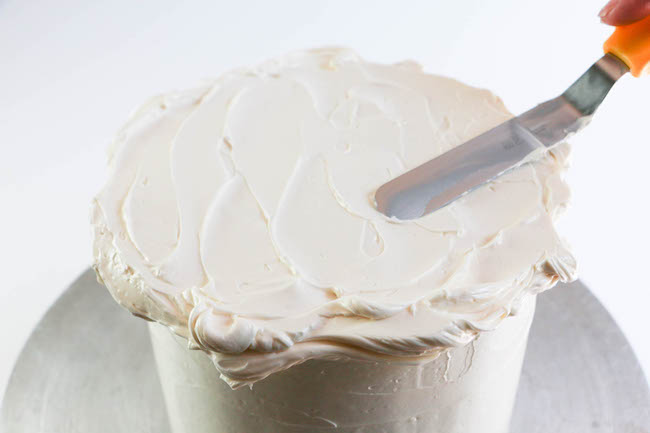
1. Spread Frosting on Top
Scoop (or pipe) a mound of frosting on top of the cake. Be generous, as a nice thick layer is easier to make smooth.
Use an offset spatula to spread the frosting out, pushing it over the top edge.
2. Smooth it Out
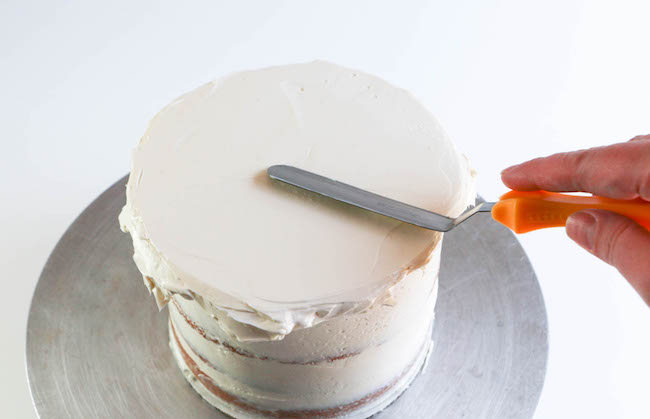
Once the top is covered, hold the spatula blade against the cake. Keep the spatula steady while you use your other hand to spin the turntable. Spread and spin until the top of your cake is level and smooth. (Again be careful not to overwork it.)
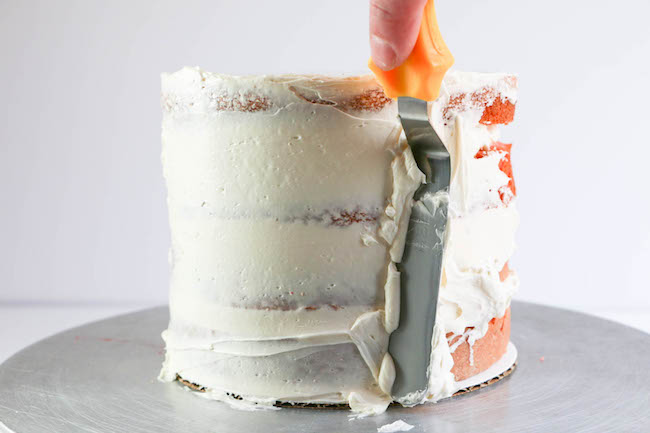
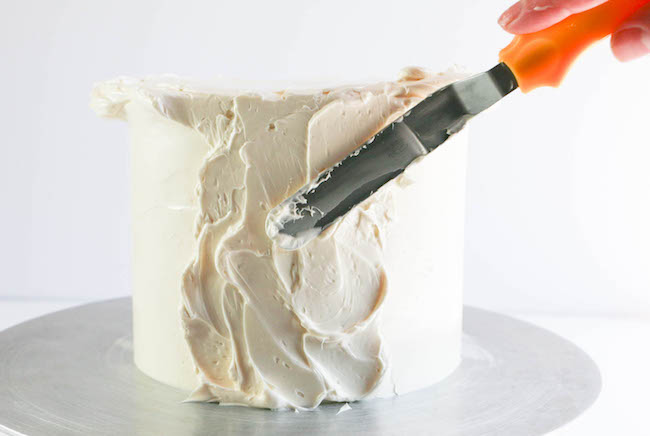
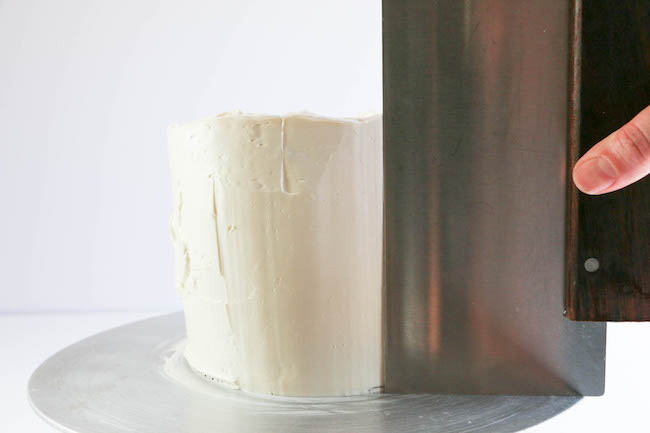
3. Spread Frosting on the Sides
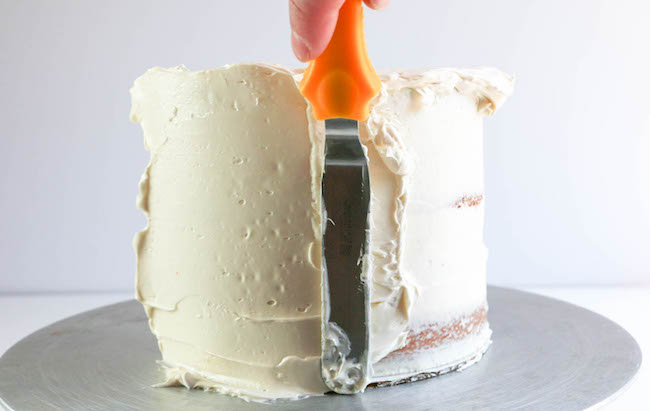
Load your spatula with frosting and apply it thickly to the side of your cake. (You can also pipe it on with a pastry bag and a large round tip if you prefer.) Smooth it out by holding the long edge of a bench scraper, or a straight icing spatula, vertically and using your other hand to spin the turntable.
Pro Tip: Stop every few spins to scrape excess buttercream back into the bowl. Dip the spatula in warm water and wipe it down with a paper towel if frosting starts to build up. Slightly warming the spatula like this helps the buttercream get even smoother.
4. Make it Perfect
Fill in holes if needed, and re-smooth the surface by giving the turntable another spin. Repeat spinning and scraping until the sides are as smooth as you’d like them to be.
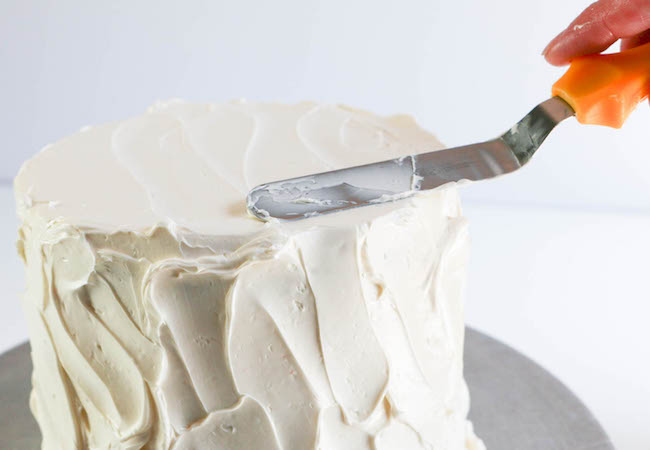
5. Clean Up the Top Edge
After the sides of the cake are smoothed, you’ll see some excess buttercream peeking up over the top edge. Working as precisely as you can, use the flat edge of an offset spatula to swipe the excess buttercream in toward the center, creating a crisp edge while maintaining a smooth top.
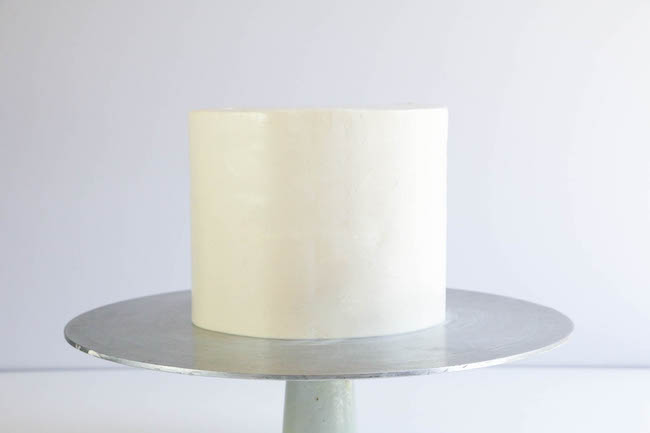
There you have it — a beautifully smooth cake!
Not so much a comment as a question. This is a beautifully easy-to-understand tutorial, so thank you! But how do you get the finished cake off the turntable (you can see how new I am at this).
This is great! Good to know
Remember candy sprinkles on the sherbert ice cream. Could add butterscotch candies.
IThanks for the tutorial for icing cakes. Plan to try this weekend for my carrot cake with white buttercream icing and peach colored Punkin Camellias made from Royal buttercream Icing and frosted green grapes and and other berries and peach slices and plums on top and around cake. Serve with orange sherbert in a carnival glass desert dish.
OMG loved this demonstration, very helpful with the step by step pictures. Thank you
Excellent! Would you be so kind to email me the recipe for the buttercream. Thanks;
I went trade tech college culinary arts and professional baking.
Very helpful!!!!! Thank you!!!
Very clear steps make it simple and will definitely try.
COOL!!!!!