Do you love quilting but struggle with the binding?
I love making every part of a quilt, including the binding, so I thought I’d share my favorite method for how to bind quilts with you. It’s called continuous-length, double-fold, straight-of-grain binding. That’s a mouthful, but it’s how I finish all my quilts.
Follow along to learn how to bind quilts with my six-step method!
Step 1: Calculate and cut your binding strips
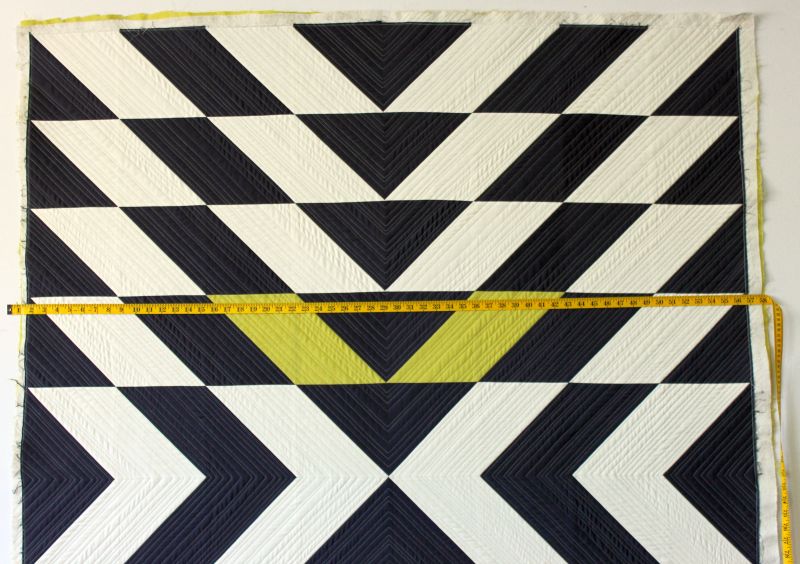
Photo via Craftsy member Christa Quilts
Measure the perimeter of your quilt by adding the length and width of your quilt and multiplying that by 2. Then add an extra 10″ to deal with seams and corners. For example, my quilt measures 56″ x 70″.
Here’s how I calculate my binding:
56″ + 56″ + 70″ + 70″ + 10″ = 262″ inches needed
Next, take this measurement and divide it by 40. This will tell you the number of strips you will need to cut, with 40″ of usable fabric. My number is 6.55, which I will round up to 7 strips of fabric.

I like my binding to finish approximately 1/4″ on both front and back. Therefore I will cut my strips at 2 1/4″ wide. You can cut them wider and use a wider seam allowances if you prefer more of the binding to show.
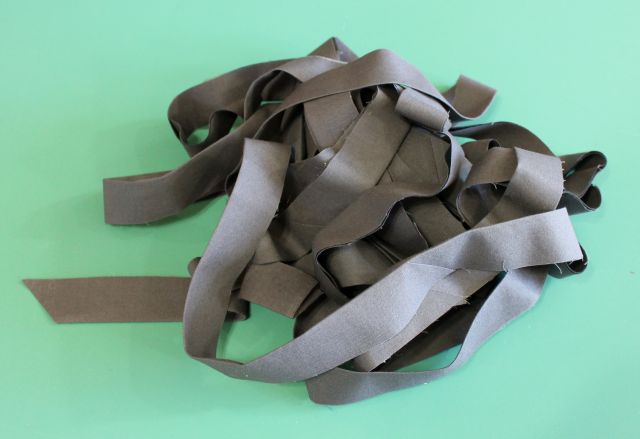
I need to cut a total of seven 2 1/4″ wide strips to bind my quilt.
Step 2: Sew the binding into a continuous length
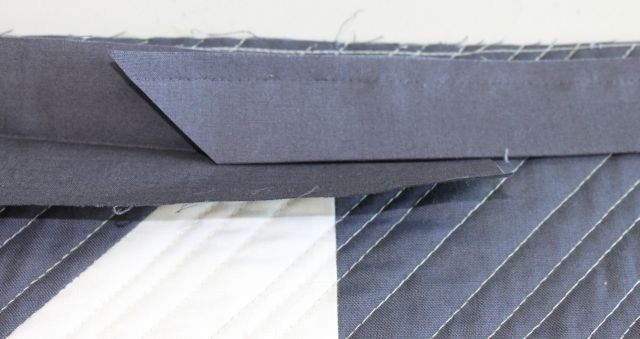
Place two strips with right sides together at a 90-degree angle. Sew them together at a 45-degree angle across the diagonal. Sewing mitered seams like this helps distribute the bulk. If needed, you can draw a straight line across the diagonal or press one of the ends along the diagonal to form a sewing line.
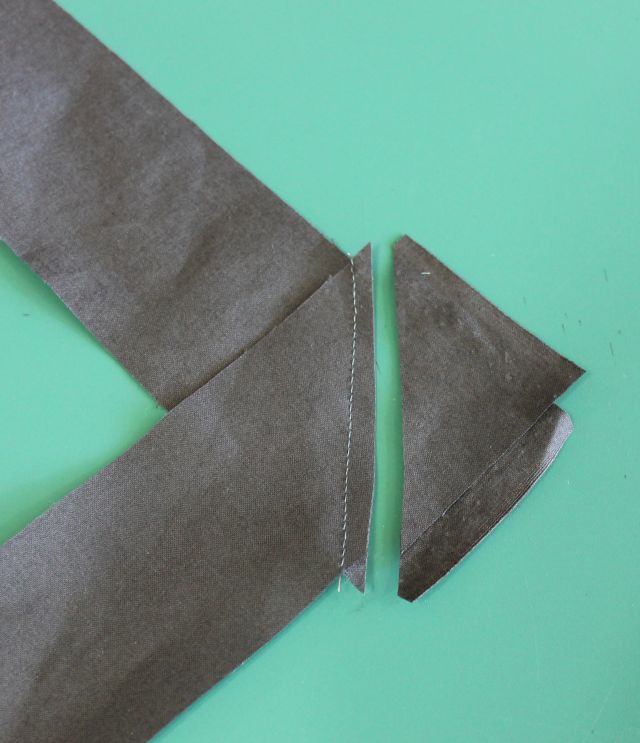
If you are using solid fabric like me, it will be a little trickier to keep track of which is the “right” side. You can use a pin or piece of tape to designate the right side if you like. Be sure to trim the starting edge of your binding at a 45-degree angle, too.
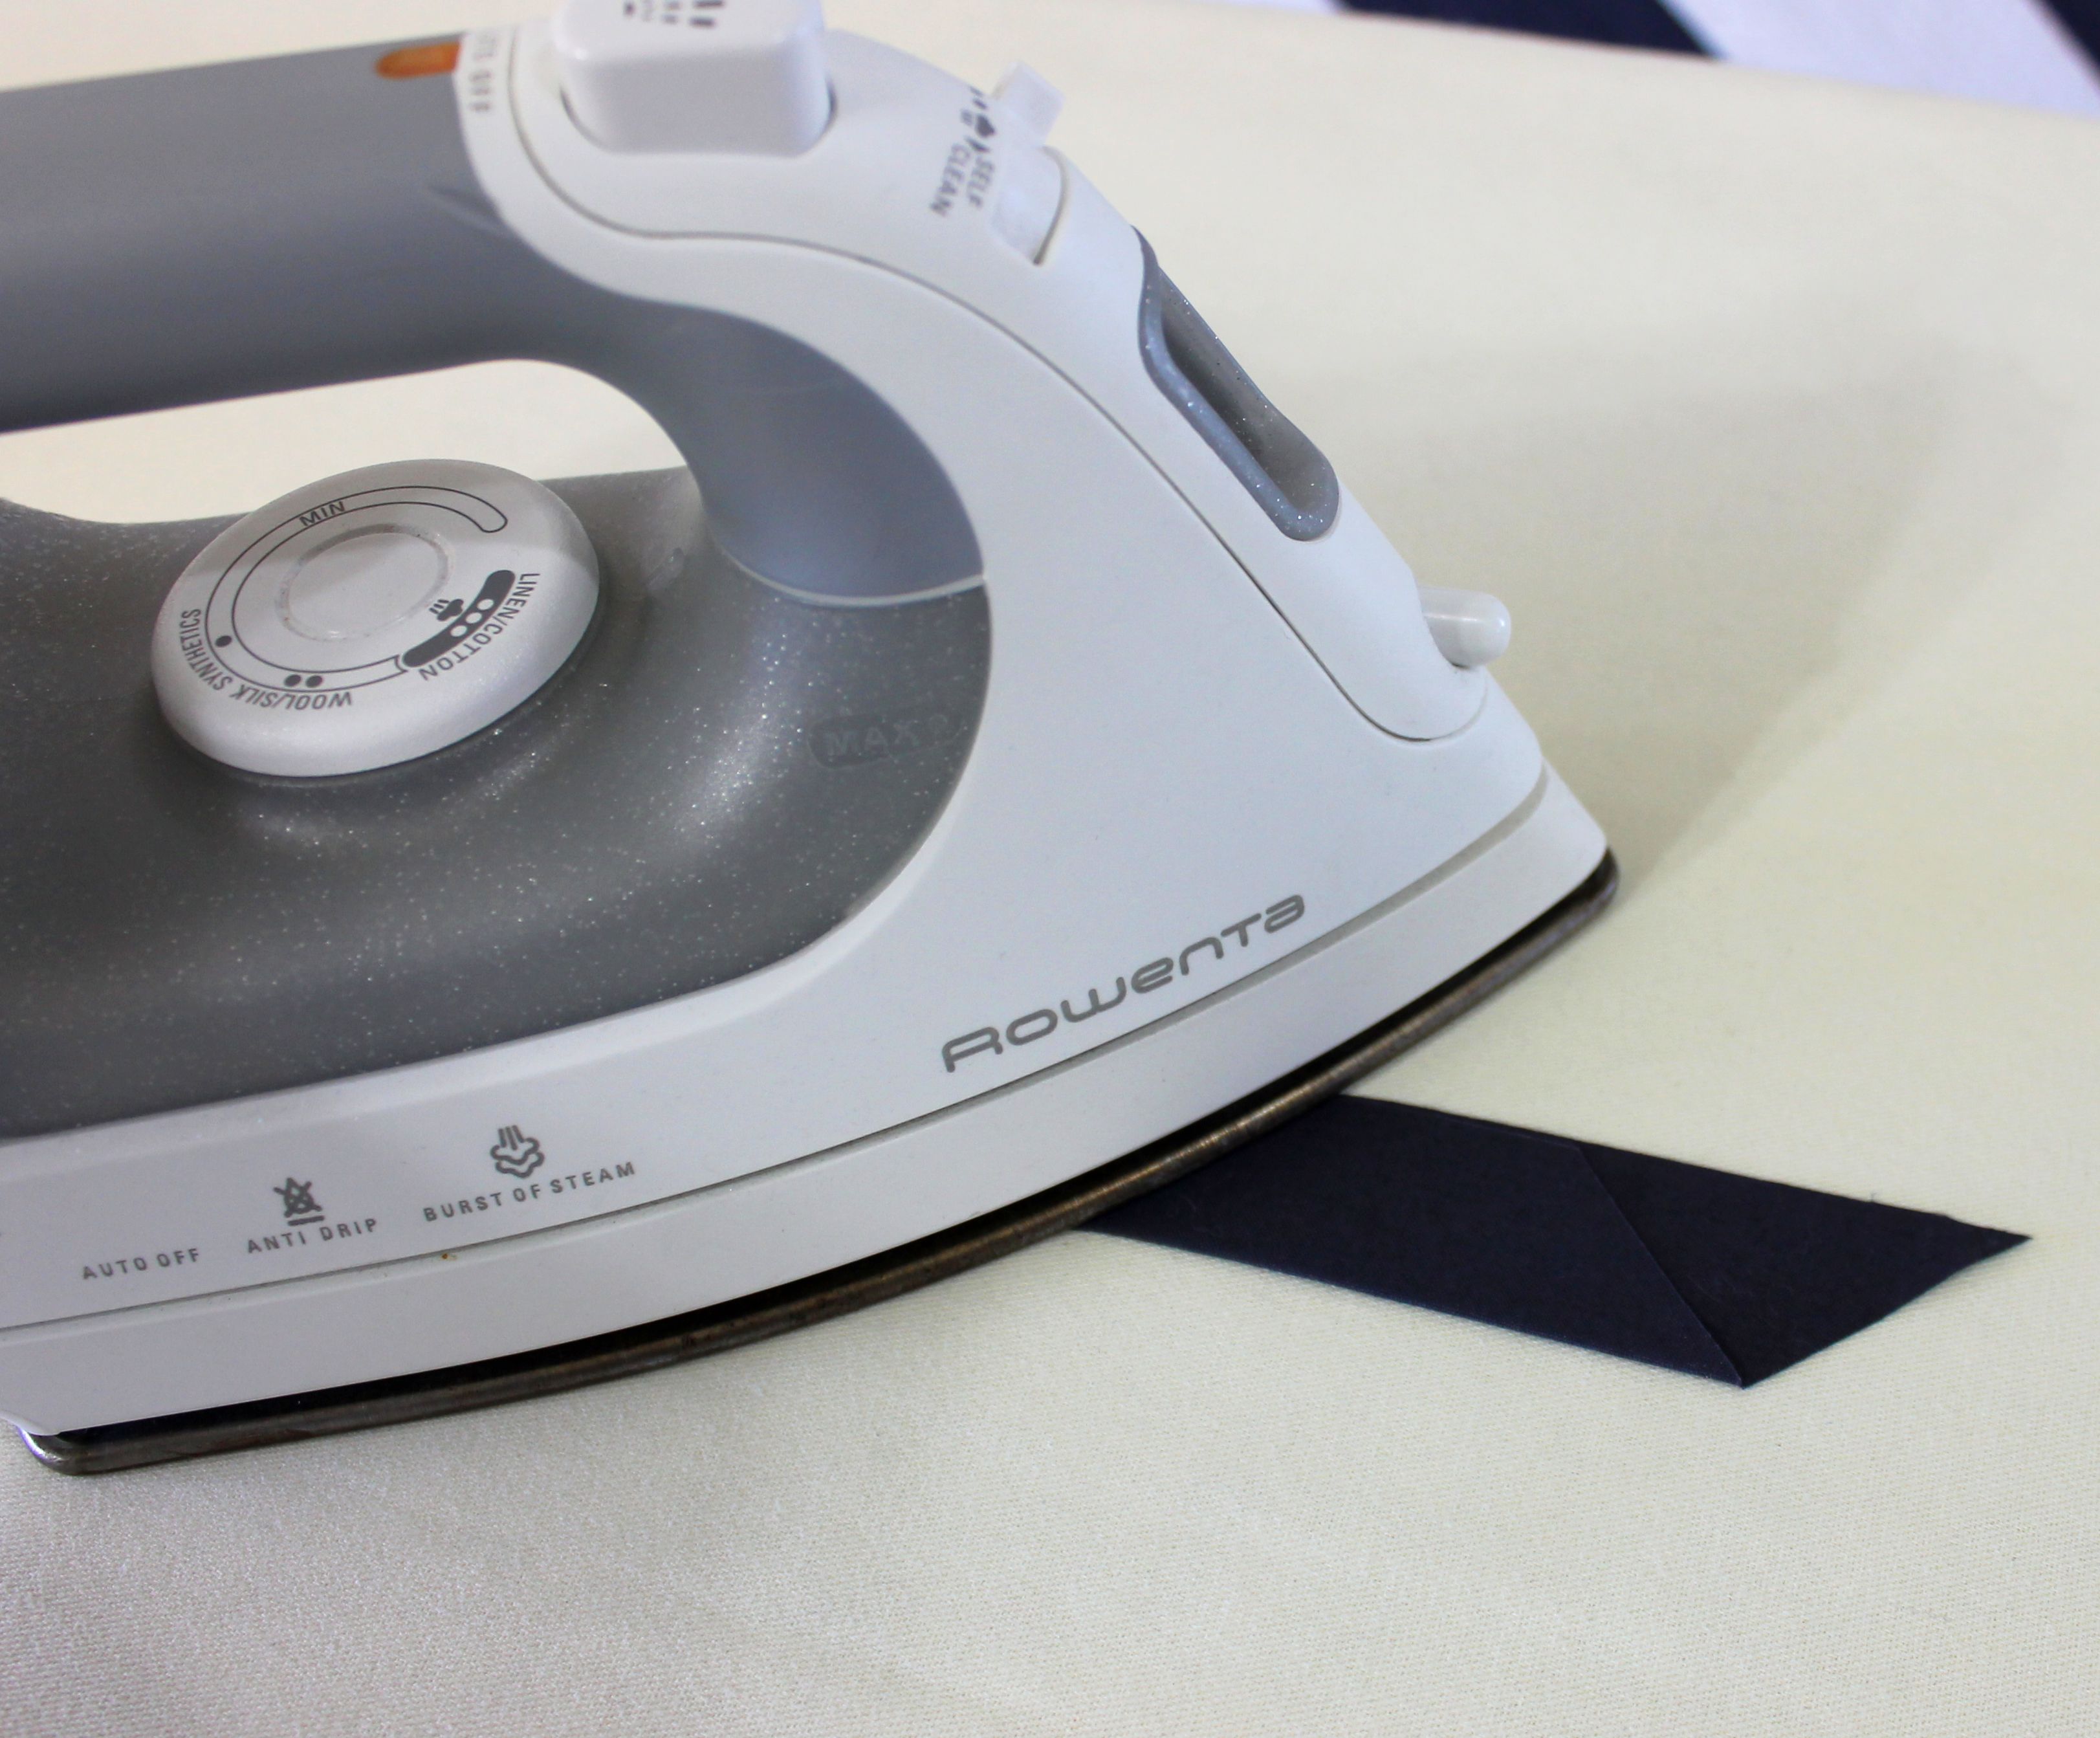
Step 3: Press the binding
Press the binding wrong sides together along the entire length.
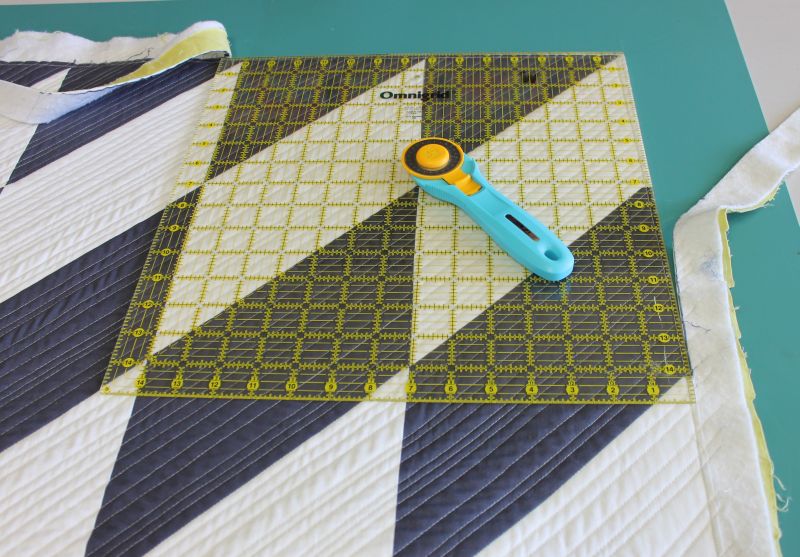
Step 4: Attach the binding to the quilt
Trim off the excess backing and batting before you attach your binding. I use my favorite tools to square up my quilts: a large square ruler for the corners, and a long straight ruler for the sides.
Quickly run your binding along the perimeter of your quilt to ensure you won’t have any seams falling in the corners. If you do, move the binding up or down a few inches to avoid seams at the corners.
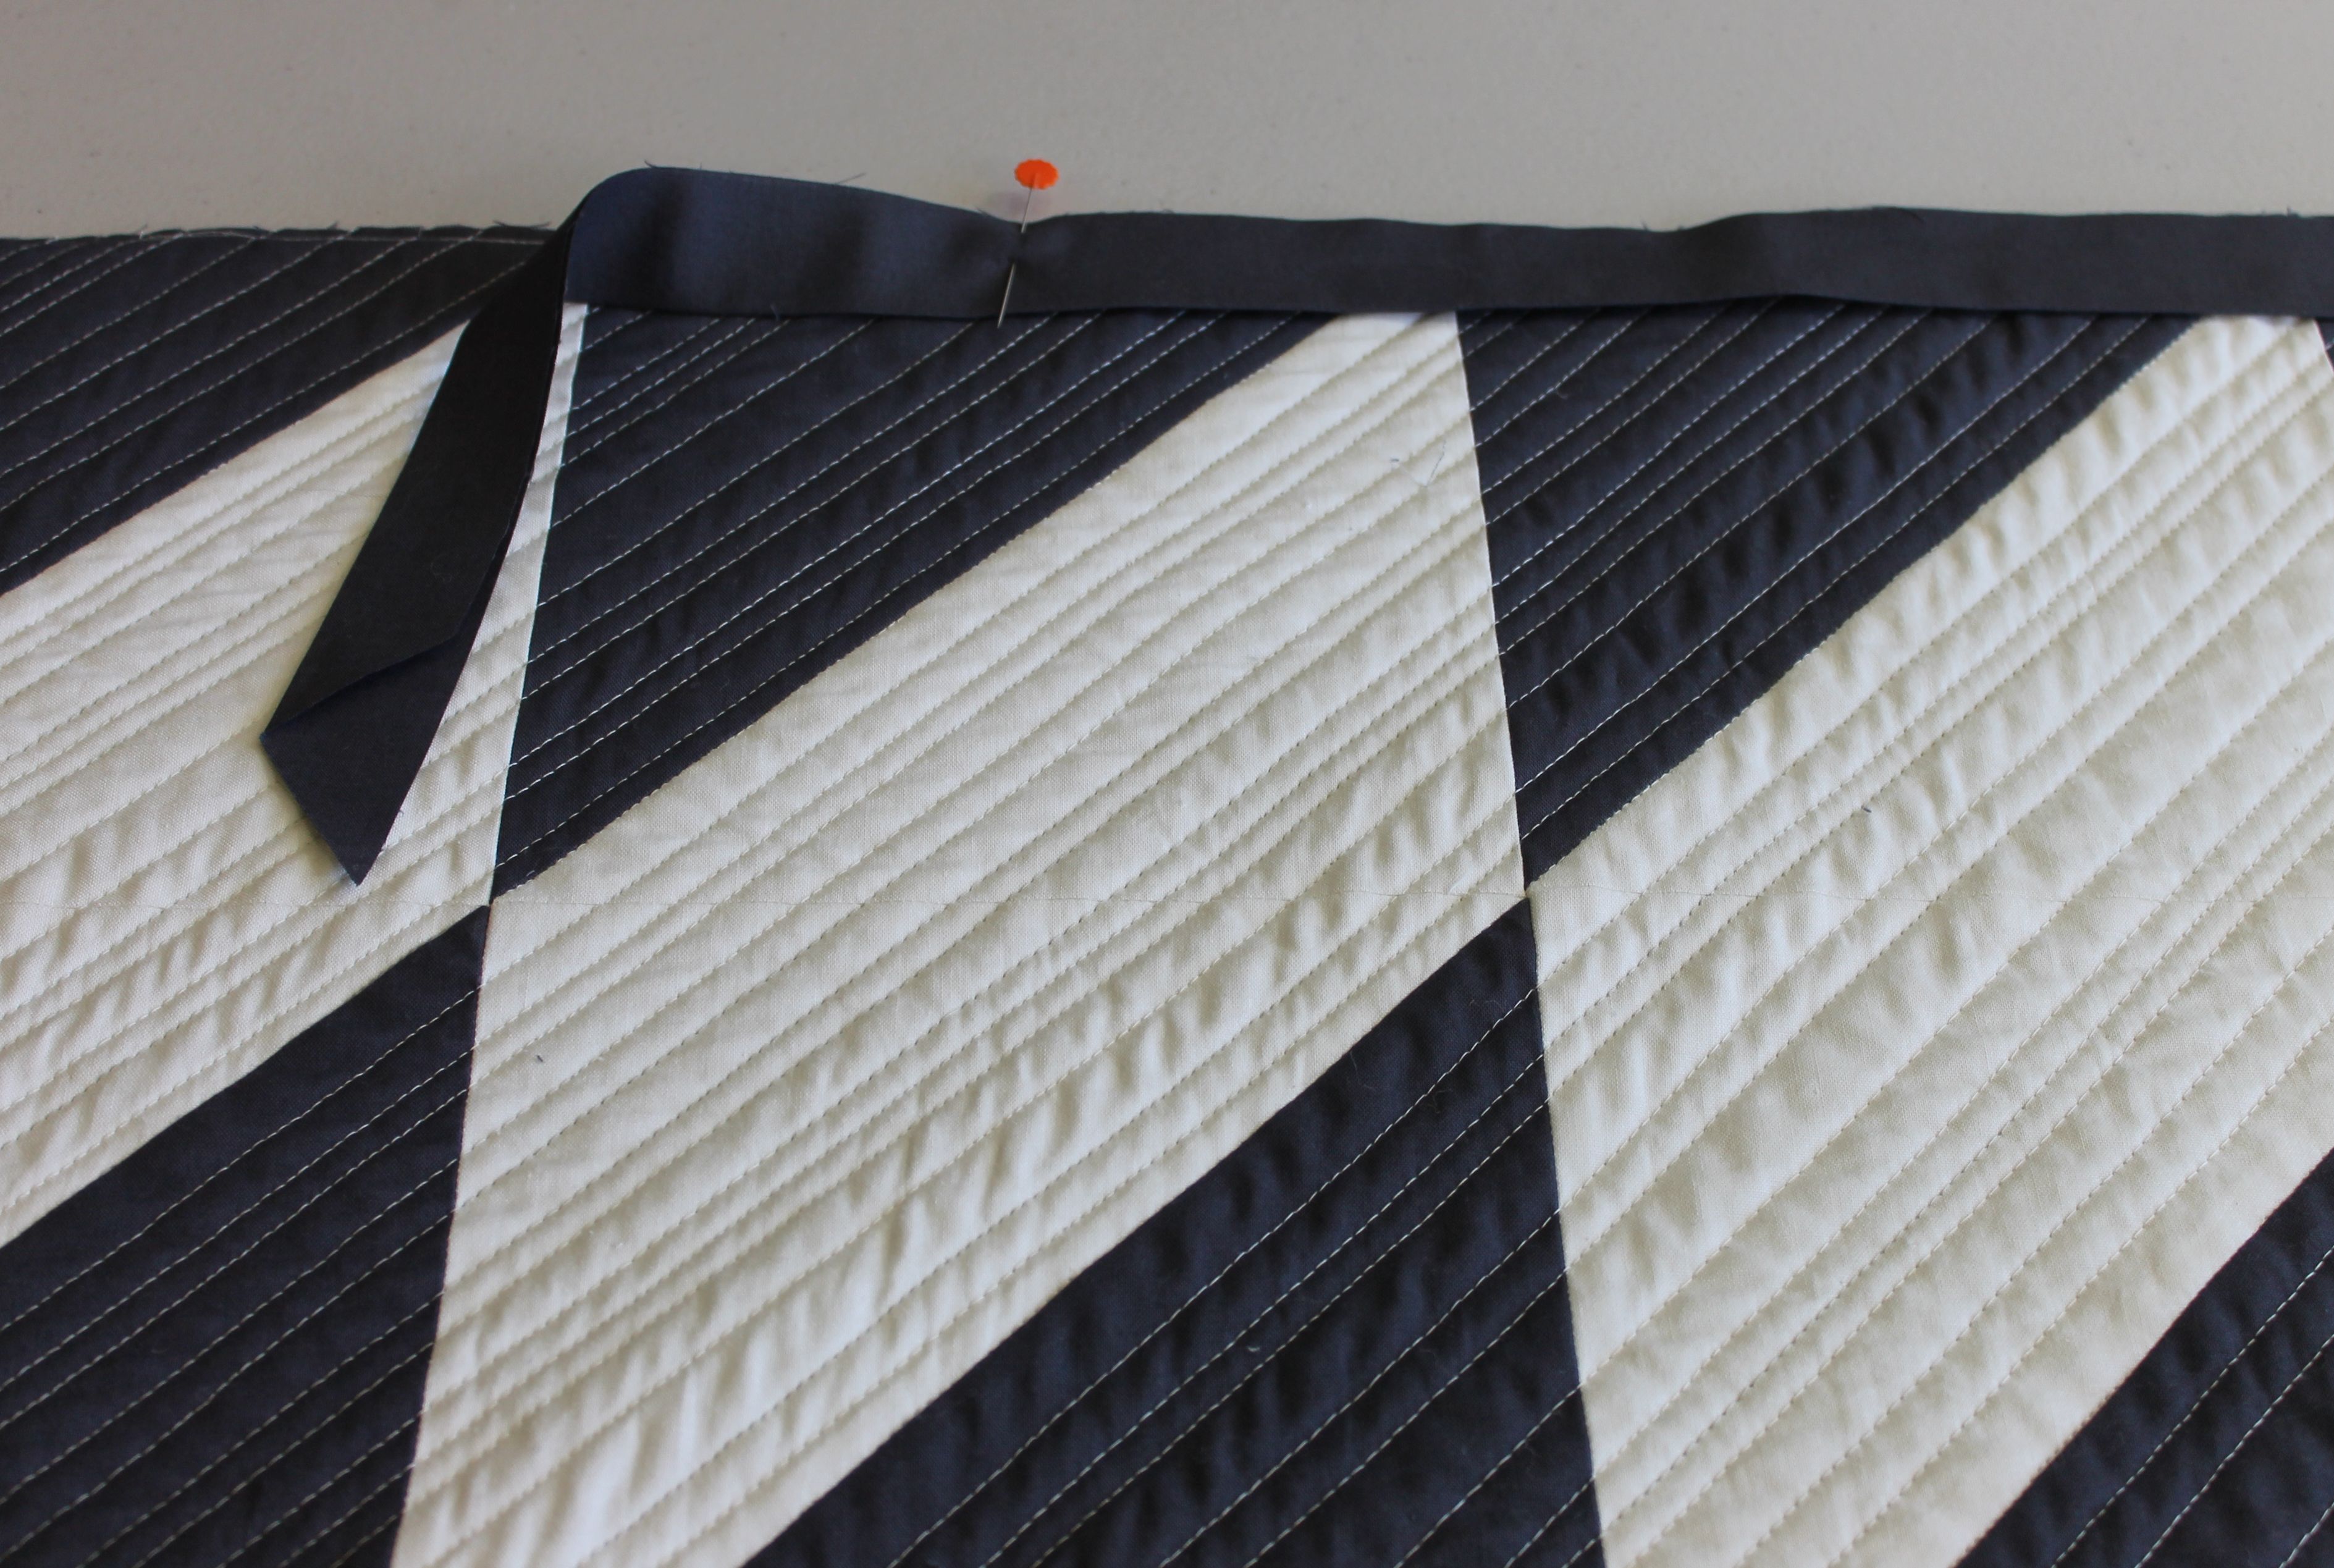
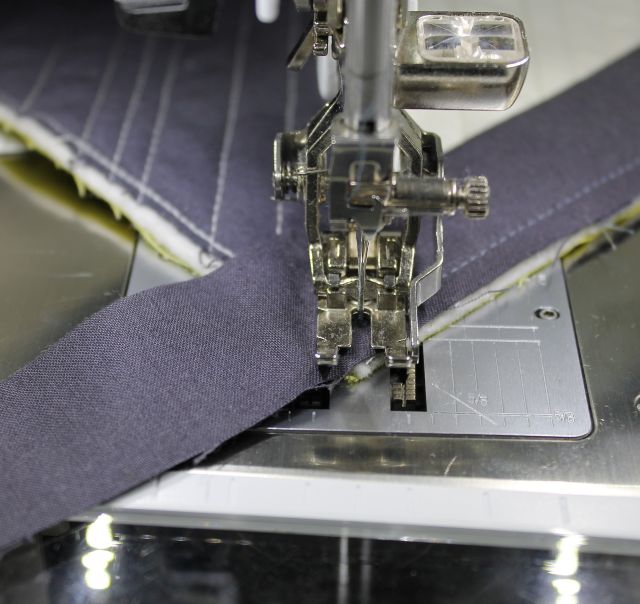
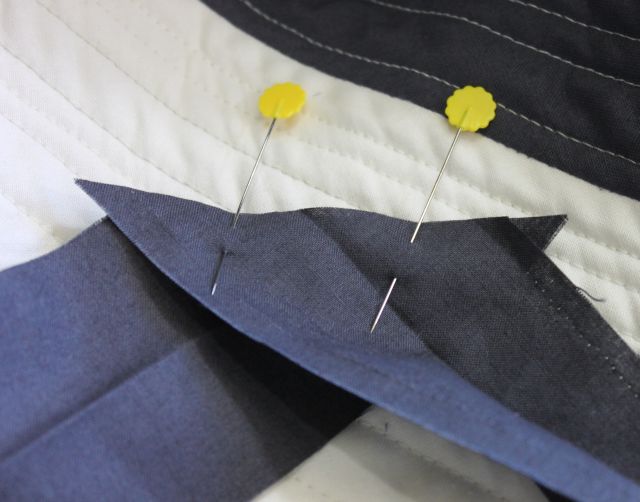
Starting at least 6″ – 8″ away from the corner, place your binding on the front side of the quilt and leave a tail of about 6″ – 8″. Line up the open binding ends with the edge of your quilt. The folded edge should be facing toward the quilt.
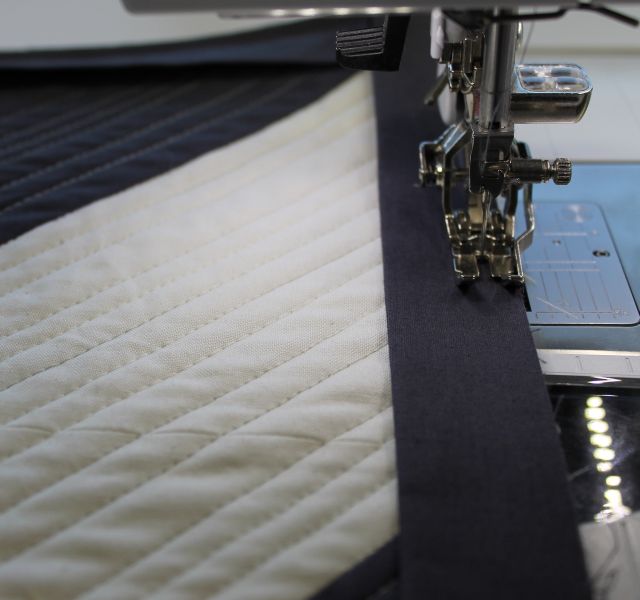
Starting at the pin shown in the previous photo, stitch the binding onto the front of the quilt with 1/4″ seam allowance. Use a walking foot or even-feed if possible. When you get to a corner, stop stitching 1/4″ away from the corner and sew off the corner.
At this point, your corner should look like this:
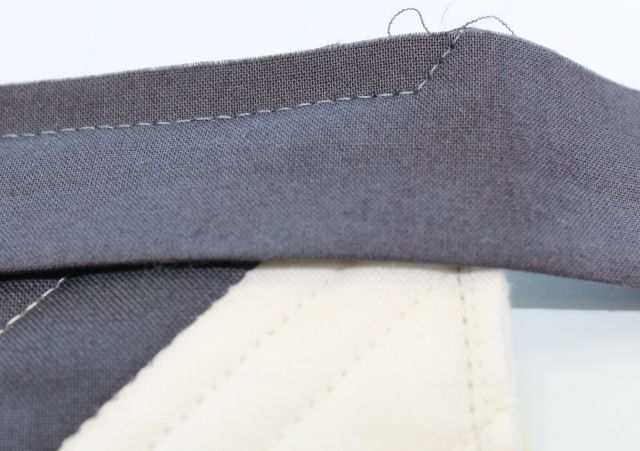
Take the quilt off the machine and fold the binding up and away from the quilt as shown. Keep the edge of the binding in line with the edge of the quilt as shown.
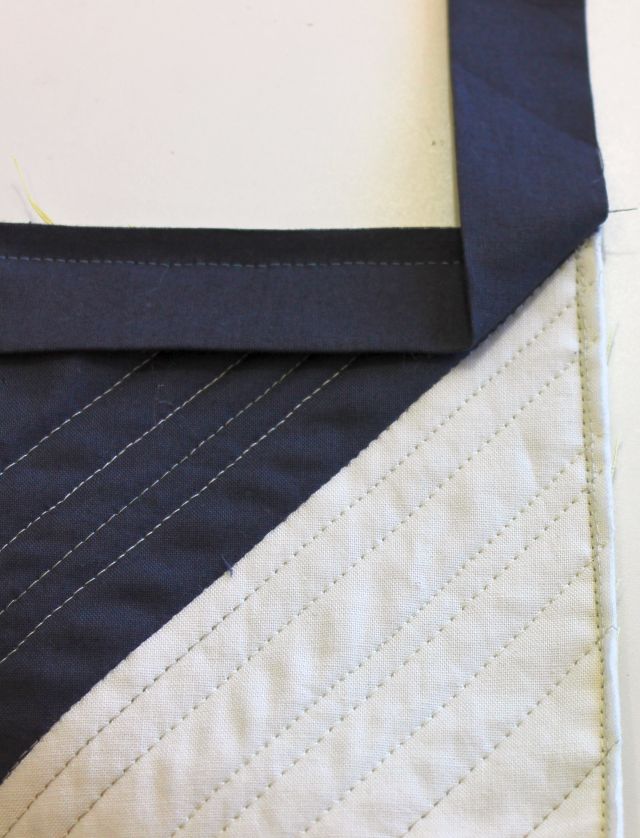
Bring the binding back down, creating a tuck of fabric underneath. This will form the miter on the front of the quilt.

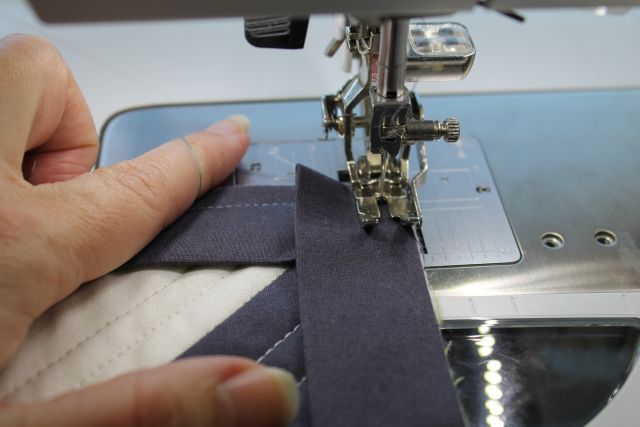
Starting from the edge of the quilt, stitch the next side of binding down until you reach the next corner and repeat this process for all four corners.
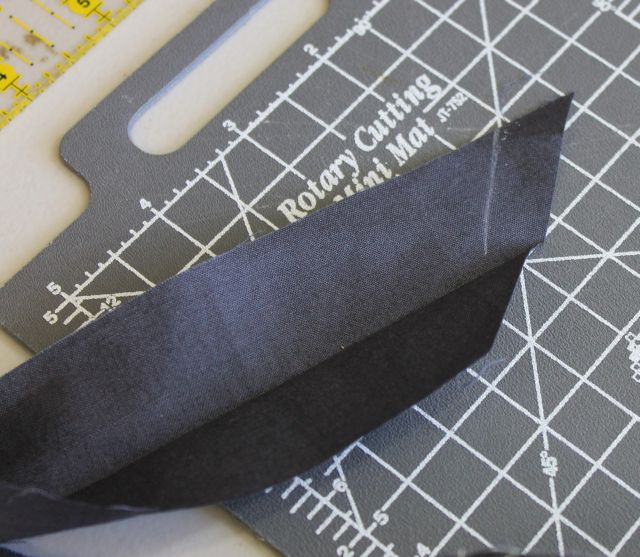
Leave an ending tail of 6″ – 8″ of binding. Trim off the excess, leaving a few inches of overlap to work with. Open up the end of the binding and place the beginning tail inside it.
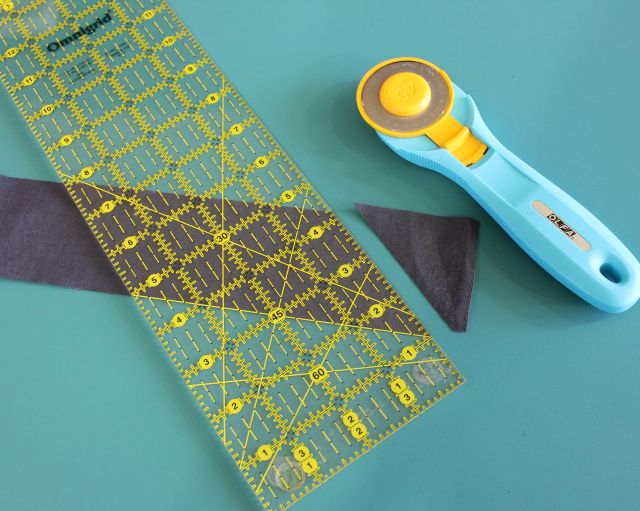
Using the cut and angled end as a guide, lightly mark a line right up next to it. Then cut 1/2″ away from this measurement to account for seam allowances on both ends.
Put the two tail ends right sides together, and sew with 1/4″ seam to complete the continuous loop of binding.
Close up the binding and finish stitching it down on the front of the quilt. You are now ready to finish stitching the binding down on the back of the quilt.

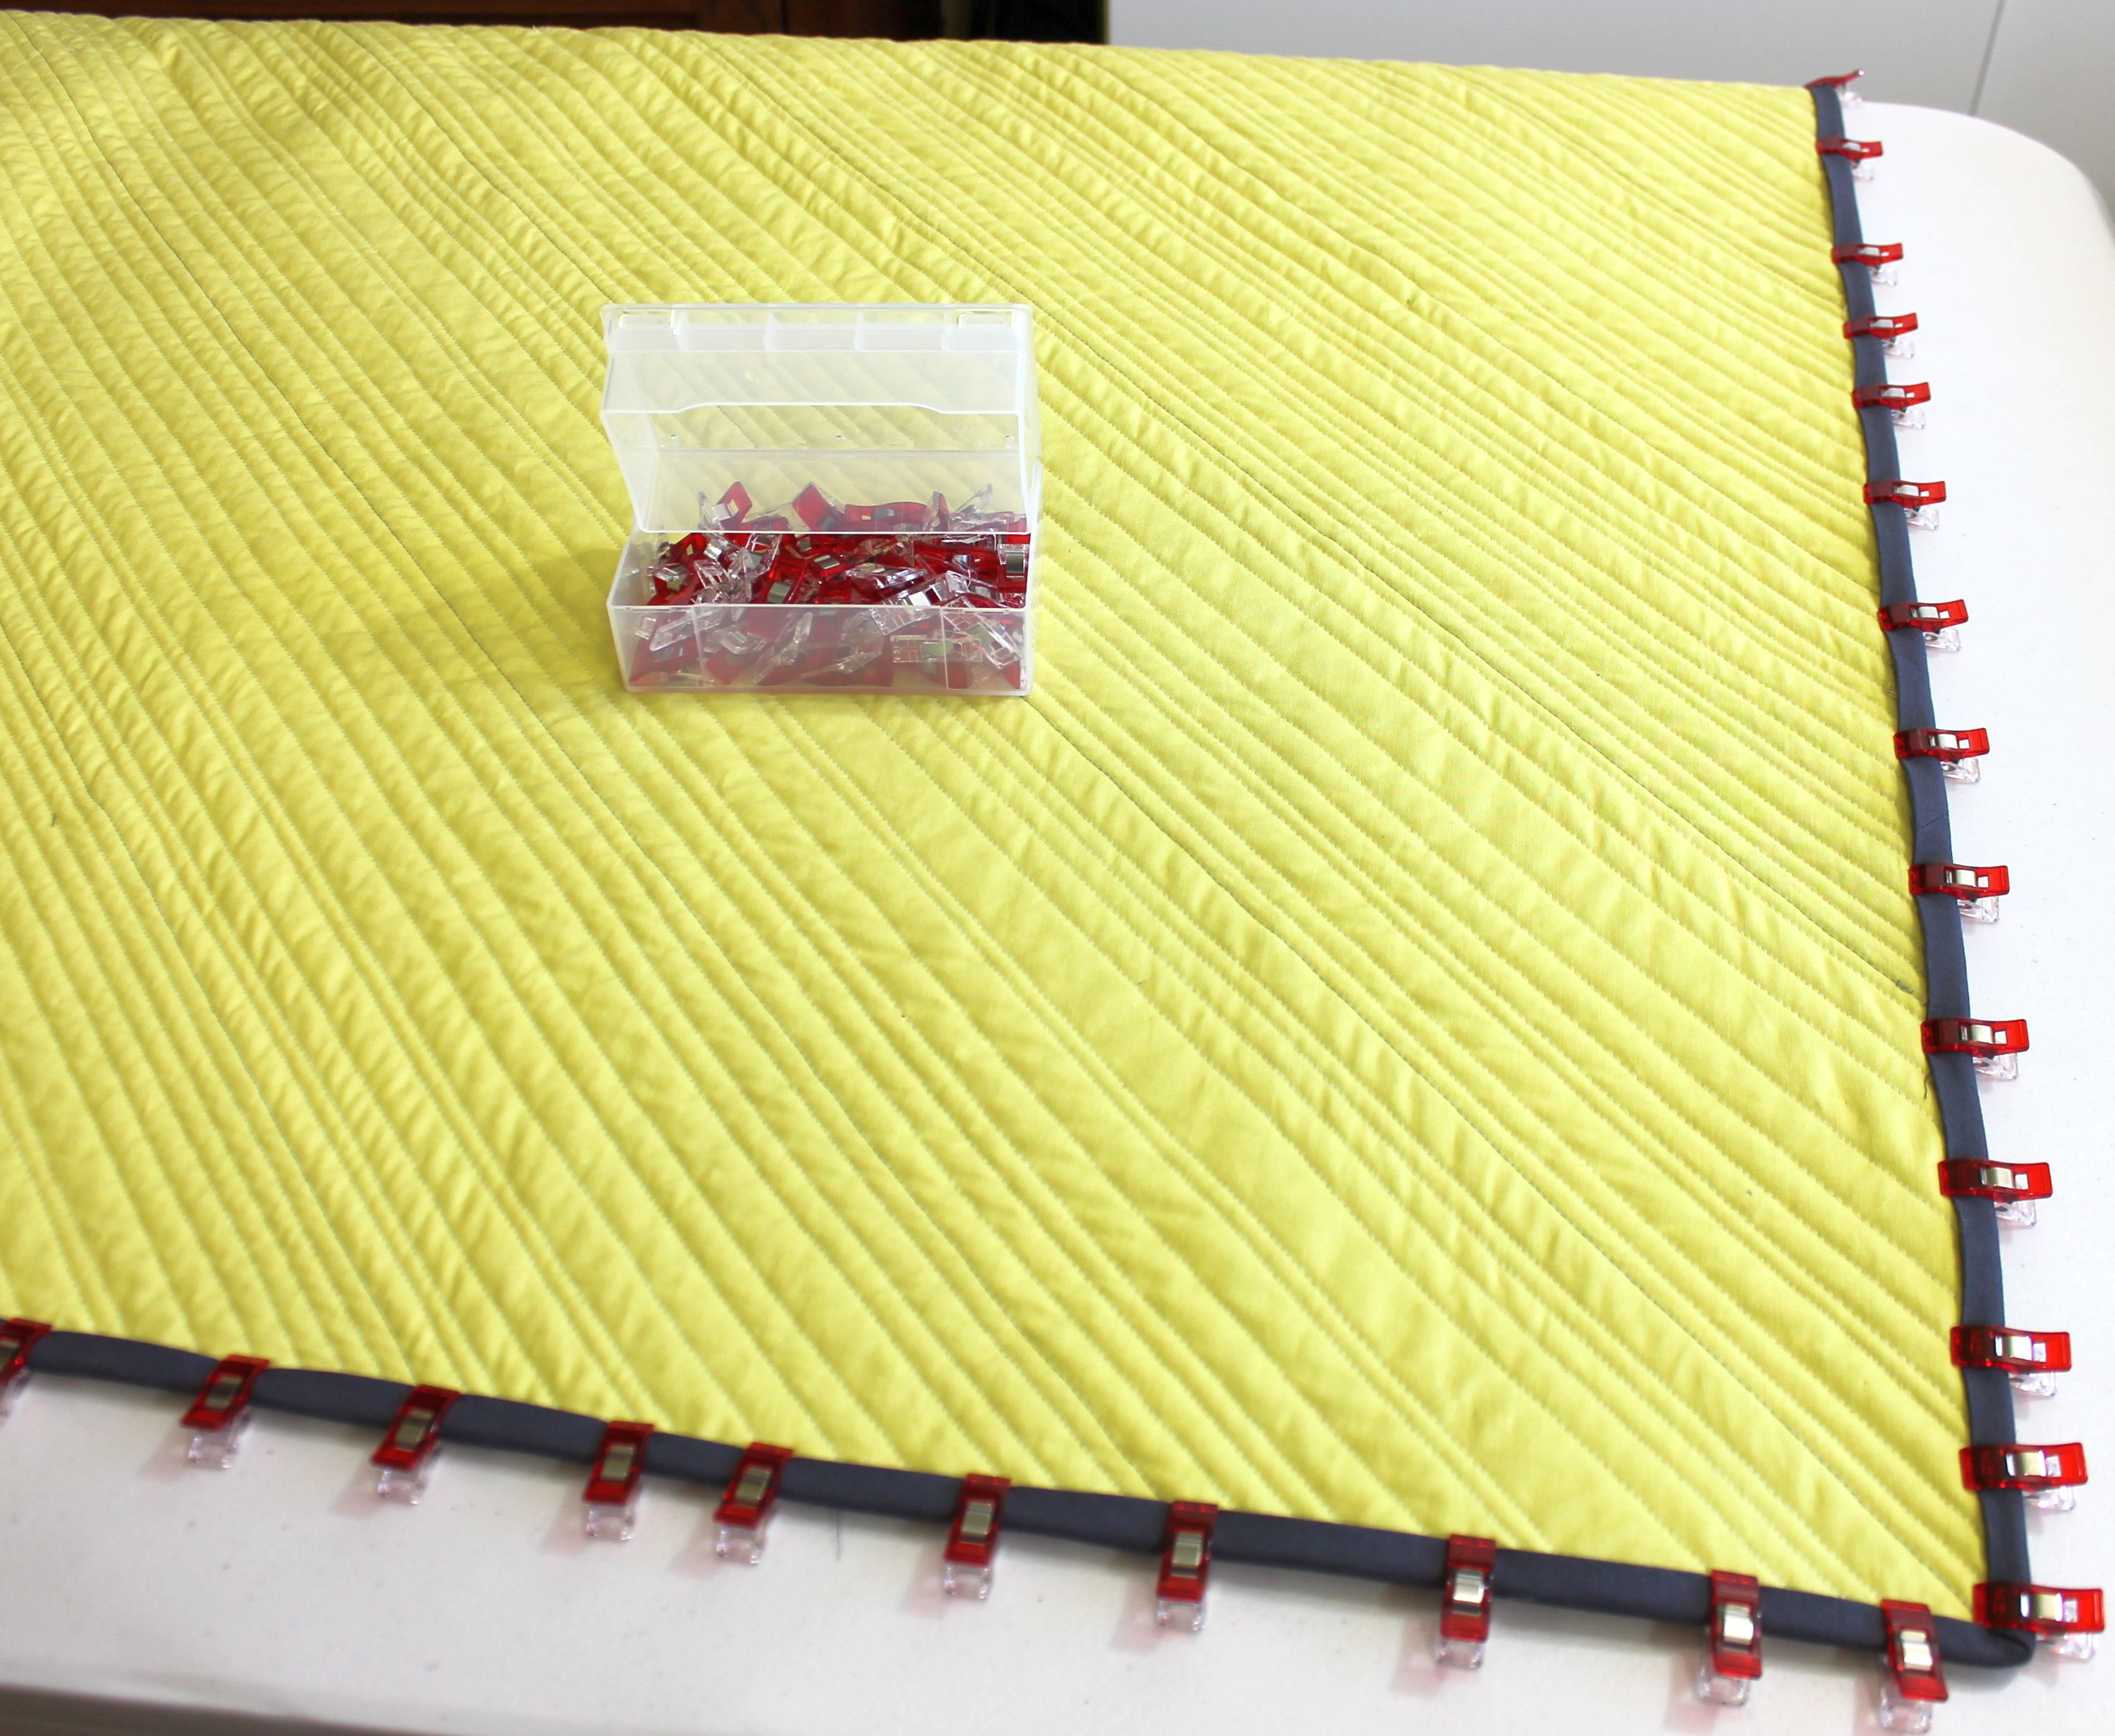
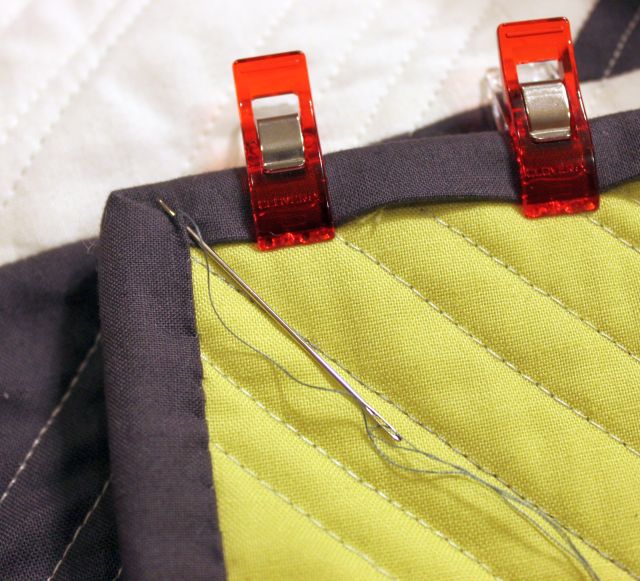
Step 5: Secure with clips
I find it easier to completely secure the binding to the back of the quilt with Clover Wonder Clips before I begin hand-stitching it down. For a throw-sized quilt, it takes about 100 clips to go all the way around the quilt. Pins or hair clips work well, too.
Step 6: Hand-stitch the binding on back
Put on a good movie and enjoy the relaxing process of hand work for a pretty finish.
Thread several needles using the same thread you used to sew on the binding. Clip off about 18″ of thread to use at a time. Wrap the thread around the needle three times and pull it to the end of you thread to create a quilter’s knot. You can double your thread for extra strength and durability.
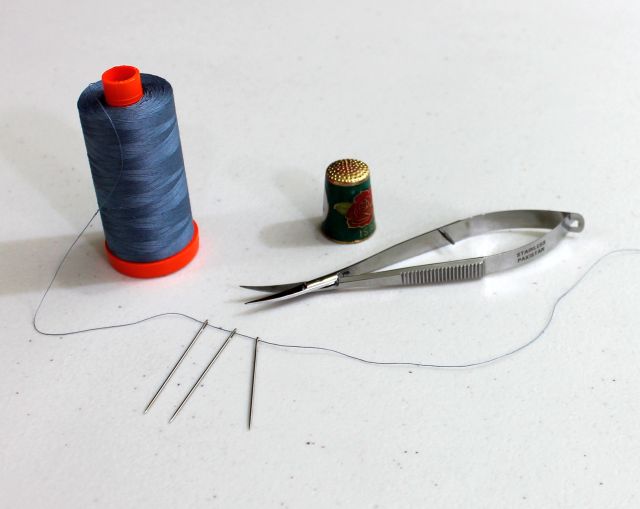
I use a thimble to help push the needle through the fabric when needed.
Tuck the knot underneath the binding, then grab a bite of the backing of the quilt and then a bite of the binding to complete each stitch.
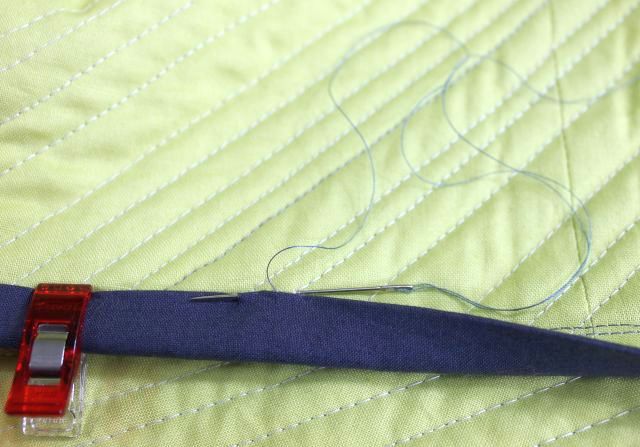
Continue forming each stitch by bringing the needle in behind each previous stitch and pushing it out ahead of the last stitch. Pull the thread slightly taut as you go.
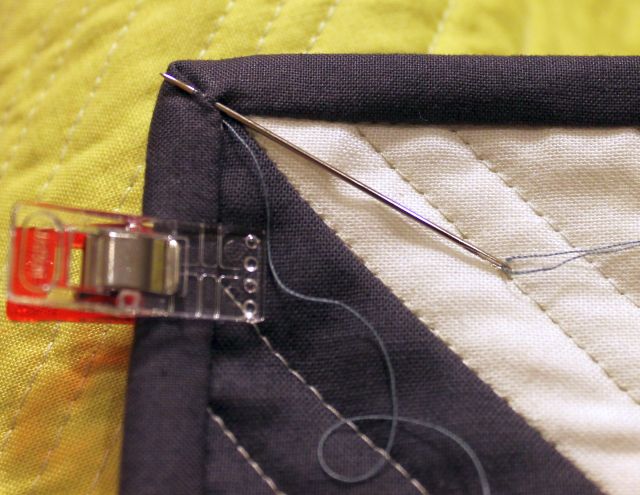
When you get to the corners, be sure to sew them closed. Take a few stitches on the back to close the miter. Push the needle through to the front, stitch the front of the miter closed, then push the needle to the back again.
When you are near the end of a length of thread, make a knot, then take a stitch through the backing and batting only, pop it through the backing and cut off the excess. Continue in this manner until you’ve sewn down the entire quilt.
Congratulations! You’ve learned how to bind a quilt! You can continue giving your quilts the perfect finishing touch by experimenting with different borders, corners and other finishing techniques!
This was so easy! I struggled with binding even with my Mom’s show and tell. Your step by step with pictures is a wonderful instruction.
This just seems too complicated. I have tried binding several of my beginner quilts, and they are always a mess! They certainly do not look professional like yours does. No wonder I like the "no binding" quilt binding a bit better. At least I can sort of get it to look good. How frustrating to NOT be able to bind a quilt with this time honored (I'm sure) method.
This just seems too complicated. I have tried binding several of my beginner quilts, and they are always a mess! They certainly do not look professional like yours does.
'Thank You! For most valuable information with explanation and large picture details, your illustrations will surely help me to master the art of binding my future quilts.
Thanks learnt a few things I had not been doing. Much appreciated
Also, is there anything that can be done to make the edges look square and not rounded. No matter how I try they look curved
For the corners, once you turn the binding down the other side are you supposed to start sewing at the end of the corner or a quarter inch away from the edge? It seems like I have started at the edge before and not been able to unfolder the corner with the mitered edge. Does this make sense?
After following your instructions I finish binding by hand and the finish is the best. I will always do it this way from now on. Ty.
I've looked at a dozen picture tutorials on binding but this one really helped more than others, especially with the layout and corners. Thanks!
Thankyou very informative