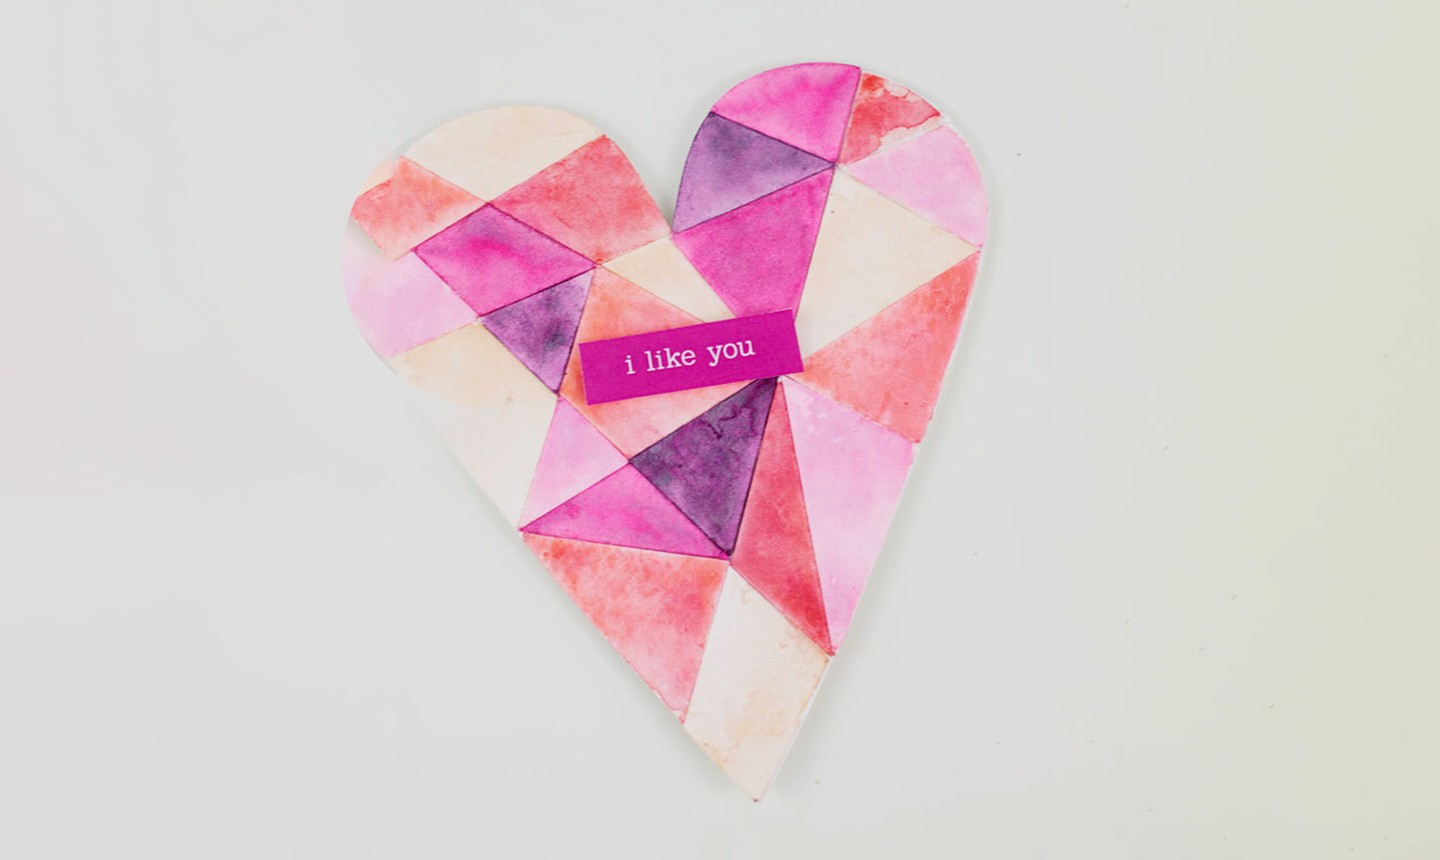
This Valentine's Day, give a piece of your heart with a cool mashup of collage and watercolor. Not a watercolor fan? No sweat — you can reinterpret this design using markers, colored pencils or even glitter. Whatever medium you choose, your boo will heart it.
DIY Geometric Valentine
Level: Easy
What You Need
Instructions
1. Print and Cut
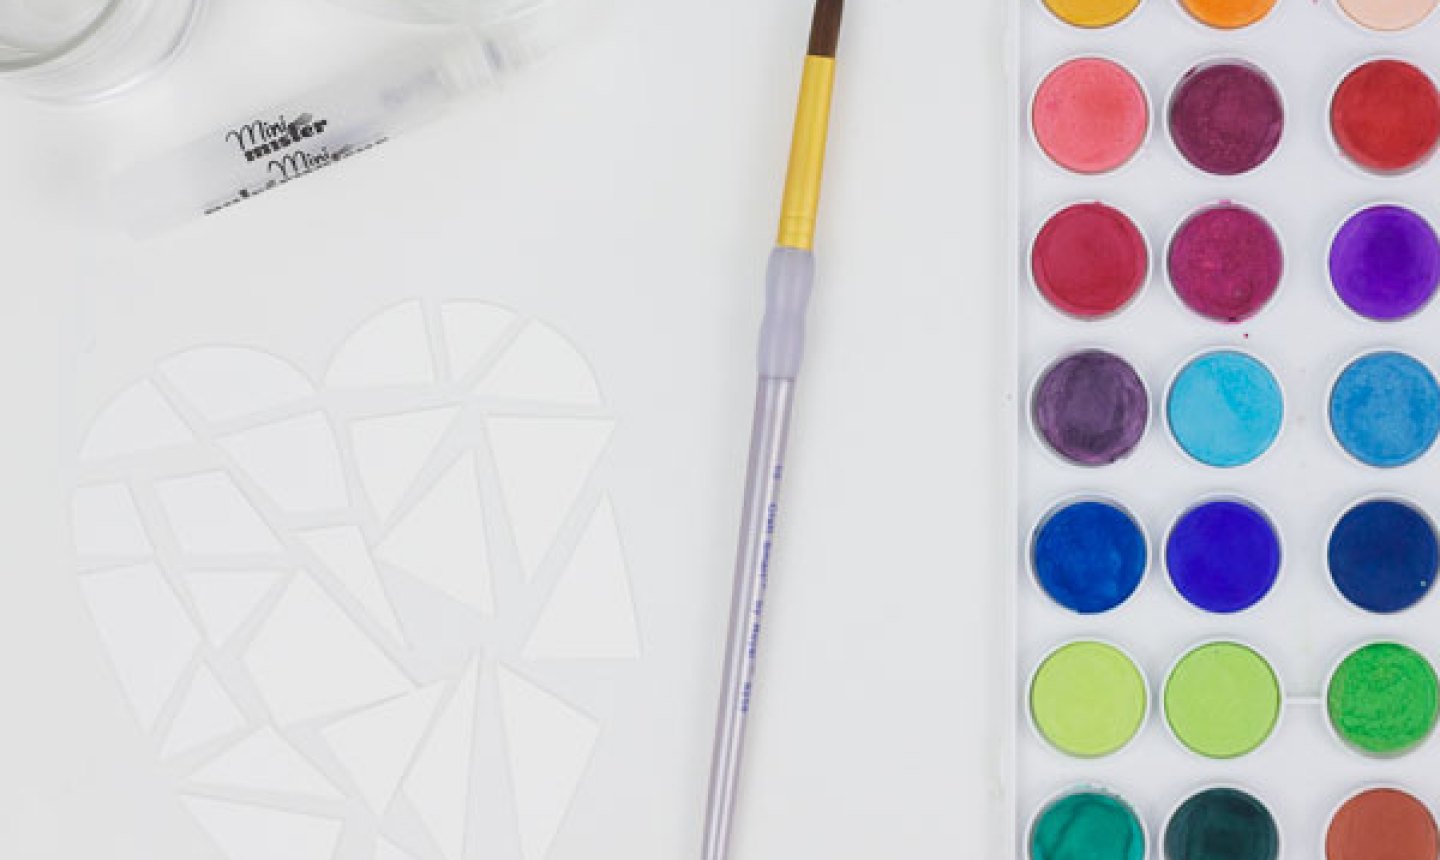
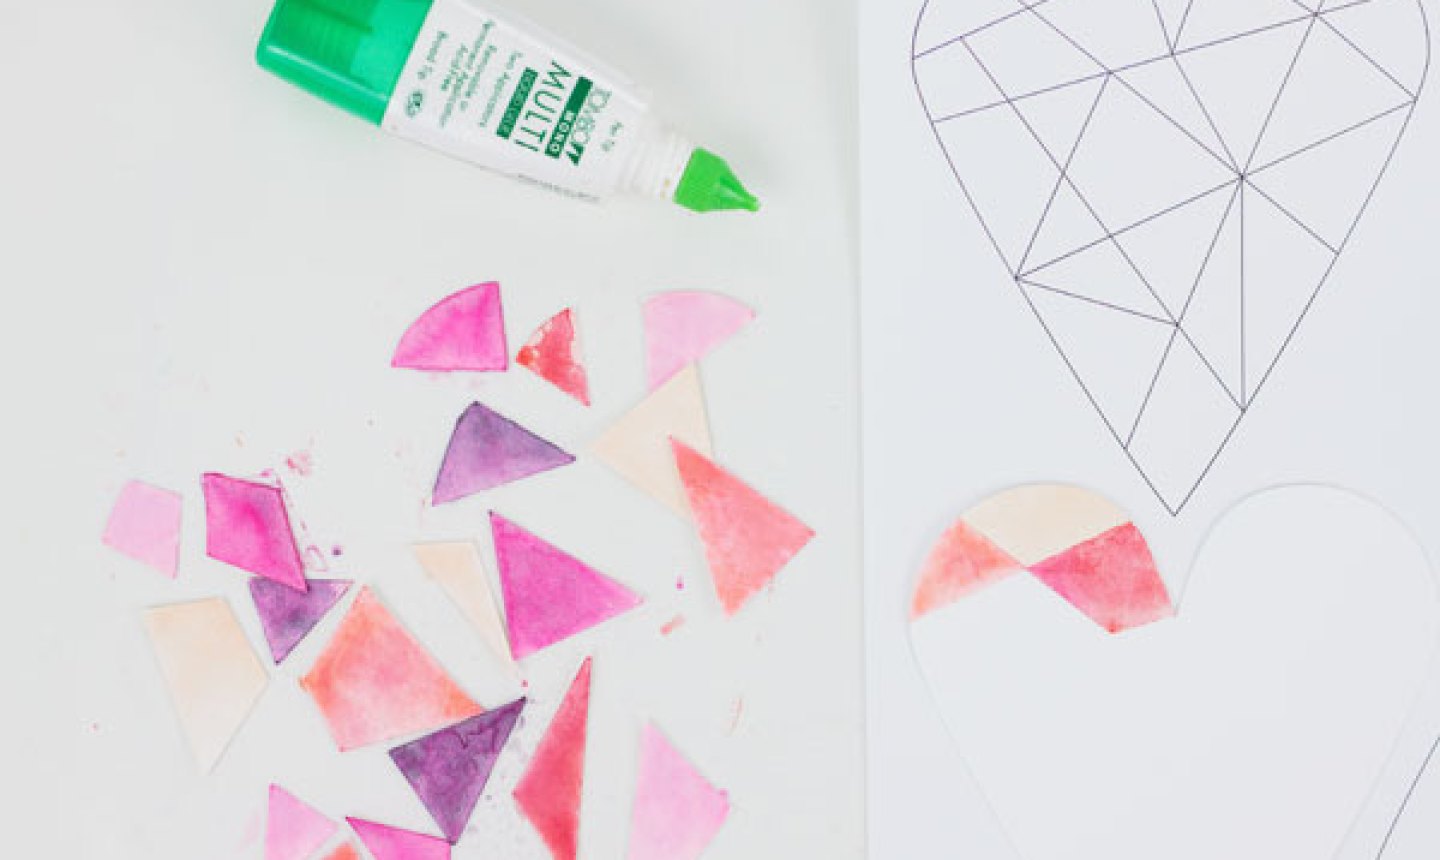
Print the PDF pattern onto white card stock. Cut out everything — both the little heart facets, the big solid hearts and the "i like you" message — by hand.
2. Paint the Heart Pieces
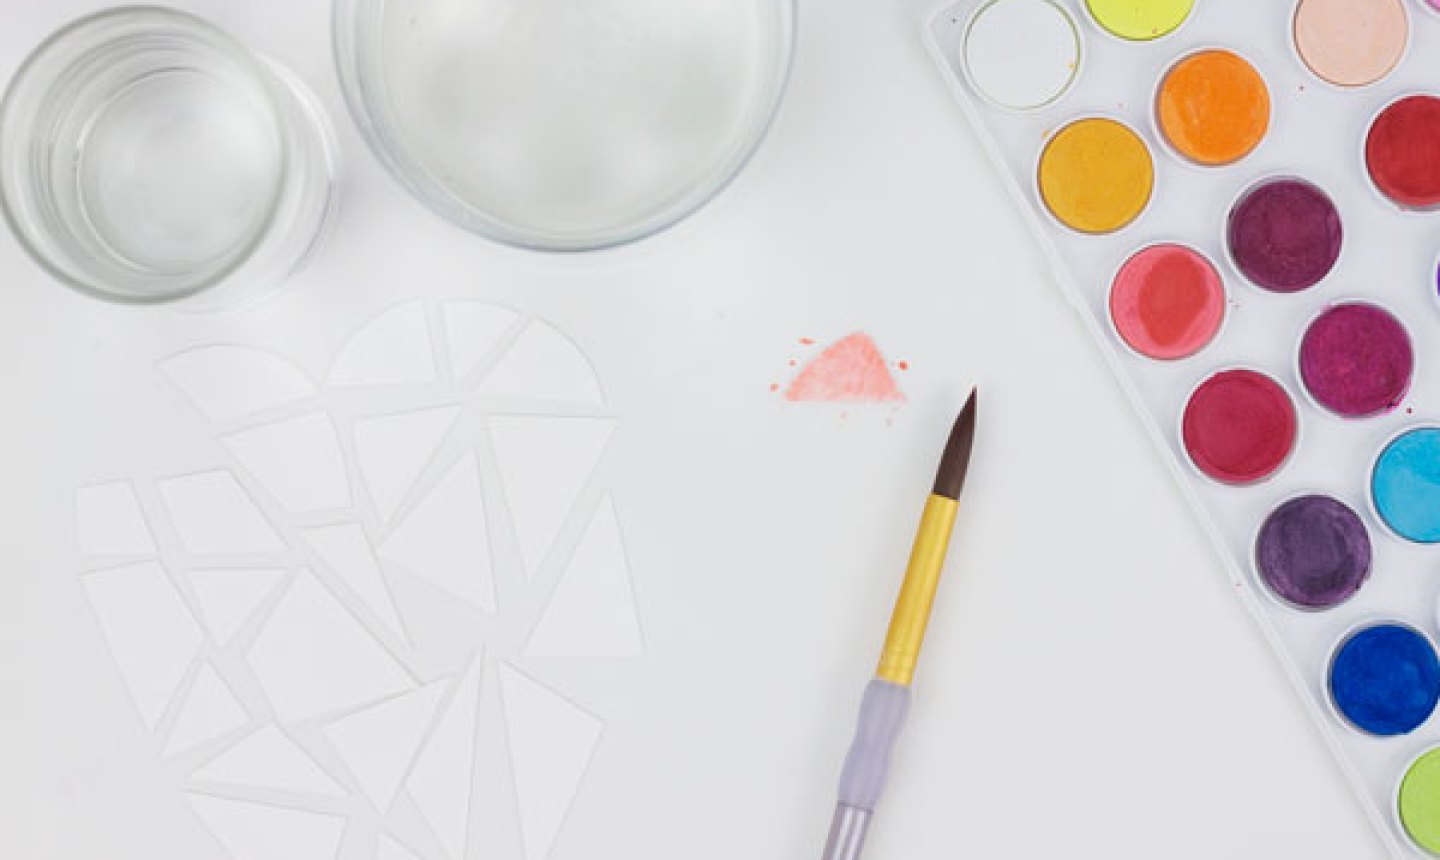
Wet your paintbrush, load it with one of the watercolors and paint the first piece. Repeat this step for each of the pieces, using different colors for each shape.
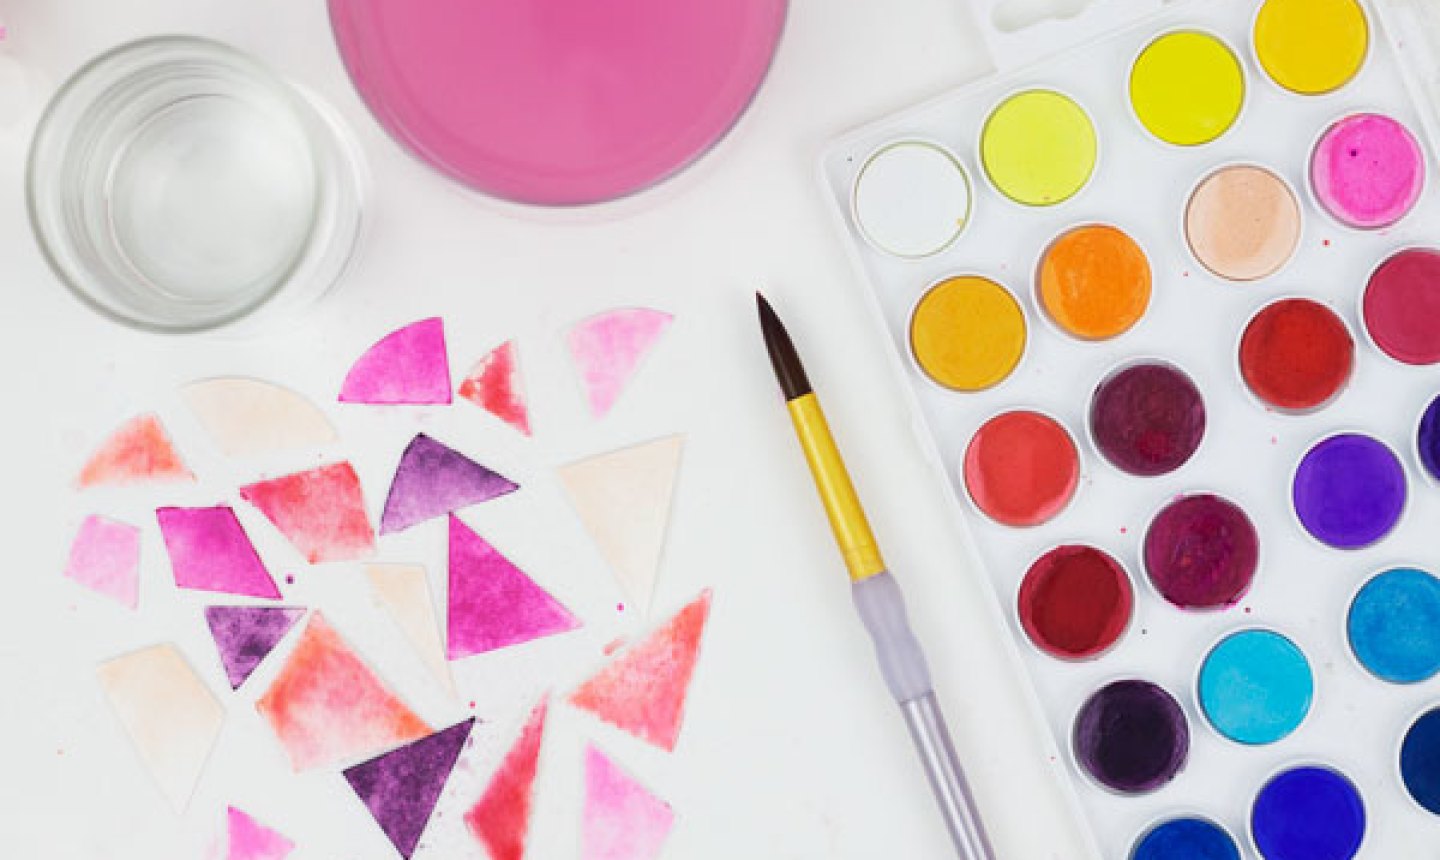
Pro Tip: As you work, keep the little pieces in approximately the same arrangement from the template. This way you'll be able to see how the colors will look when the card is finished, and you'll have a much easier time piecing together your heart at the end.
As you paint, you can keep the color on each piece pure or you can add spritzes of water and drips of other colors to blend the heart together in interesting ways.
3. Let It Dry
Once each piece is painted, set 'em all aside until they're dry. You can add fresh water, more color or both during the drying process to create more saturated areas of color and contrast.
4. Arrange the Pieces
When the facets are completely dry, glue 'em down to one of the solid heart pieces. This step can get complicated, so refer to the template (either on your screen or a second printed copy) so you can see where each piece goes as you work.
5. Attach the Message
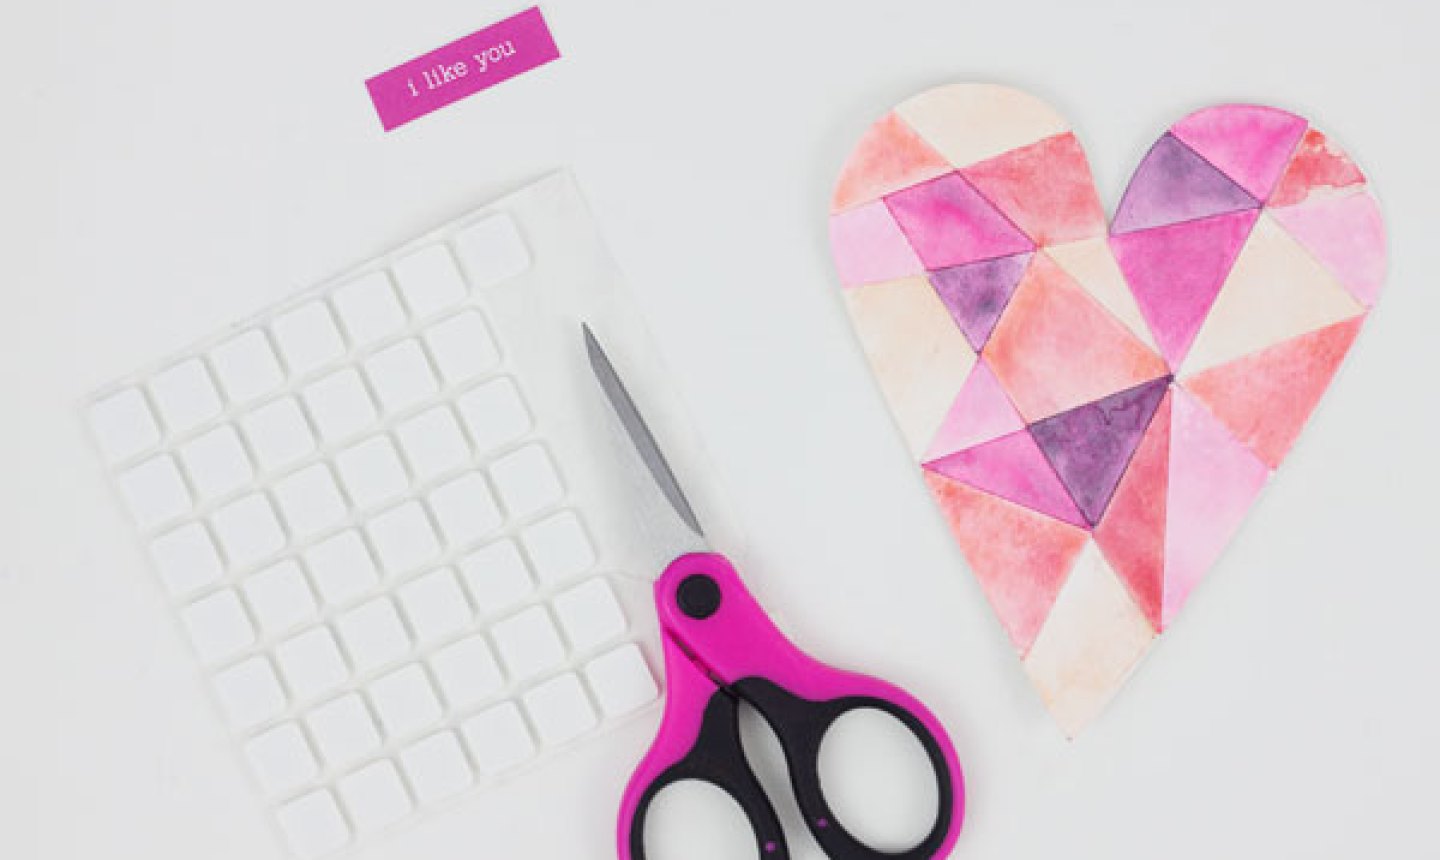
Once your pieces are glued into a heart, use a dimensional foam adhesive to attach the "i like you" message front and center.
6. Score the Fold
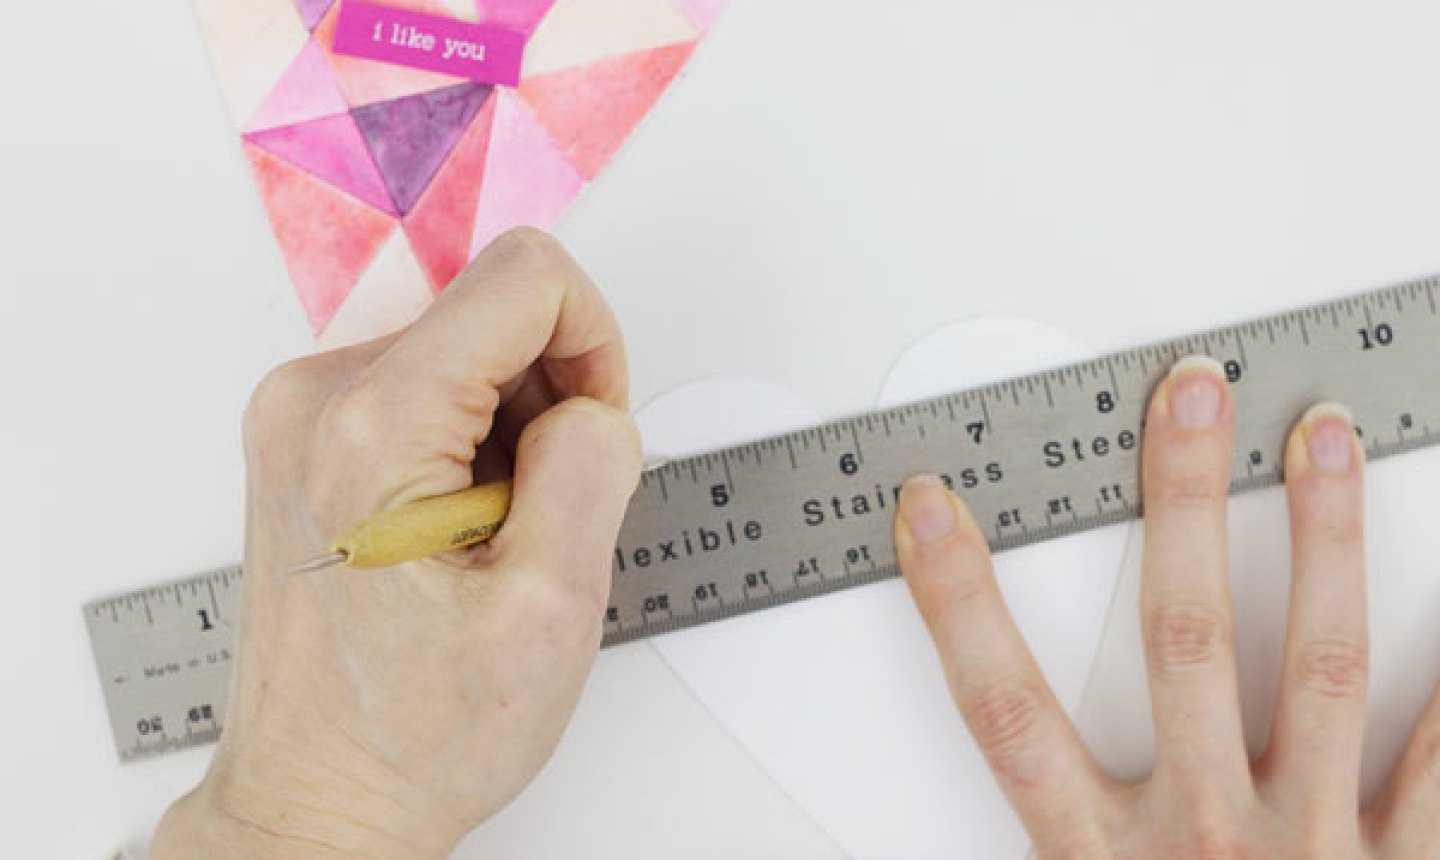
Place a ruler across the second heart horizontally, about ¾" from the top. Use an embossing stylus or bone folder to score the card stock.
7. Finishing Touches

Add double-sided tape or glue above the score lines. Press the faceted heart piece and the scored heart piece against each other to bring the card together and finish it. The back heart piece will bend at the score lines when the card is opened.
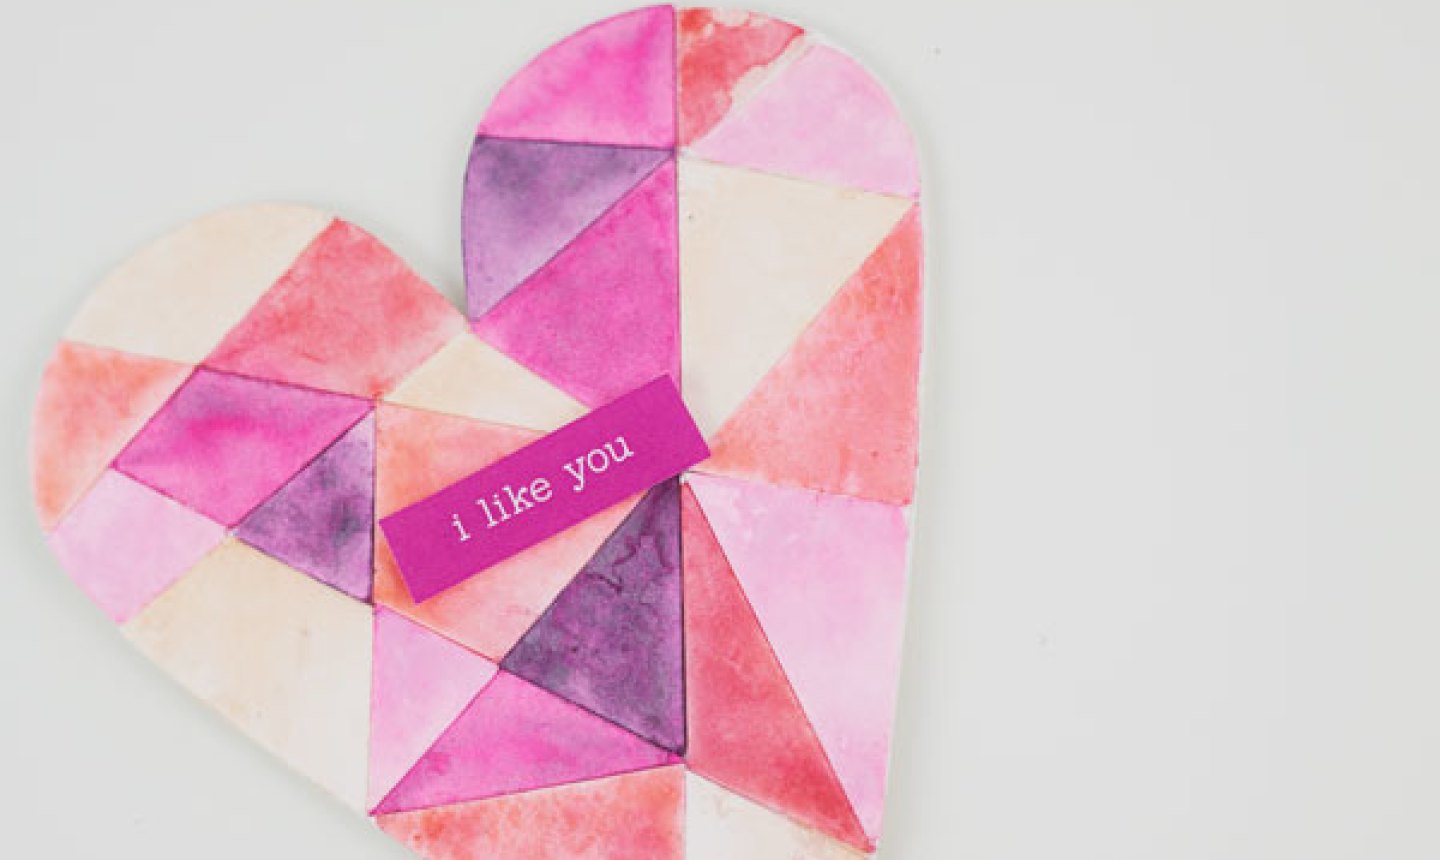
Now all that's left to do is write a personal message and make your sweetie's day.

Share tips, start a discussion or ask other students a question. If you have a question for an expert, please click here.
Already a member?
No Responses to “Paint Your Geometric Heart Out With This DIY Card Tutorial”