Creating gold royal icing with a metallic finish (or any color metallic color) is an easy and effective way to add drama and depth to your cake and cookie decorating projects. Unfortunately, the cake wizards have yet to come up with a royal icing recipe that pipes with a metallic sheen straight from the bag. Until that day comes (get on that, wizards!), luster paint is the key to shimmery royal icing happiness.
Tips for making royal icing with a metallic finish
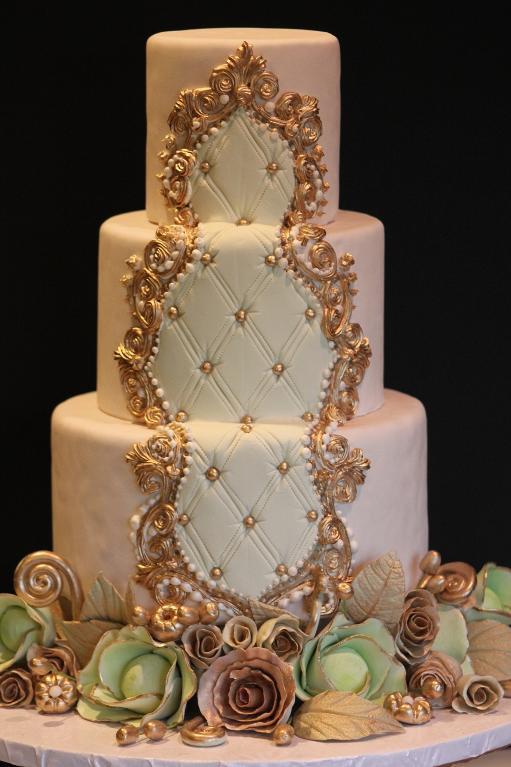
Cake by Joshua John Russell
Patience is rewarded!
Make sure the royal icing has hardened completely before brushing on your metallic color. The piece could crack or smush if you add additional moisture before the icing has dried out.
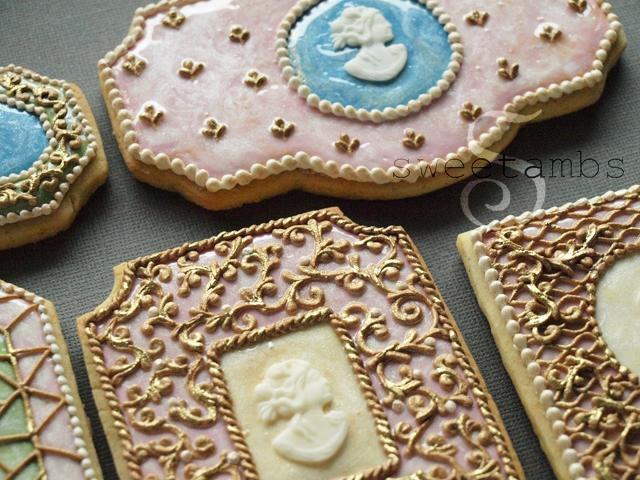
Photo via Amber Spiegel
Use the right brush to achieve the best coverage.
Small lines or beaded borders are best covered with a fine-tipped paintbrush. To cover larger areas, like the surface of a cookie or rosettes on a cake, use a paint brush with a crisp, flat edge.
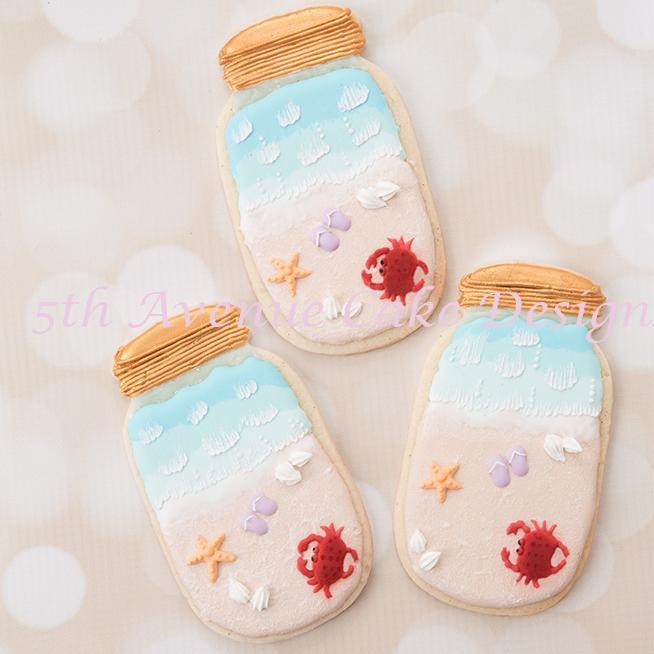
Image via BobbiesBaking
Water is the enemy when working with royal icing!
Even a small amount can cause your piped pretties to soften or dissolve. Grain alcohol and clear extracts (like vanilla or lemon) evaporate very quickly, leaving just the color behind.
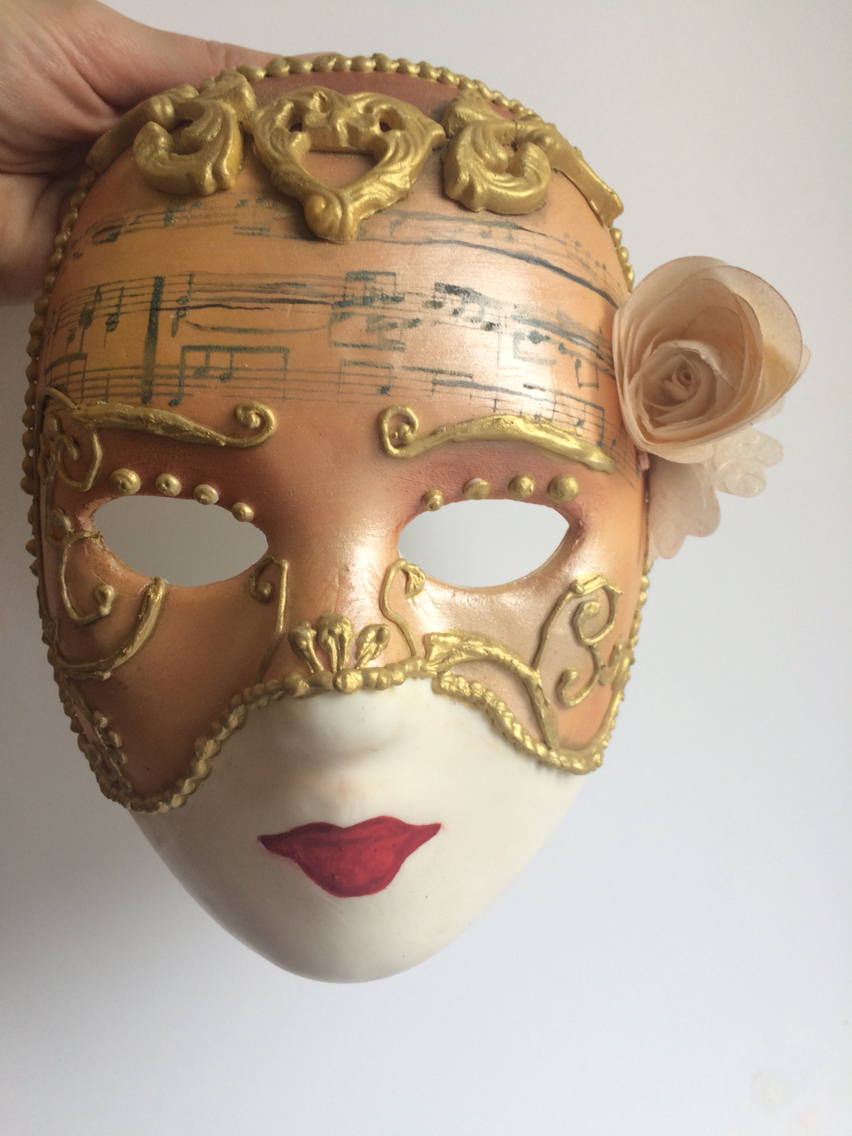
Image via Jamisa
Paint consistency is key.
Add your liquid of choice to your luster dust using an eye dropper or bottle with a very small opening. Stir the mixture with the tip of your paintbrush after each drop until your desired consistency is achieved. A thinner paint will leave behind a sheer, metallic finish. Thicker paint (the consistency of ketchup) will provide more opaque coverage.
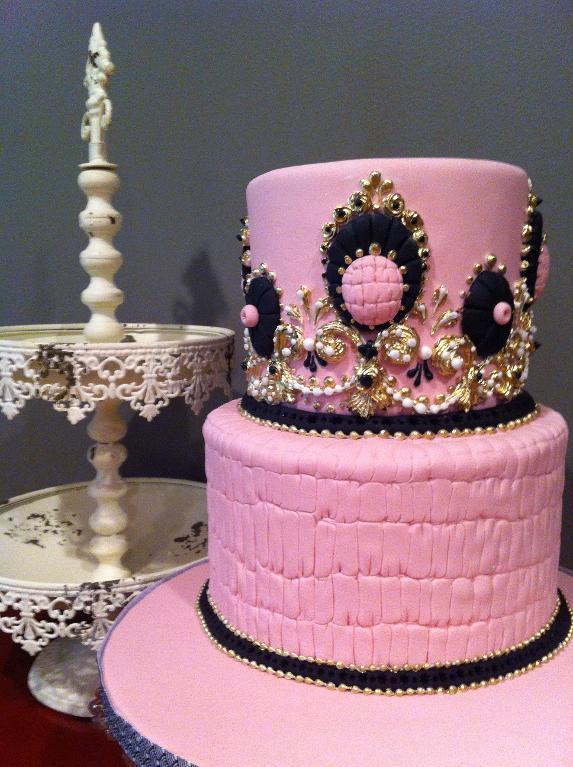
Photo via Joshua John Russell
Plan ahead.
Royal icing needs time to dry before it's painted. Start your project a day or two in advance to allow for plenty of dry time after the royal icing has been piped and between coats of luster paint.
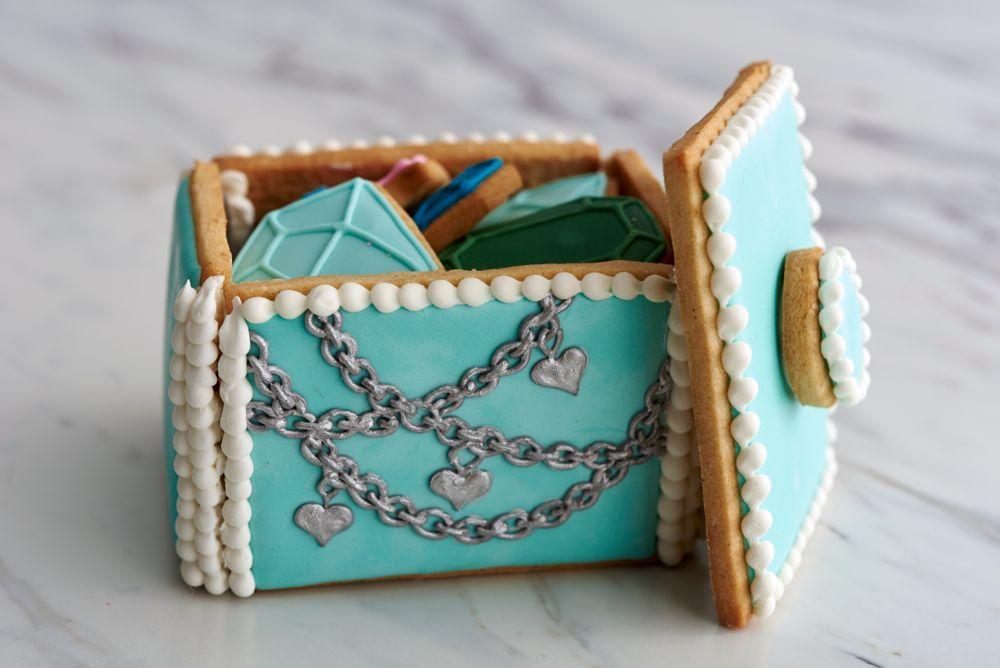
Image via Amber Spiegel
Buff out streaks
If you find streaks left behind during the painting process, use a dry brush and a small amount of luster dust to buff them out. Wait until the piece has dried, then swirl the brush around over the surface of the dried piece to soften the streaks. Dip the brush into luster dust first to help amp up the color.
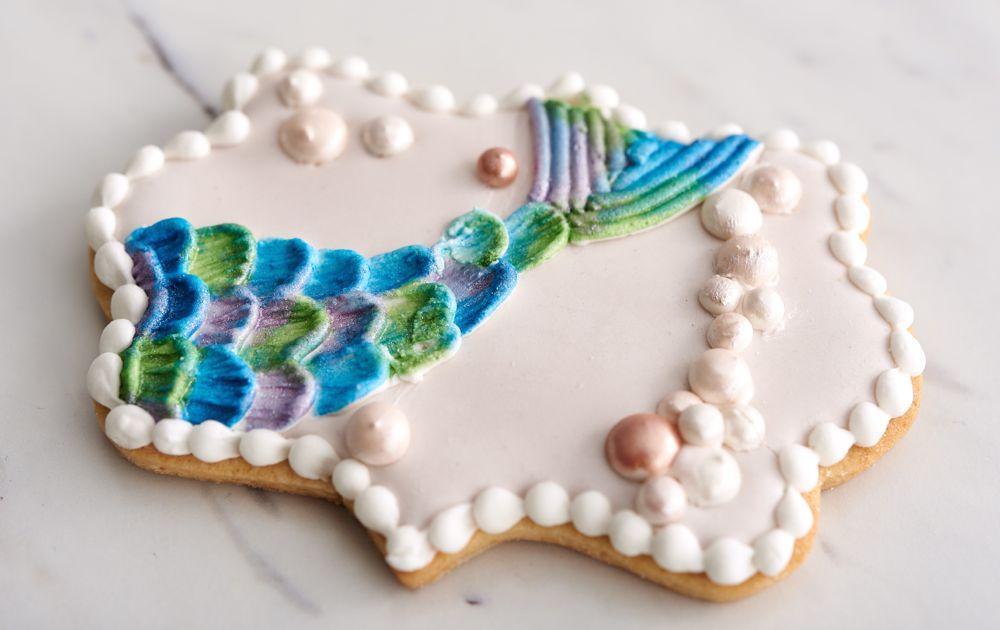
Image via Amber Spiegel
Tint royal icing first
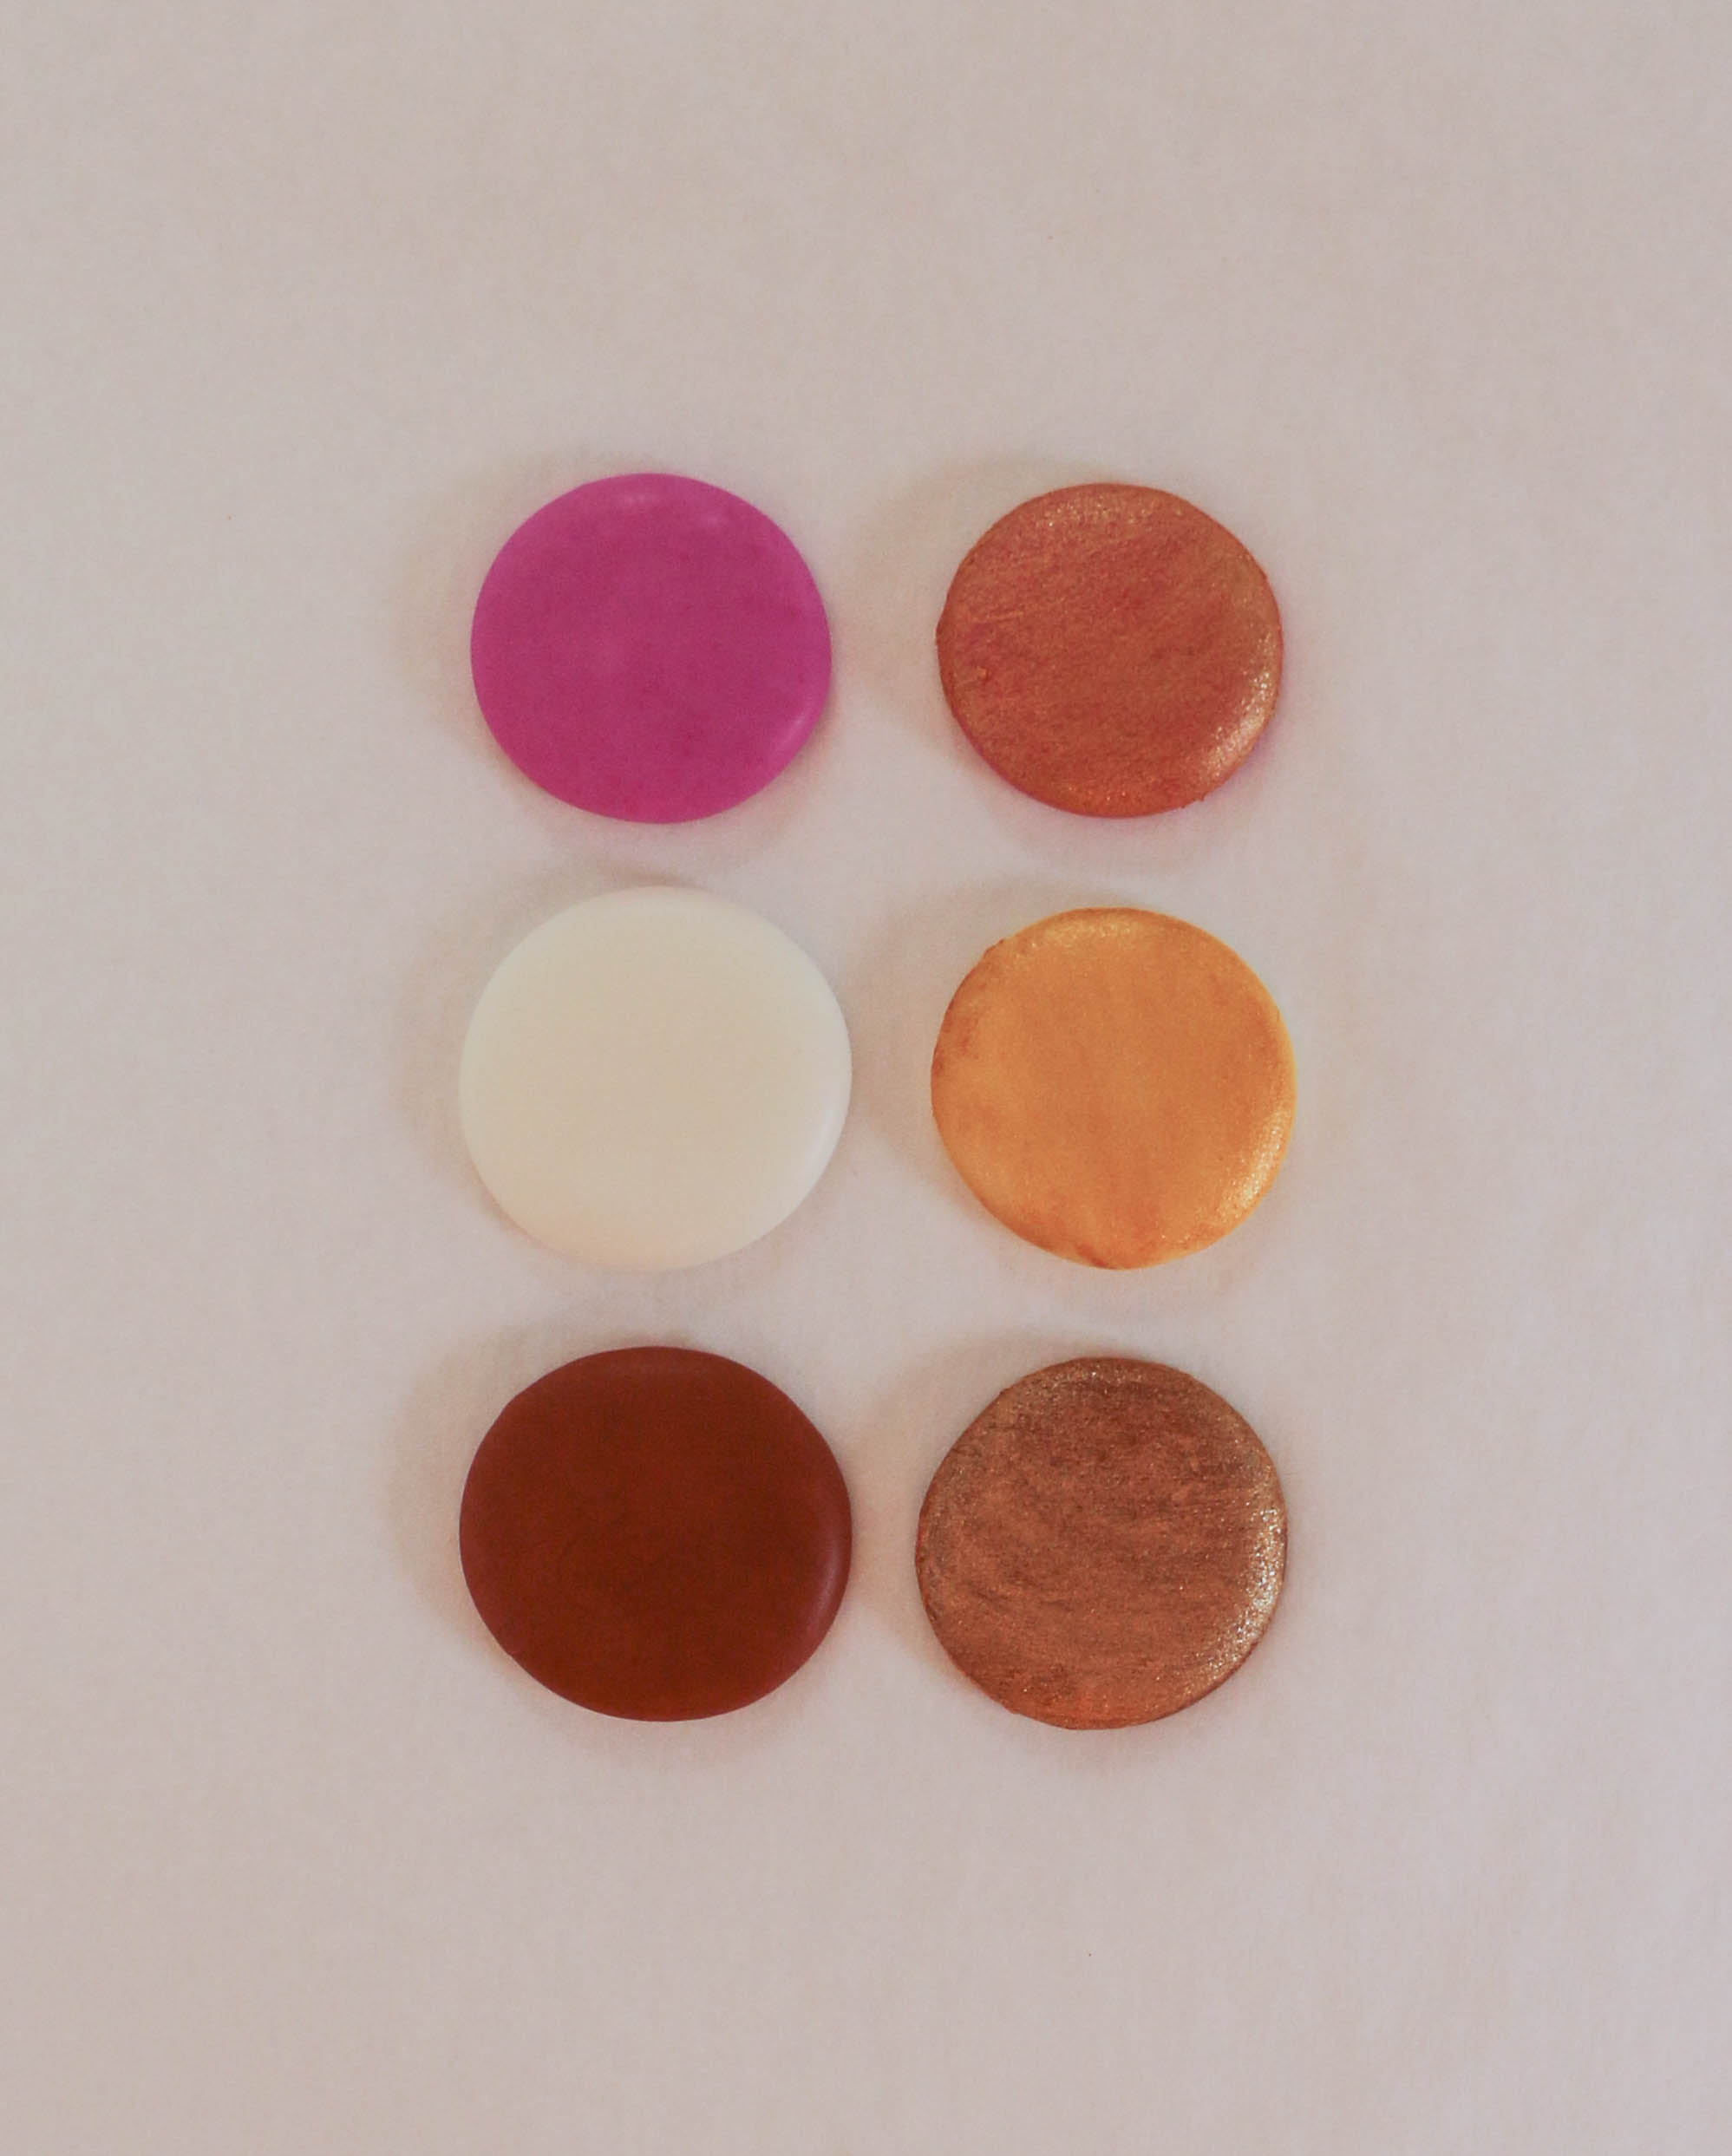
This creates deeper and more varied colors. For example, brushing gold onto white royal icing creates a brassier finish, while brushing gold onto brown royal icing appears more like an antique gold. Start with royal icing tinted pink to create a trendy rose gold look. To create a deep silver finish, start with royal icing that's been tinted gray or black.
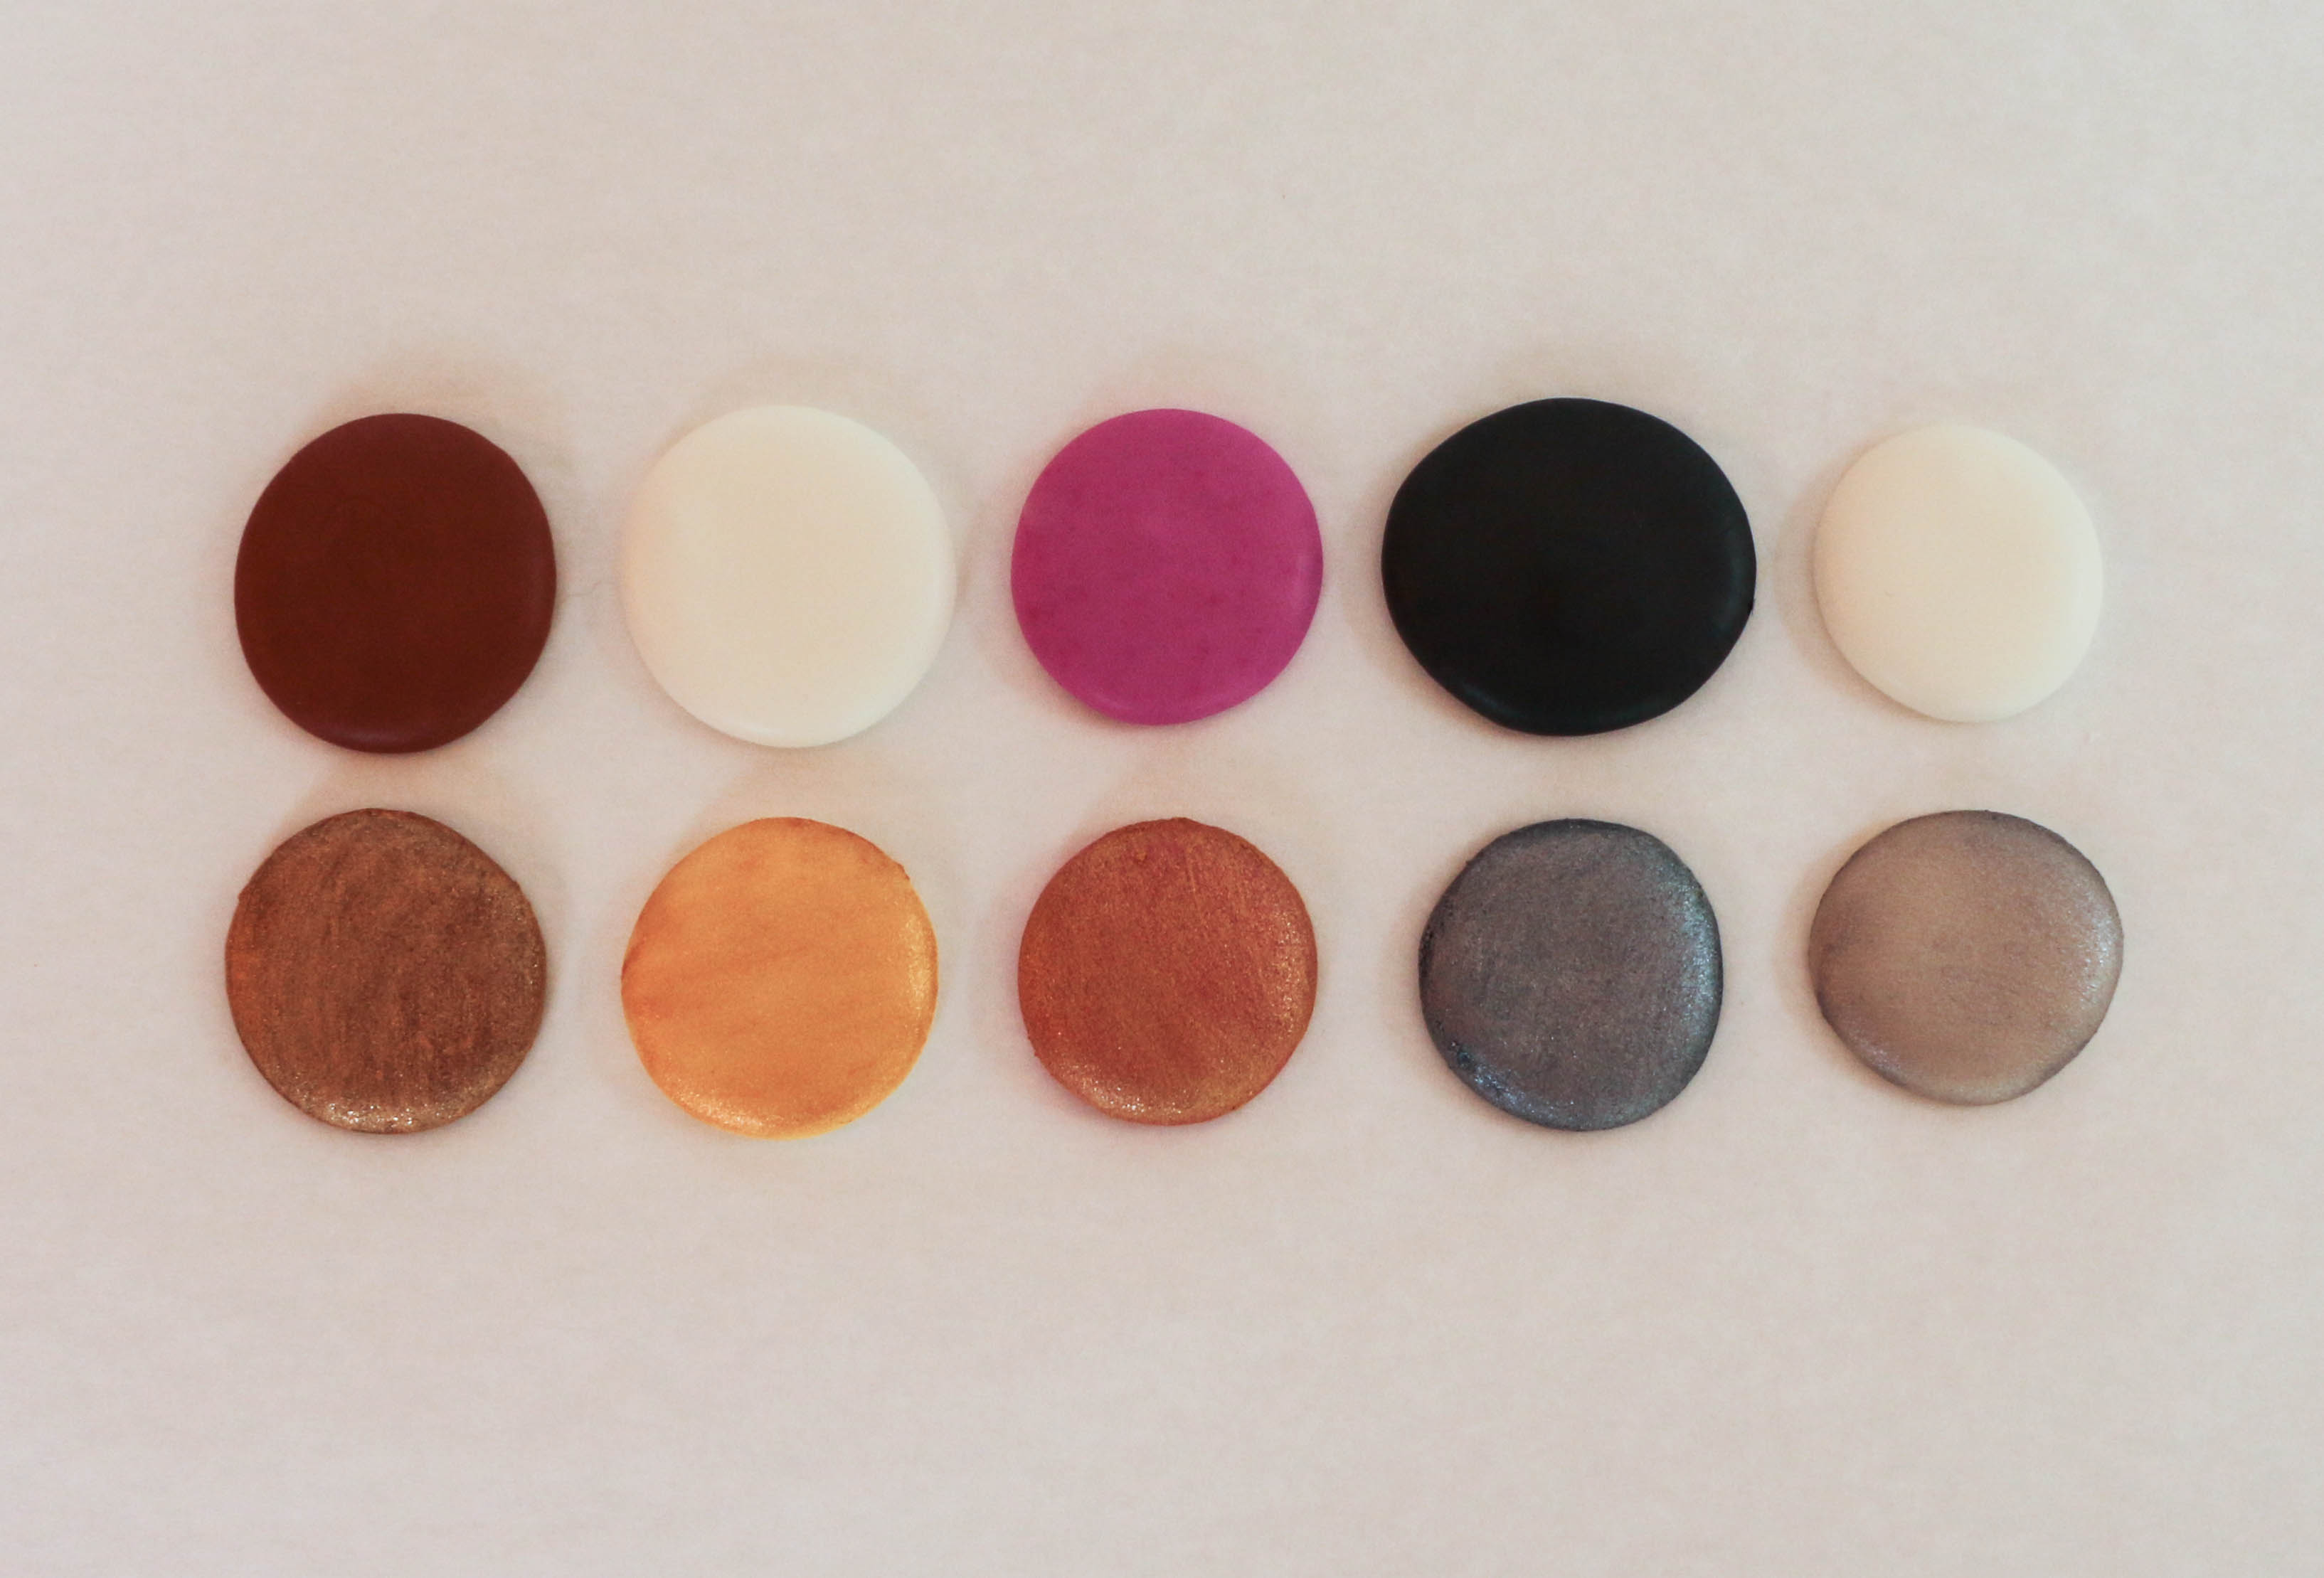
How to make gold royal icing
Supplies:
- Royal icing
- Edible gold luster dust
- Brown gel food coloring (optional)
- Clear alcohol or extract
- Paintbushes
- Small bowls
- Piping bags (optional)
- Piping tips (optional)
Step 1: Pipe the design and let it dry.
Fill a piping bag fitted with the tip of your choice with royal icing. Pipe your design. Set the piece aside until the royal icing has completely hardened. This could take a few hours up to overnight depending on how humid it is where you live.
Step 2: Mix the gold luster paint.
In a small bowl, combine gold luster dust with alcohol or clear extract. Add just a drop of liquid at a time until your desired consistency is achieved.
Step 3: Paint the royal icing.
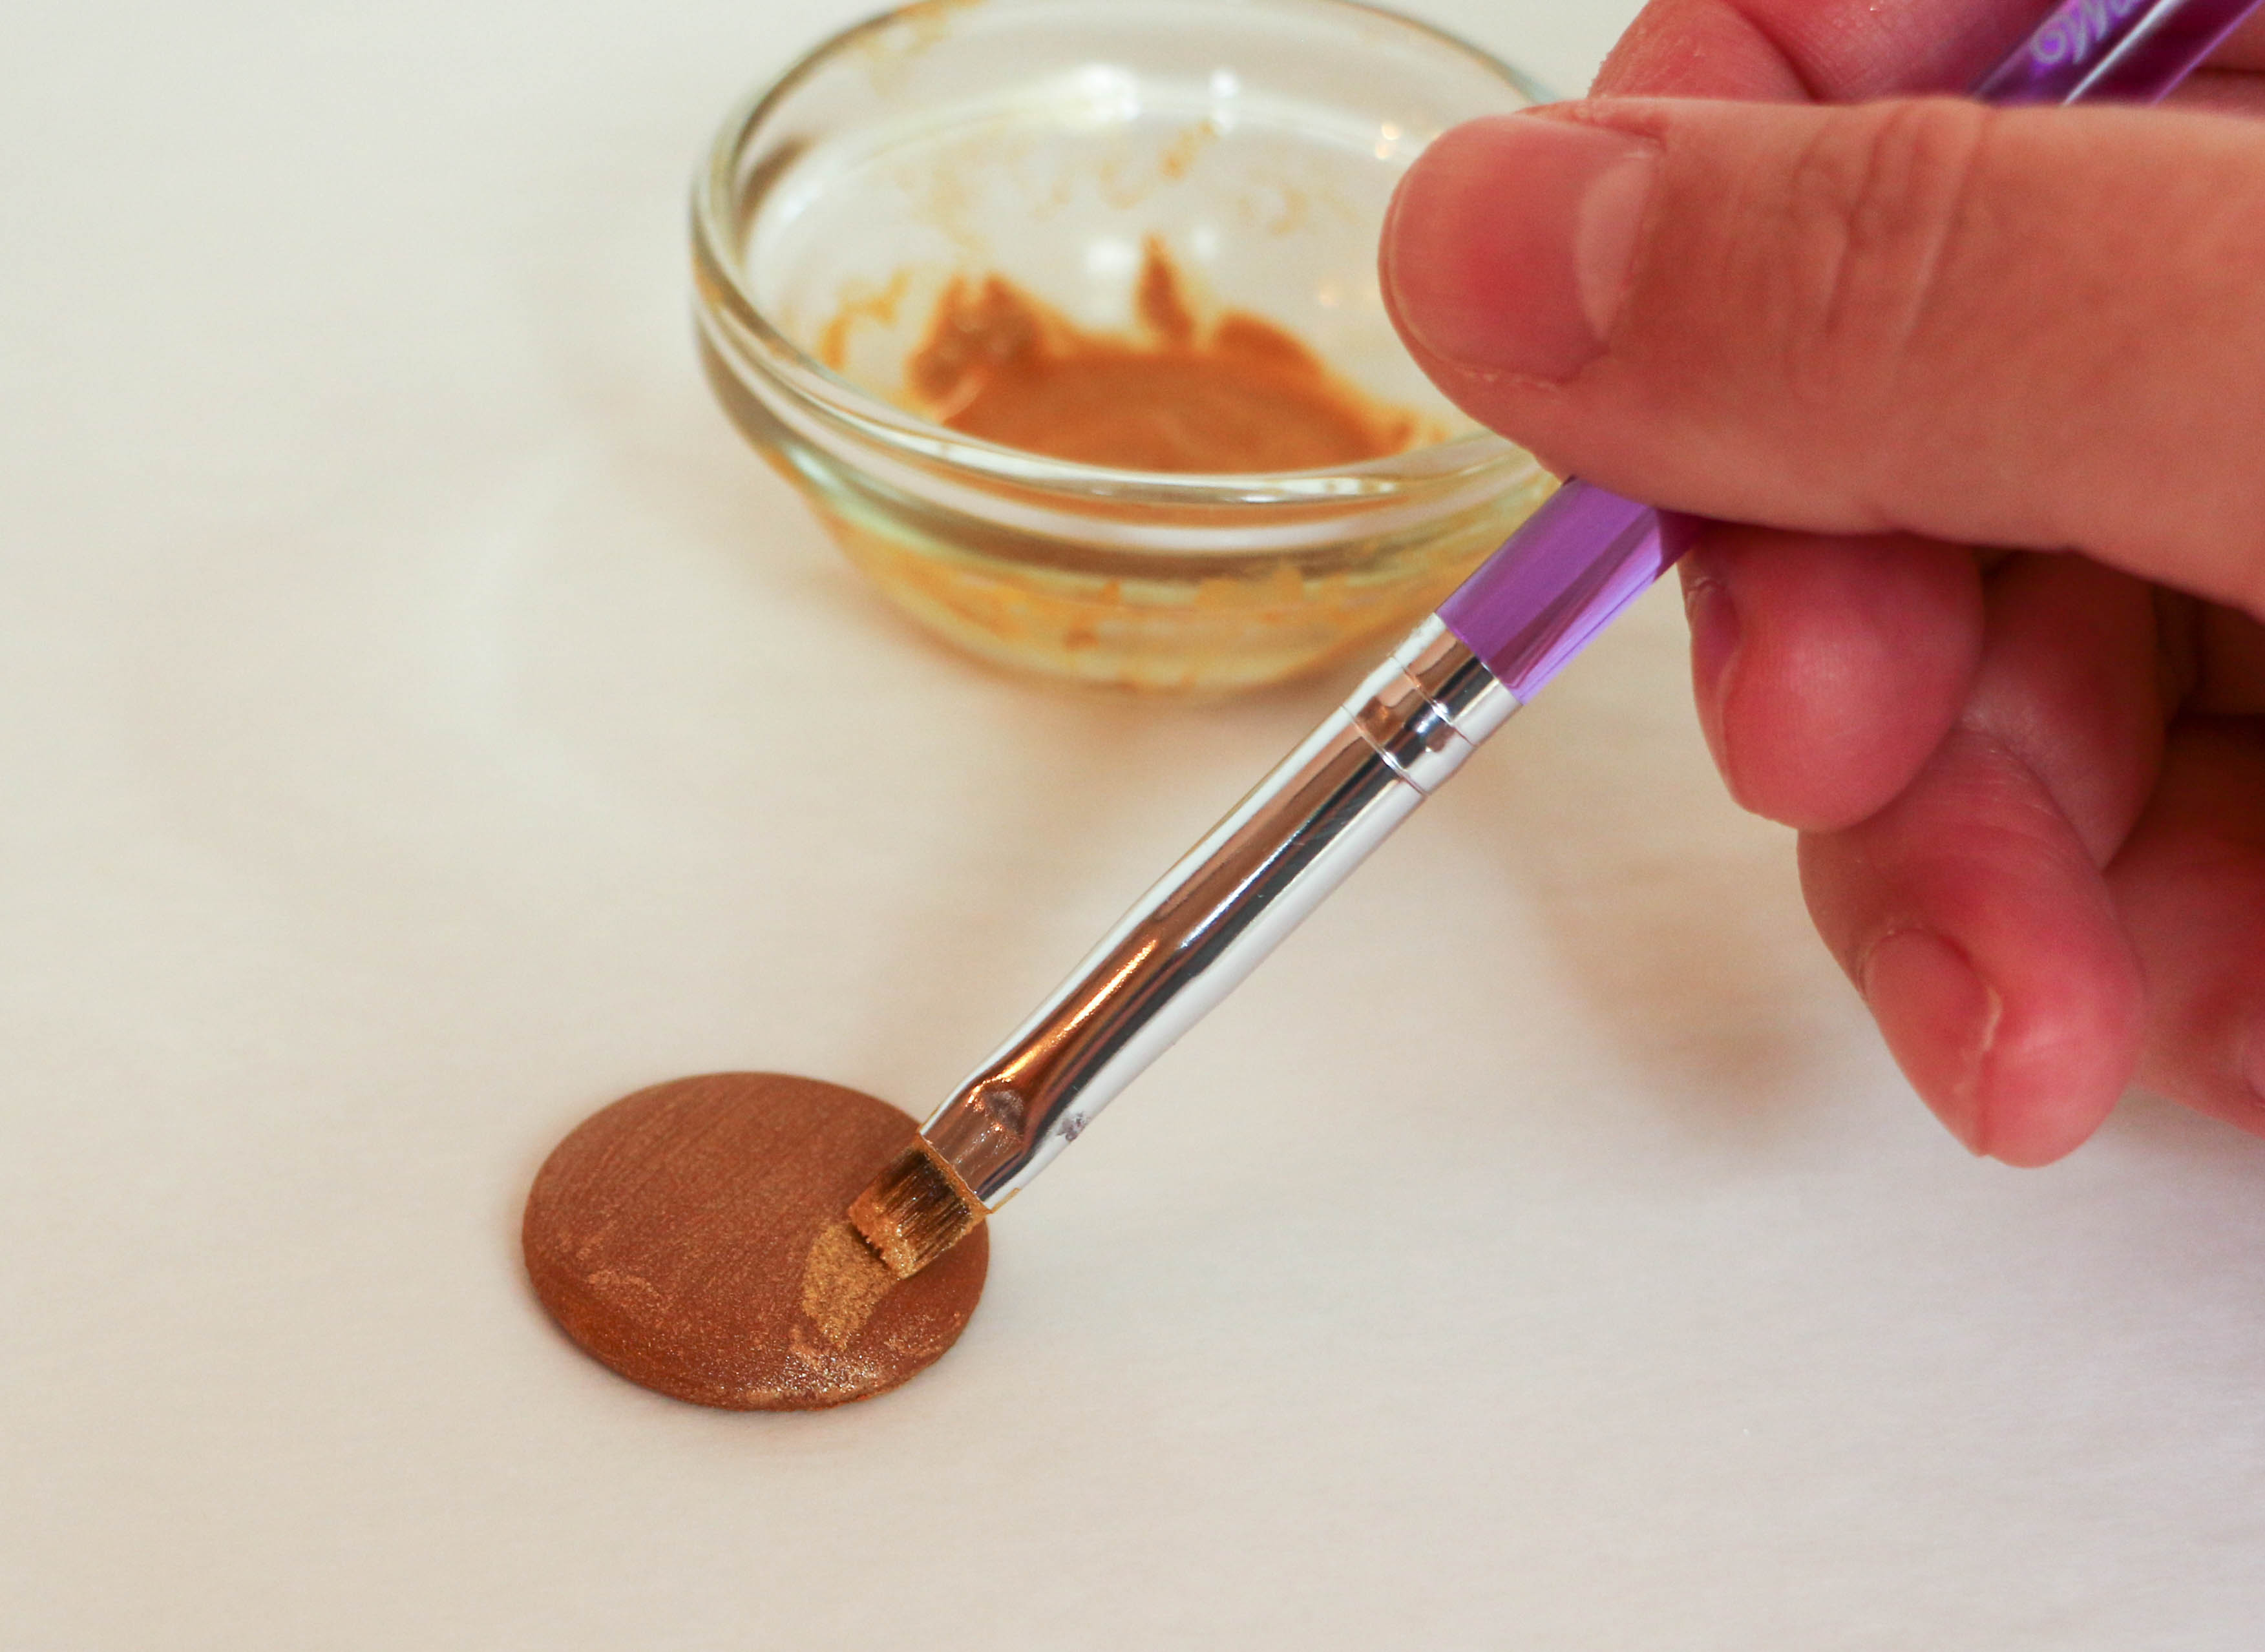
Image via Erin Bakes
Paint the royal icing with a layer of the luster paint. Allow the paint to dry (or let the liquid evaporate) before painting another layer. Add as many layers as you like to achieve a deeper finish.

Best caking ideas
Thank you so much! I have looked EVERYWHERE for how much grain alcohol to add. I've been adding too much - that's my problem. Thanks again!