Quilters often struggle with free-motion quilting because they don’t know where to physically start. Here are five free-motion quilting tips to help you start on your home sewing machine.
1. Take the time to properly baste your quilt.
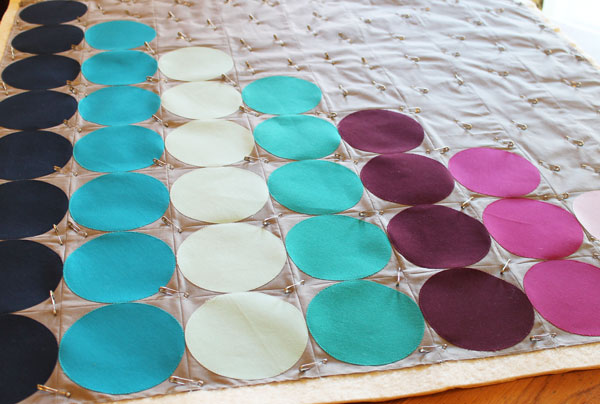
Abacus quilt pattern via Craftsy member Christa Watson
Basting a quilt involves temporarily securing the three layers of a quilt (top, batting and backing) together in order to quilt it without the fabric bunching up or puckering. If you choose to safety-pin baste your quilt, you may want to use more pins than you think you will need to prevent the layers from shifting. If you choose to baste your quilt with adhesive spray, spray the quilt top and backing rather than the batting for better results. For both methods, basting on a large table rather than a floor will be easier on your back and it will provide better results. Taking the time to smooth out each layer before adding the next will also cut down on the number of lumps and bumps to quilt through.
2. Choose an easy allover free-motion quilting texture.
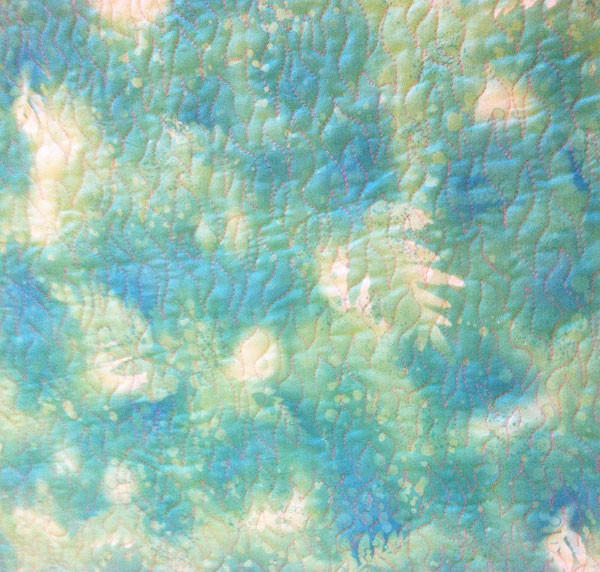
Free-motion quilting by ChristaQuilts.com
A free-form meander like stippling, loops or waves is a very forgiving design that can be quilted across the surface of the quilt quickly without the need for precision. Just like handwriting, one’s free-motion quilting “signature” can vary from person to person.
Start quilting anywhere along the edge of your quilt and work your way in towards the center of the quilt. Once there is too much bulk under the arm of the machine, rotate the quilt to complete the other side. Be sure to quilt off the edge of the quilt occasionally to check your bobbin thread level. If it is low, go ahead and replace it and start with a fresh bobbin. Then you don’t have to worry about running out of thread in the middle of the quilt.
3. Anchor the quilt with walking foot quilting before moving into free-motion techniques.
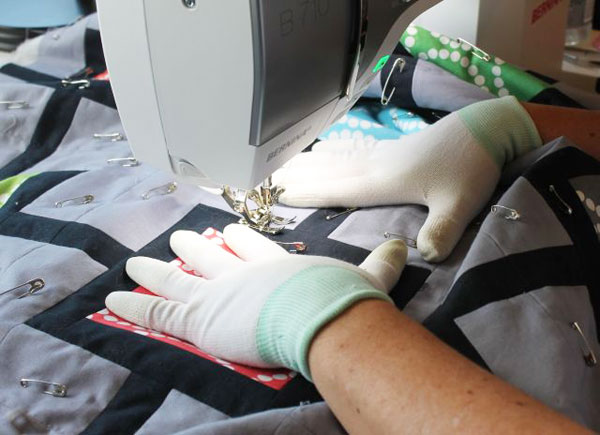
Photo by ChristaQuilts.com
If you choose to do custom work on your quilt, secure the quilt first by stitching in the ditch (quilting in between the seams) of all the columns and rows. This can be accomplished using a walking foot or integrated dual feed (available on some sewing machine models). This will anchor your quilt, allowing you to add free-motion quilting in any section of the quilt later. If you can quilt from one edge of the quilt to the other, you will not need to bury your threads as you go.
4. Quilt all of one color first.
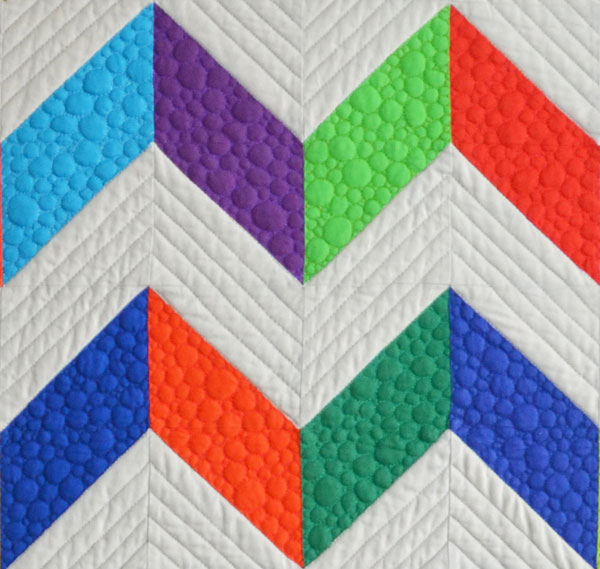
Charming Chevrons pattern via Craftsy member Christa Watson
When quilting with multiple thread colors, quilt all areas that require the same thread before switching out thread colors. Not only with your quilting be consistent in color, the amount of quilting will tend to be more even throughout the quilt.
5. When in doubt, add more quilting.
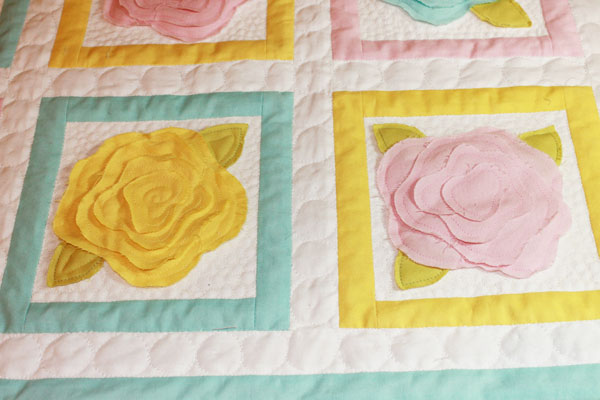
Photo by ChristaQuilts.com
If you are unsure about your free-motion quilting results, add more quilting, making the designs a little more dense. The more sparsely quilted your quilt is, the more your eye will notice any imperfections. Conversely, the more quilting there is on your quilt, the easier it is to hide any little inconsistencies.
Walking foot quilting first is a recommendation, not a requirement. So is starting from the center. Some experts think they are necessary; others don't.
Did not realize walking foot stitching was a requirement first
Always thought you are supposed to start free motion from the center but maybe that's just for basting??
Helpful and interesting