New Year’s Eve is always a fabulous time to be a bit more indulgent than usual and it’s a great time to see off the holiday season with a fizz, a pop and a clink! If you love the idea of whipping up champagne infused cupcakes and then finishing them off with wonderfully novel fondant champagne bottle cupcake toppers, then look no further than our tutorial!
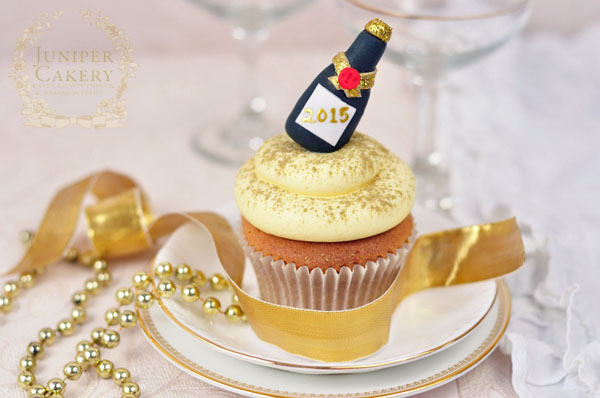
Here’s how to make glitzy fondant champagne bottle cupcake toppers.
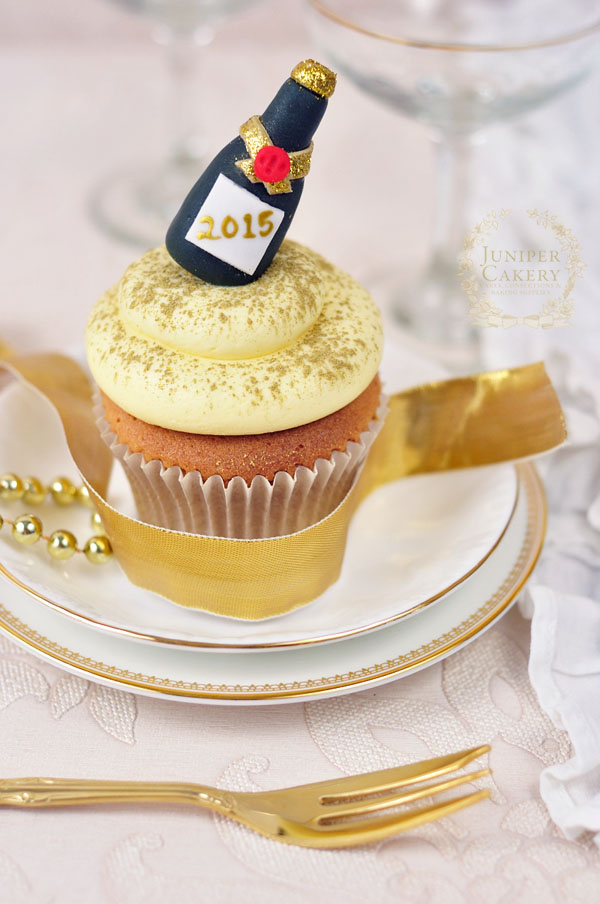
All photos via Juniper Cakery
To discover how to create lots of adorably miniature cupcake toppers, from drool-inducing fondant pies to tempting gum paste macarons, sign up for Sheryl Bito’s class Tiny Cupcake Toppers today!
Materials needed:
- Dark bottle/forest green colored fondant
- Light tan or ochre colored fondant
- White fondant
- Red colored fondant
- Gold luster dust or cake decorator’s glitter
- Gold edible paint
- Edible glue
- Paintbrush
- Small sharp knife
- Veining tool
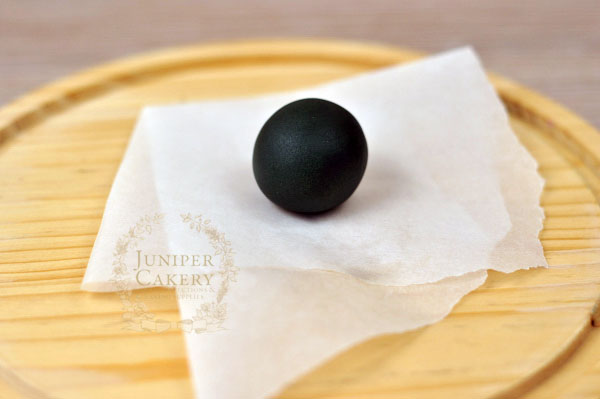
Step 1:
Take some dark bottle green fondant and roll into a smooth ball to eliminate any cracks. You can also use gum paste instead of fondant if you’d like your bottles to have a bit of stability to them.
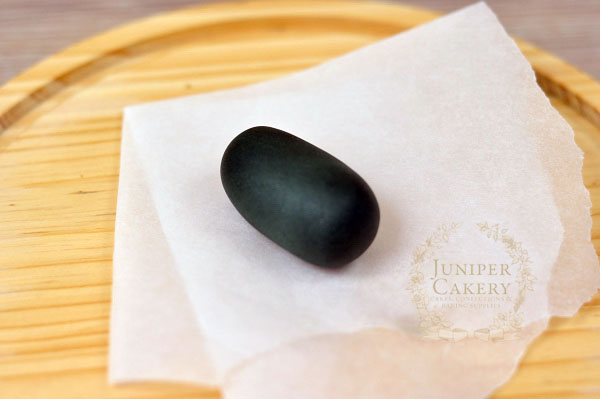
Step 2:
Then smooth into an oblong or oval shape.
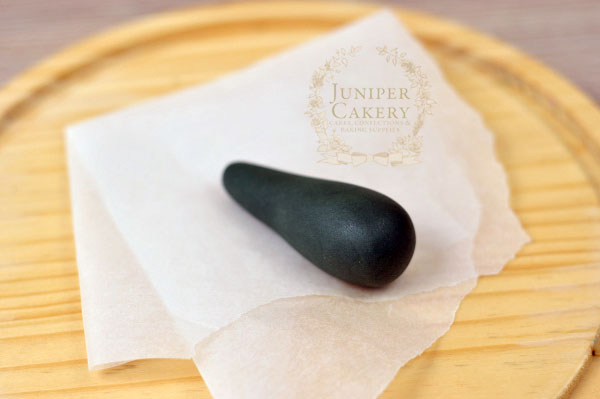
Step 3:
Take the bottle green piece of fondant and shape further into a tapered piece of fondant. Make sure that one end stays fairly bulbous whilst the other end tapers evenly and not to a fine point.
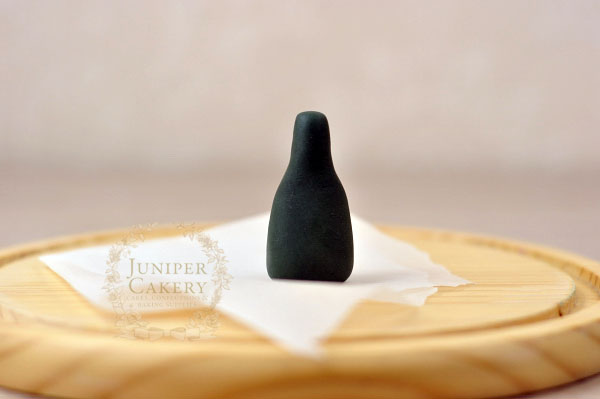
Step 4:
Stand the tapered piece of bottle green fondant on it’s base and shape further. It helps to gently pinch the tapered end in a little to help create the neck of the bottle. Rotate your bottle around and pinch around the entire piece of fondant.
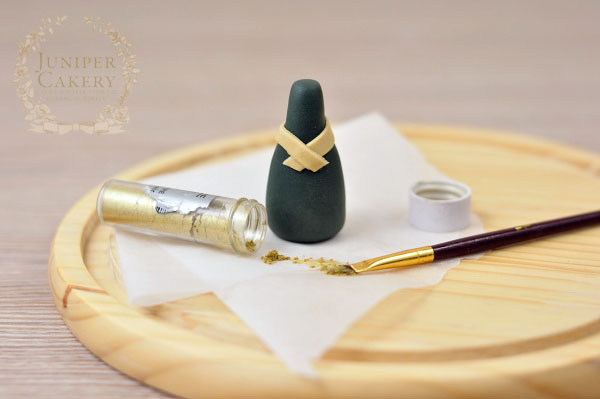
Step 5:
Roll out some light tan or ochre fondant and with a sharp knife cut a strip of ‘ribbon’ out. With a little edible glue attach the ‘ribbon’ around the neck of the bottle and cross the ends over carefully.
Add a little glitz to your fondant champagne bottle with some gold luster dust or cake decorator’s glitter. We used some glitter to add a little sparkle to our bottles as we didn’t intend for our bottles to be fully devoured.
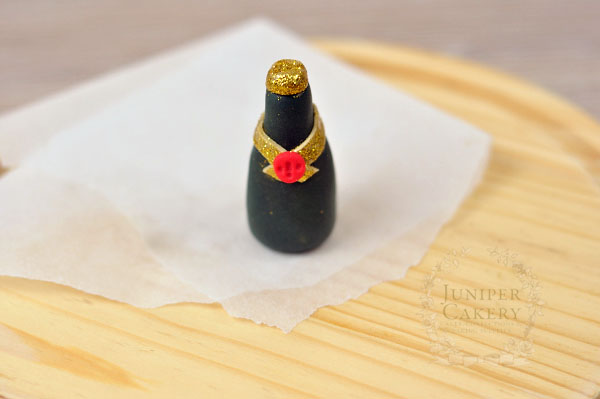
Step 6:
Take a small ball of light tan or ochre fondant and add to the top of the bottle and attach with edible glue. Dust with luster dust or glitter if desired.
Step 7:
For the bright wax seal roll a tiny amount of red fondant into a ball and press lightly to form a flat circle. Attach with some edible glue to where the ‘ribbon’ crosses over and meets at the bottle’s neck. Add some detail with a veining tool.
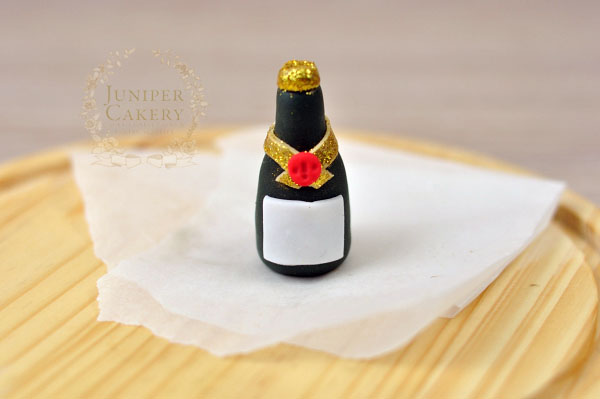
Step 8:
Roll out some white fondant and cut out a small square or rectangle piece with a small knife or blade tool. With a few dabs of edible glue affix this to the front of your fondant champagne bottle. Now you can carefully hand paint a personal message, date or name!
This lovely little edible champagne bottle can even be used for swanky grown-up birthday parties, playful wedding treats or as a gorgeously thoughtful gift. We love that you can adjust lots of different aspects of any step; make pink champagne bottles for afternoon tea celebrations or even re-create teeny tiny bottles of Dom Perignon for a fancy event.

I made Russian blinis with caviar tonight!
Very cute idea, but a bit fiddley. Not for me