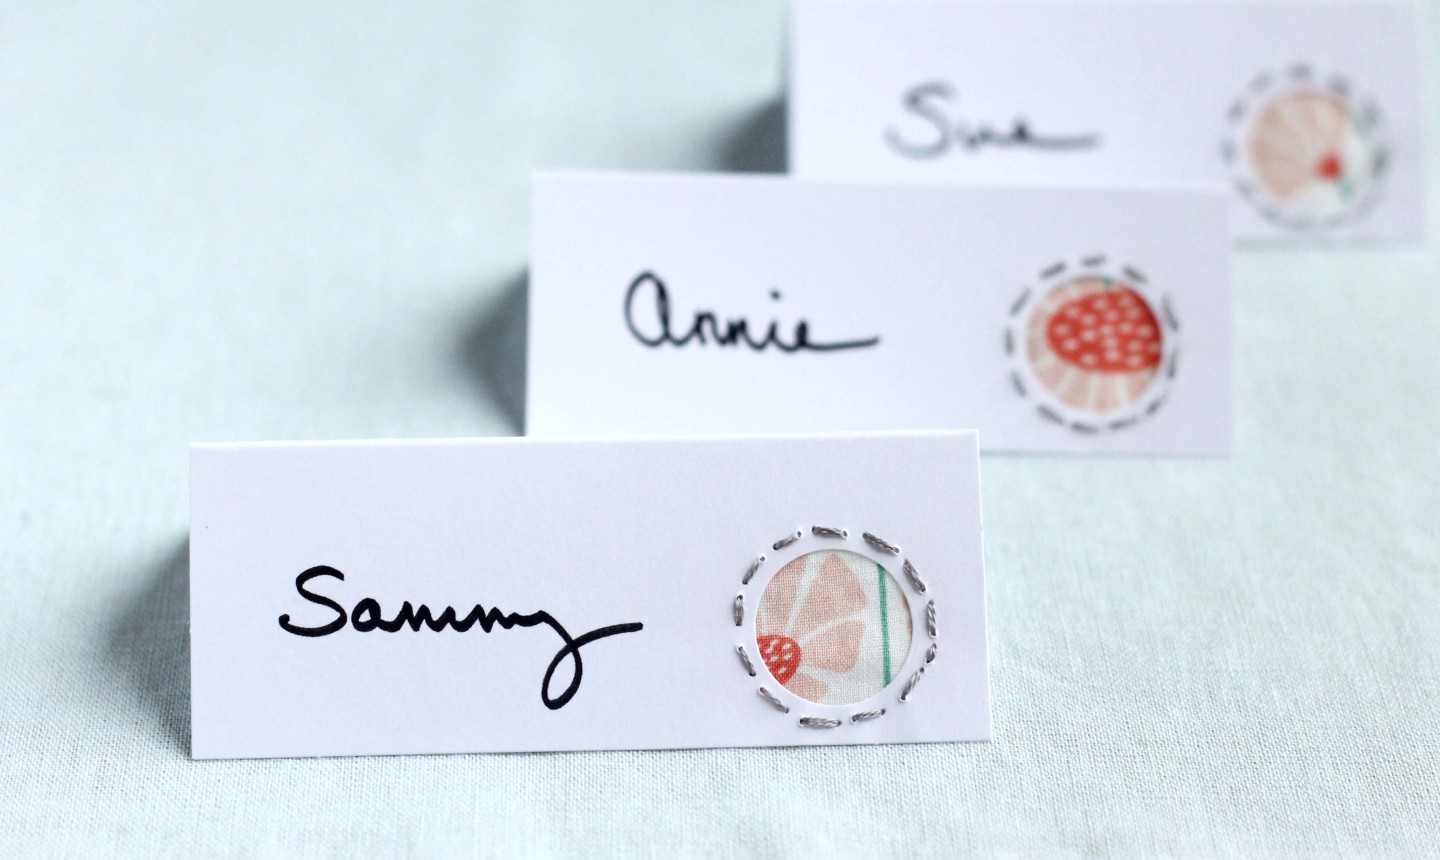
A memorable place card is the ultimate way to tell your guests how much they matter — especially when you make it yourself. Go sweet and delicate like the ones pictured here, or bring in a pop of bright color to complement your other party decor. Super easy, totally original and so pretty.
Embroidered Place Cards
Level: Easy
What You Need
Instructions
1. Punch
Position the hole punch in the lower corner of a place card, making sure to leave space around all sides for the stitches. Punch.
2. Cut the Fabric
Cut a small piece of fabric that is slightly larger than the hole.
3. Thread Your Needle
Typical embroidery floss is made up of six strands, but for this tiny stitching you only need three. Cut a length of floss, then gently pull it apart lengthwise to create two pieces of three strands each. Thread the needle with one of these three-strand pieces, and tie a knot at the end. (Set the other piece aside to use next.)
4. Stitch
Hold the fabric behind the punched hole. Starting with the knot on the back of the place card, use even stitches to secure the fabric to the paper. Knot off at the end and trim the floss.
5. Personalize
Write the names of your guests in your best lettering, place them on your tables and get ready to party!

Share tips, start a discussion or ask other students a question. If you have a question for an expert, please click here.
Already a member?
No Responses to “You Can DIY the Sweetest Place Cards Your Guests Have Ever Seen”