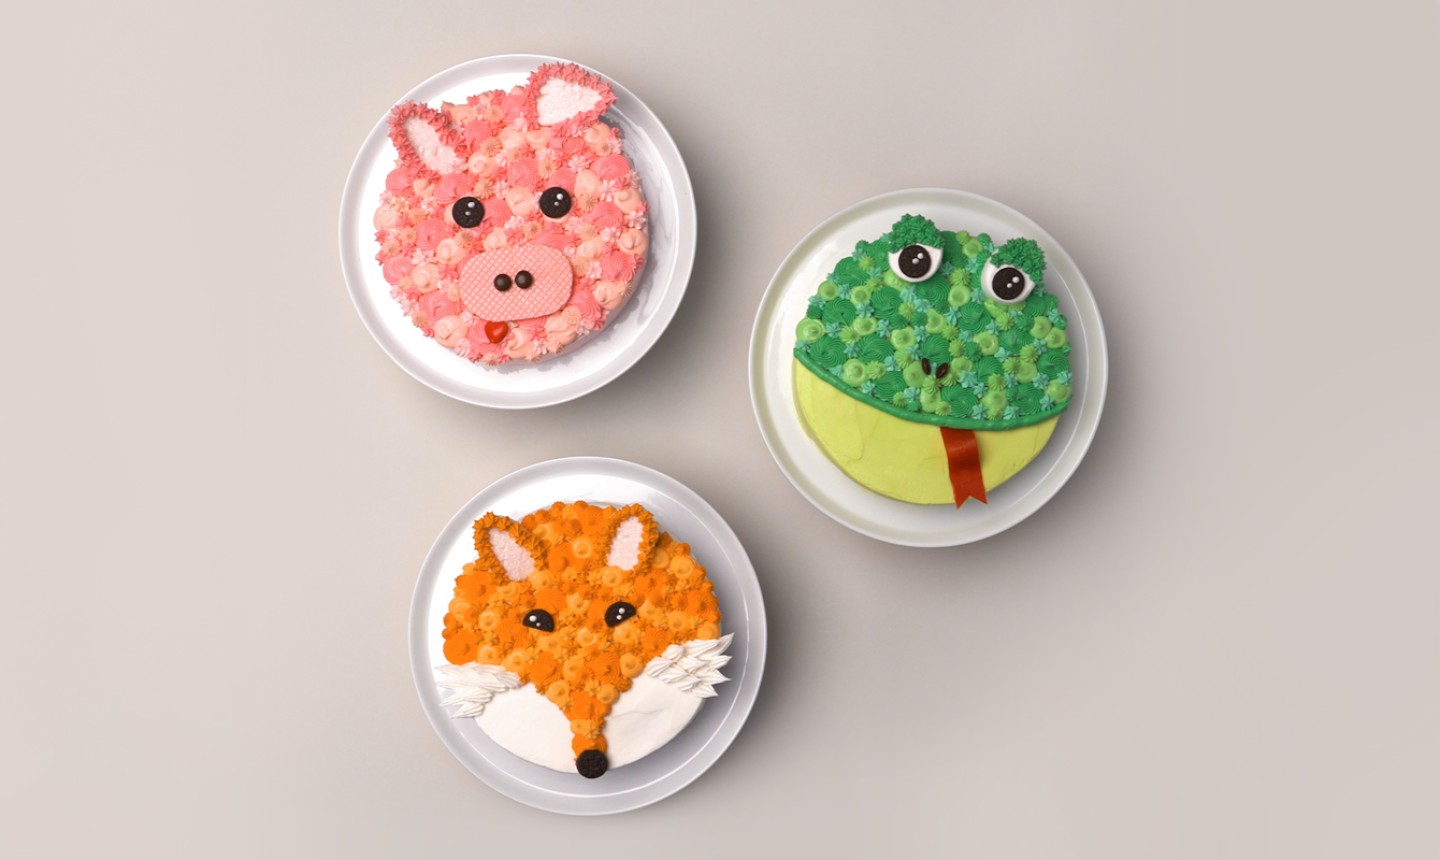
If you can handle food coloring and the most basic piping techniques, you can nail any one of these cute critter cakes — or all of them! Even if you’ve never decorated a cake before, you’ve got this.
Circle Animal Cakes
Level: Easy
Frog Cake
What You Need
Instructions
1. Prep the Cake
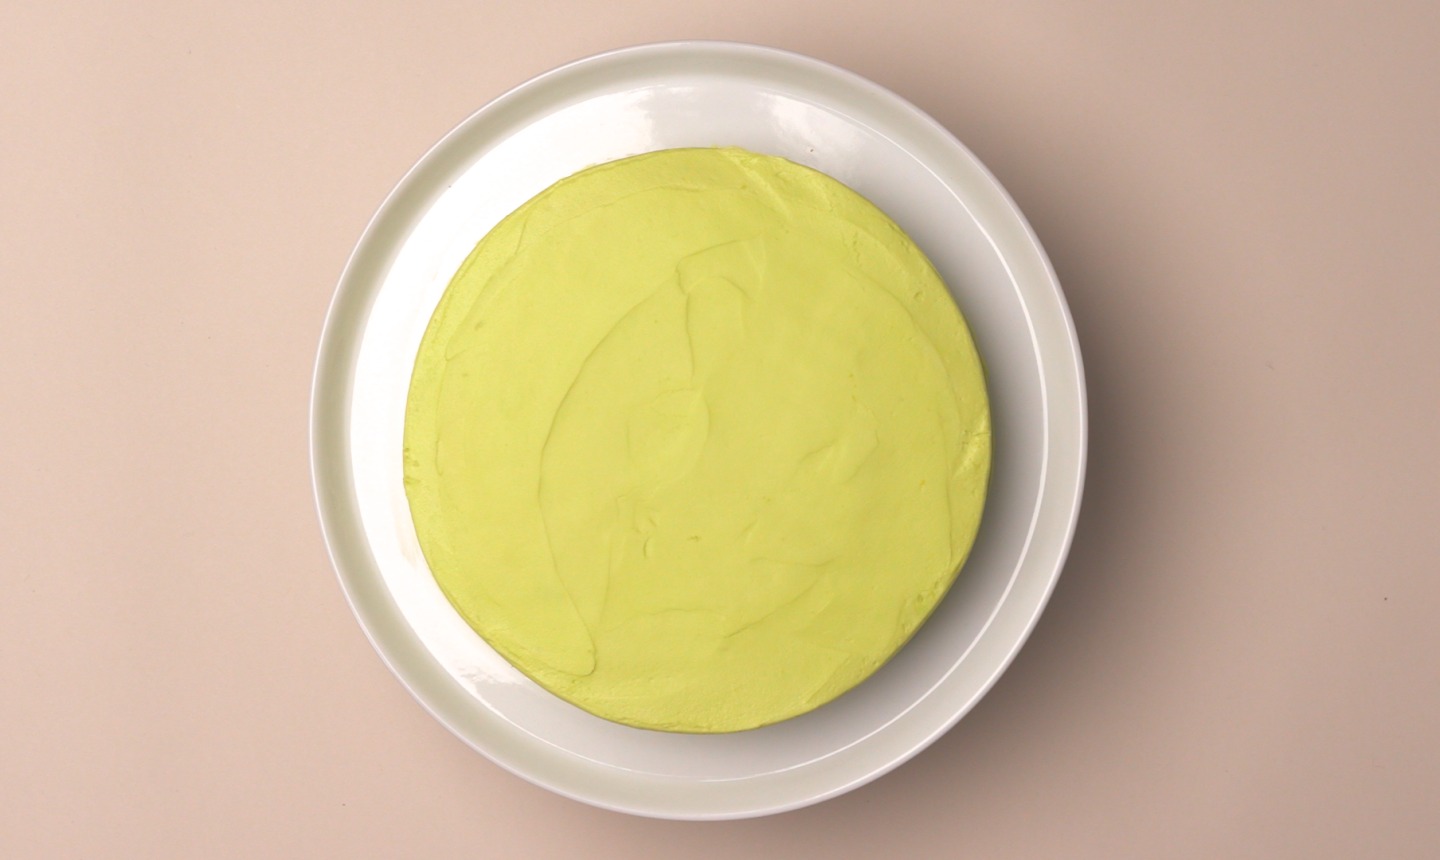
You can’t make a cute frog cake without first making… a cake. Pick your favorite recipe and bake using an 8″ round pan. Then whip up a batch of your favorite white buttercream (both American buttercream and Swiss meringue buttercream work great).
Add a small amount of green food coloring for a pale color. You might want to add a few drops of yellow coloring as well, to make sure your base contrasts with the other green shades in your frog design (see below).
Use an offset spatula to frost the top and around the sides. Make sure to spread the buttercream as smoothly as possible. An icing smoother can help!
2. Mix Your Buttercream
Before you start piping, mix together the remaining buttercream colors you’ll need. You’re going to be using about three or four shades of green, so you need to mix up an ombré range of hues.
Divide your white buttercream into small bowls (either three or four, depending on how many colors you’re mixing) and vary the amount of green food coloring in each, creating a color range from light to dark.
3. Pipe
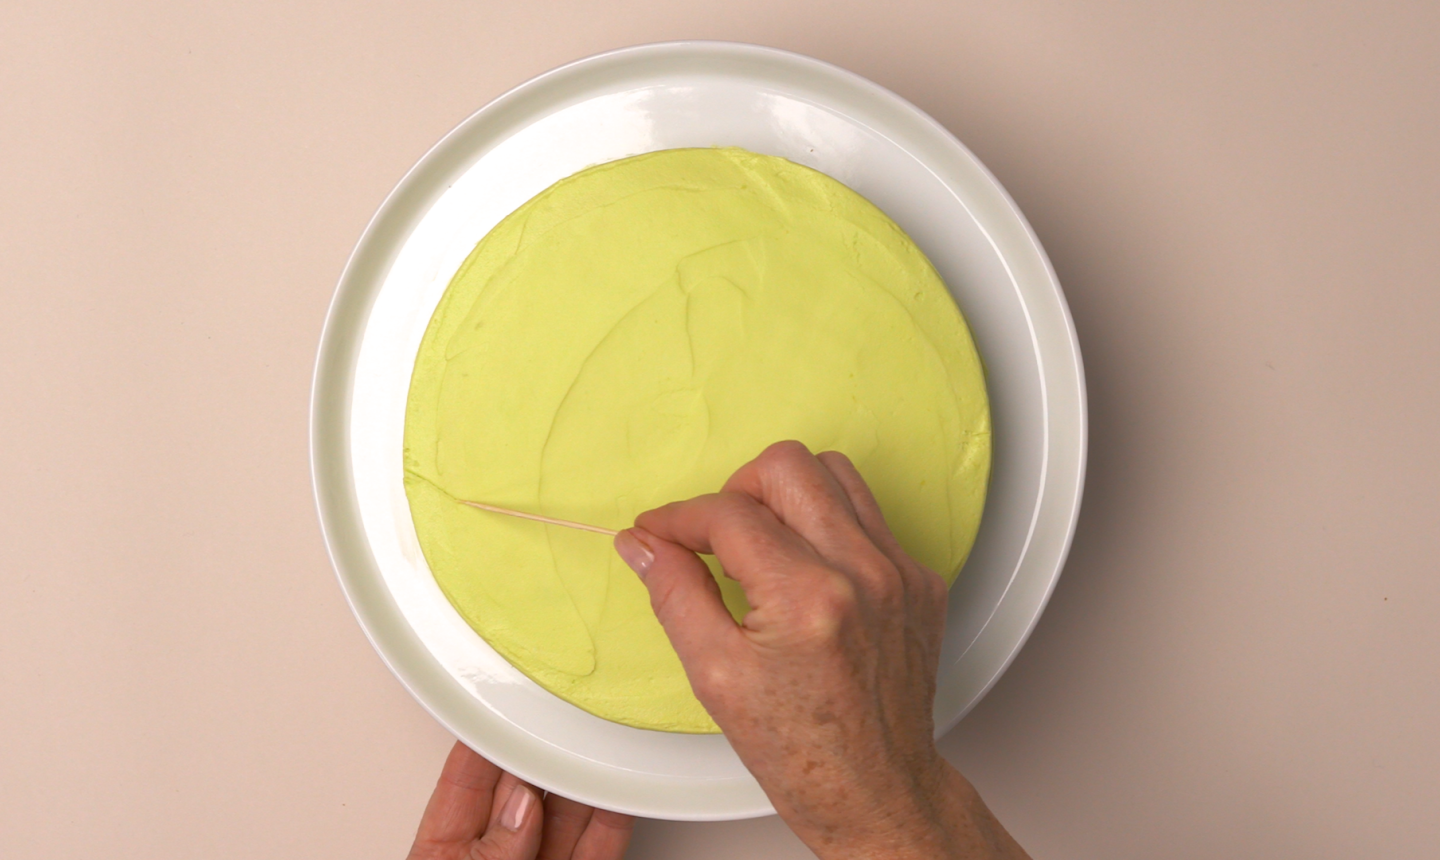
Use a toothpick to draw a curved line about a third of the way from the bottom. This will be the frog’s mouth, which separates the top of the head from the smooth chin.
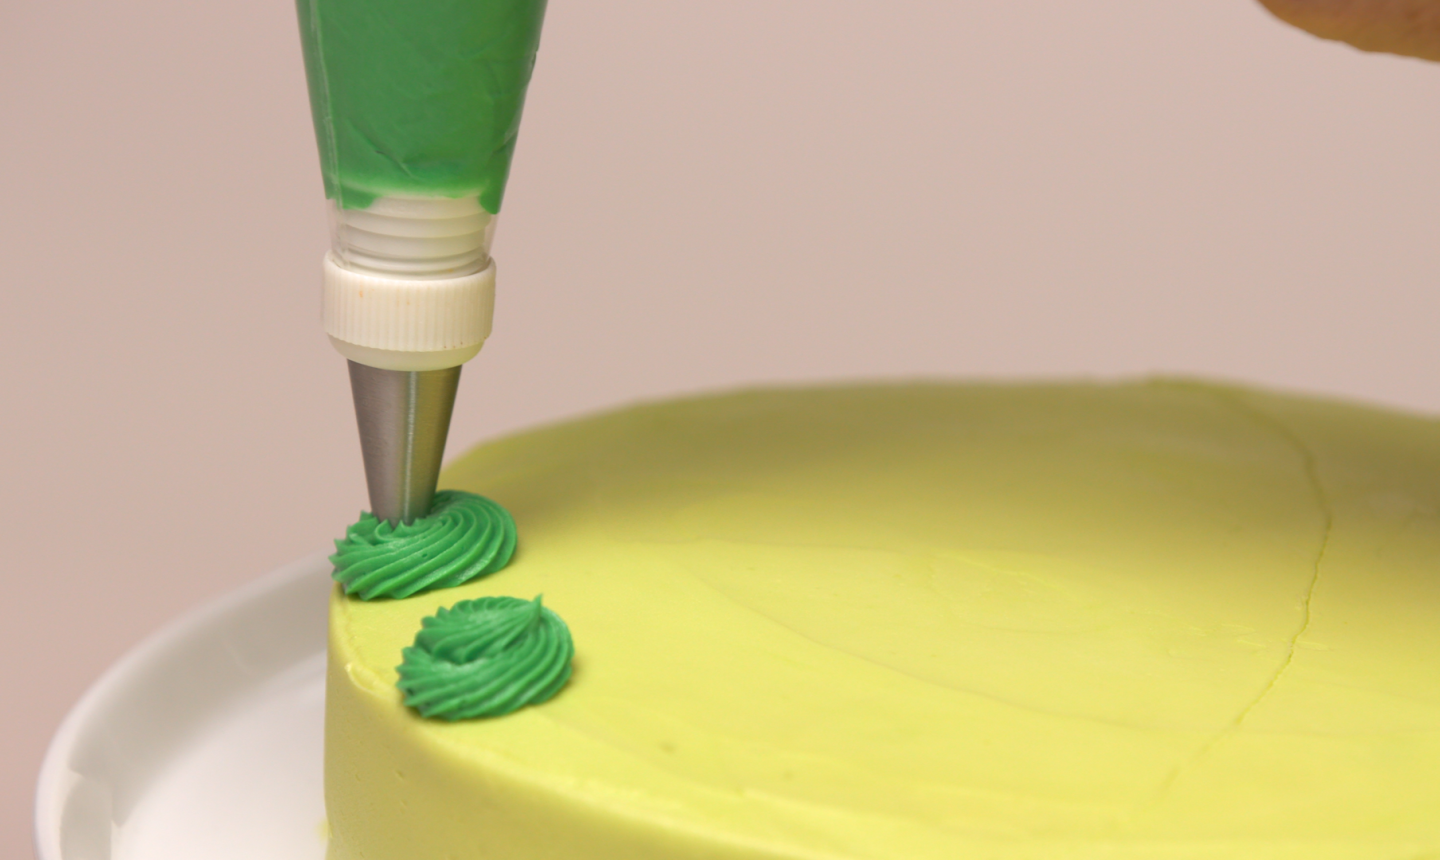
Starting with your darkest shade of green, fill a piping bag fitted with an open star piping tip. Squeeze the bag from the bottom to pipe rosettes. Keep piping around the frog head, spacing out the rosettes to fill the cake. Leave some space between each rosette.
4. Fill it In
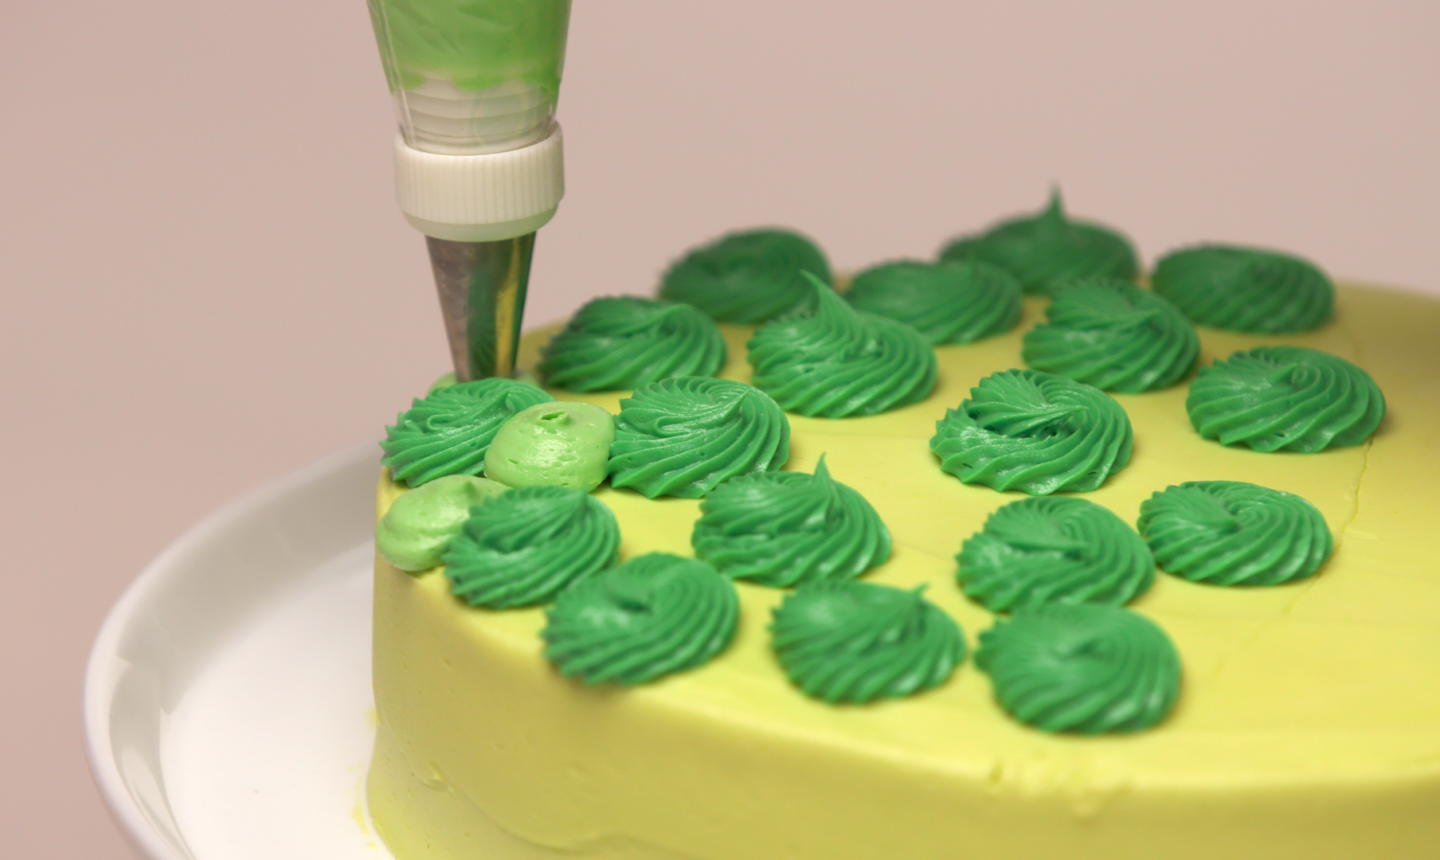
Once these large rosettes are piped, spoon a different shade of green buttercream into a piping bag fitted with a large round tip. Pipe large dots between the rosettes.
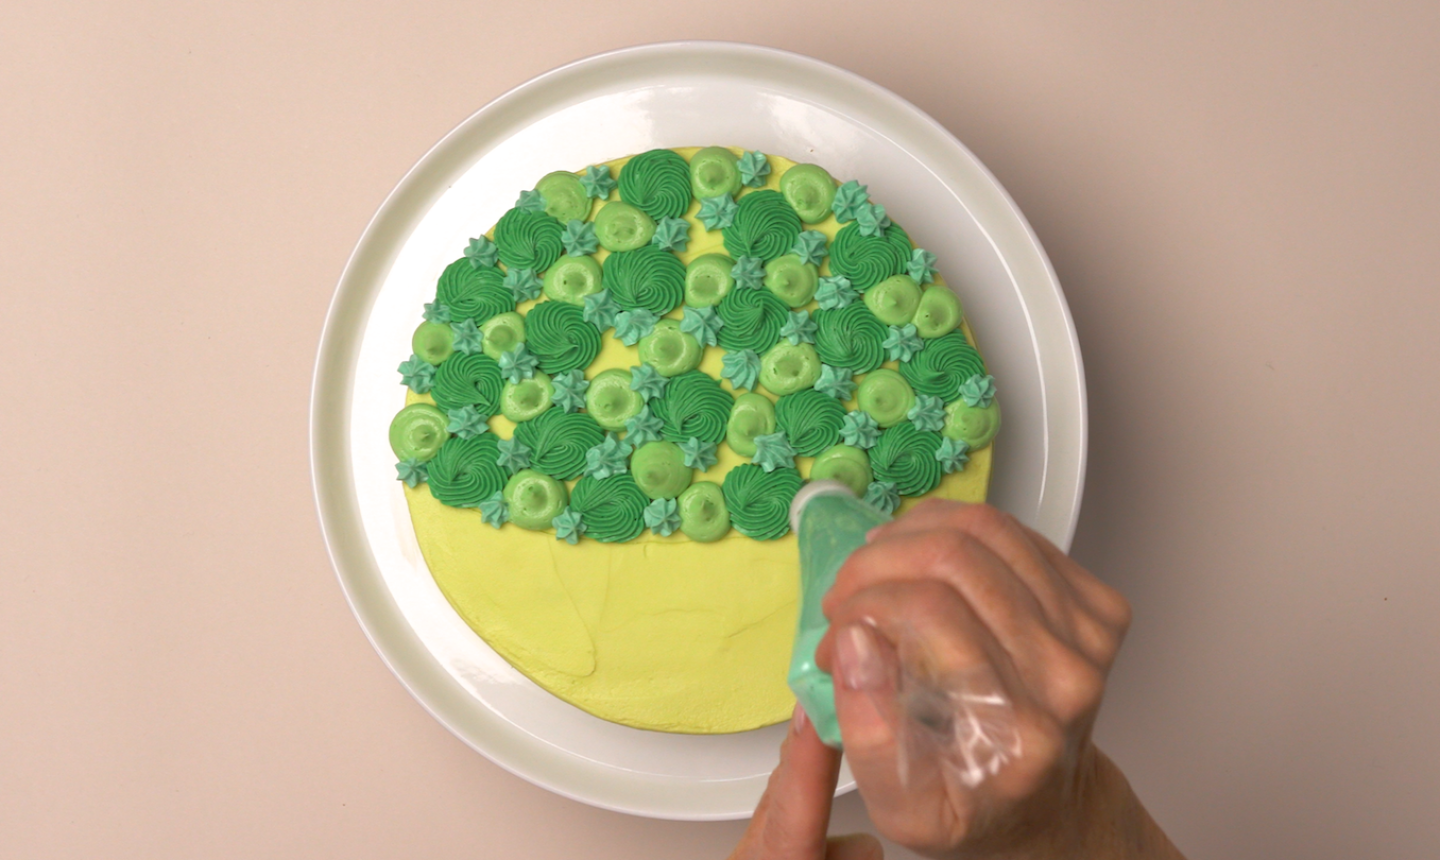
Keep filling in the spaces until the top of the head is covered in all shades of buttercream. Use the open star tip to pipe small kisses and cover any open spaces.
5. Define the Mouth
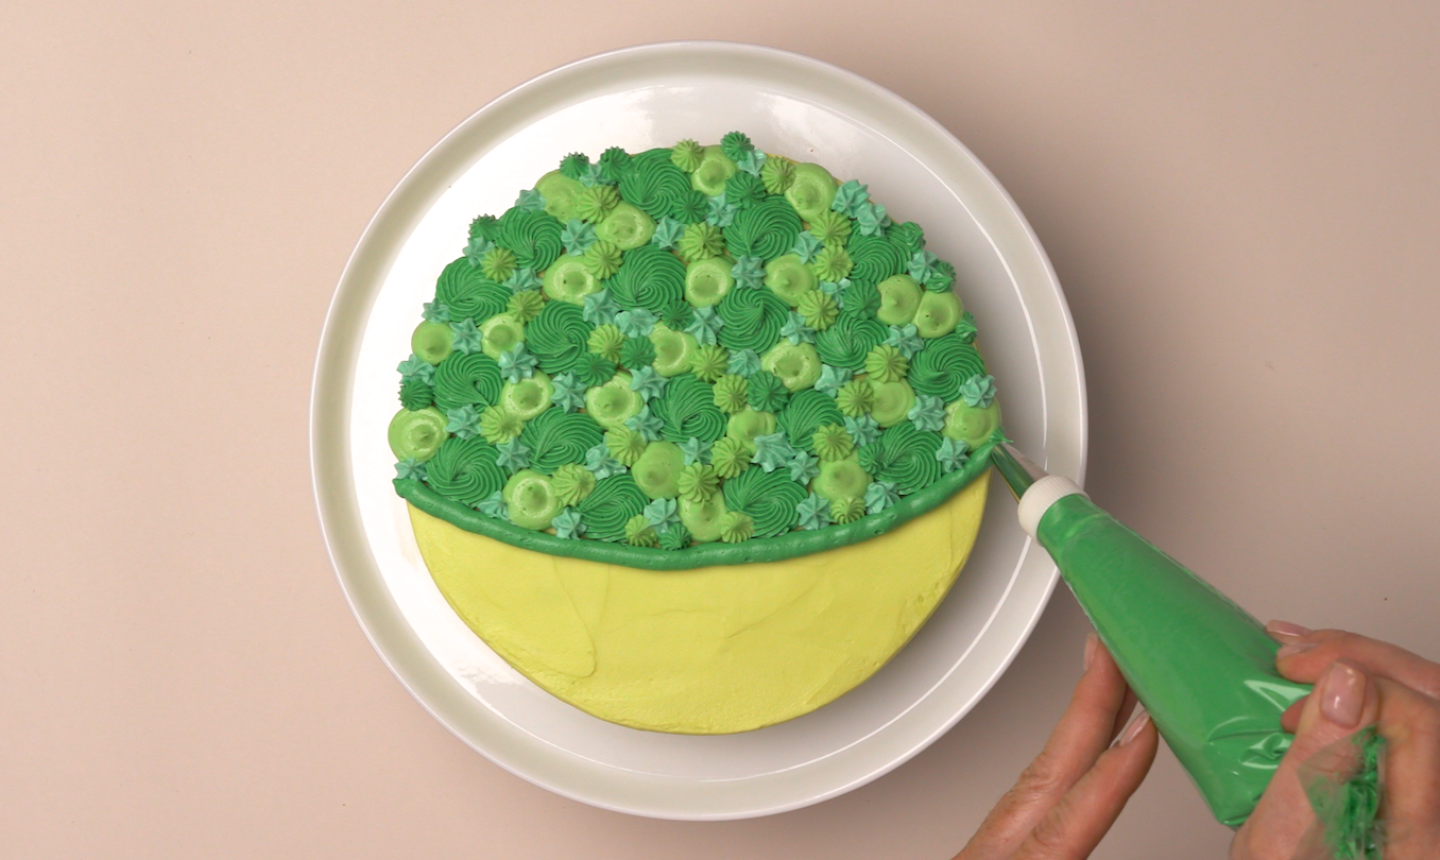
When you’re done filling in the head, fit your piping bag containing your darkest shade of green with the large round piping tip. Pipe along the toothpick line that divides the cake to create the mouth.
6. Make the Eyes
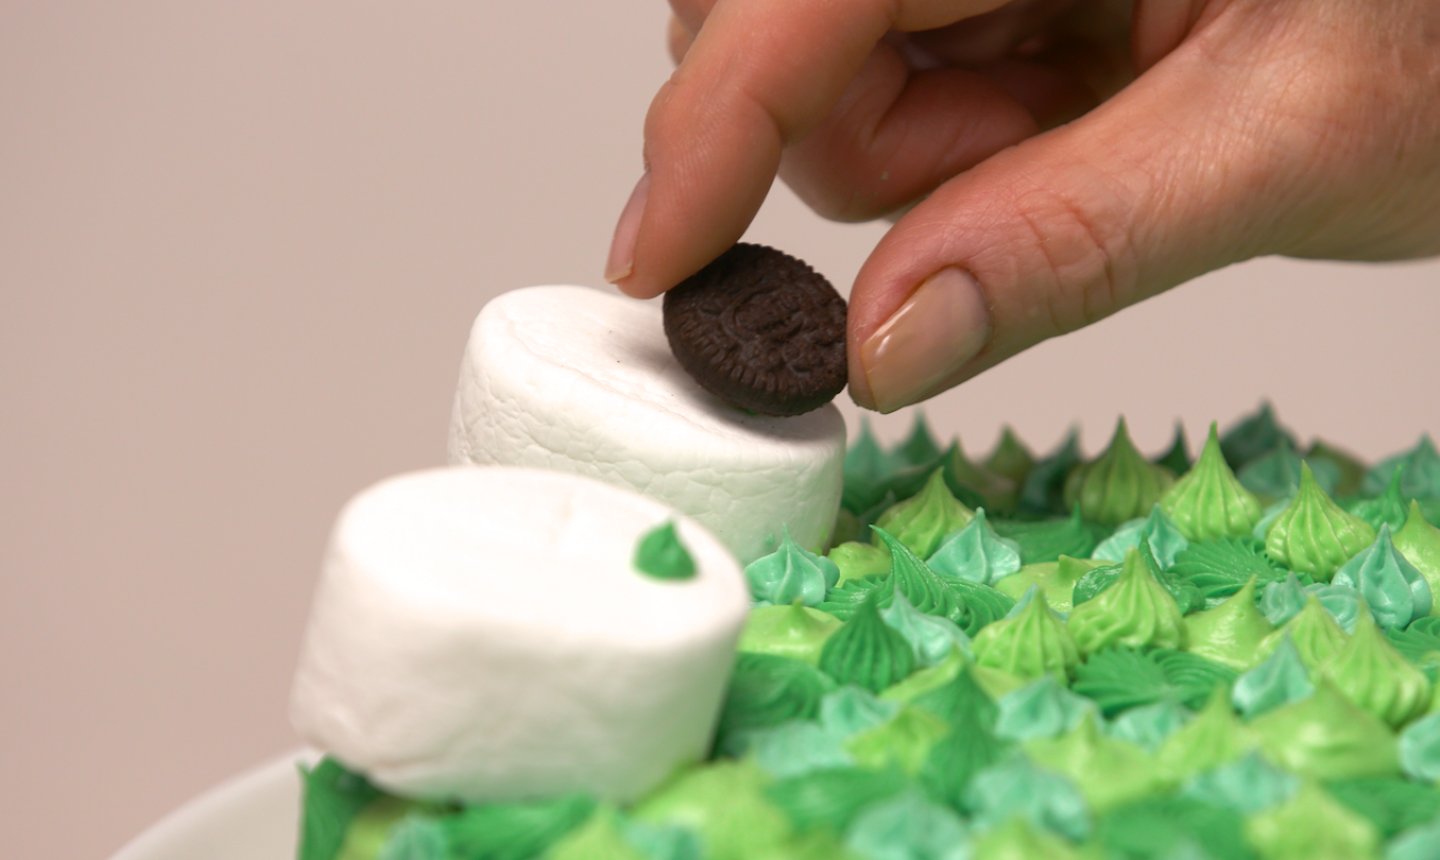
Cut a large marshmallow in half with food-safe scissors and place the pieces at the top of the cake. With a piping bag fitted with a small tip, place a dot of buttercream on each eye and use this to secure a mini cookie for the pupil.
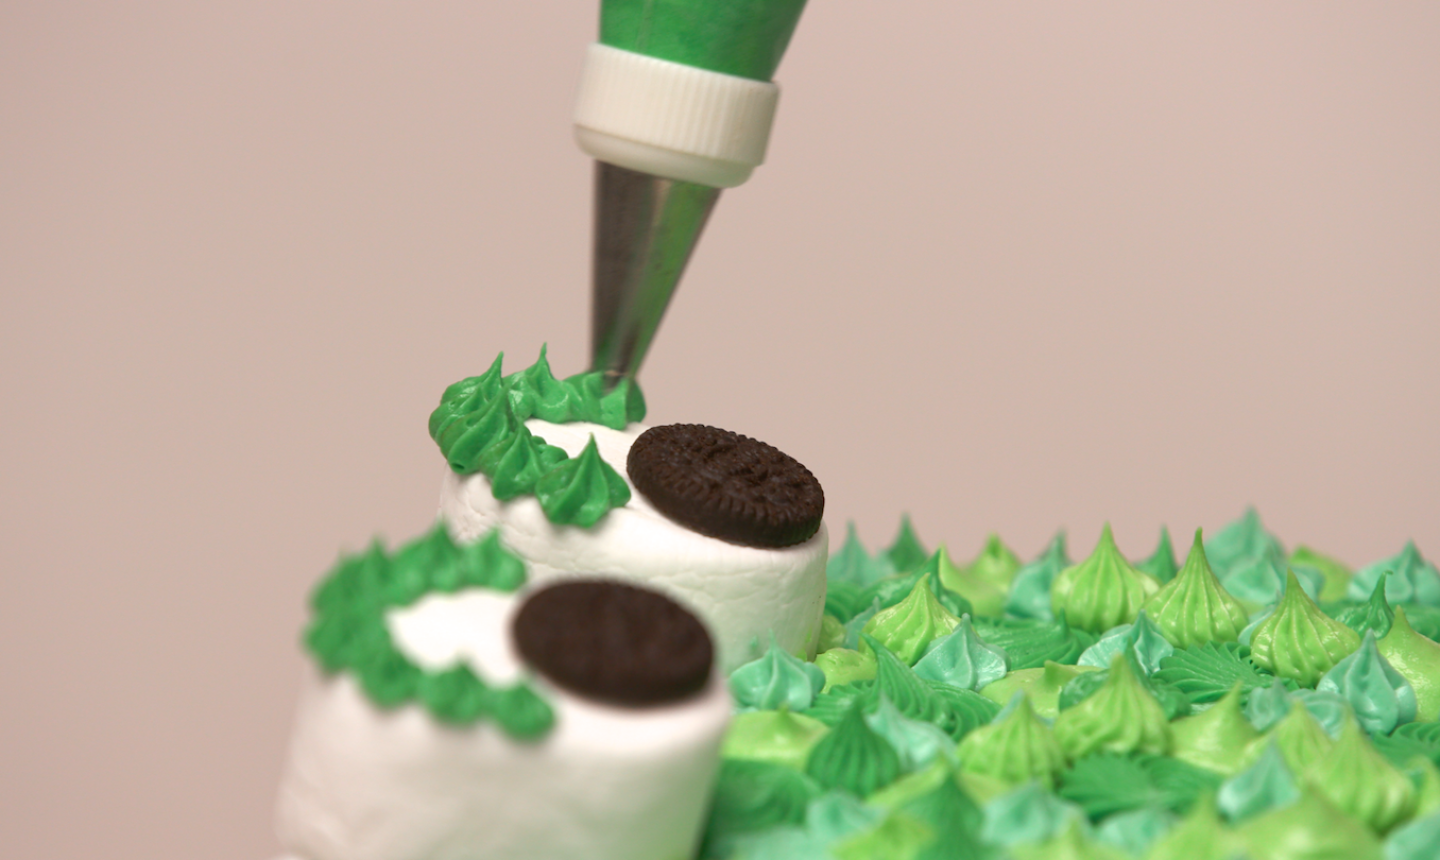
Using the small open star tip, pipe green buttercream kisses on top of the marshmallow to create eyelids.
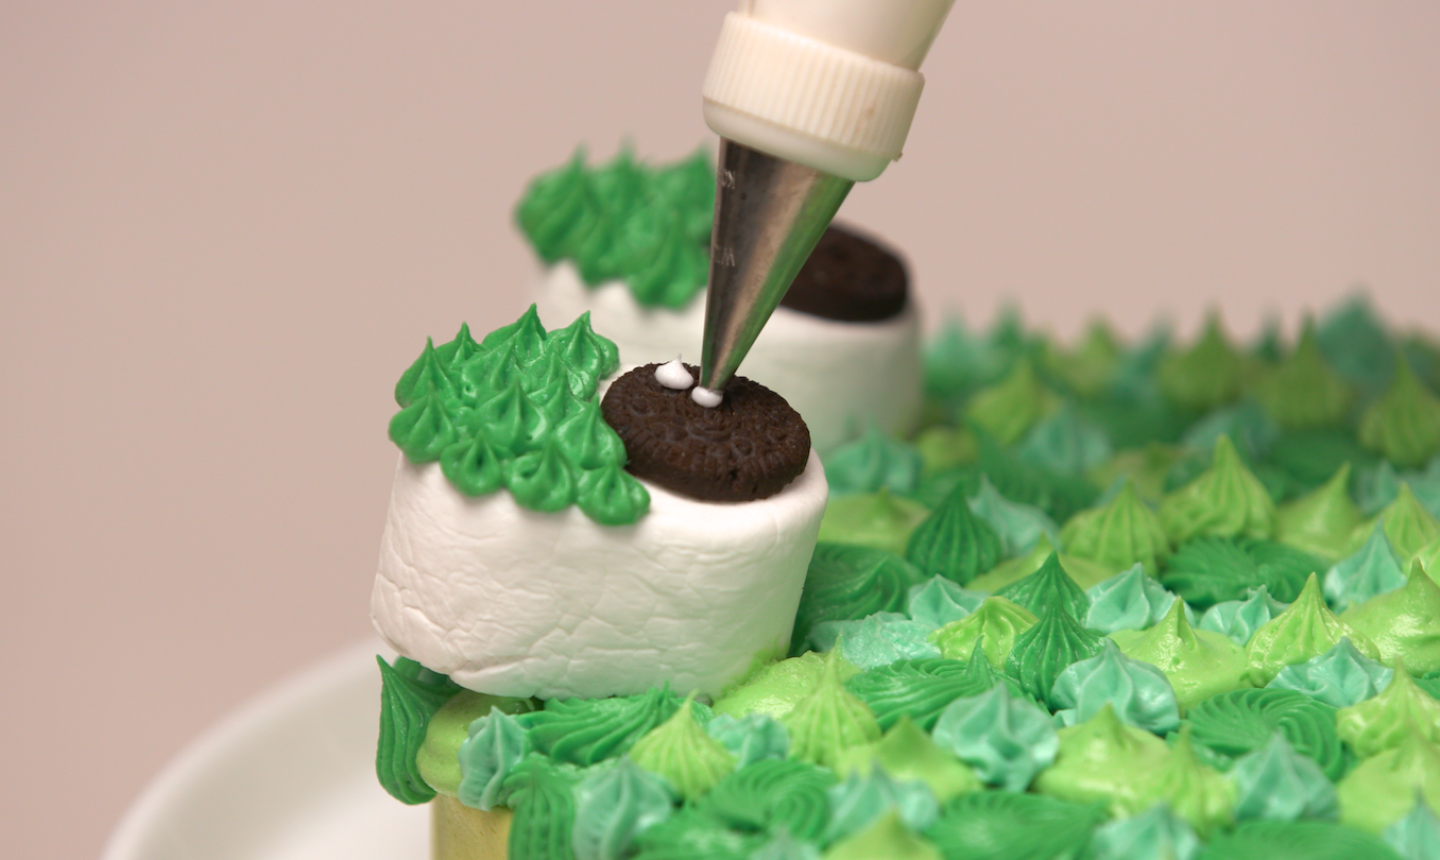
Bring some life to the eyes! Pipe two small white dots on top of the cookie with a circular writing tip.
7. Add the Final Touches
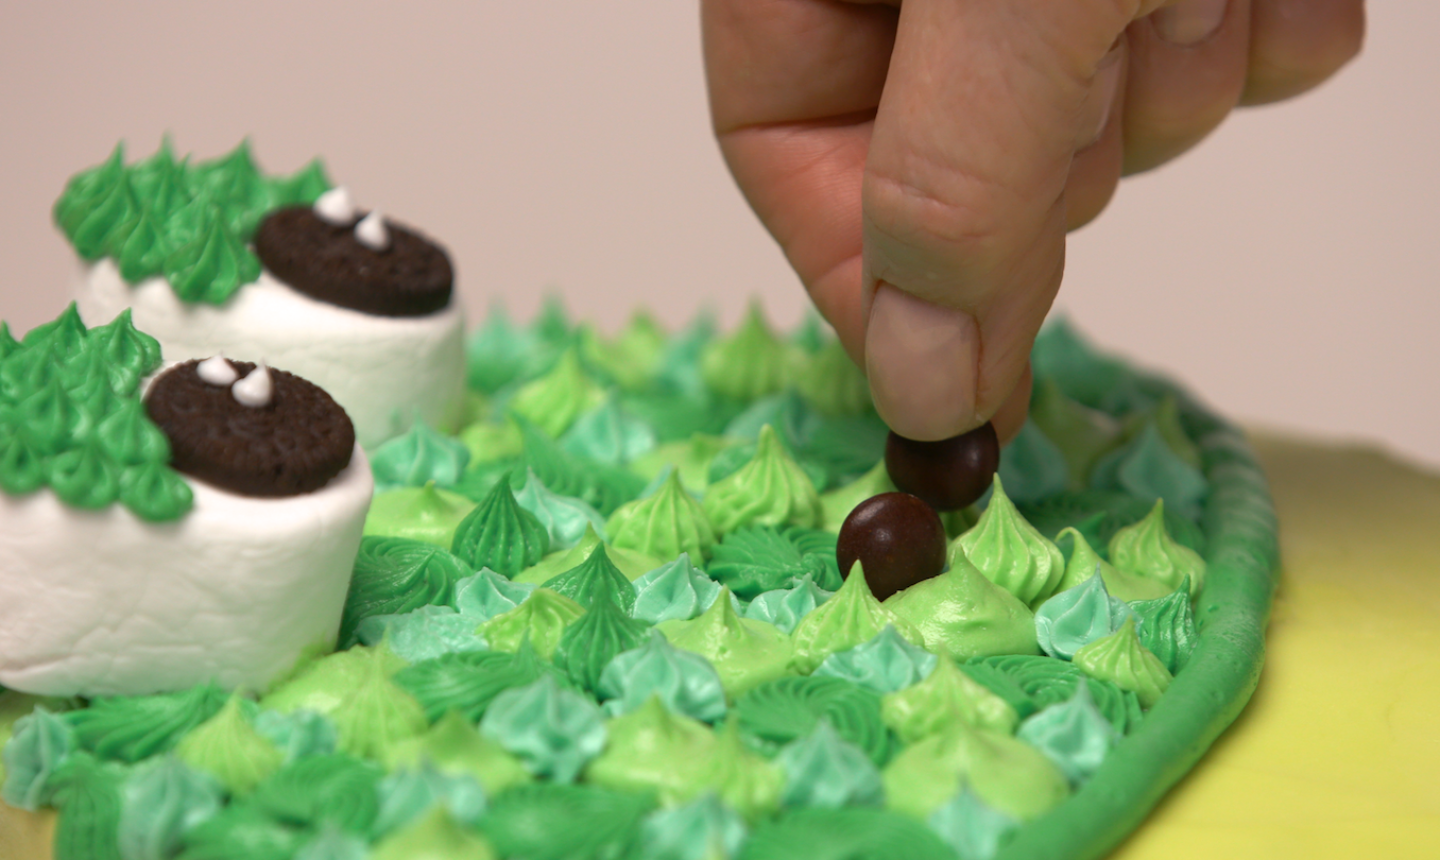
Place two round chocolate candies on their sides to make the nostrils. And where would a frog be without its long tongue? Cut a piece of fruit leather and press it to the cake just under the mouth.
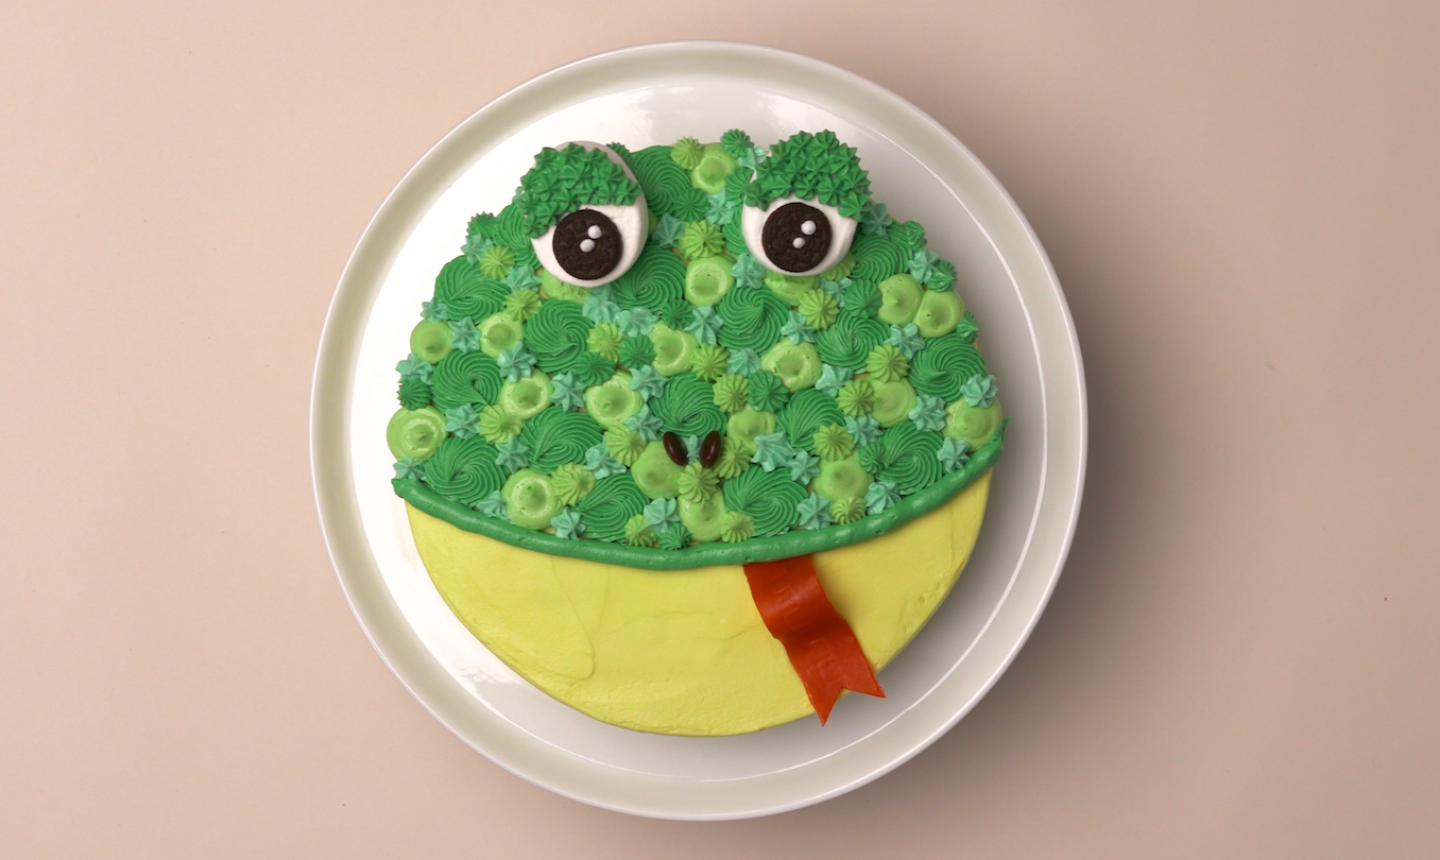
Pig Cake
What You Need
Instructions
1. Prep the Cake
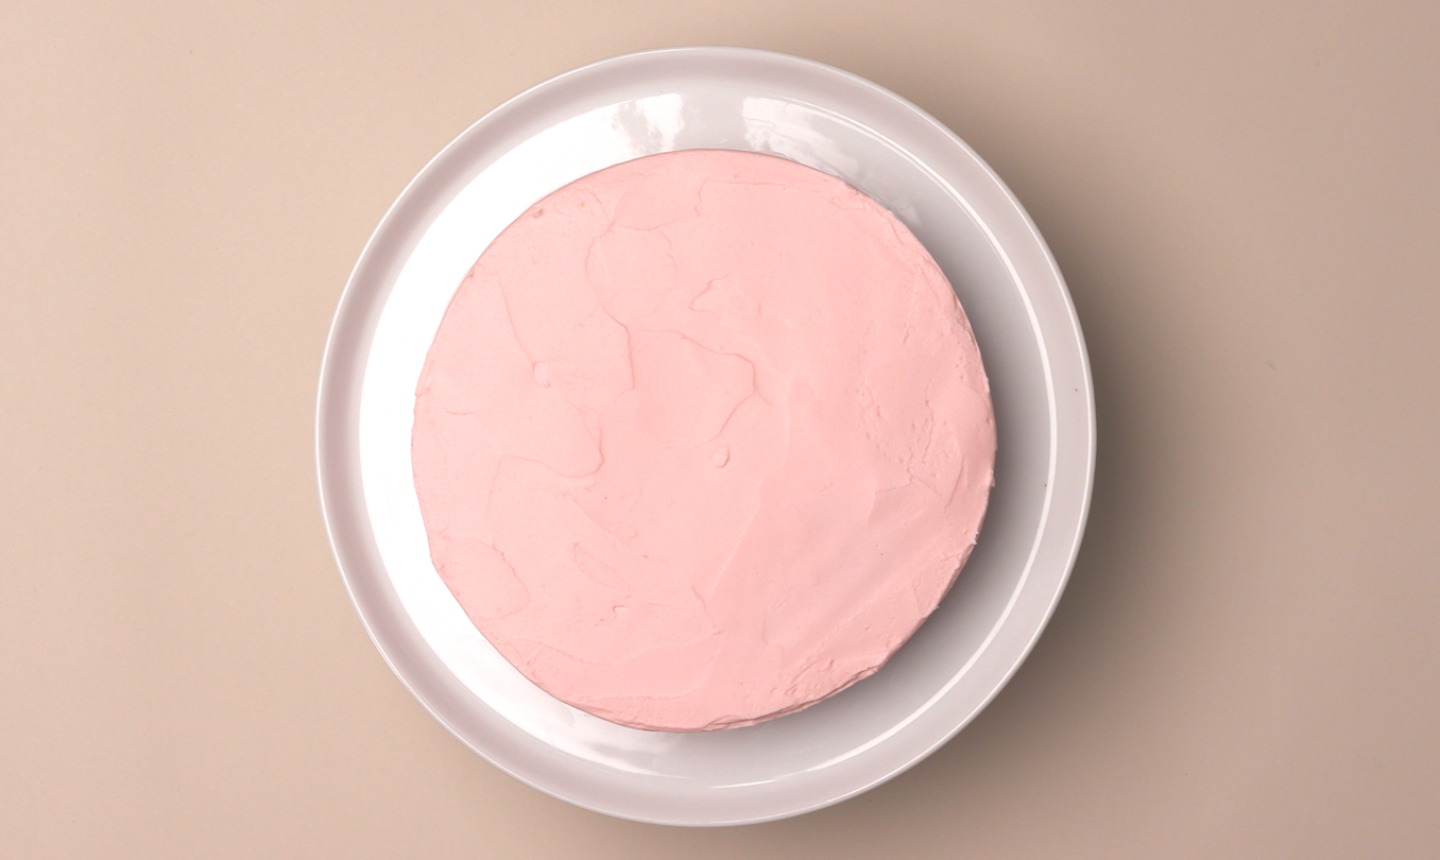
Bake a cake in an 8″ round pan and mix up your favorite buttercream. Use food coloring to create a pale pink shade and frost your cake. Then mix together an ombré range of pinks. (For more detailed info, see steps 1 and 2 for the frog cake above!)
2. Make the Piggy Ears
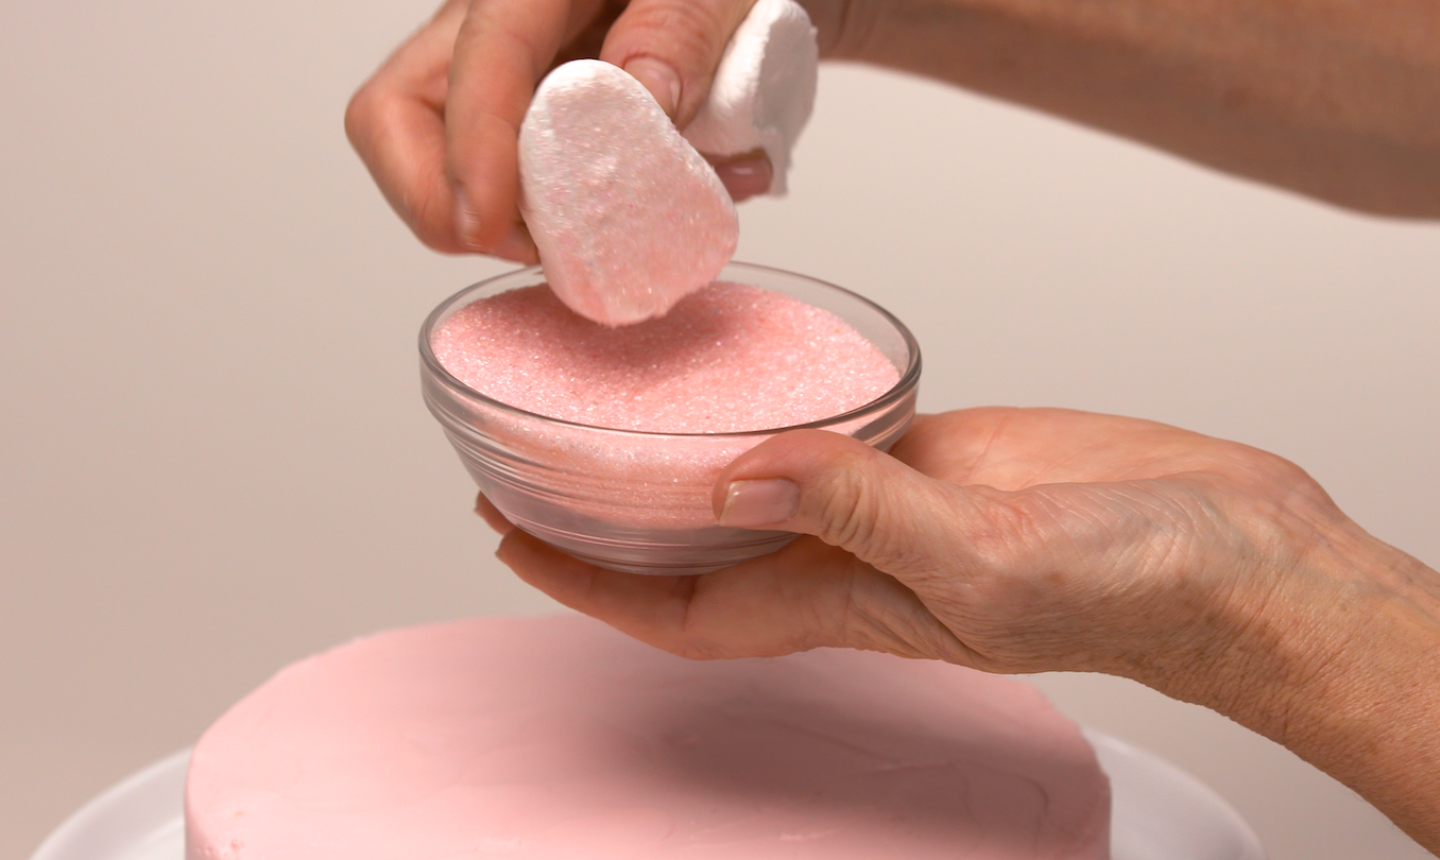
Cut a large marshmallow in half diagonally. Dip the two sides into pink sanding sugar so the sticky sides are well coated. Place these “ears” at the top of the cake. (For added cuteness, make ’em a little lopsided).
3. Pipe the Head
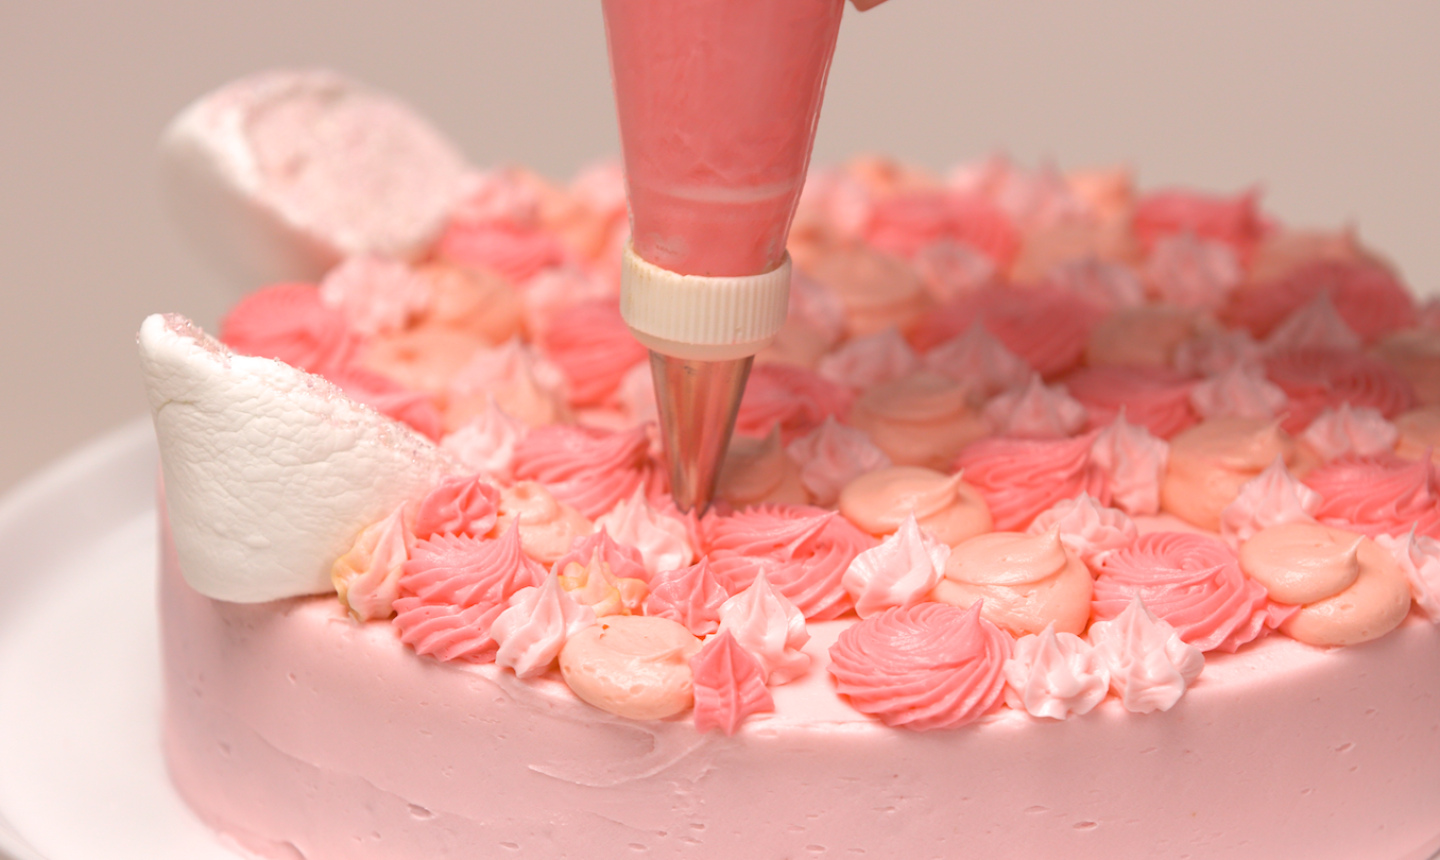
Spoon your buttercream into piping bags and pipe rosettes, dots and kisses with your star tip and open round tip, covering the entire top of the cake. (For more detailed info on the piping approach, see steps 3 and 4 of the frog cake above!)
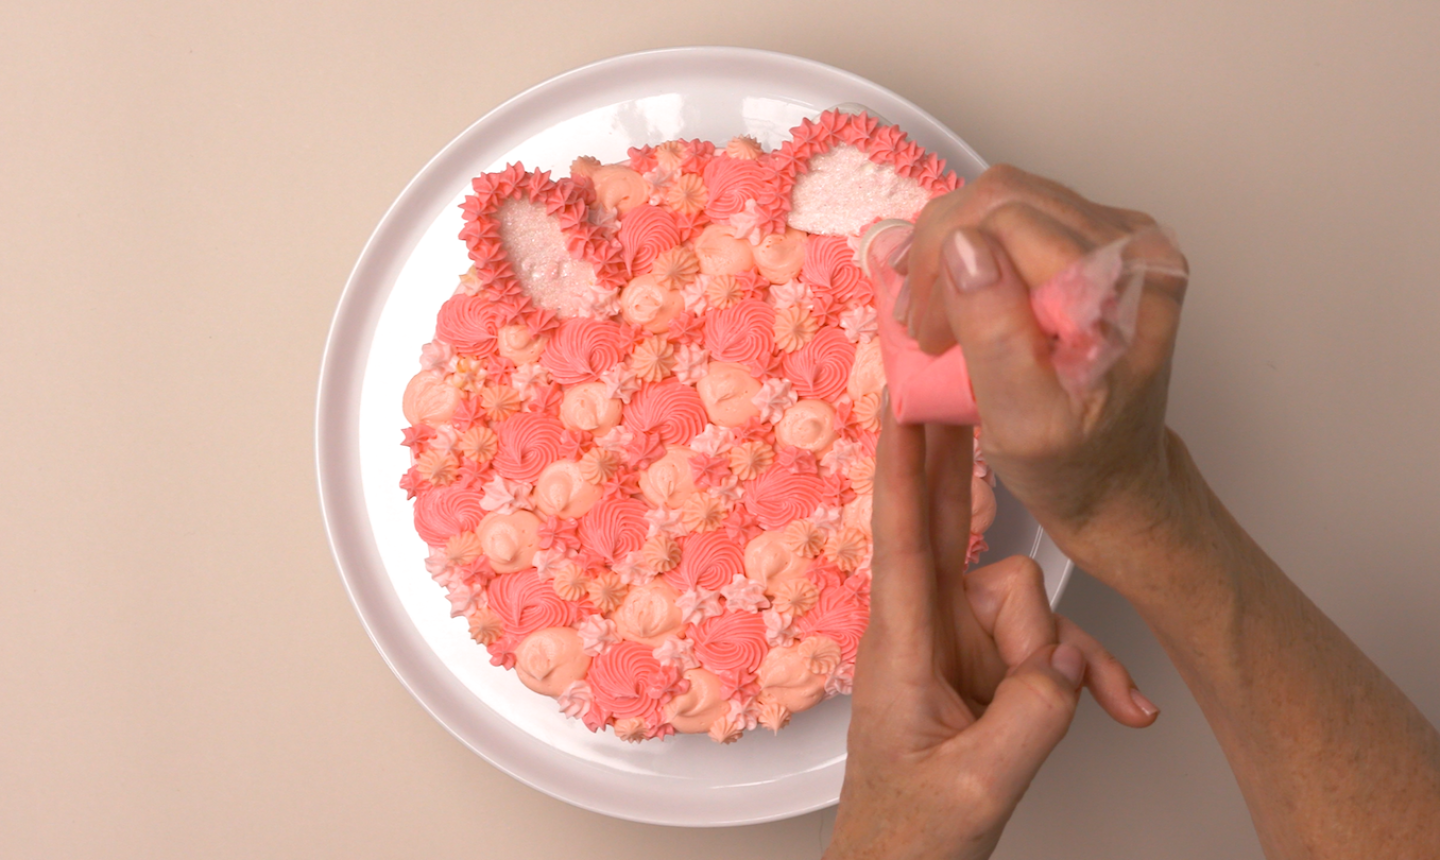
When the cake is covered, pipe small star-tip kisses around the marshmallow ears.
4. Build the Face
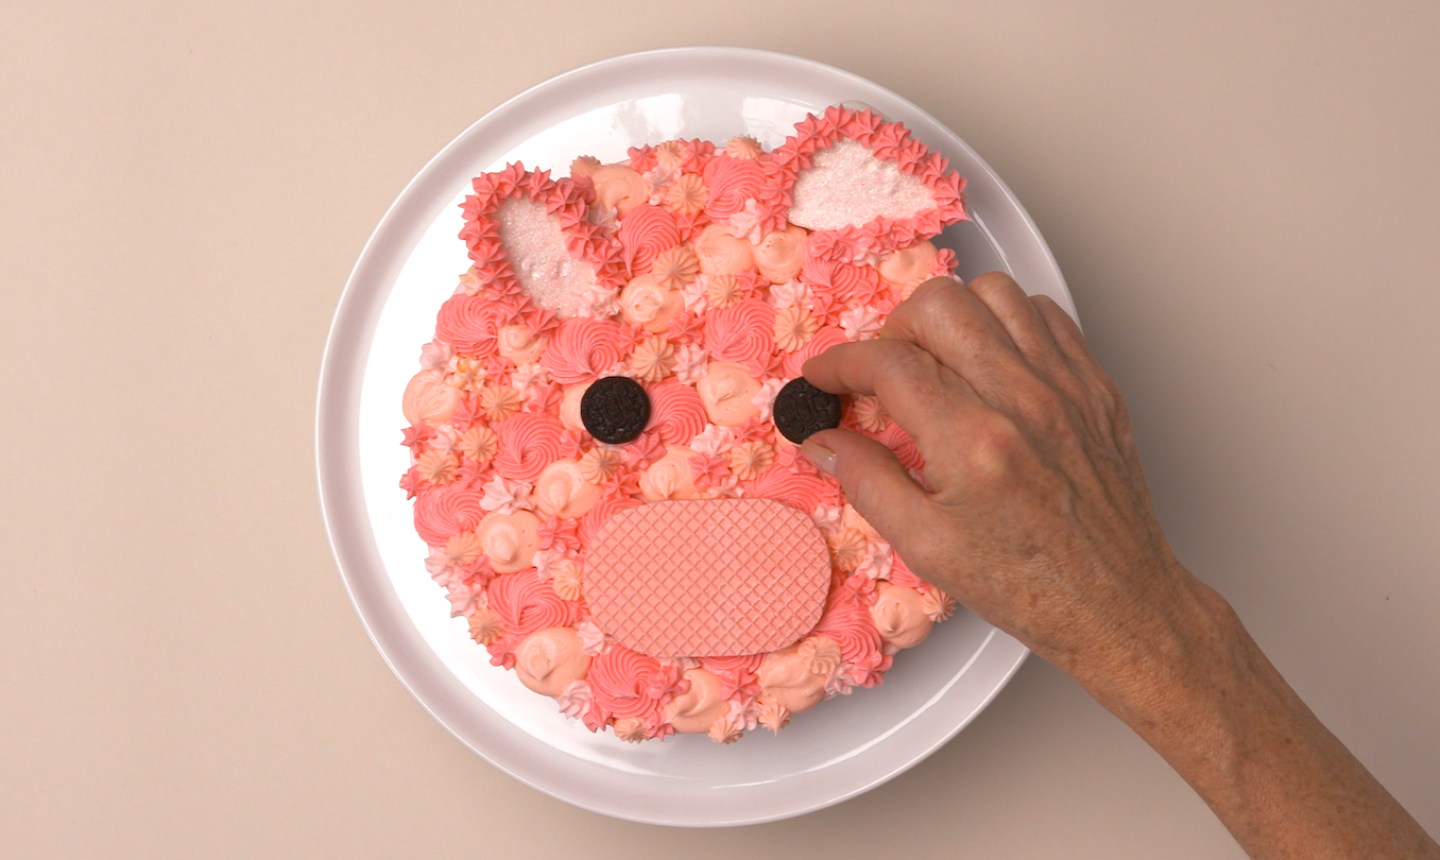
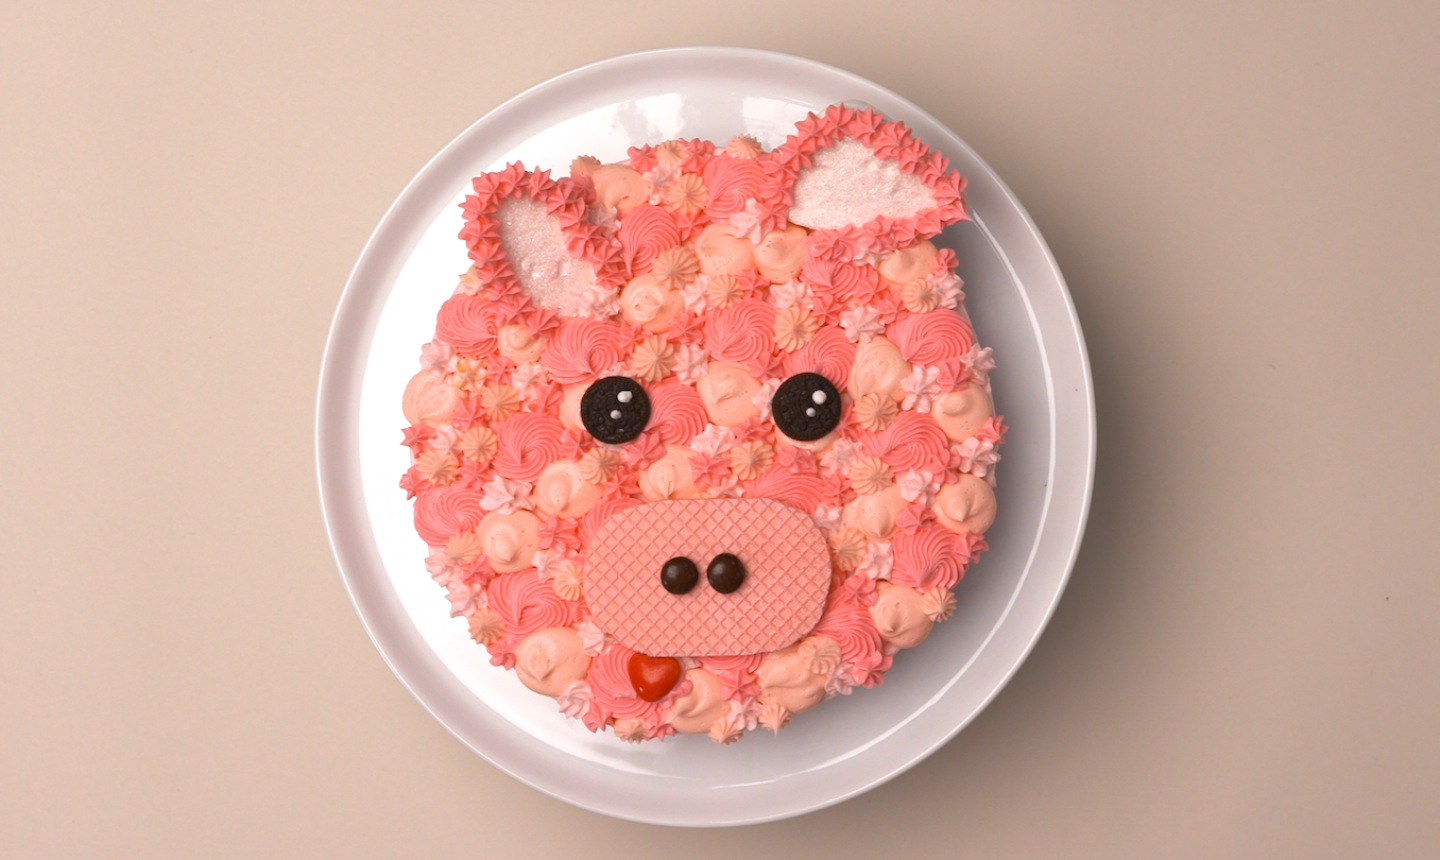
Cut a large pink wafer cookie into an oblong shape and place it toward the bottom of the cake (this is the pig’s snout). Gently press two mini cookies into the buttercream for the eyes. Then pipe two small dots of white buttercream onto the cookies using a small writing piping tip.
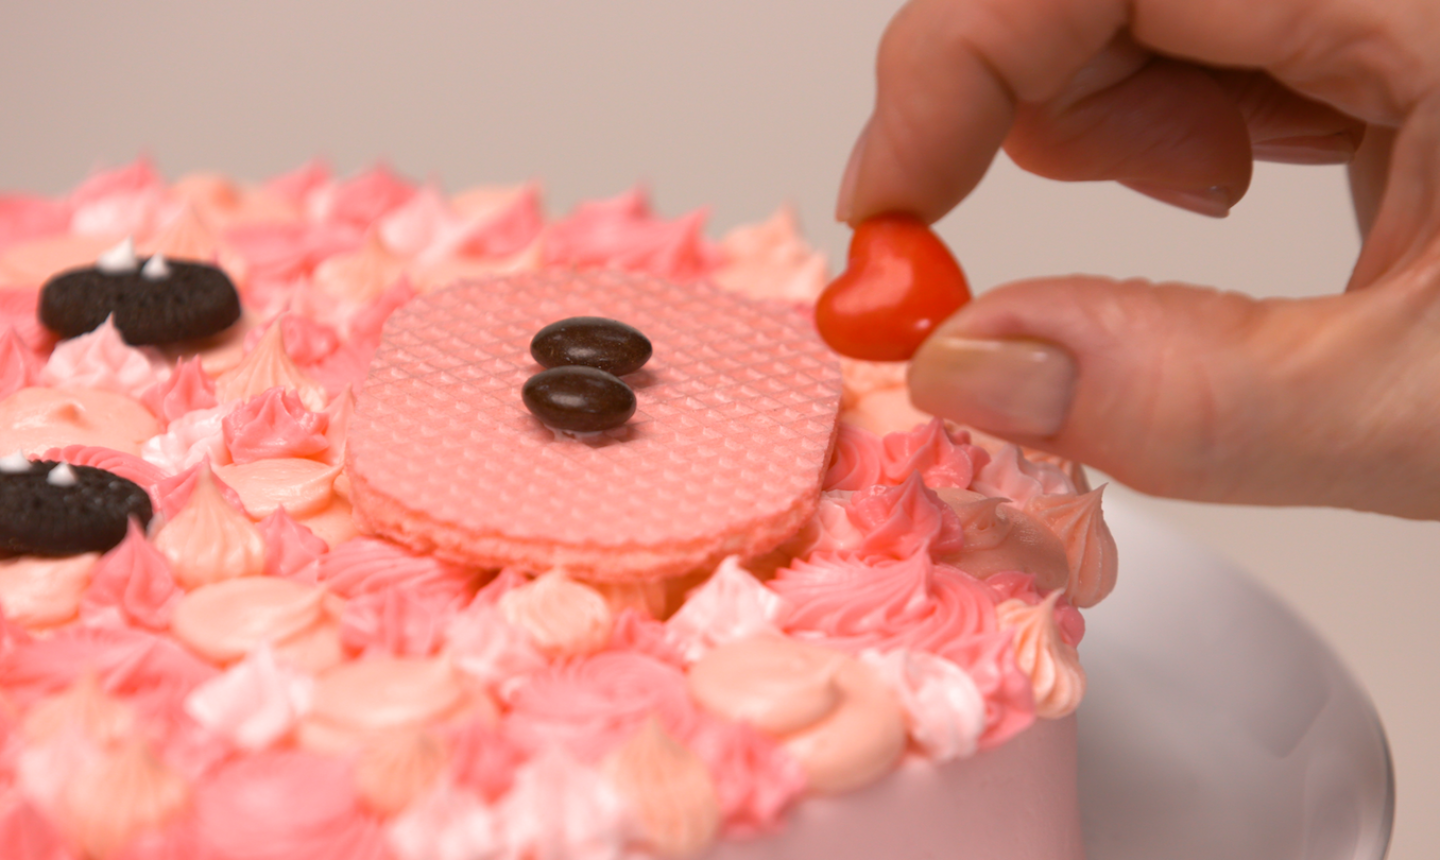
Place chocolate candies onto the wafer cookie to make nostrils, securing them with a dab of buttercream. Then add a candy heart for the tongue, and you’re done!
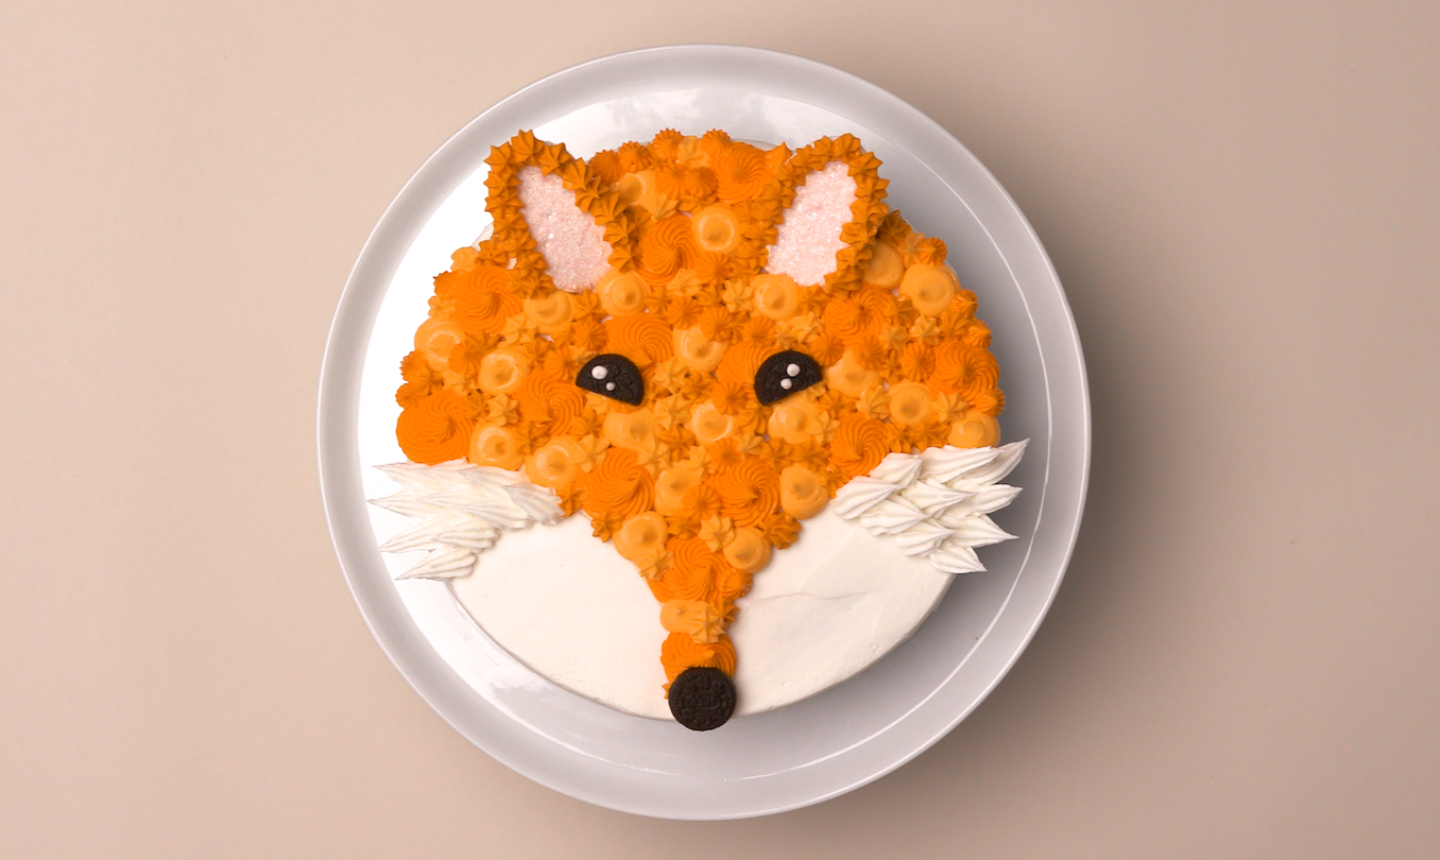
Fox Cake
What You Need
Instructions
1. Prep the Cake
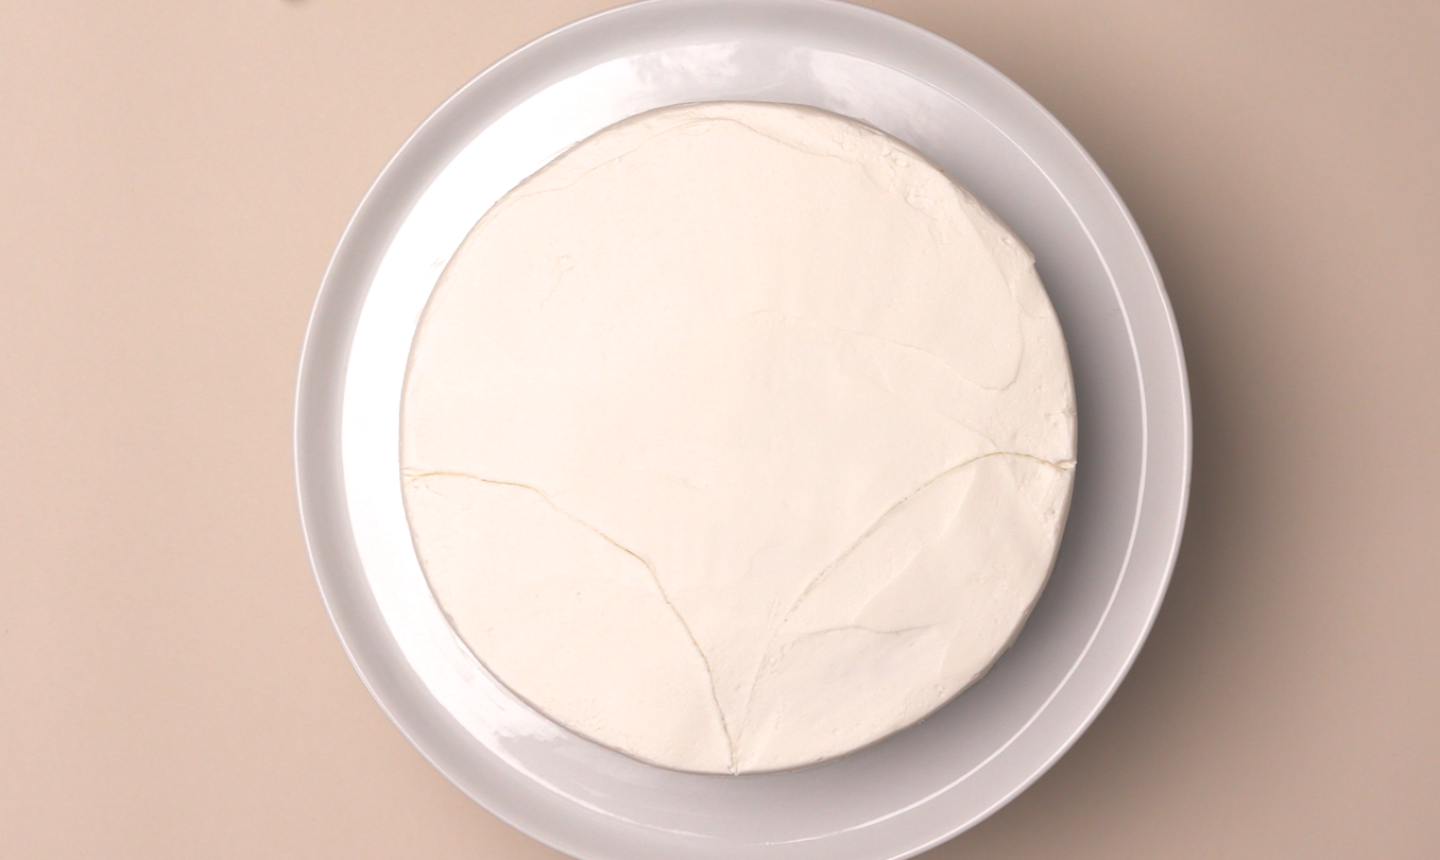
Bake a cake in an 8″ round pan and mix up your favorite white buttercream. Frost your cake, then mix together an ombré range of orange buttercream. (For more detailed info, see steps 1 and 2 for the frog cake above!)
When the cake is frosted, use a toothpick to trace a curved V-shape across the bottom (refer to the image above).
2. Make the Ears
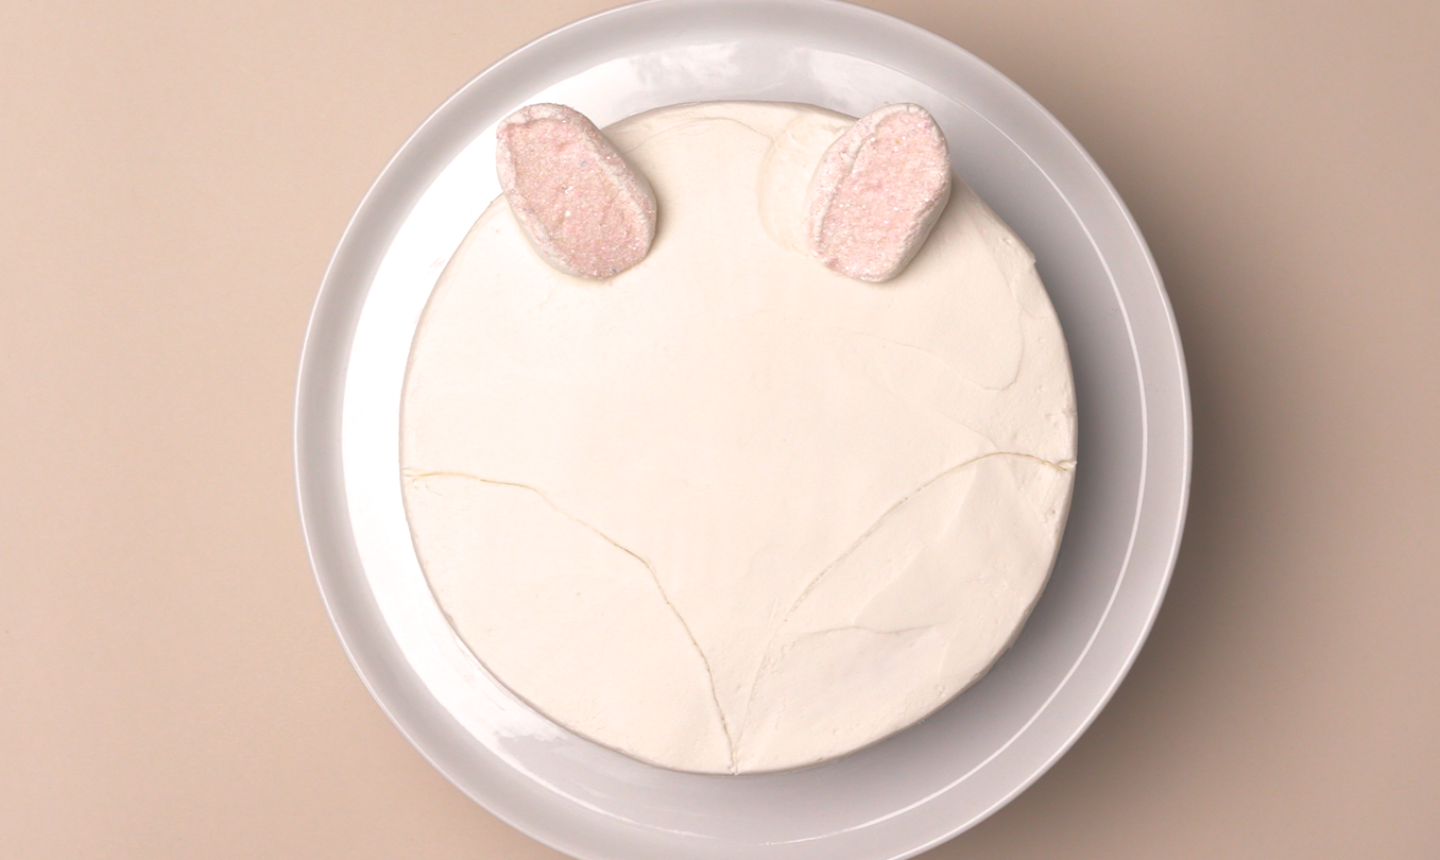
Cut a large marshmallow in half diagonally. Dip the two sides into pink sanding sugar so the sticky sides are well coated. Place them at the top of the cake.
3. Pipe, Pipe, Pipe!
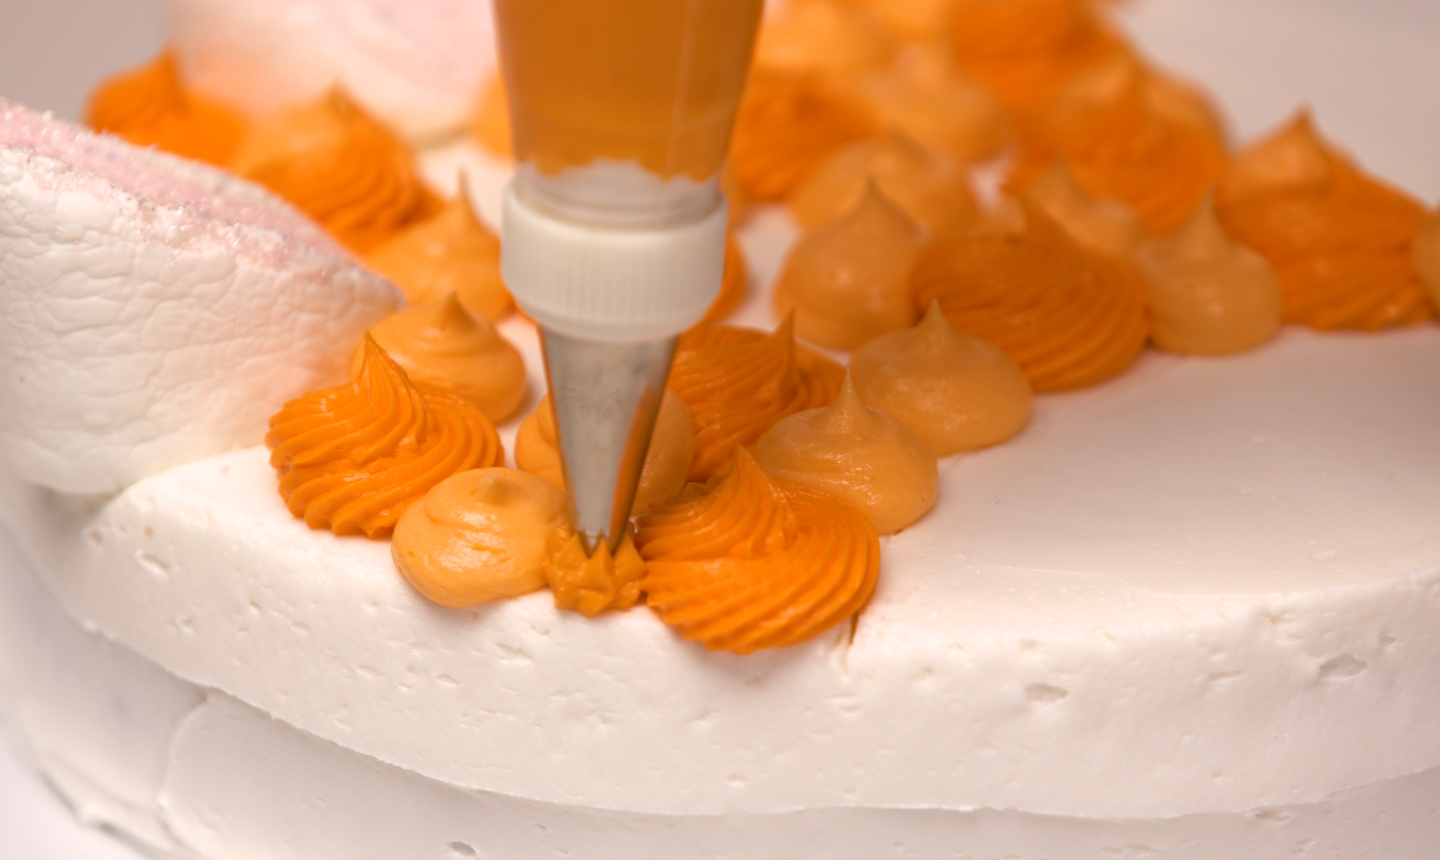
Spoon your buttercream into piping bags and pipe rosettes, dots and kisses with your star tips and open round tip. (For more detailed instructions on this piping approach, see steps 3 and 4 of the frog cake above.) Pipe small kisses around the edges of the marshmallow ears as well.
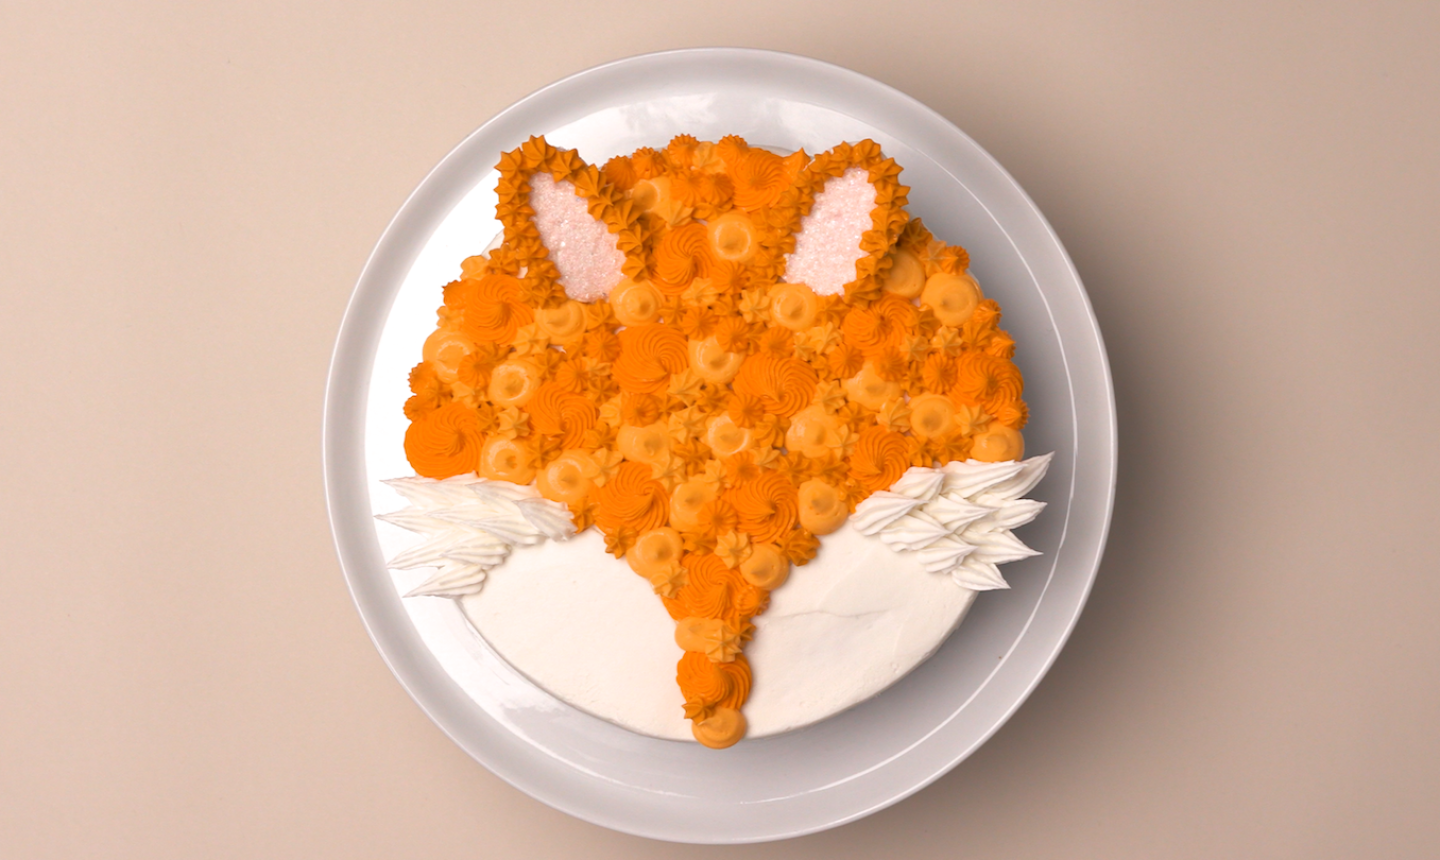
Fill a fresh piping bag fitted with an open star tip with white buttercream. Pipe long tufts of fur a the top of the two “cheeks” defined by the toothpick lines.
4. Finish the Face
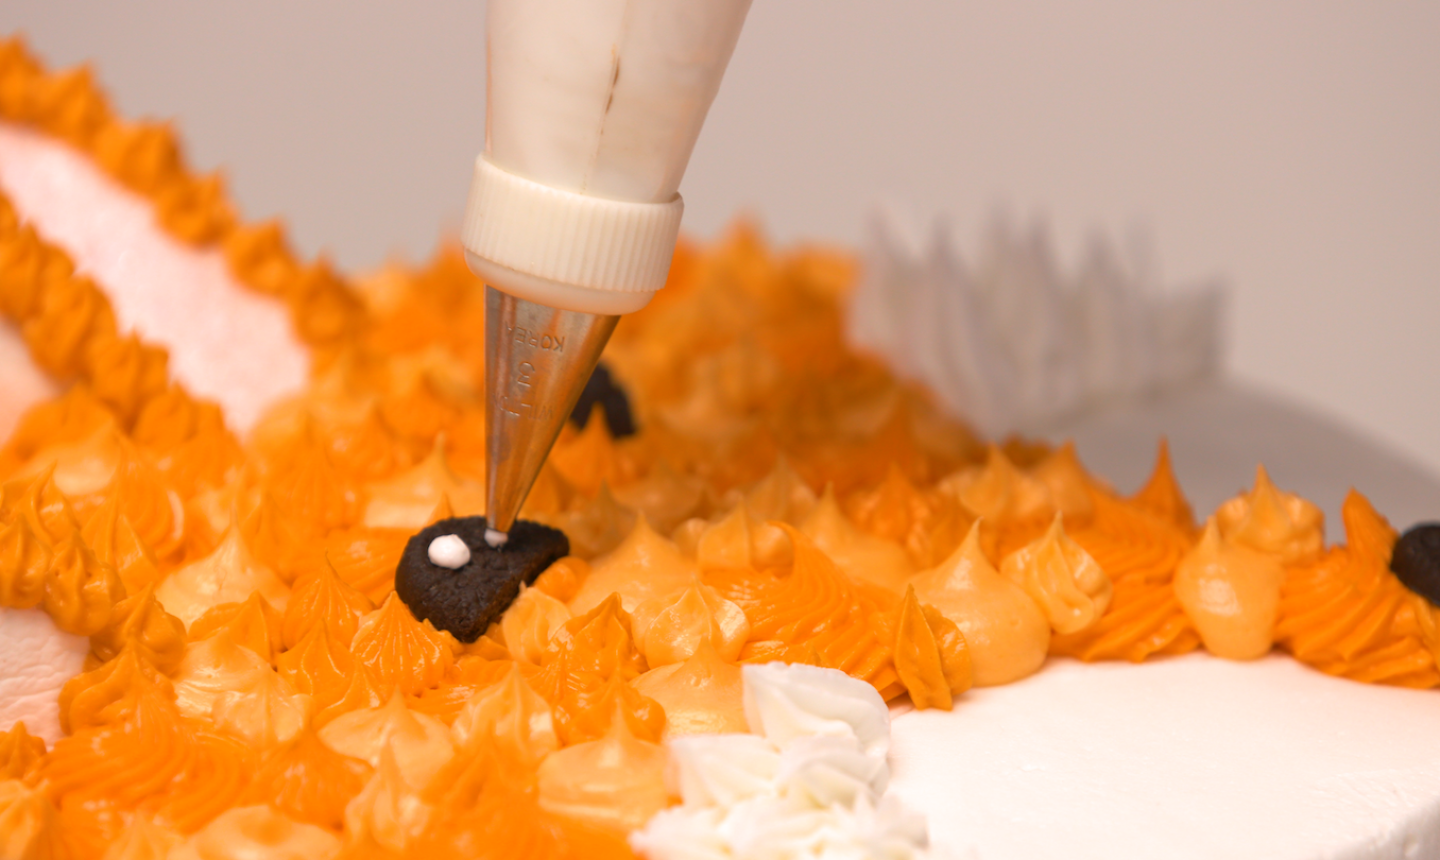
Cut the bottom off two mini cookies and press them gently into the buttercream to create eyes. Then add another (whole) mini cookie for the tip of the nose. Pipe two small dots of white buttercream onto the eyes using a small writing piping tip.
Share tips, start a discussion or ask other students a question. If you have a question for an expert, please click here.
Already a member? Sign in
No Responses to “These Are the Easiest Animal Cakes You'll Ever Make”