Truth: a shower curtain can make or break your bathroom. If you're revamping your space (or moving into a new place altogether), this simple DIY can save you hours of searching for that perfect patterned curtain. And there's no need to install grommets or special hardware — this curtain can be made using only your sewing machine.
Fabric Shower Curtain
Level: Easy
What You Need
Instructions
1. Pick and Cut Your Fabric
Standard plastic shower curtain liners are 72" x 72", so your finished fabric curtain needs to be 74"-80" long (depending on the height of your shower rod) and about 74" wide.
To determine fabric requirements, measure how long you want your curtain to be. Double that length, then add about 12" more for the top and bottom hems. That's the length you should buy. You may need to seam together multiple pieces of fabric to create the necessary dimensions.
Pro Tip: You can join your fabrics with French seams, or press the seam open and overcast the edges with a serger to prevent fraying.
Cut your curtain to a width of 74" and a length of: your curtain height + 12" for the hems + 3" for the top fold.
2. Hem

Hem both sides and the bottom of your curtain. Turn the edges in ¼" and press. Turn the edges in again at ¾" and press. Stitch along the edge.
Pro Tip: The hem is also an opportunity to incorporate an accent fabric or decorative trim.
3. Mark the Buttonholes
For the top of the curtain, hem as you did for both sides and the bottom to create a 2" fold. Once secure, use a fabric pen or chalk to mark the buttonholes. Use your plastic liner as a template and leave 2" of fabric before the first buttonhole and after the last. This will keep your plastic liner from peeking out from behind the fabric curtain. Mark each buttonhole starting 1" down from the top fold.
4. Stitch the Buttonholes
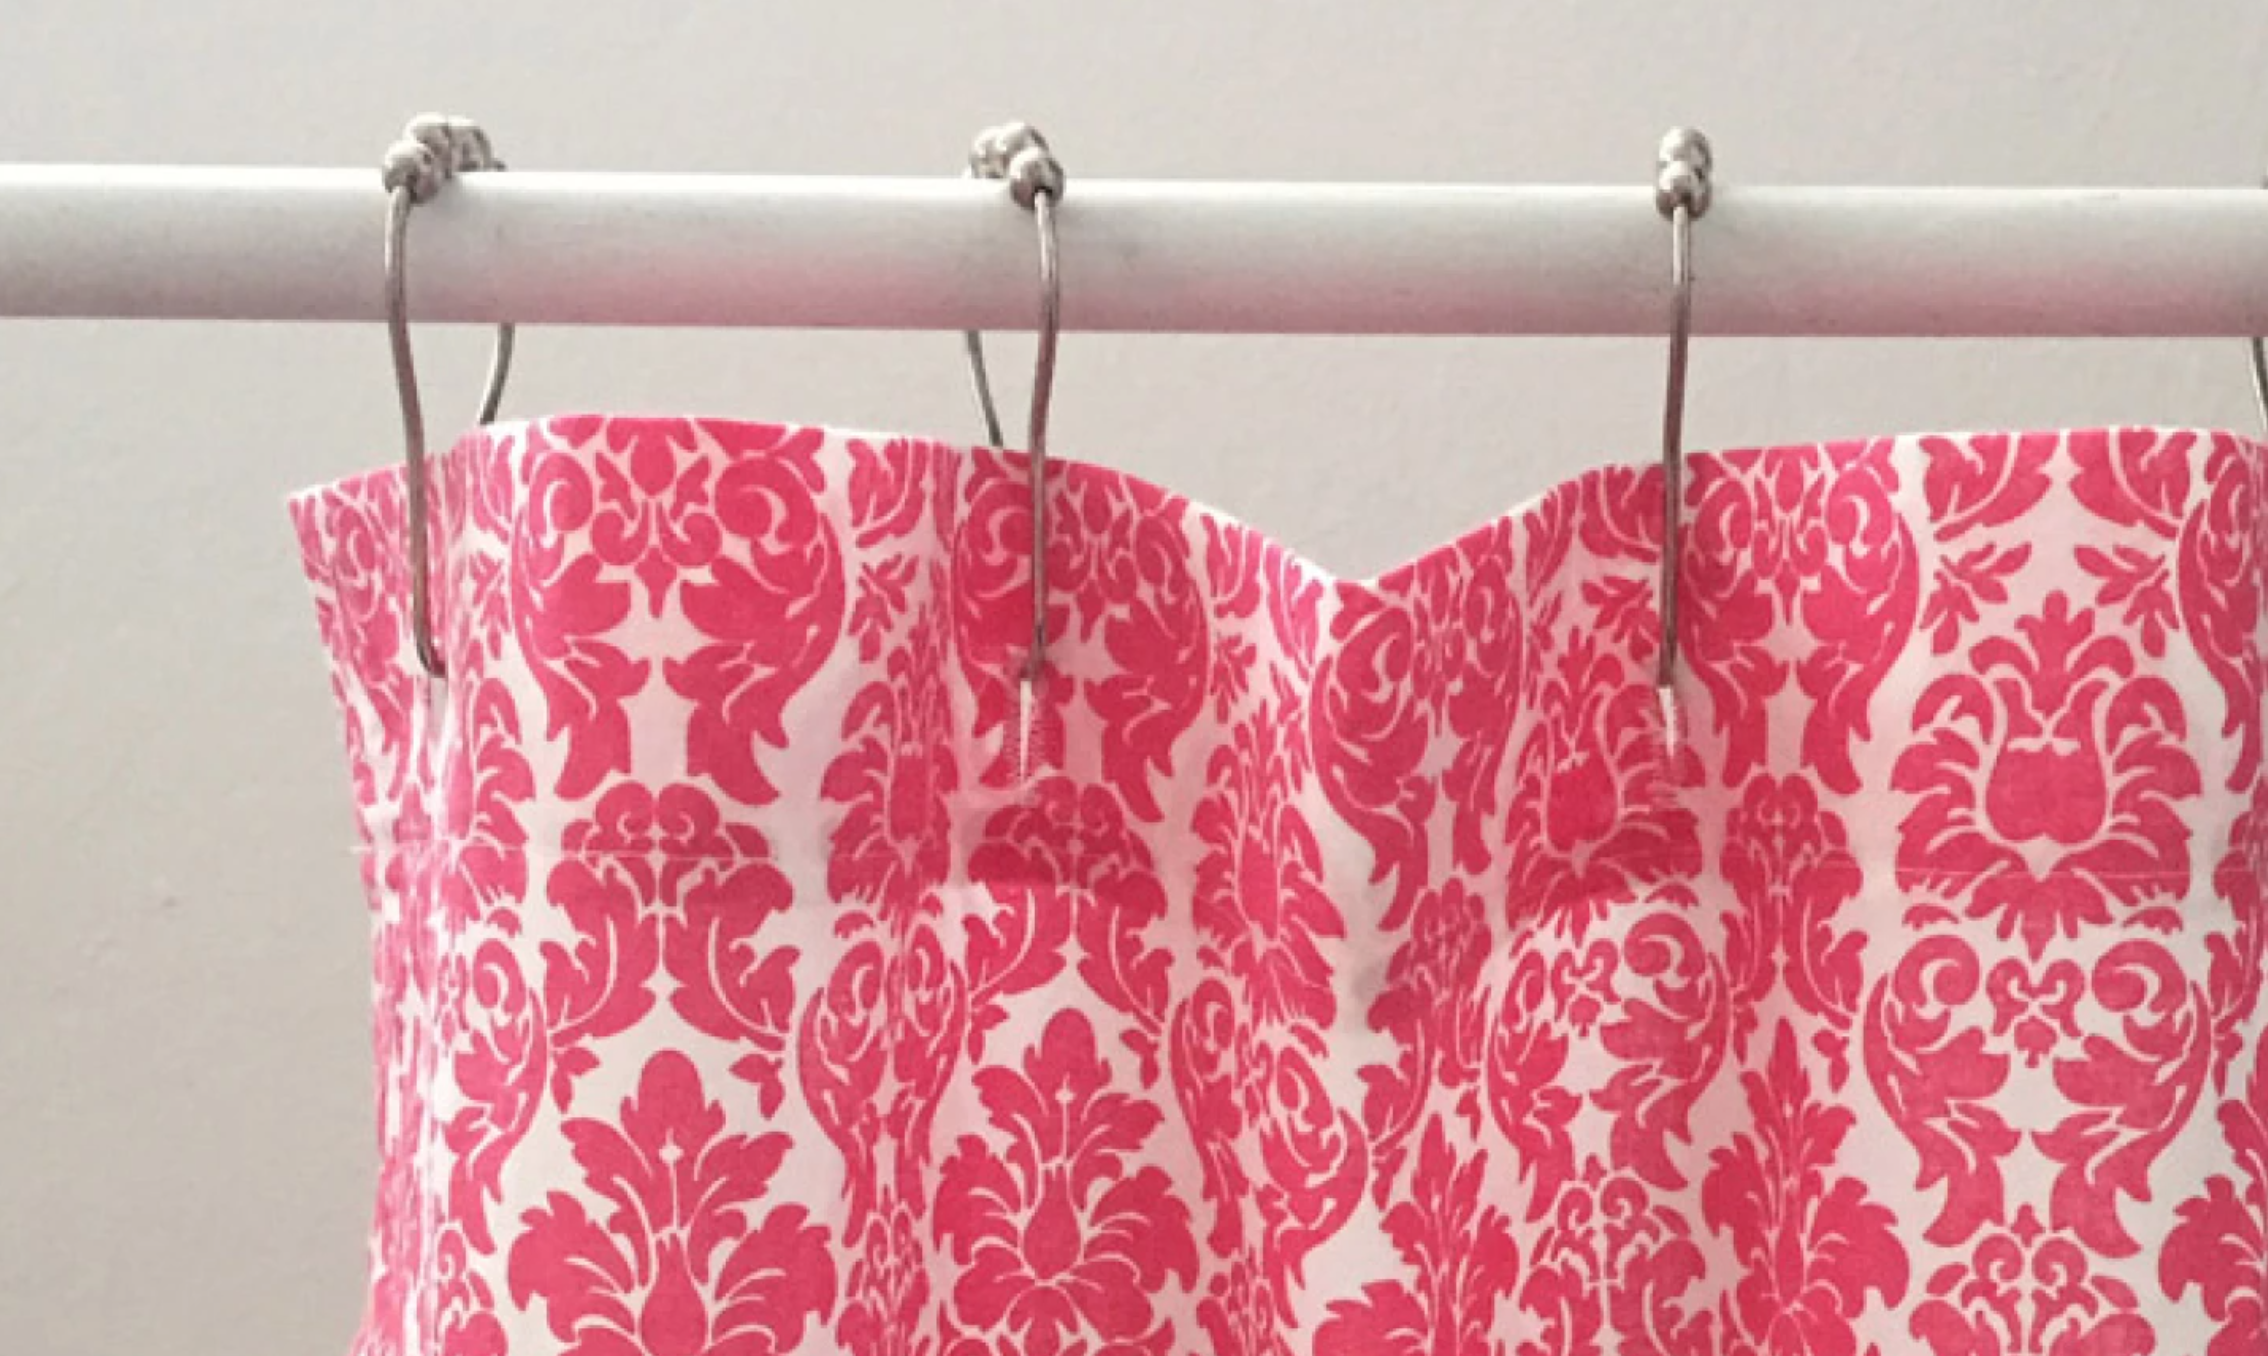
Sew a buttonhole on each mark. Cut the buttonholes open, give your curtain a final press and insert the hooks or rings. Add the plastic lining to the wrong side and hang your new shower curtain!
You might also be interested in this project: Free Sewing Pattern: KitchenAid Mixer Cover

What a great idea!!!