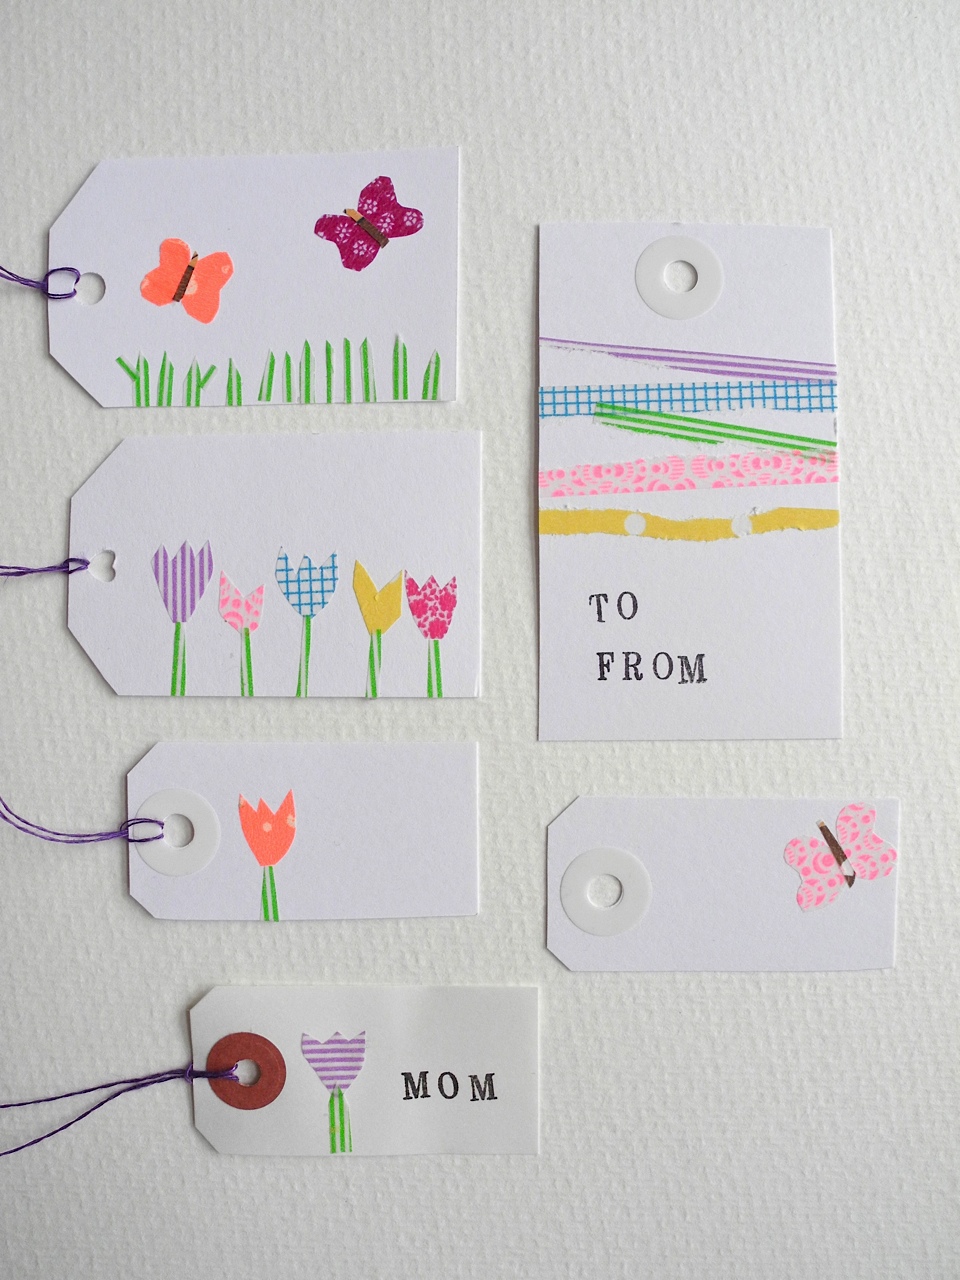
Gift tags are a great way to let kids put a handmade touch on their Mother’s Day present. (Not to mention they save you a trip to the store.) But don’t reserve this project for once a year — the whole fam can make a bunch to keep on hand for graduations, birthdays and holidays, so they’re always ready for a special occasion!
DIY Gift Tags
Level: Easy
What You Need
Instructions
1. Make Your Tag Shapes
Cut thick paper to the desired size. (For reference, a rectangle gift tag is typically 2″ x 3½”.) Snip off two of the corners for a more traditional gift tag shape.
Use a hole punch to cut a small hole in the top of the gift tag. Add reinforcement stickers, if desired.
2. Cut Your Tape Decor

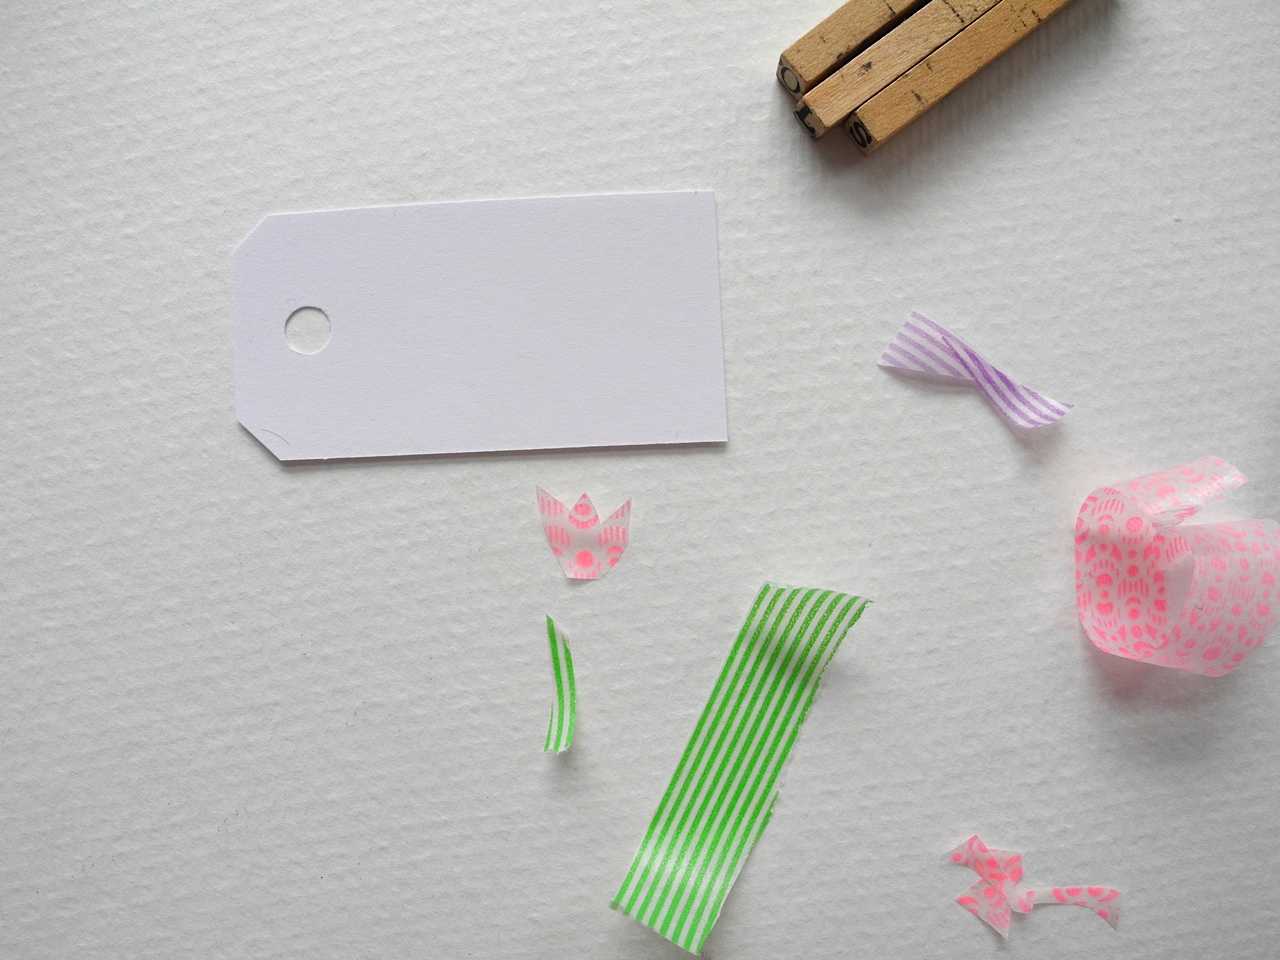
Cut your washi tape into small shapes. There are two ways to do this:
1. Using small scissors, cut shapes directly out of the tape. (This is the most kid-friendly!)
2. Stick the tape to your leftover paper, then cut the tape using a sharp craft knife. Peel away the excess tape.
For Mother’s Day, we cut flowers and stems to match a more spring-y theme. You could also cut butterflies, hearts, stripes — whatever you and the kids dream up!
Pro Tip: If you don’t have washi tape, you can also use construction or scrapbook paper. You’ll just need to add your own adhesive; simple school glue or tape should work.
3. Stamp It Out

Use your alphabet stamps and ink to stamp your message onto the tag.
Pro Tip: You could also use stickers or simply write on the tag with a pen or marker.

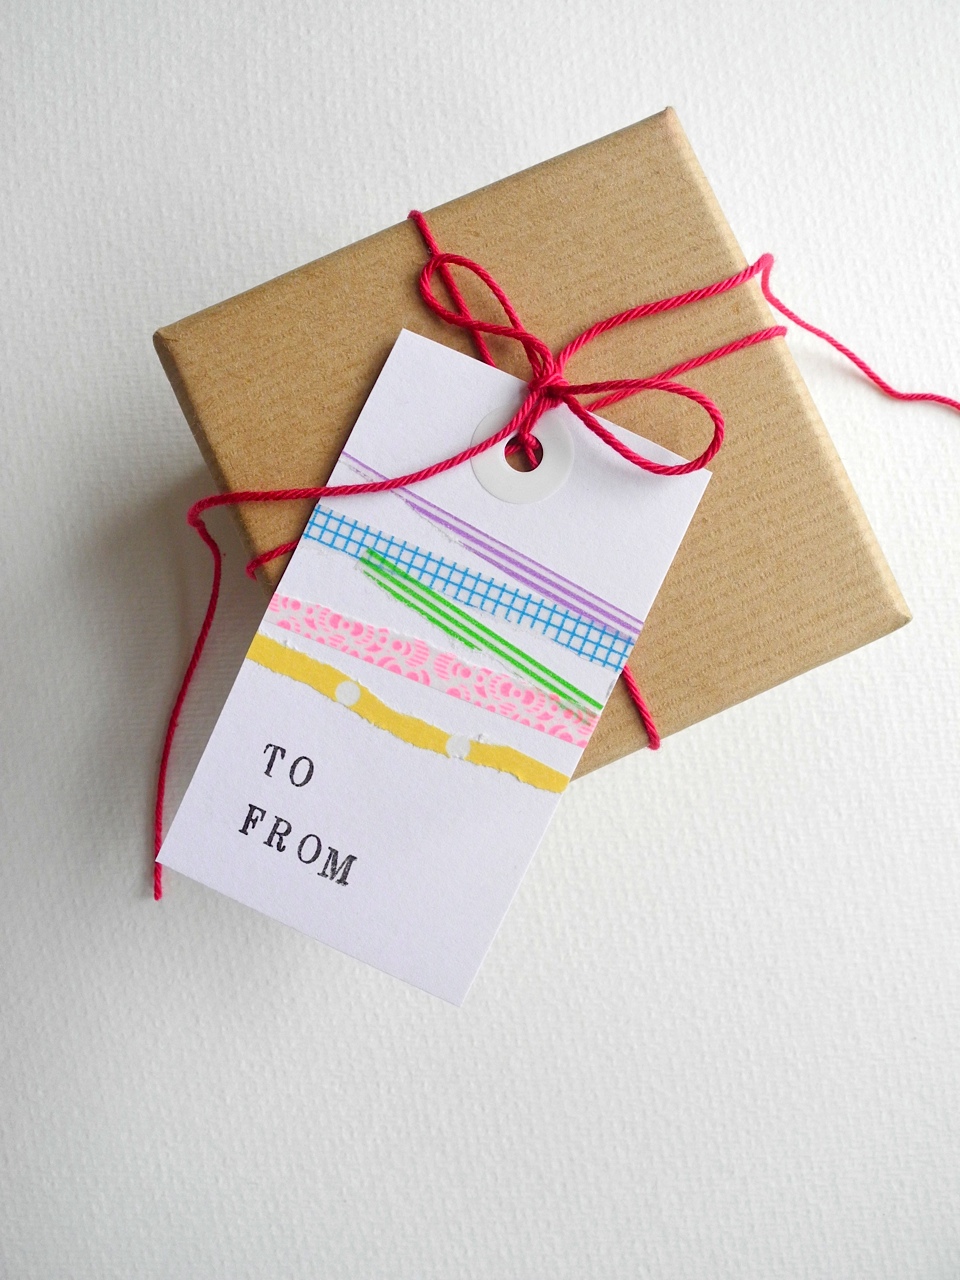
That’s it — all you have to do now is string up the tag and tie it to that perfect present!
Share tips, start a discussion or ask other students a question. If you have a question for an expert, please click here.
Already a member? Sign in
No Responses to “Personalize Your Mother's Day Presents With DIY Gift Tags”