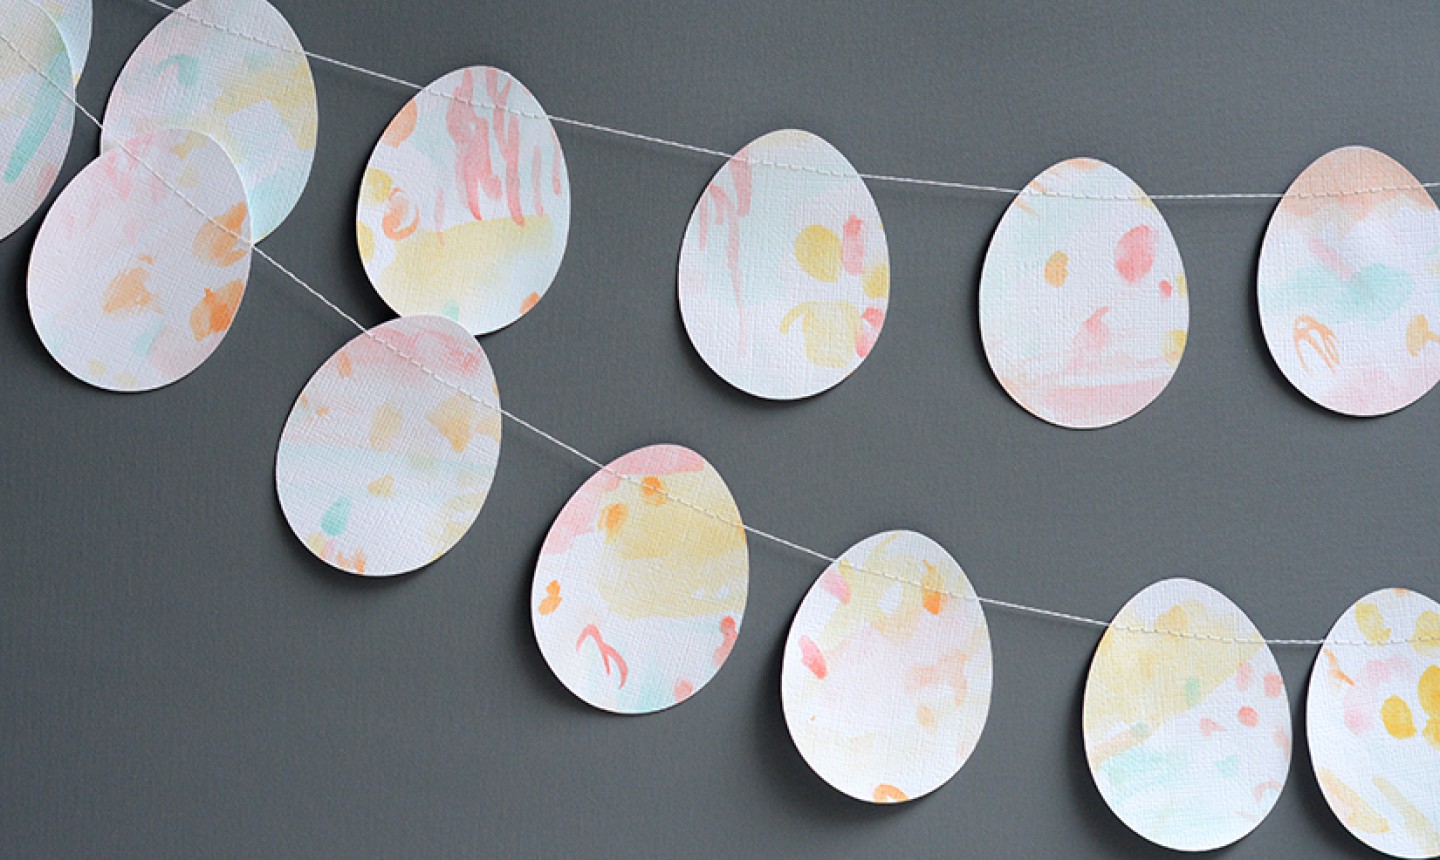
Get hoppin' and string up a colorful, festive garland before that Easter Bunny arrives! This project is easier than dyeing eggs (though that's another fun way to spend a crafternoon), and is a great way to get the whole fam in on the holiday action.
Watercolor Easter Egg Garland
Level: Easy
What You Need
Instructions
1. Paint Your Paper

Grab your watercolors and let your inner artist come out and play. You can paint a pattern or keep it abstract with a variety of painting techniques that'll show you all the cool ways you can explore color.
To keep it in line with Easter, stick to a pastel color palette.
2. Cut Out the Easter Eggs
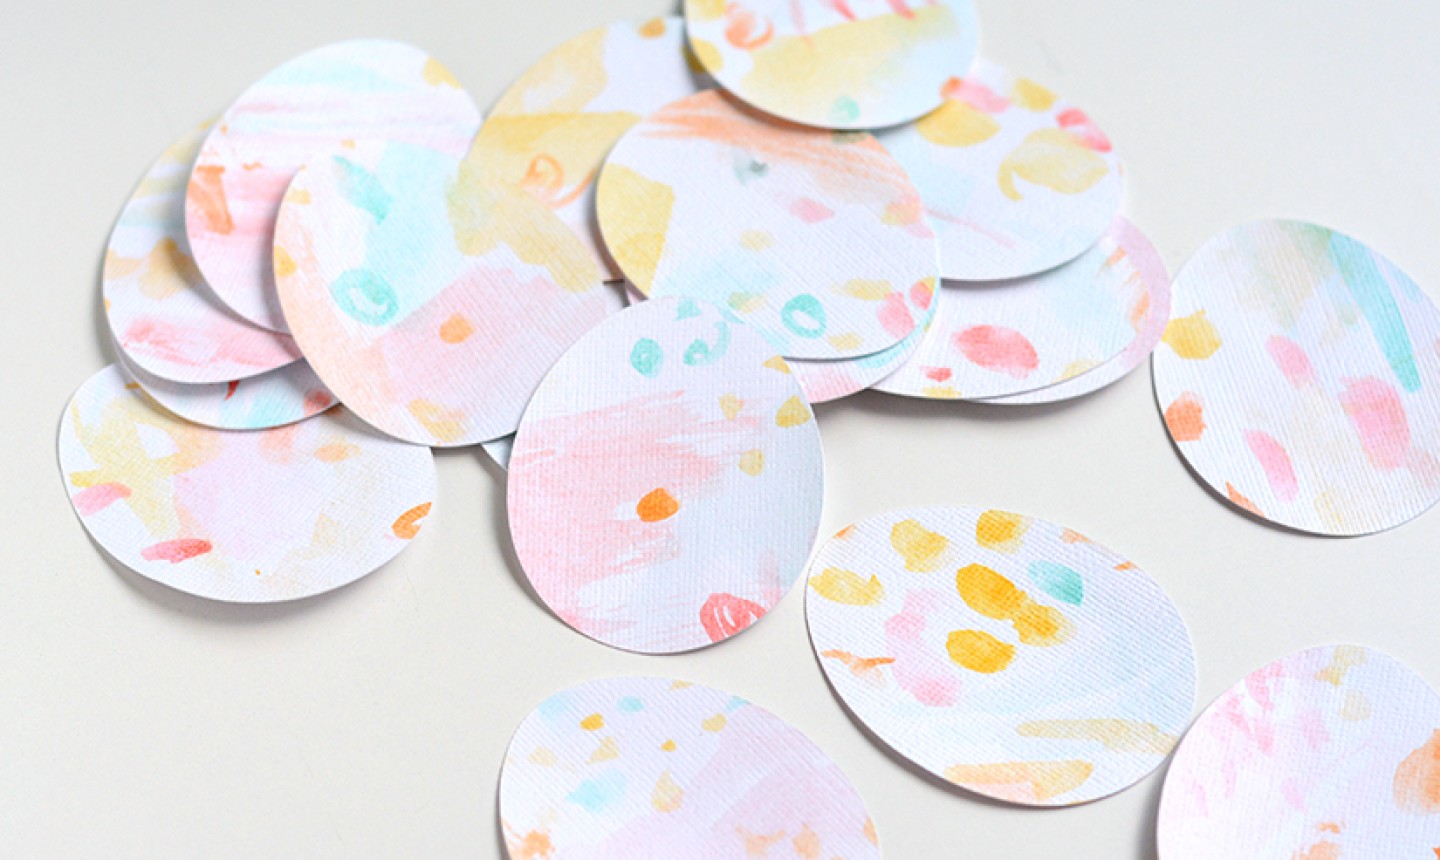
Print the PDF egg template, cut it out and trace it onto the back of your paper. Cut out each egg.
3. Assemble the Garland
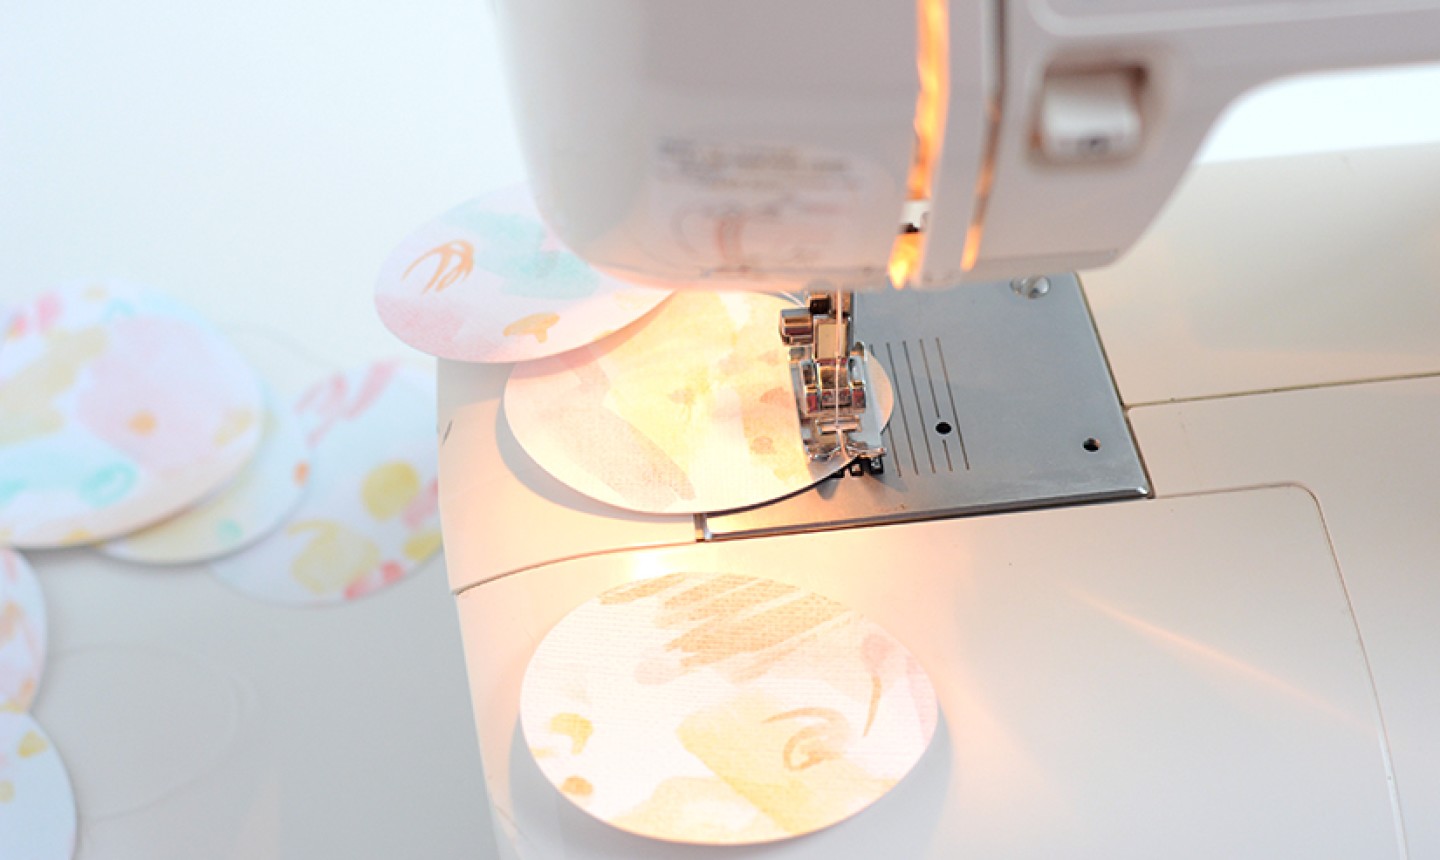
There are two easy ways to turn your eggs into a garland: if you have a sewing machine, you can stitch the eggs together leaving a few inches between each egg to evenly space them out.
Pro Tip: Always test your stitches on a piece of scrap paper before sewing your garland. This way you can make any tension adjustments needed.
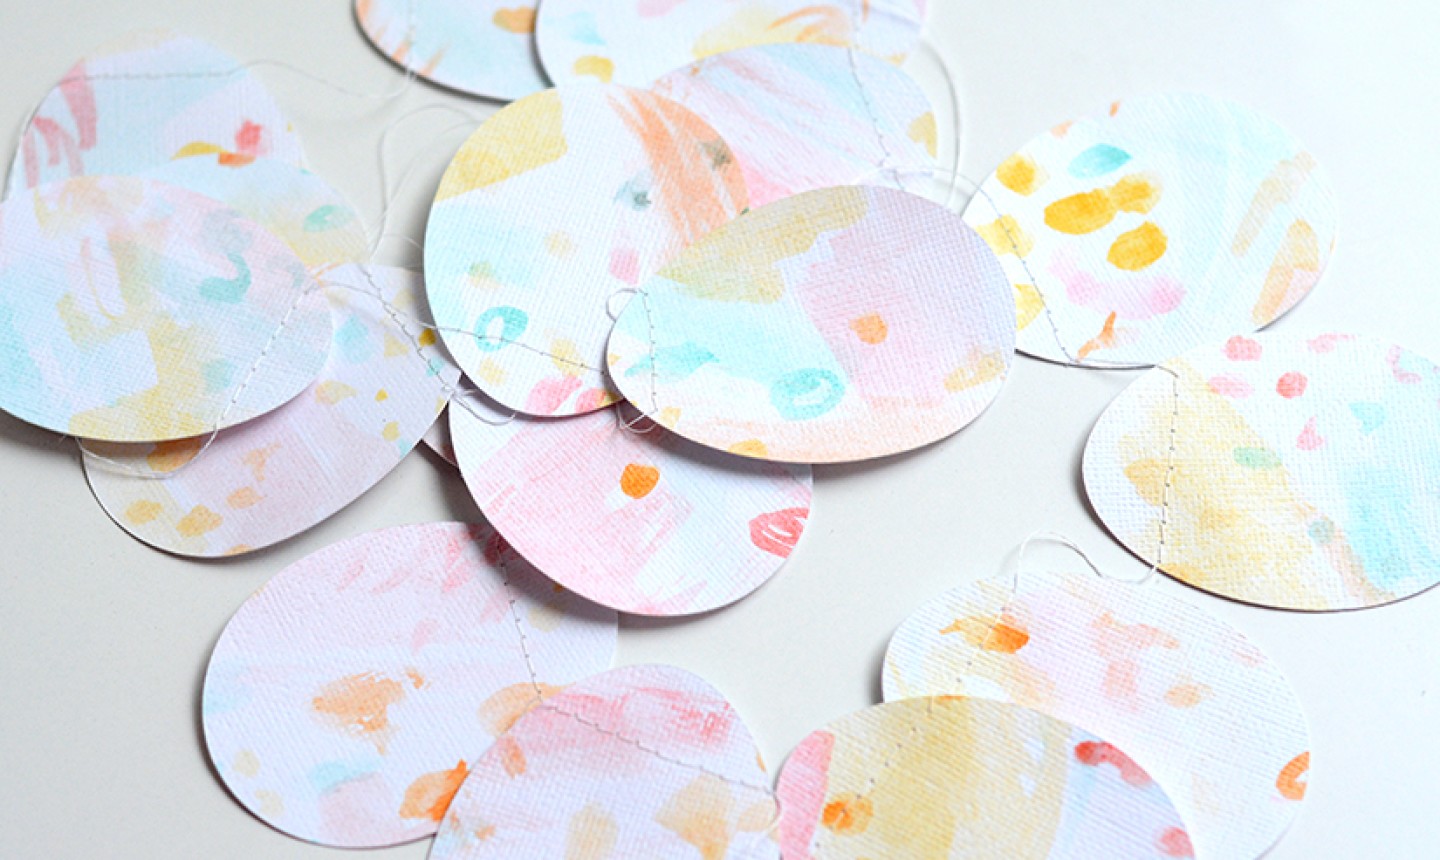
If you're not into sewing (or you wanna keep the whole process kid-friendly,) break out the scotch tape and assemble the garland with a length of twine.
4. Decorate

Once the garland is assembled, hang it up! These paper Easter eggs would also make adorable embellishments for scrapbook pages or handmade cards, or they can be used as gift tags for special Easter treats.
Looking to get started with watercolors? Check out the class Startup Library: Watercolors below!


neat idea
Sounds easy for kids for our Easter egg drive thru———due to covid