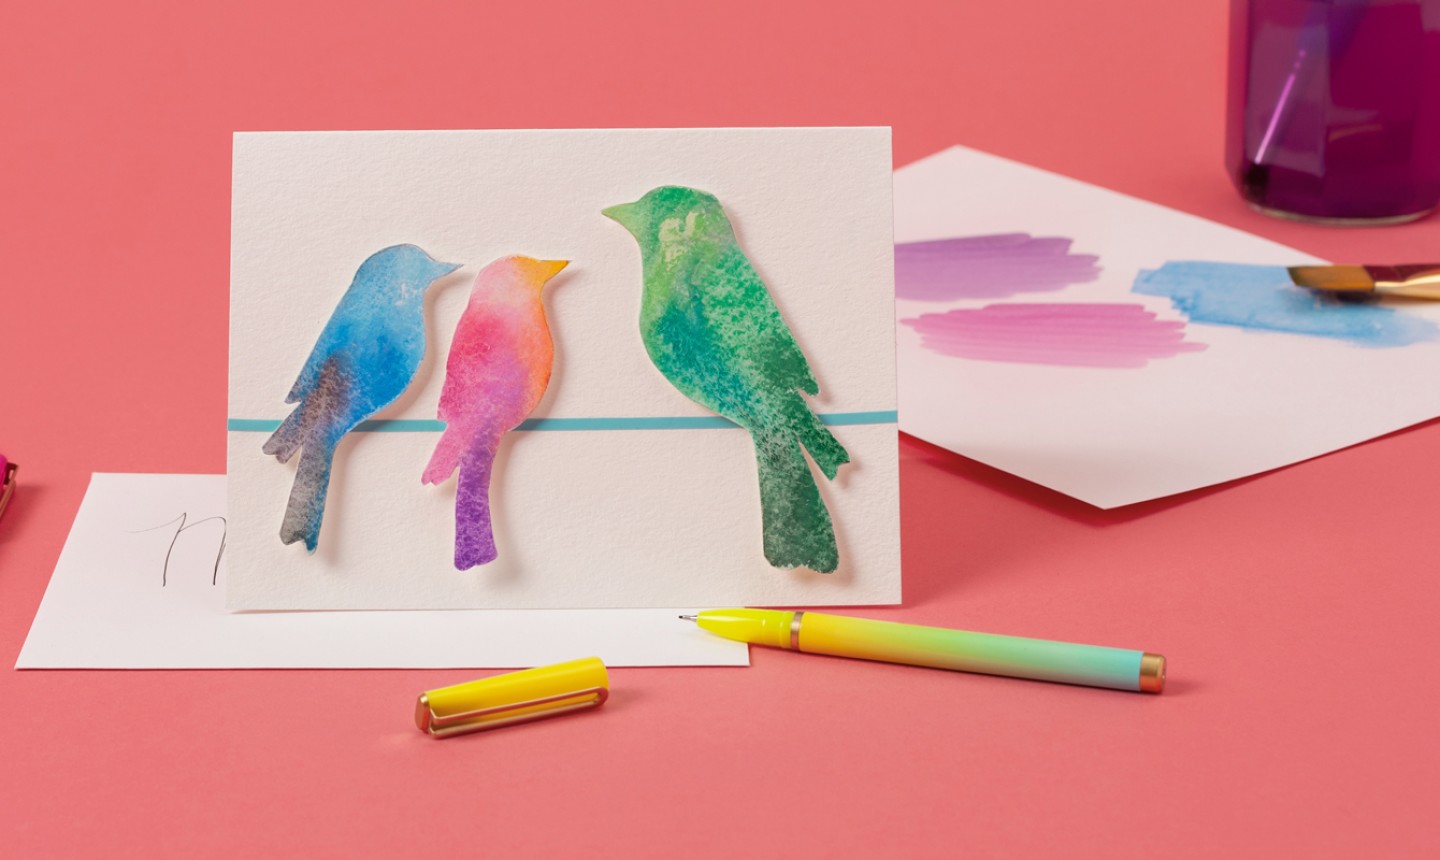
Mama and baby birds are a first sign of spring — and the perfect way to celebrate Mother’s Day. This card is fun to customize to your family, and it’ll come out great even if you’ve never tried watercolor before. Tweet!
Watercolor Birds Card
Level: Easy
What You Need
Instructions
1. Trace the Template
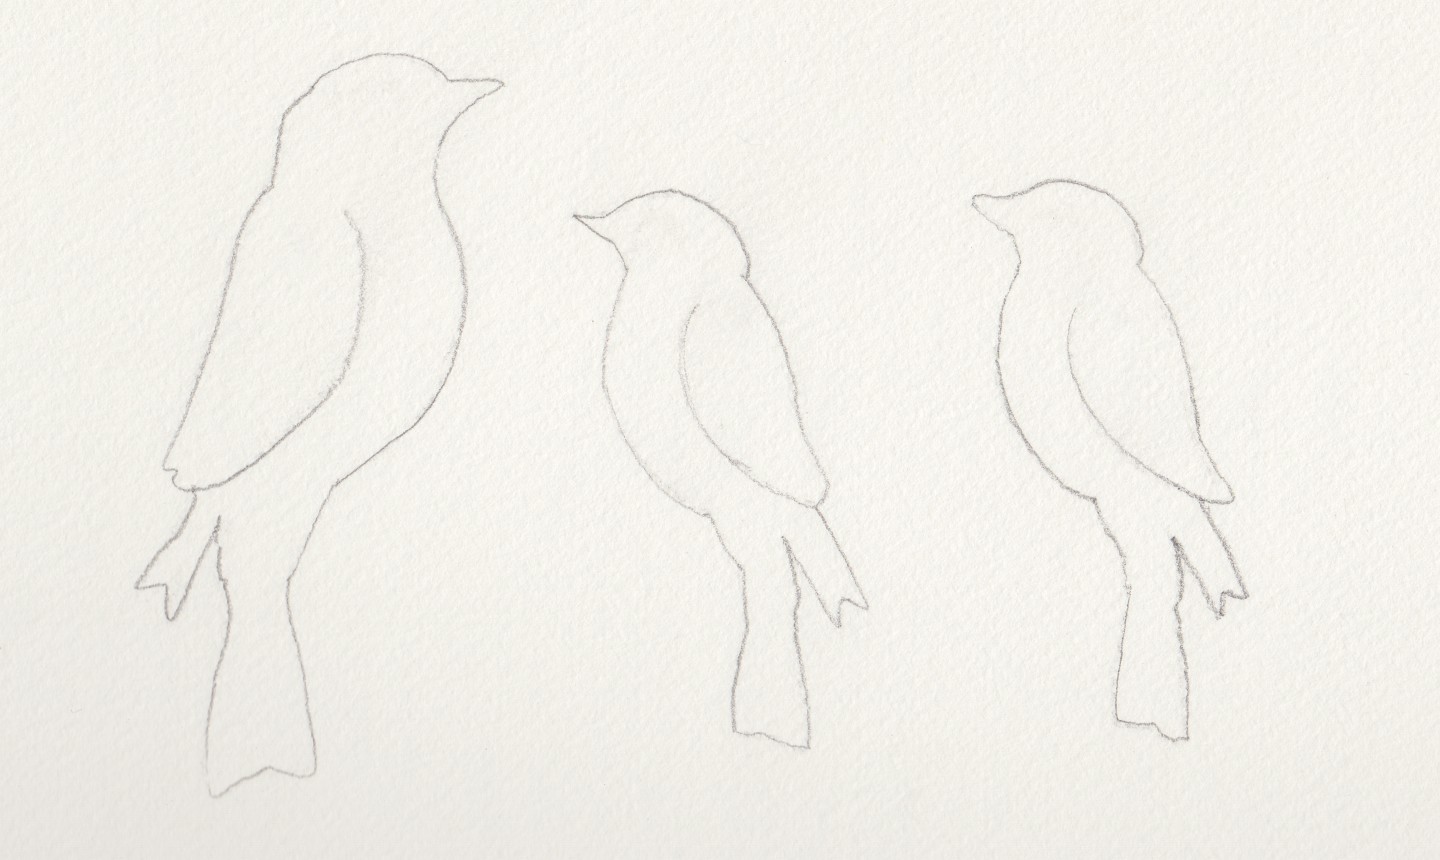
Print your bird templates and trace them onto a piece of cold pressed watercolor paper. You can use a lightbox to trace, or just hold your paper up to a sunny window. Make a large bird for the mother, and smaller birds for the babies. We created our card with one mama bird and two littles.
Pro Tip: Because we’ll be cutting out these birds, placement doesn’t matter. Trace them onto your watercolor paper wherever they fit.
2. Paint
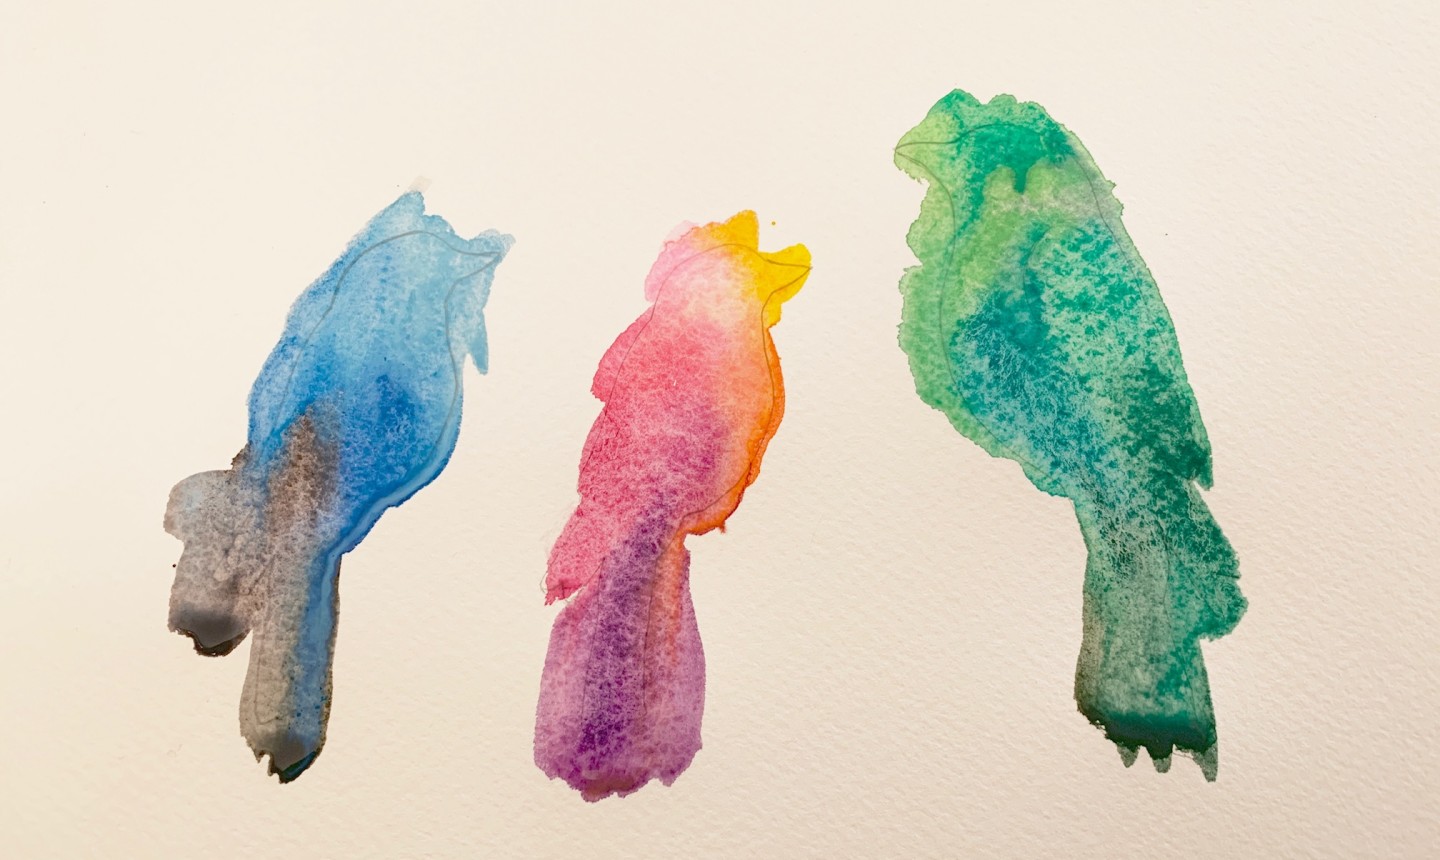
Now for the fun! Decide on a color scheme for each bird, but before putting pigment to paper, paint a light water glaze over the first bird. Don’t be afraid to go over the edges (remember, we’re going to cut these out later). Once you have a water glaze, begin dropping in different colors until you have a look you love, and every part of the bird is covered.
Create one bird at a time, otherwise the paint might dry too fast before you complete them all. Once you have painted all the bird shapes, let them dry completely before continuing.
3. Cut Them Out
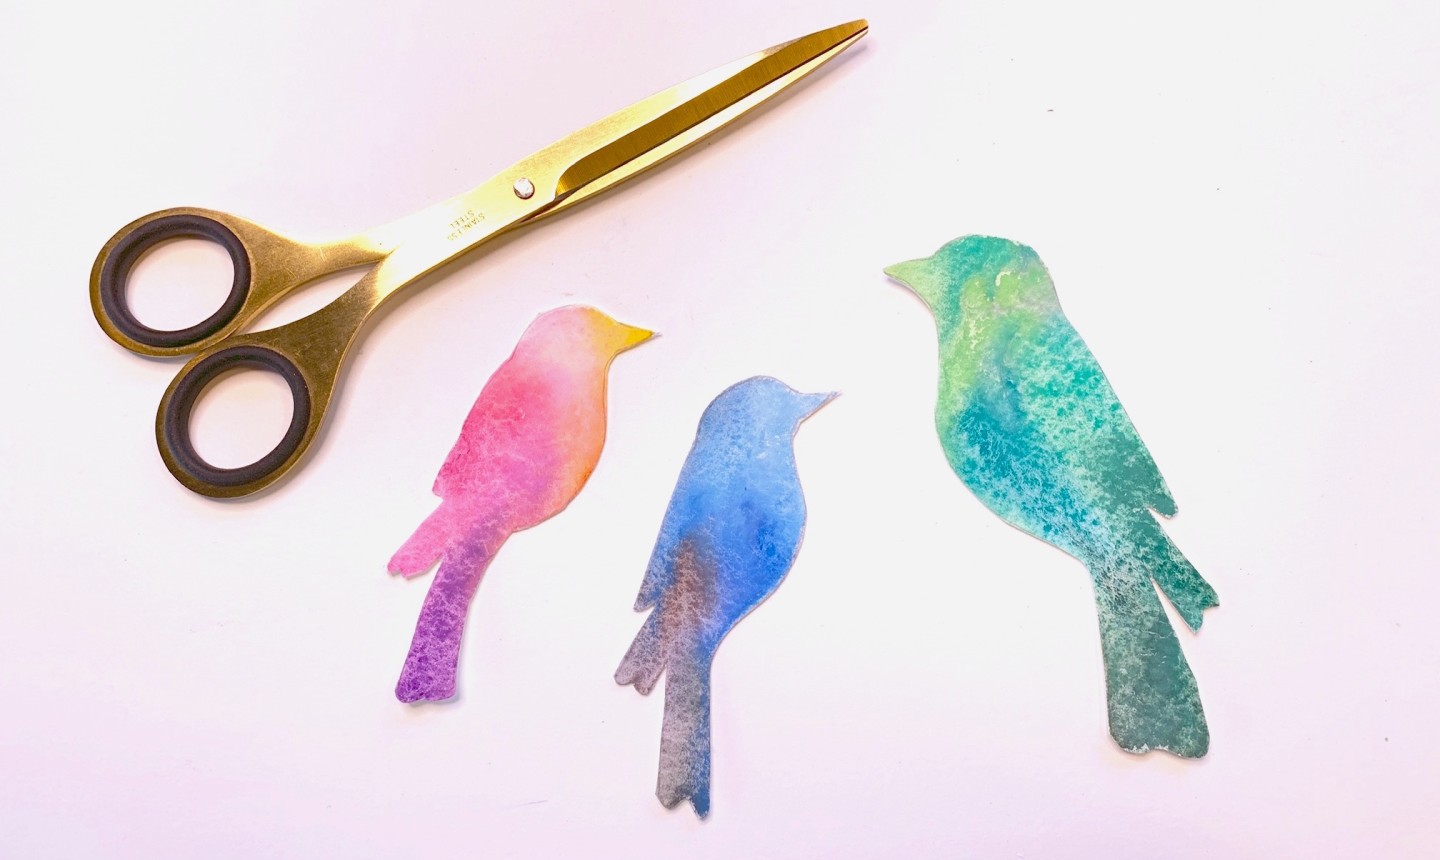
Once the paint is dry, use a pair of scissors to carefully cut out the birds. For the best results, try to stay just outside of the pencil line.
Pro Tip: If the birds get bent at all during the cutting process, place them under a heavy book until they lie flat.
4. Give ‘Em Something to Sit On
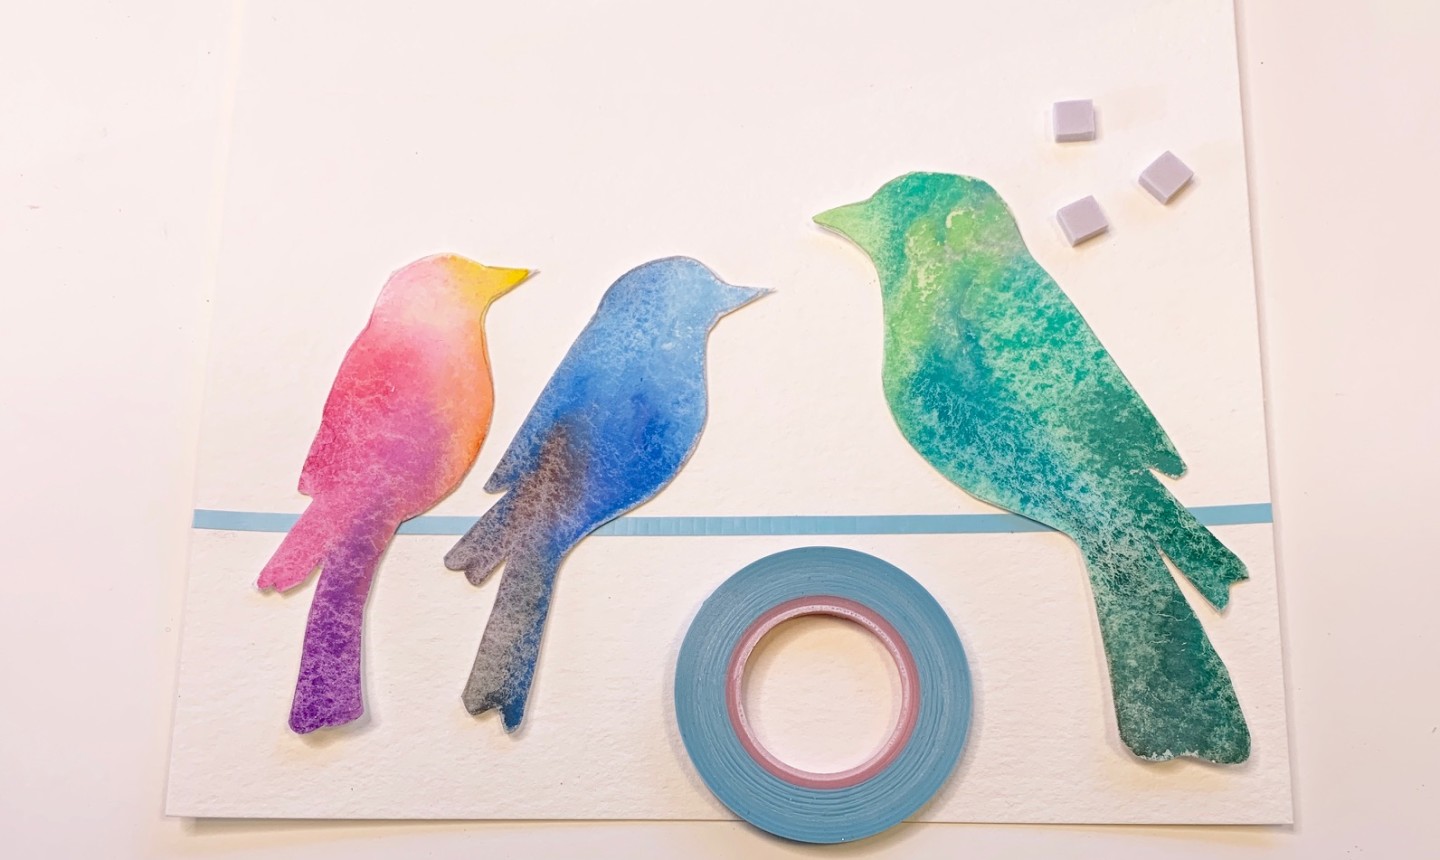
Before sticking your birdies onto the notecard, play around with the layout to see what looks best. If you’ve got a big family (three or more baby birds), you can overlap them just a bit to fit more onto the card. Once you decide on your composition, give the birds a wire to sit on. This can be a painted or drawn line, a length of twine or a piece of thin washi tape (which is what we used).
Place or draw your “wire” line. Now attach three double-sided tape blocks on the back of each bird, evenly spaced at the top, middle and bottom. Position each bird on the card with the bottom of its belly resting on the wire.
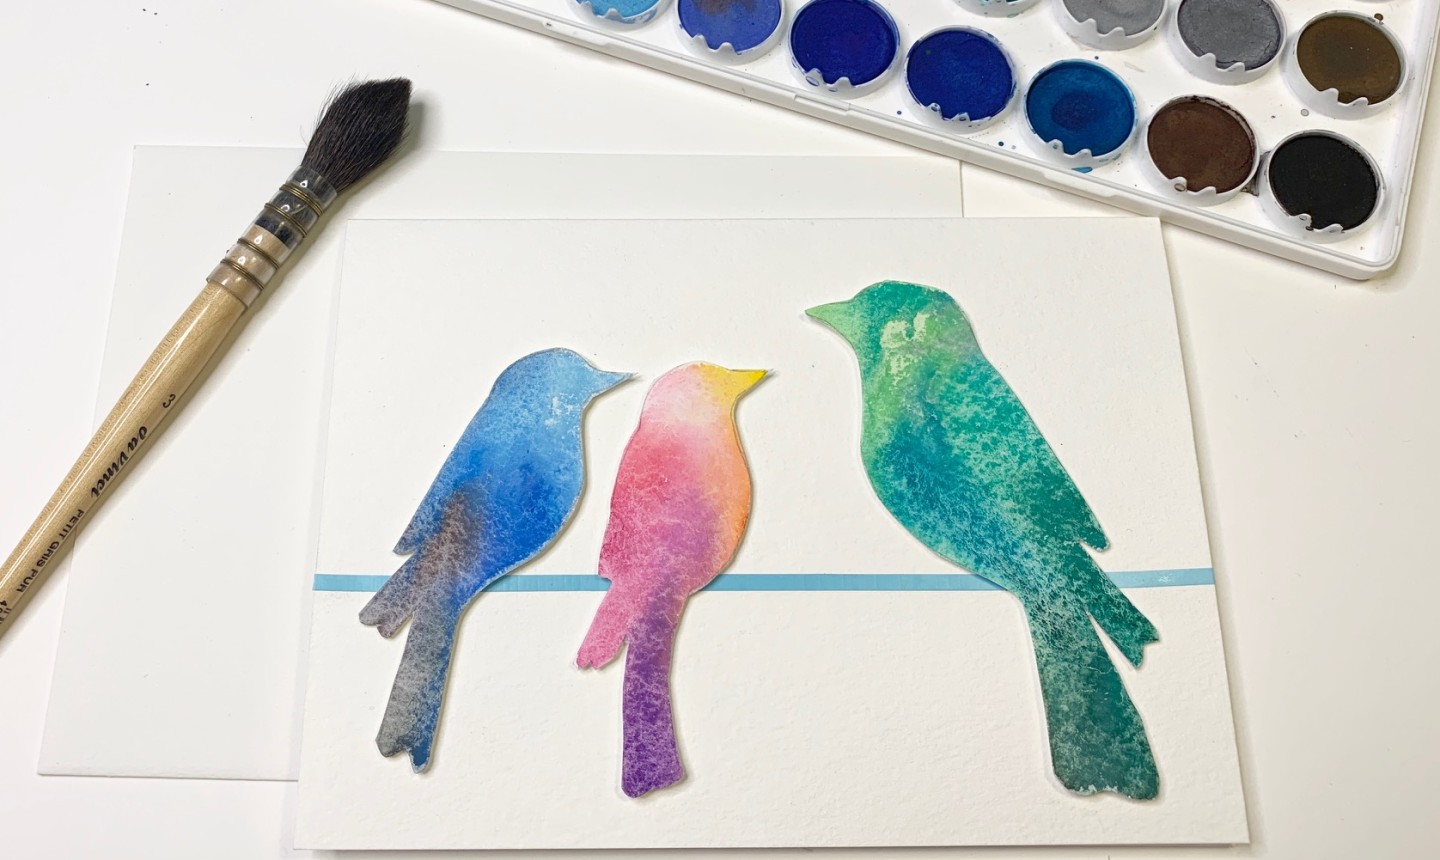
Now just write a message inside and your handmade Mother’s Day card is complete!
Photos by Kateri Ewing
Looking to get started with watercolors? Check out the class Startup Library: Watercolors below!
this is so nice and cute
so cute