If you haven’t already noticed, the picot stitch appears on the edges of countless crochet projects. And while it’s a popular edging for doilies, blankets and garments, this stitch is much more versatile than simple borders. In fact, there are several ways to customize the stitch and make it match any pattern. Plus, the picot can also be called to the middle of patterns, often to fill spaces with interesting texture.
Here, you’ll learn the step-by-step for crocheting the picot stitch, as well as some examples for modifications on the simple stitch.
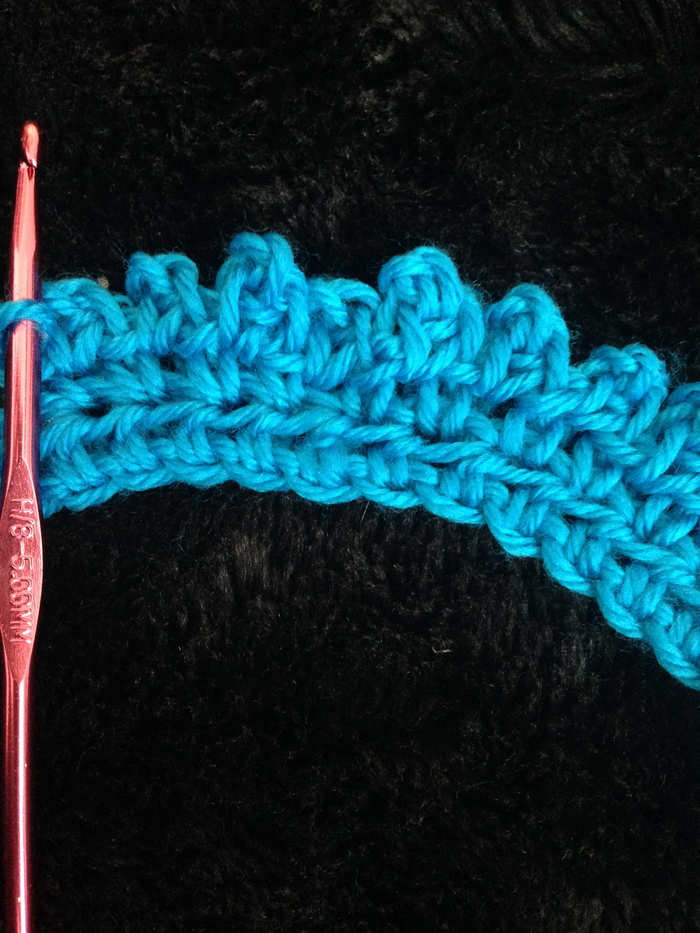 Tutorial images via Kathryn Vercillo of Crochet Concupiscence
How to crochet the picot stitch
Here are the steps to crochet the basic picot stitch.
Step 1:
Chain three.
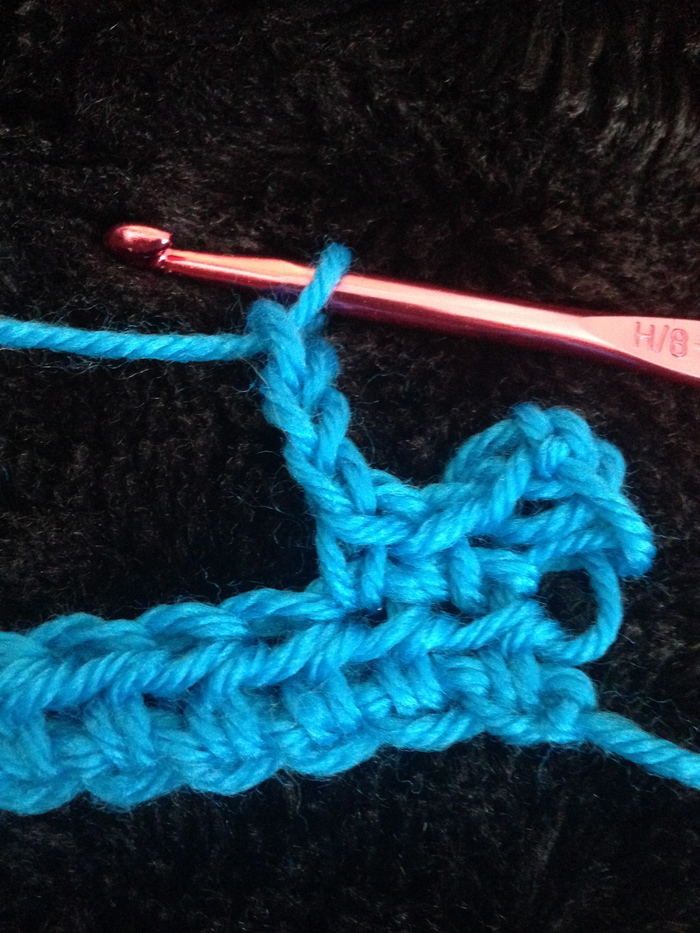 Step 2:
Insert hook into first chain.
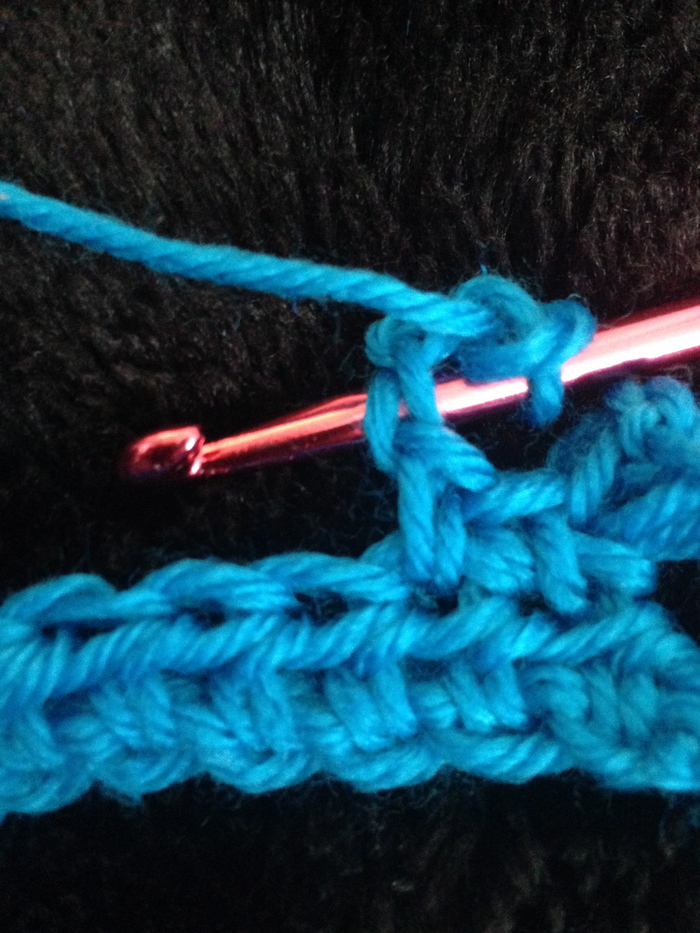 Step 3:
Yarn over.
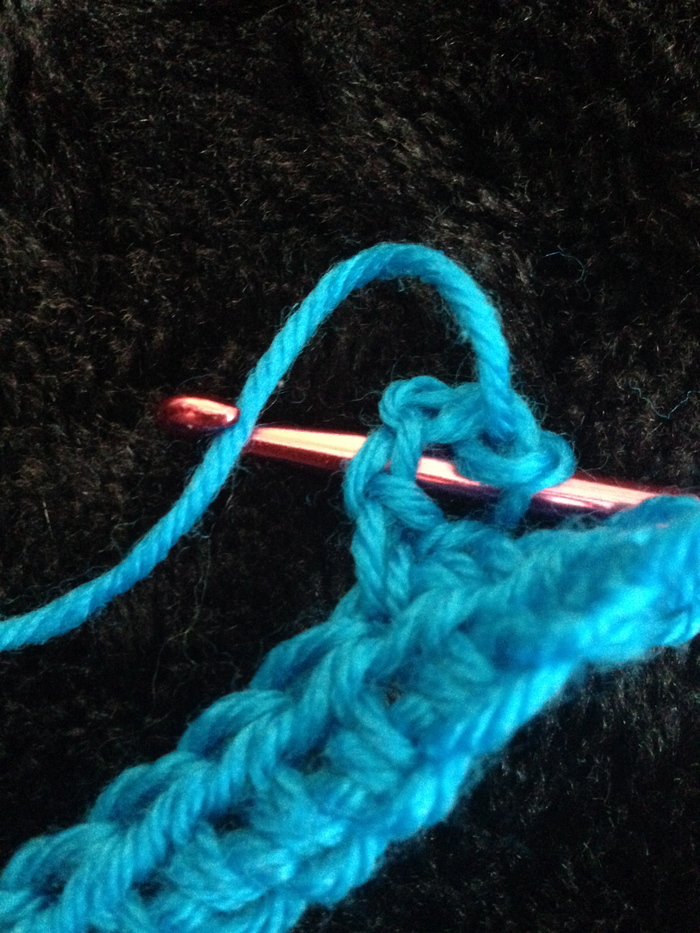 Step 4:
Pull yarn through.
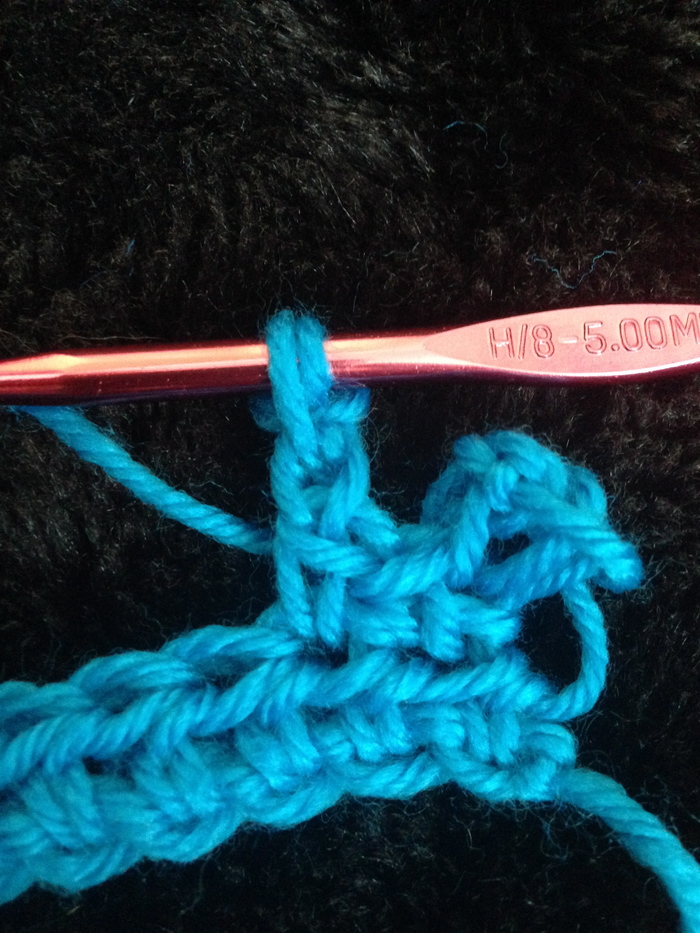 Step 5:
Yarn over.
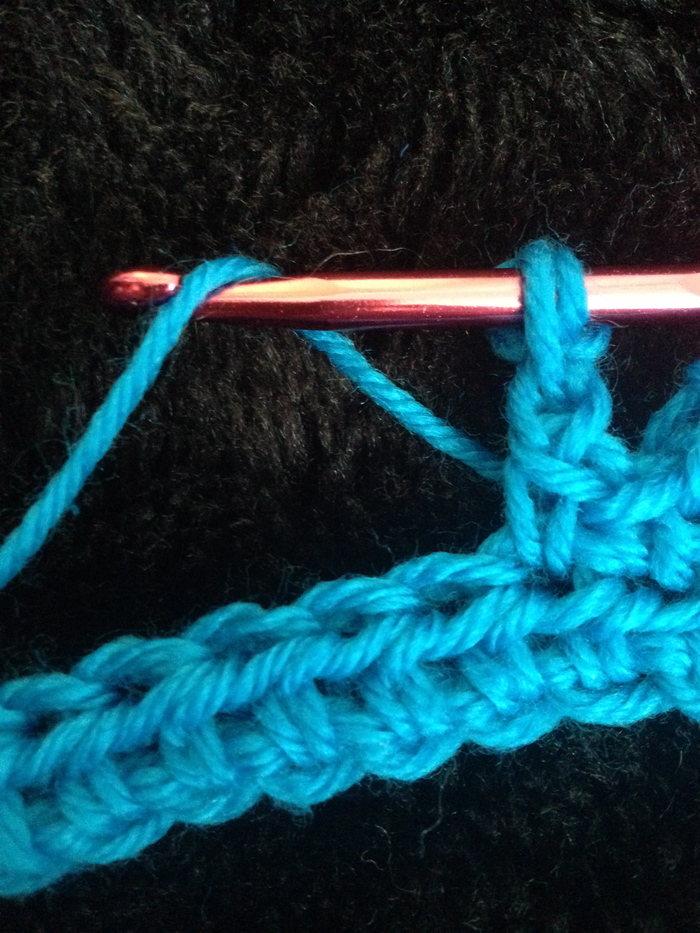 Step 6:
Pull yarn through both loops on hook.
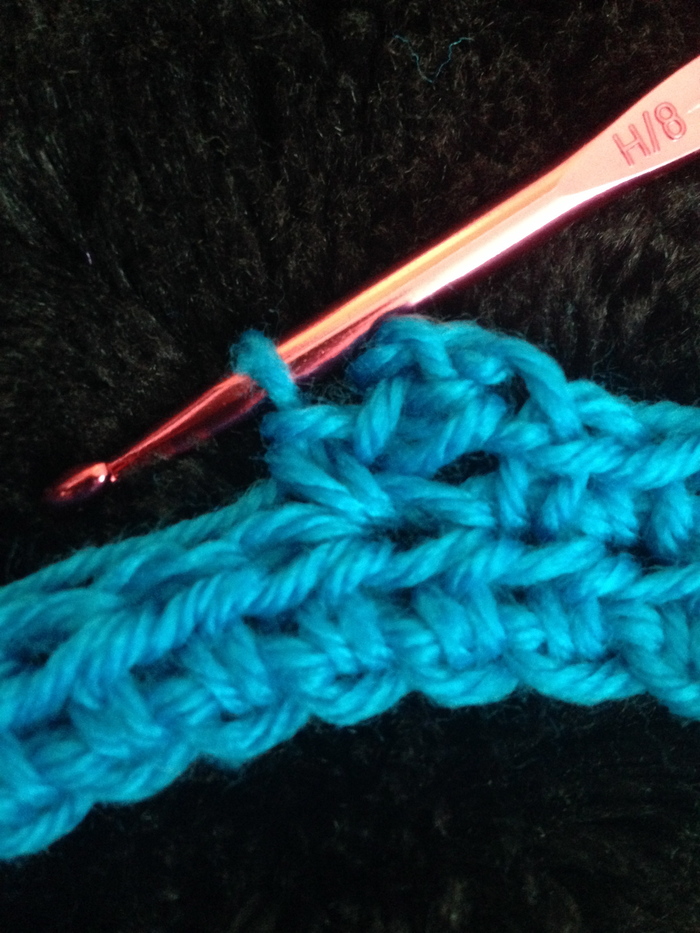 Step 7:
Single crochet in next stitch.
In other words, what you’re doing here is creating a chain three and then making a sc stitch into the first chain of that chain three and following that with a sc in the next stitch of the row.
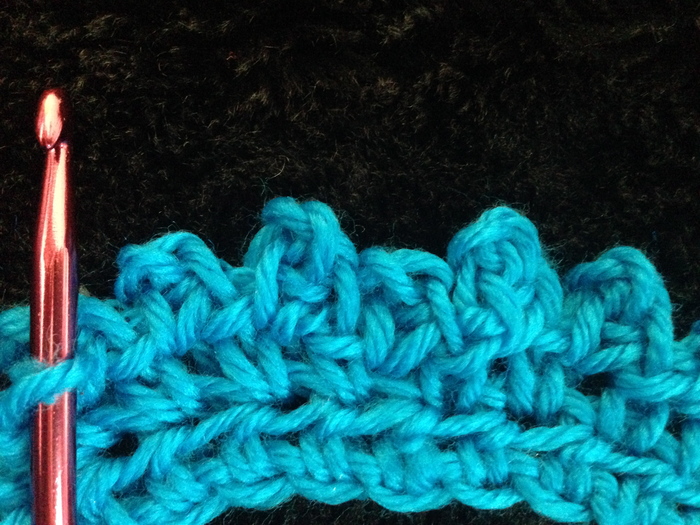 How to crochet a row of picot stitch
If you want to create a whole row of picot crochet stitches for an edging, you’ll repeat steps 1-7 across the row.
Variations on picot crochet stitch
The instructions above are for the basic crochet picot stitch. However, there are several variations on this popular design. Here are the most common variations:
Increase the number of chains
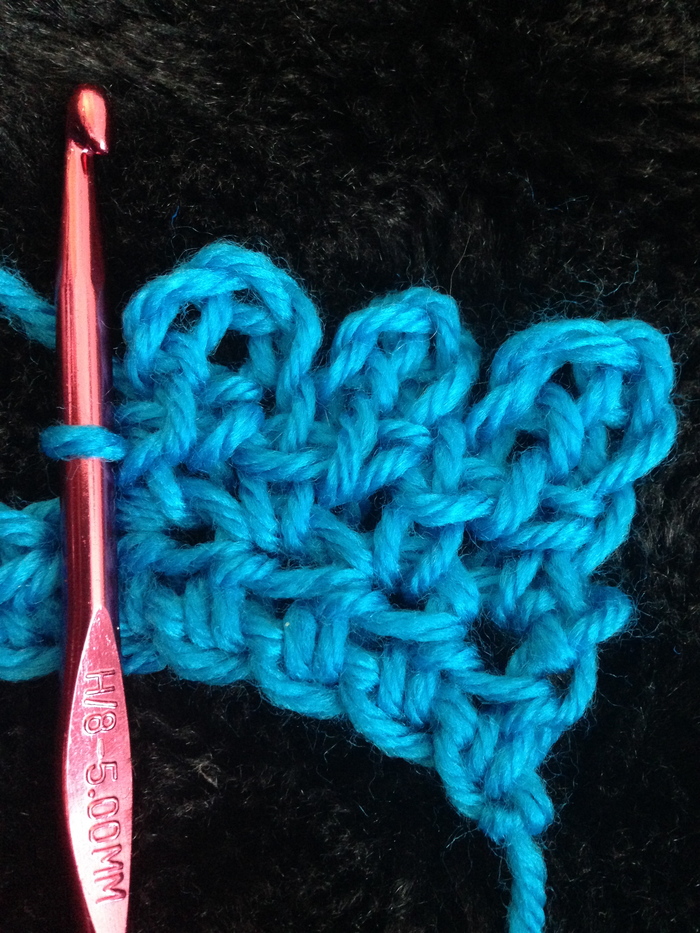
Instead of beginning the picot with a ch 3, you can begin it with a ch 4, ch 5 or even more chains. This just creates a taller and more open picot stitch. The photo below shows a picot stitch made with a ch 5.
 Begin with a single crochet
You can sc, then chain three on top of it (like in step 1) and continue the rest of the steps from there. This gives your picot stitches a little flatter and wider. See “Crochet Thursday: Border with Picots” by Andrea Sanchez on the Bluprint blog for a tutorial on this method.
Work into black loops only
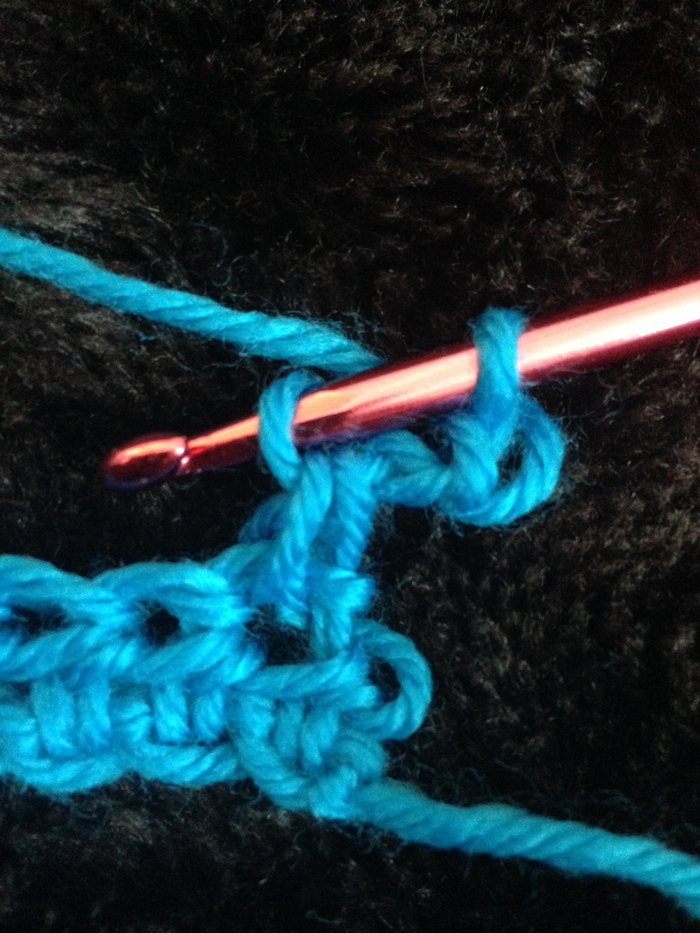
Insert hook into back loop only of the chain three stitch, and work BLO in step 2.
Use a slip stitch instead of a single crochet
If you’d like to try this variation, works step 1-3 as normal. Then for step 4, pull yarn through both the work and the loop on the hook to make your slip stitch. Skip steps 5 and 6 and finish with step 7.
Add sc stitches between picots
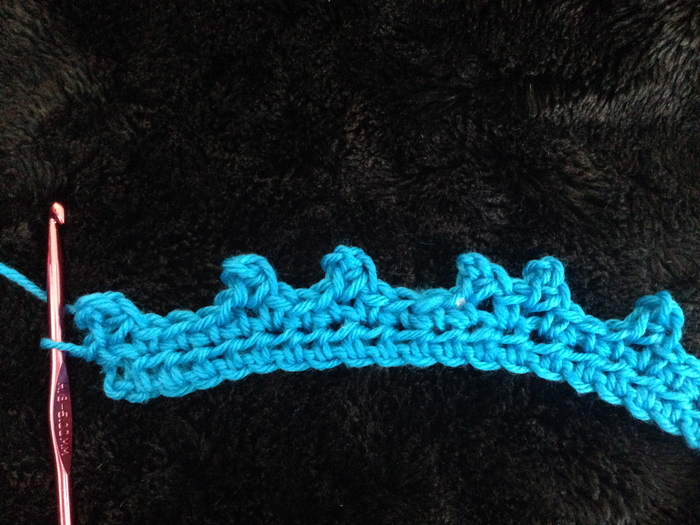
In the description above for working rows of crochet picot stitch, you would chain three directly on top of the sc in step seven. If you want to make a more defined, openwork version of the picot stitch, add one or two more sc stitches after step seven before you begin your next picot.
 Faux picot stitch crochet
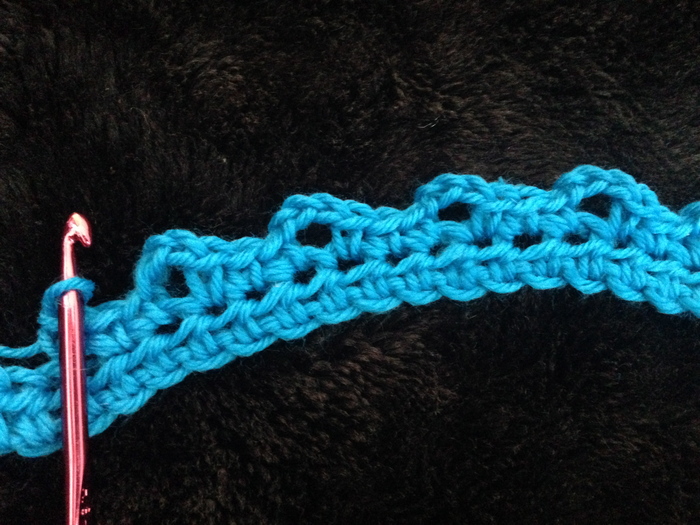
You can create a look similar to the picot across a row by doing sc, *ch 3, sc in each of next three stitches and repeat from * across the row.
 Practice your crochet picot stitch
Ready to put the stitch to the test? Here are four crochet patterns to help you practice picot stitch crochet.
Picot-Picot Flower
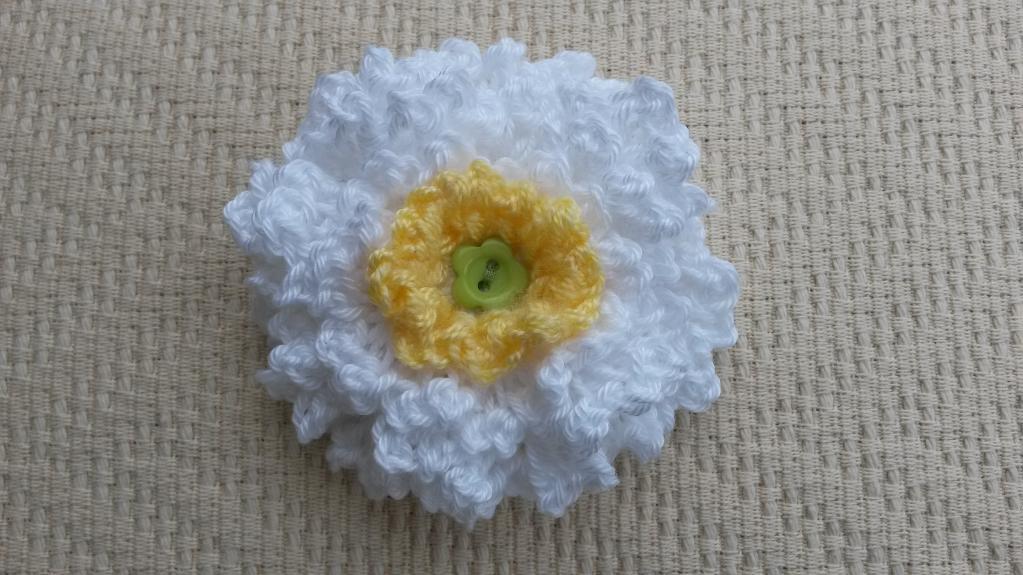
Image via Kath Williamson
The Picot-Picot Flower uses the frilly nature of the picot to create layers of petals for a very pretty flower design. You can use it to make accessories or add it as a detail on garments.
Quick Picot Snowflake
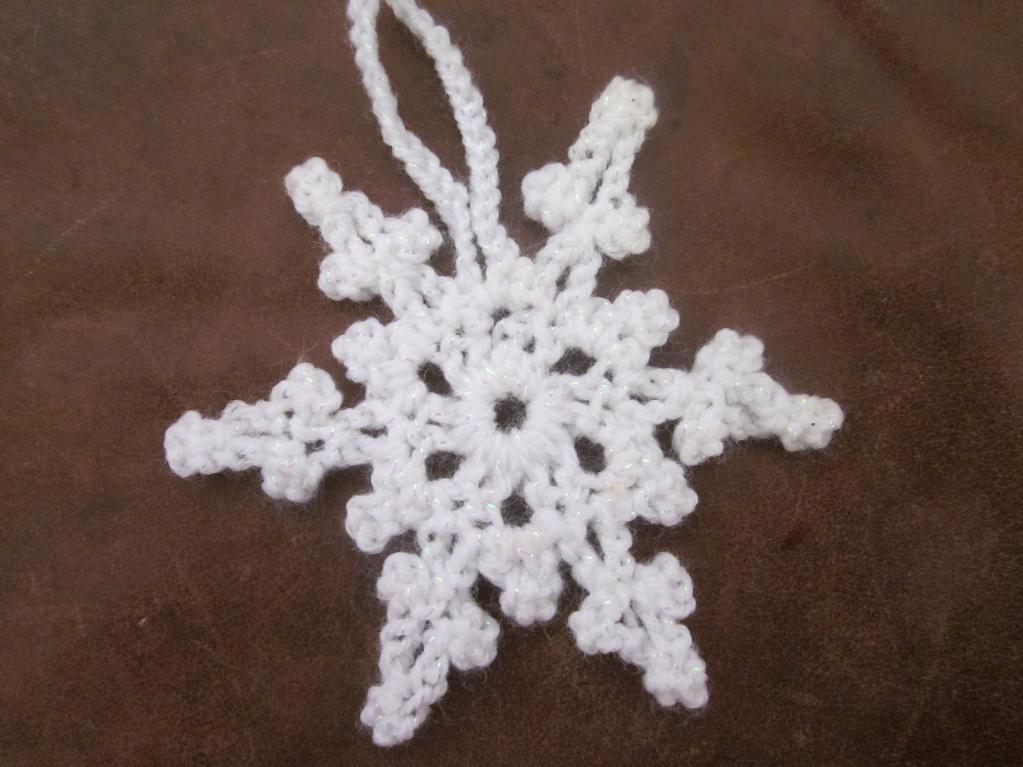
Image via NotSoGranny
This simple (and free!) crochet snowflake pattern truly showcases the beauty in the variations of the picot crochet stitch. Make it as designed for the winter holidays, or create colorful versions for garlands to be used all year long.
Slouchy Picot Hat
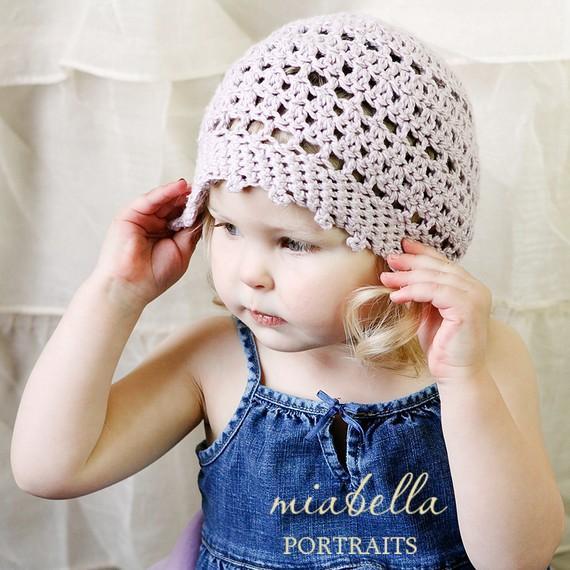
Image via Holland Designs
Put the power of the picot to work when you crochet this adorable hat. It shows how just a little bit of picot on the edge of a project can make all the difference.
Easy Picot Dishcloth
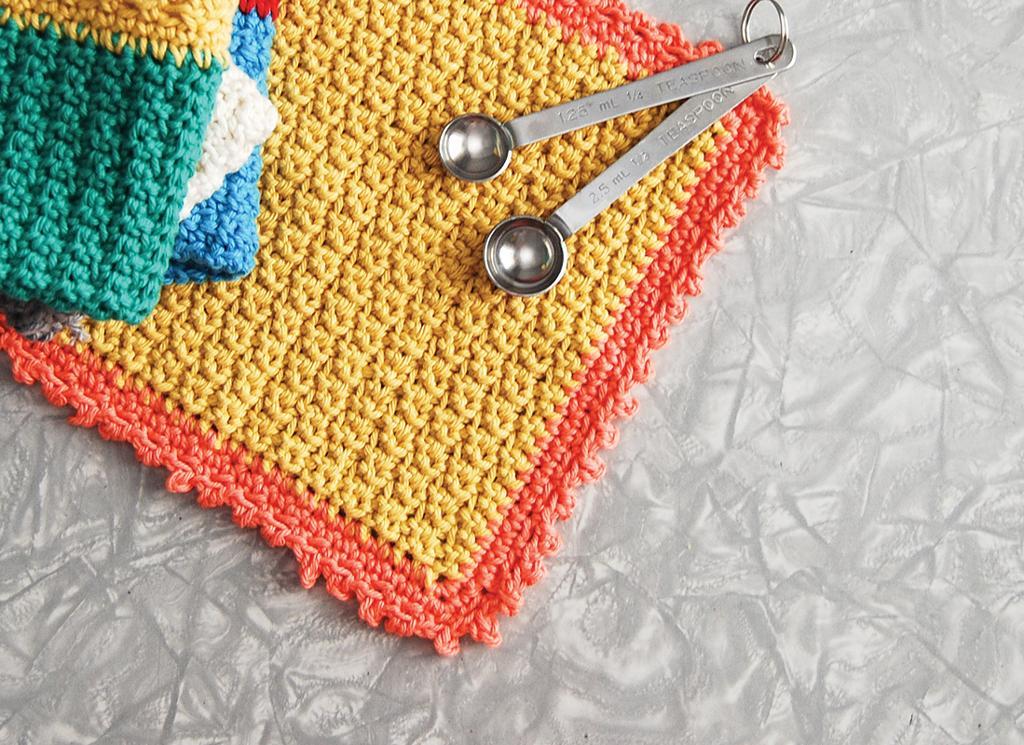
Image via Purl & Company
Enjoy the meditative nature of working up this textured dishcloth that celebrates the picot stitch with pops of color for the border.
How to get the pattern for the slouchy hat and picot flower. Thanks