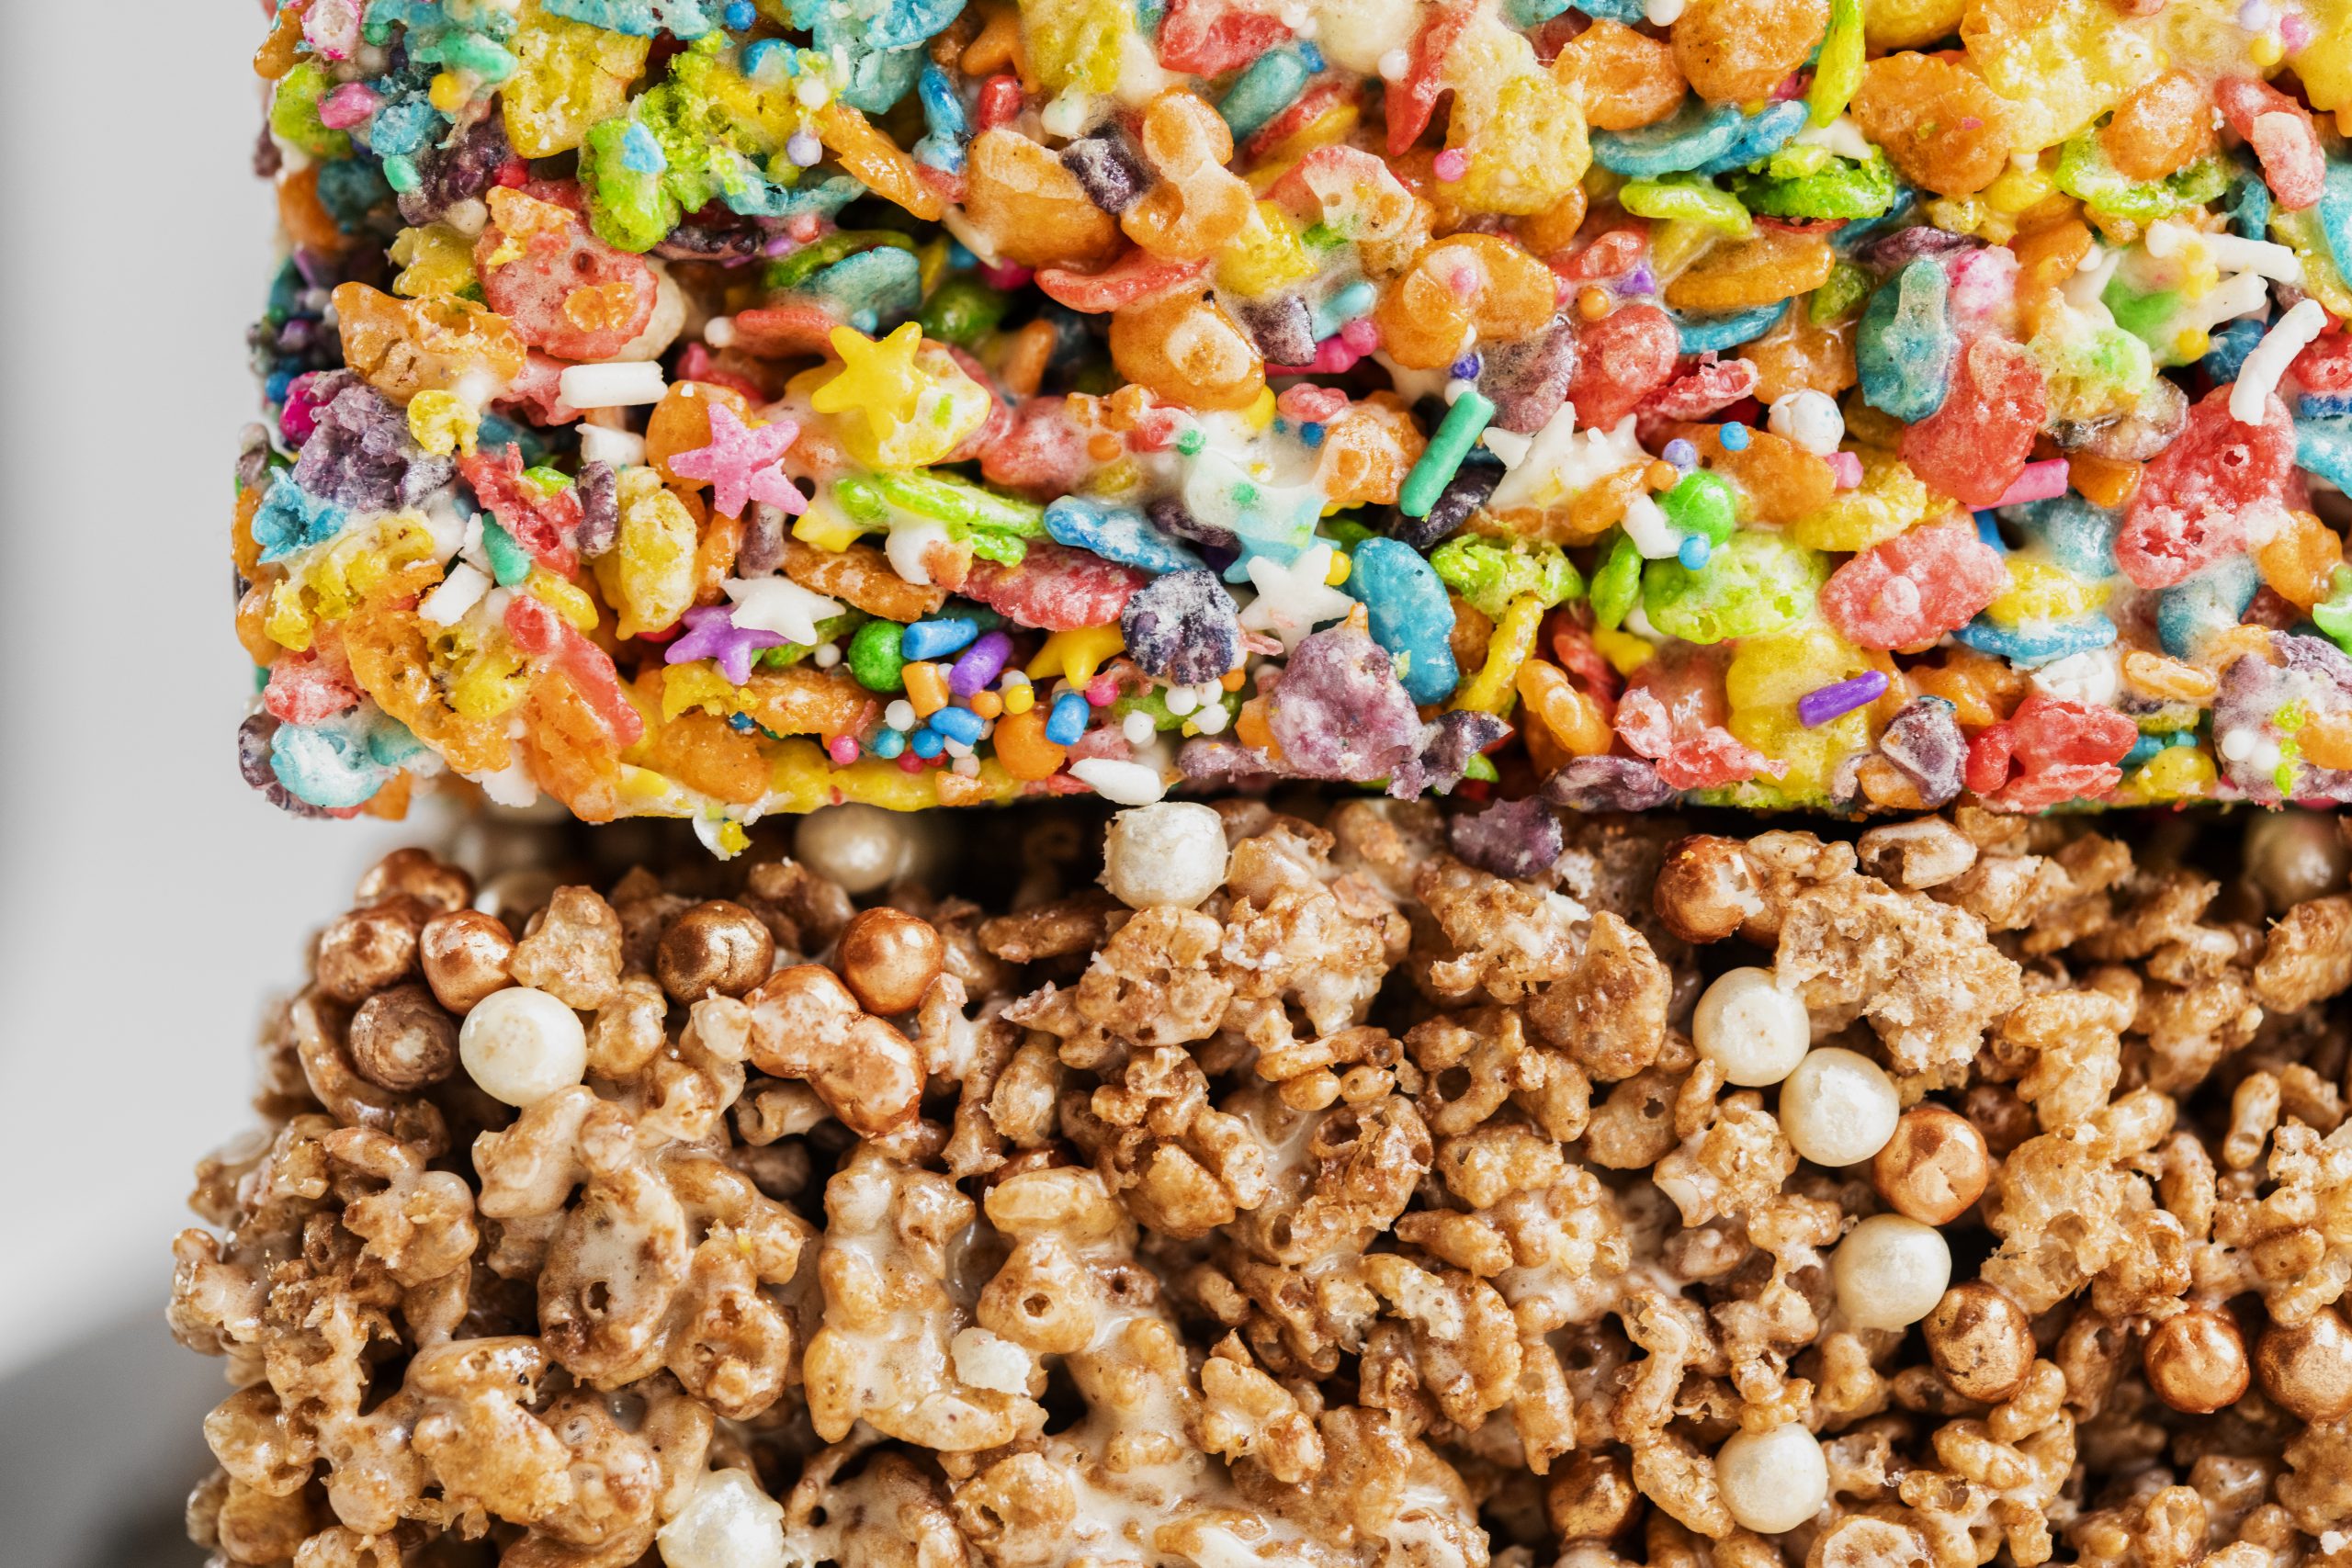
Intricately sculpted cakes often have a surprise inside: rice cereal treats. Swapping traditional batter for these crispy treats provides structure and strength to modeled cakes that you just can't get with fondant and modeling chocolate alone. And the best part is, the method you use to sculpt the cake afterward isn't that different than when you sculpt a traditional batter-filled cake.
How to Sculpt Cakes With Rice Cereal Treats
Level: Easy
What You Need
Pro Tip: Some rice cereal treat recipes call for Karo syrup. This makes treats softer and easier to mold, but it also makes them fall apart more easily. We suggest not using Karo syrup, as it could cause problems when carving.
Instructions
1. Make the Cereal Treats
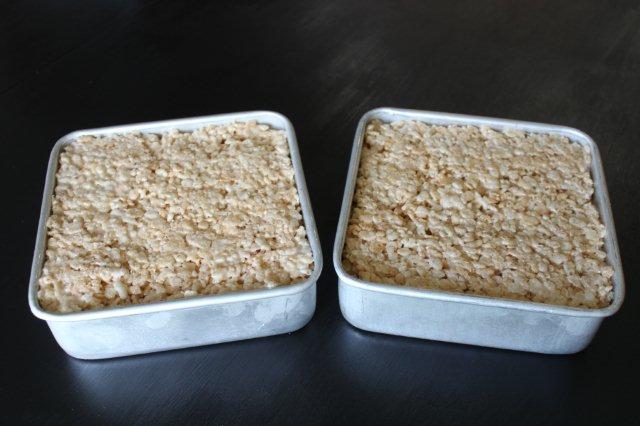
When forming the rice cereal treat base, it's best to let the pan do most of the work. Spray the pan liberally with cooking spray and, for extra security, place a piece of parchment paper in the bottom to ensure the treats come out easily.
Once you have your treats in the pans, firmly press them down so they're compact and flat.
Pro Tip: When pressing the rice cereal into the pans, spread butter on your fingers or spray the top of the cereal with cooking spray to control the stickiness.
Place in freezer for a few hours to firm completely.
2. Turn Them Out
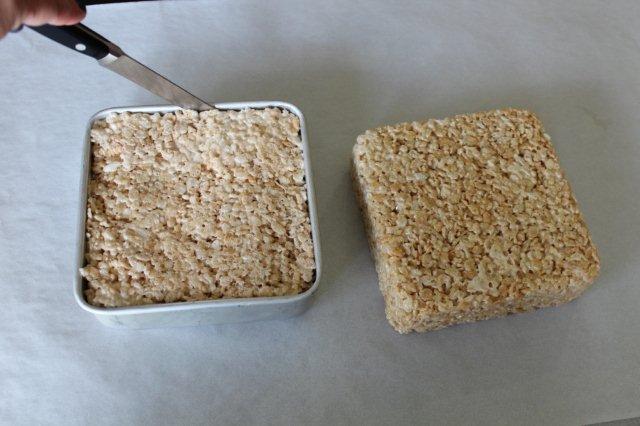
Once the treats are firm, turn over the pan and they should fall right out. If they stick, run a knife along the walls of the pan to release them. (You could also use a culinary torch to warm up the bottom of the pan.)
3. Stack
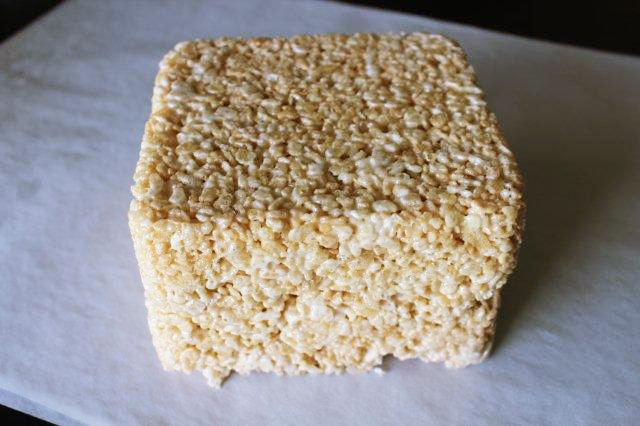
Stack the treats for height just as you would when sculpting a typical cake. (You can also press them together for width.) They'll stick together well, so you don't need buttercream between the layers.
Carve the treats into your desired shape or forms. When you sculpt, the marshmallows in your recipe will help the cereal hold its shape, making it much more forgiving than many other sugar techniques. (And if you cut too much, you can always add it back on and start again.)
Pro Tip: If you're working with figures or shapes that need to be freestanding and held together, cover the treats in a thin layer of melted white chocolate or candy melts. These set firm and hold their shape well.
4. Crumb Coat
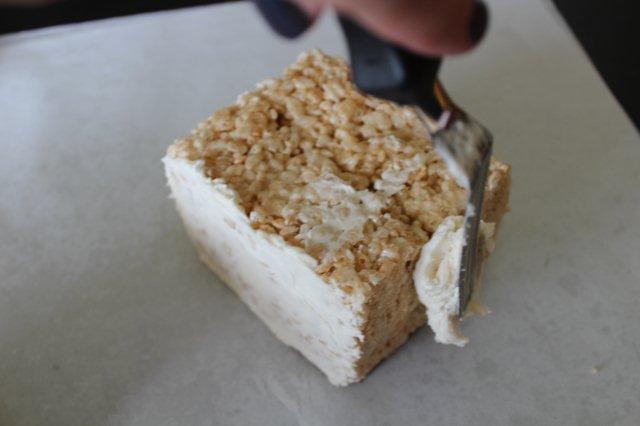
No matter how much you press or cut the krispies, they'll still be bumpy when taken out of the pan or cut into shapes. This can cause a messy look when you try to cover them in fondant later.
The best way to fix this problem is to crumb coat with buttercream. It may take one or two thin coats to get a smooth look. Once covered, let the treats chill in the fridge for about 20 minutes.
5. Decorate
Remove the treats from the fridge and cover in fondant or frost with buttercream — it's totally up to you, and from there you can decorate it as you would any cake.
Pro Tip: For oddly shaped pieces, use modeling chocolate so the wrinkles and puckers smooth out easily for a clean finish.

Share tips, start a discussion or ask other students a question. If you have a question for an expert, please click here.
Already a member?
No Responses to “How to Sculpt Poppin' Cakes With Rice Cereal Treats”