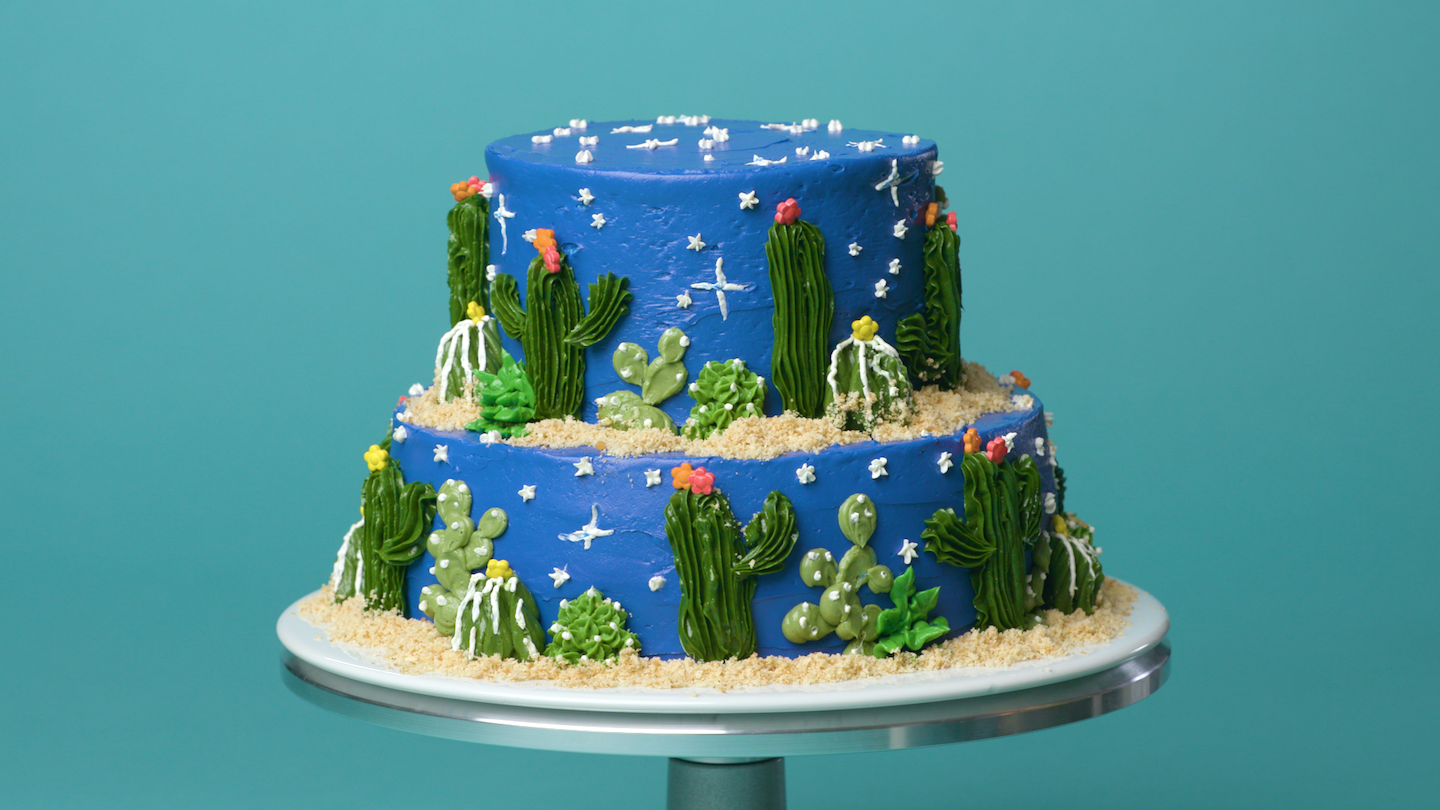
Desert dessert? Yes please! This is the perfect cake to turn any warm summer night into a prickly party. But fair warning — it’s so pretty you might not want to cut it.
Cactus Cake
Level: Easy
What You Need
Instructions
1. Prep the Cakes
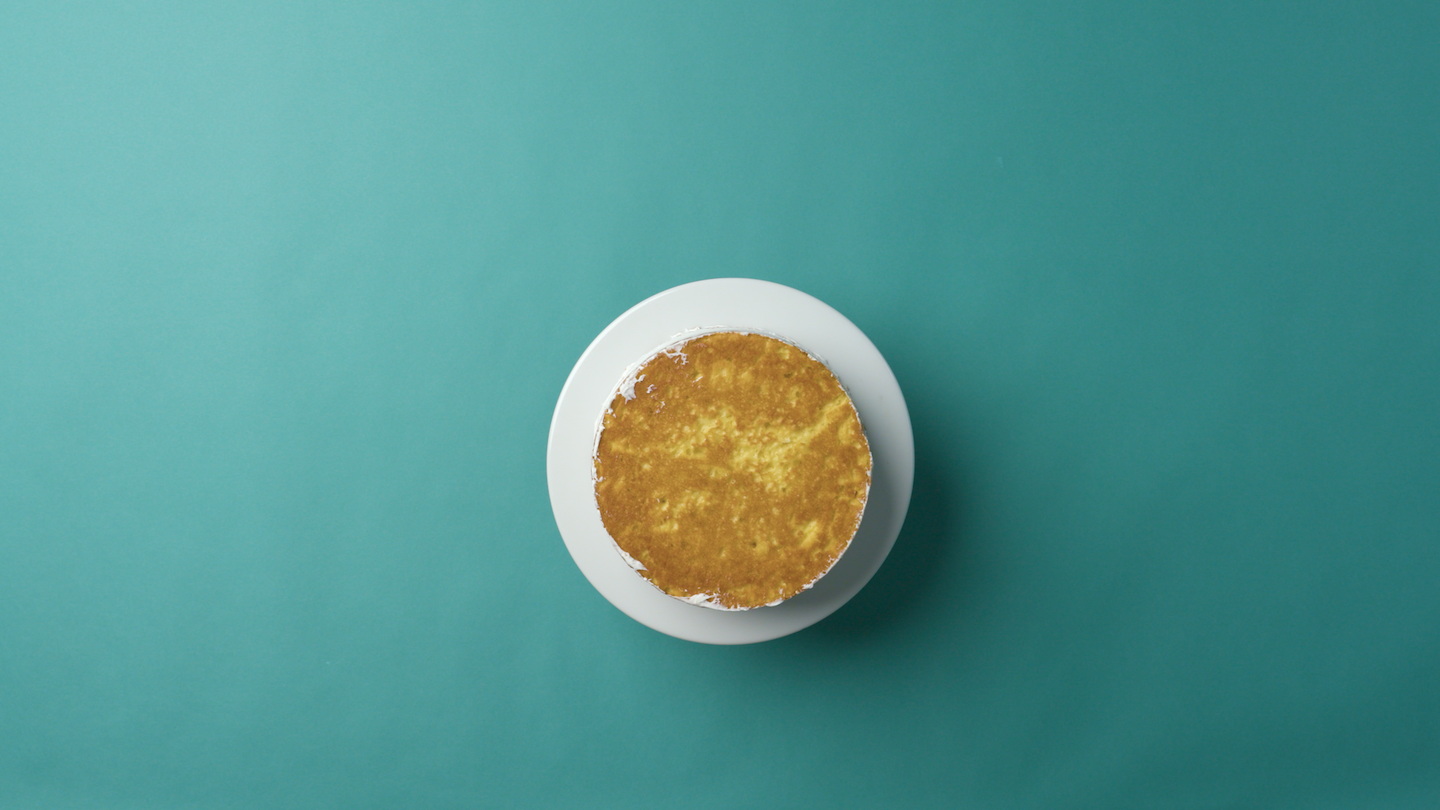
Before you decorate, you’ve gotta bake. Use two round pans to bake your favorite cake recipe; a bigger one for the bottom and a smaller one to stack on top. We made a 9″ cake and a 6″ cake.
Then whip up some white buttercream (either Swiss meringue or American buttercream works great) and crumb coat each cake around the sides. Chill the cakes for 15 minutes. Now you’re ready to decorate!
2. Ice the Cake
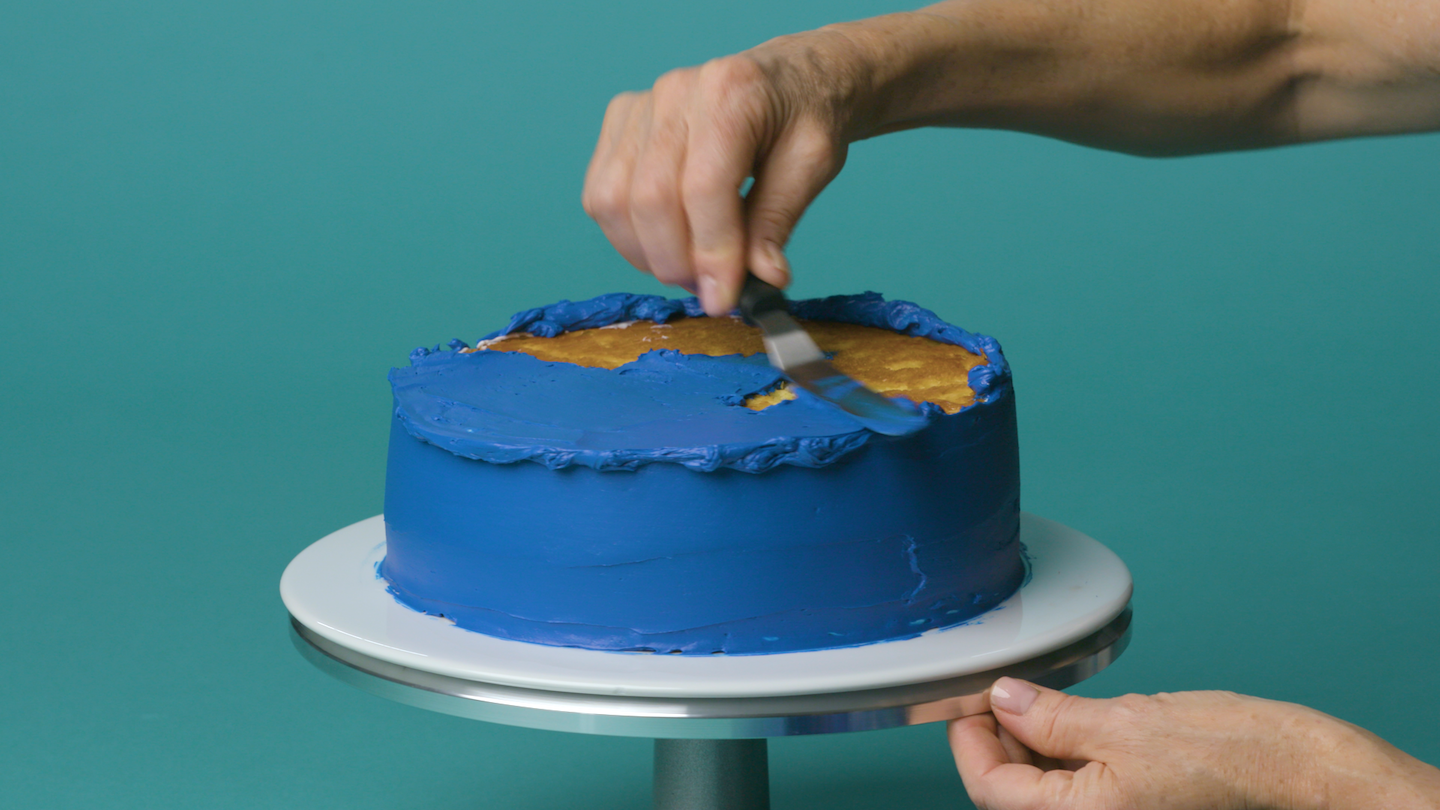
Add blue food coloring to 4 cups of white buttercream little by little until it’s a deep royal blue for the night sky. Use an offset spatula to ice the largest cake around the sides and along the top until the entire surface is covered.
Pro Tip: For super smooth buttercream (and a much easier piping canvas), use an icing smoother!
3. Add the Second Tier
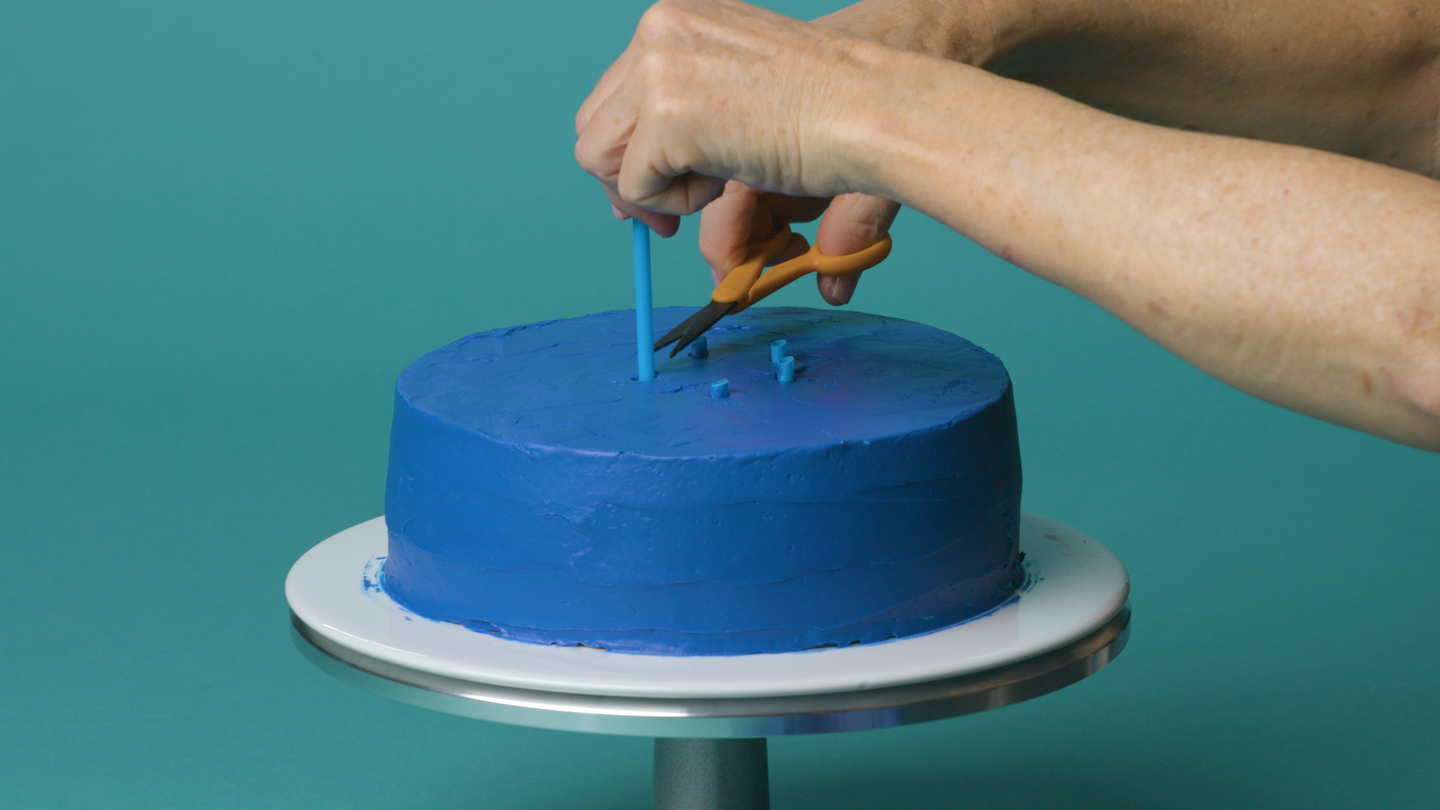
Push five straws into the center of your cake. Use scissors to cut them so only a small piece of each is sticking out from the frosting. This will provide support as you add the second tier to your cake.
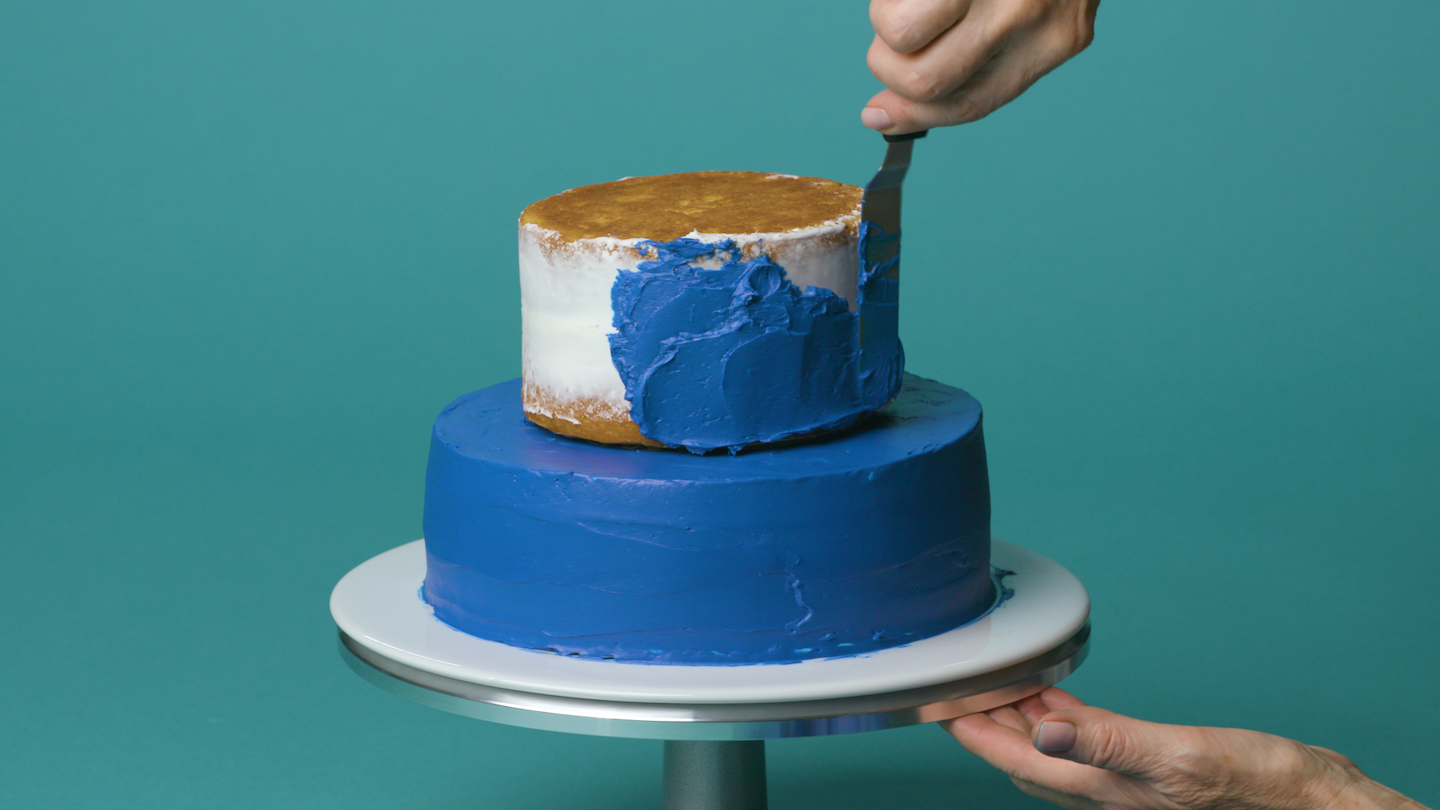
Cut a circular piece of cardboard to the diameter of the smaller cake and place it on top of the straws. Add some buttercream for security and place the second crumb-coated cake on top. Cover this tier with blue buttercream too.
4. Mix Your Greens
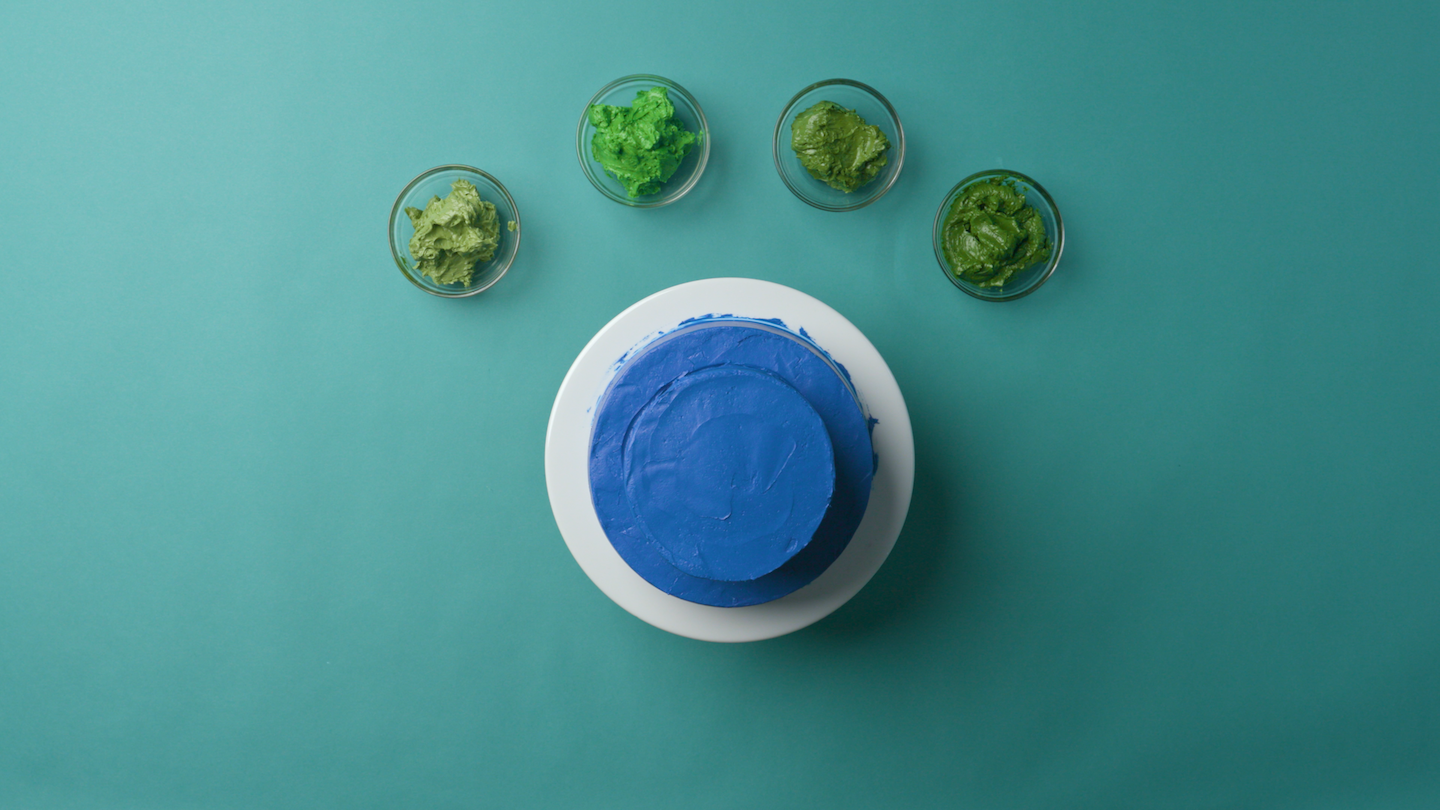
You’re going to use four shades of green, so divide your remaining white buttercream into different bowls (about ½ cup buttercream in each) and mix up the different hues.
Getting the right look is simple — just vary the amount of food coloring in each bowl to create an ombré buttercream range. You can also mix a few drops of yellow into some shades to create moss green and other variations. There’s no wrong way to do this, so don’t worry too much about the precise colors.
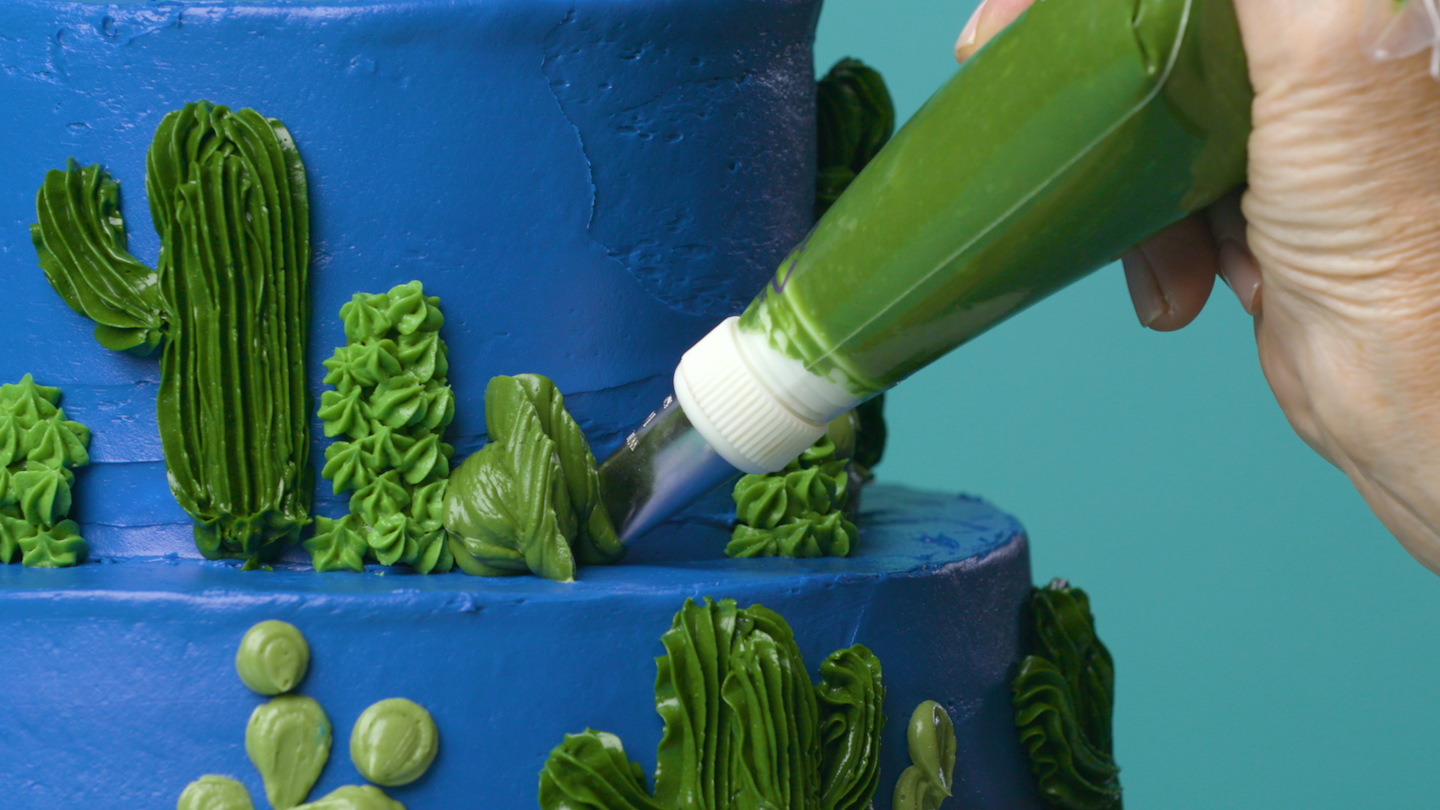
5. Map the Terrain
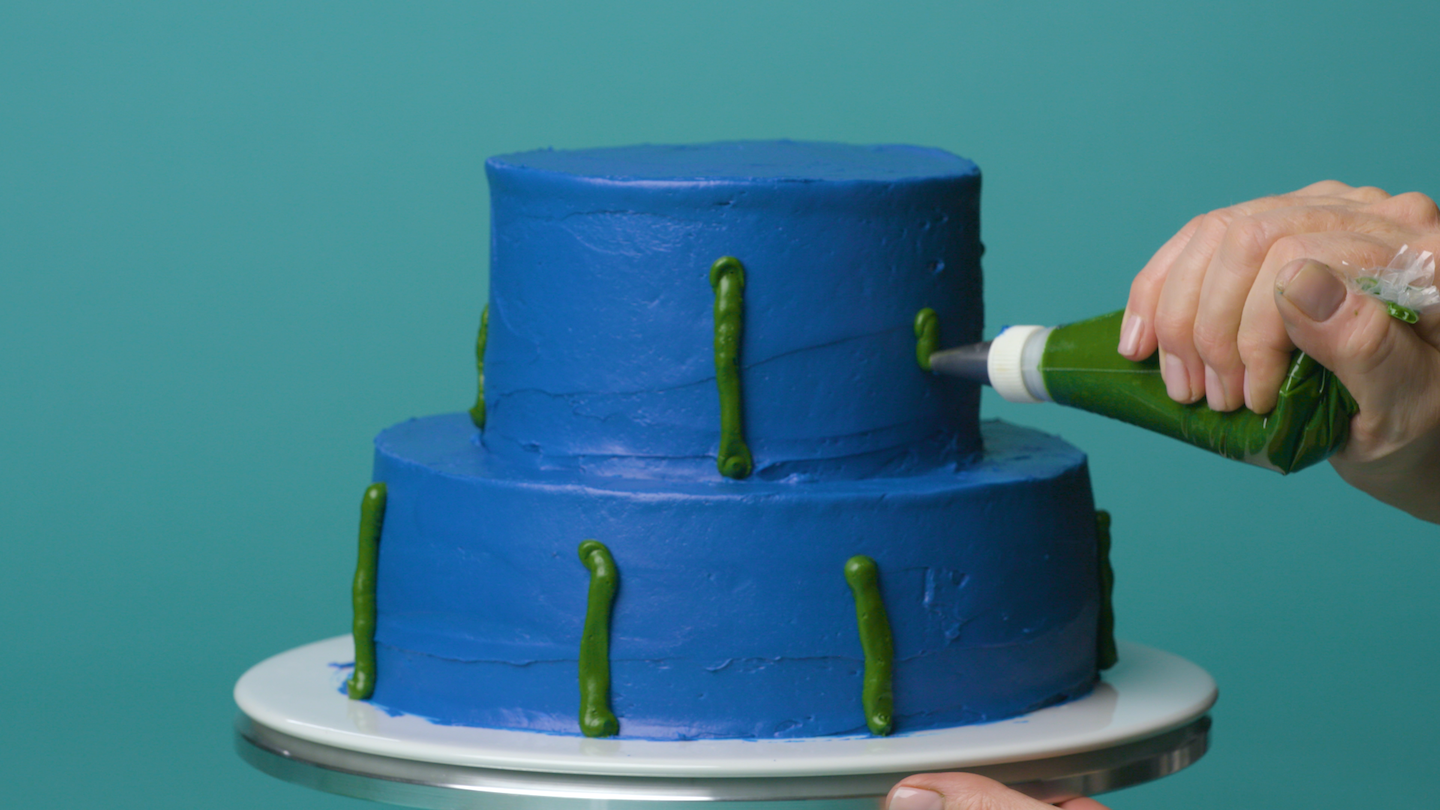
Pick one of your greens and fill a piping bag fitted with a large round tip. Pipe thick, vertical lines around the cake on both tiers. Make sure to space these pretty far apart — you’ll fill in the empty space with more cacti and reaching “arms” soon.
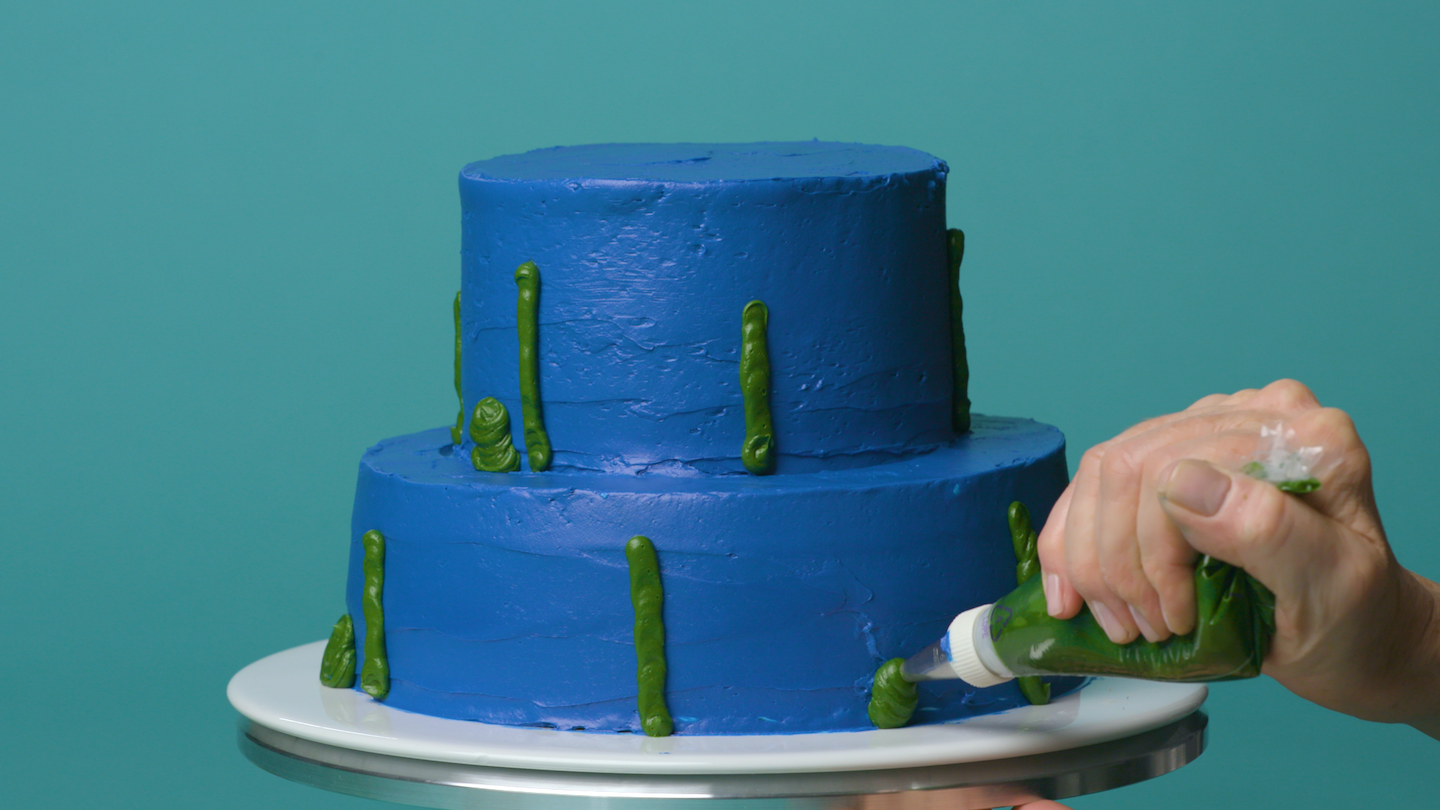
Once you’re done with the vertical lines, pipe large dots at the base of both tiers as well. Your lines and dots will serve as bases for more detailed, textured cacti and make your piping more 3D.
6. Add Texture
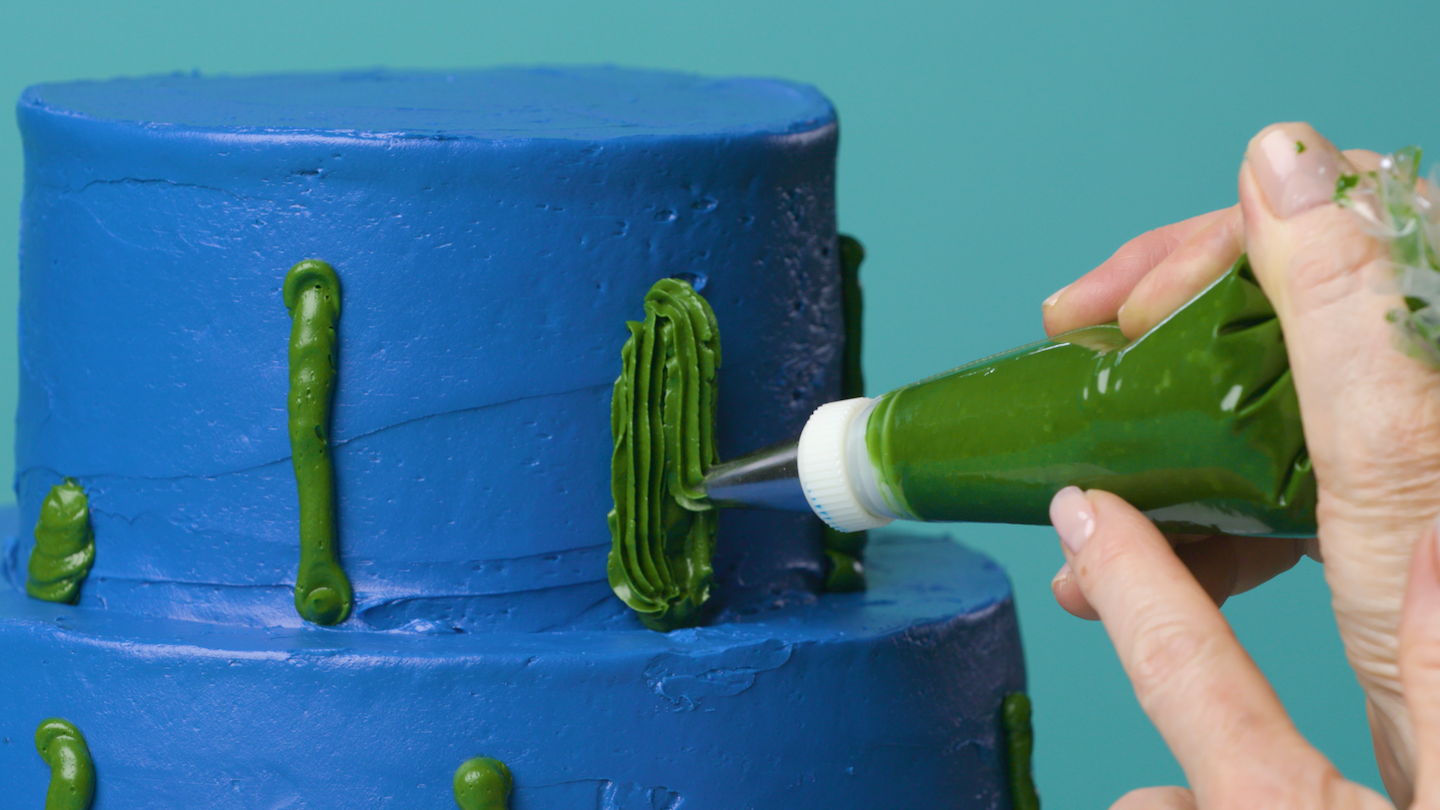
Fit the same piping bag with a medium closed star tip. Pipe along your vertical lines to create textured cactus “bodies.”
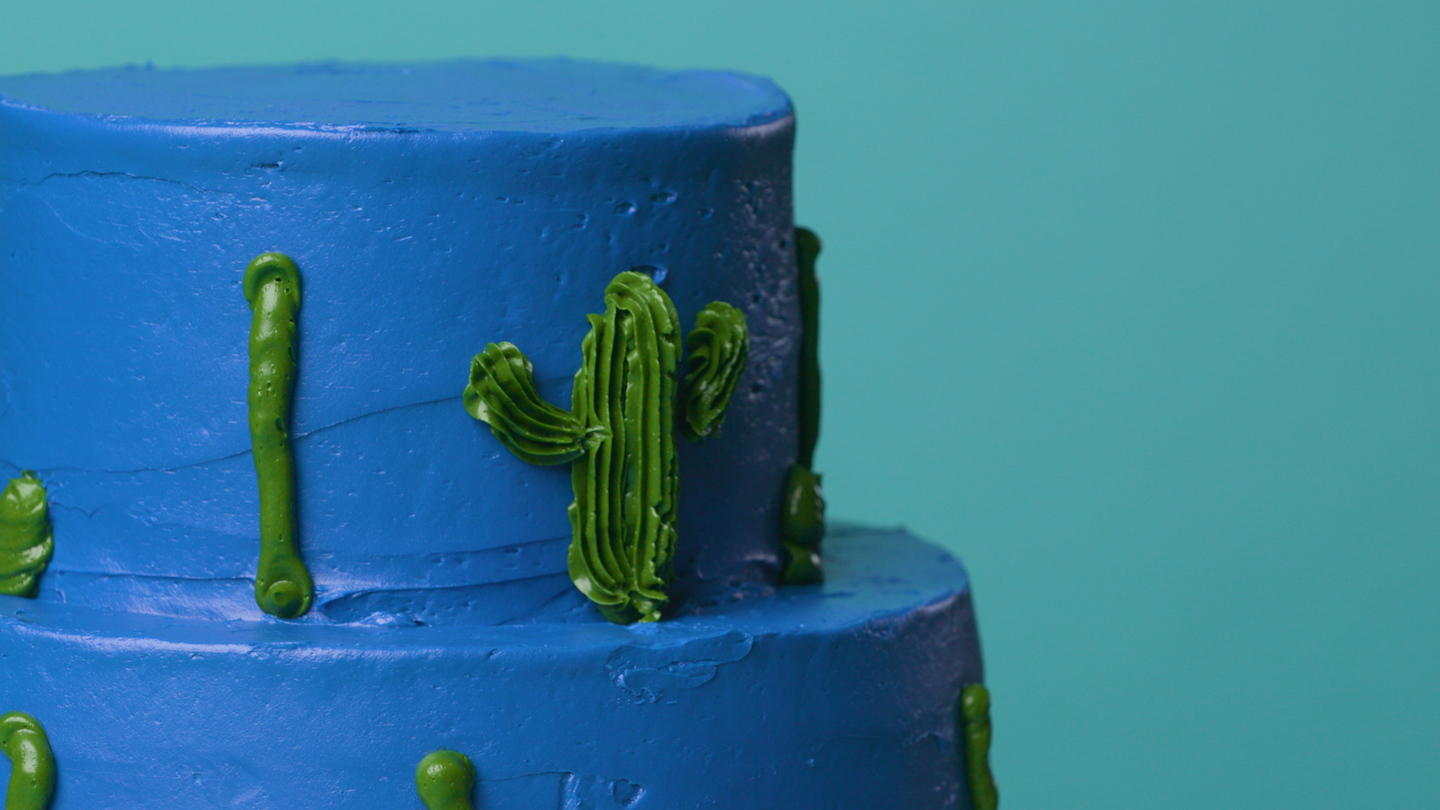
Now pipe the arms (or just one arm — you decide!)
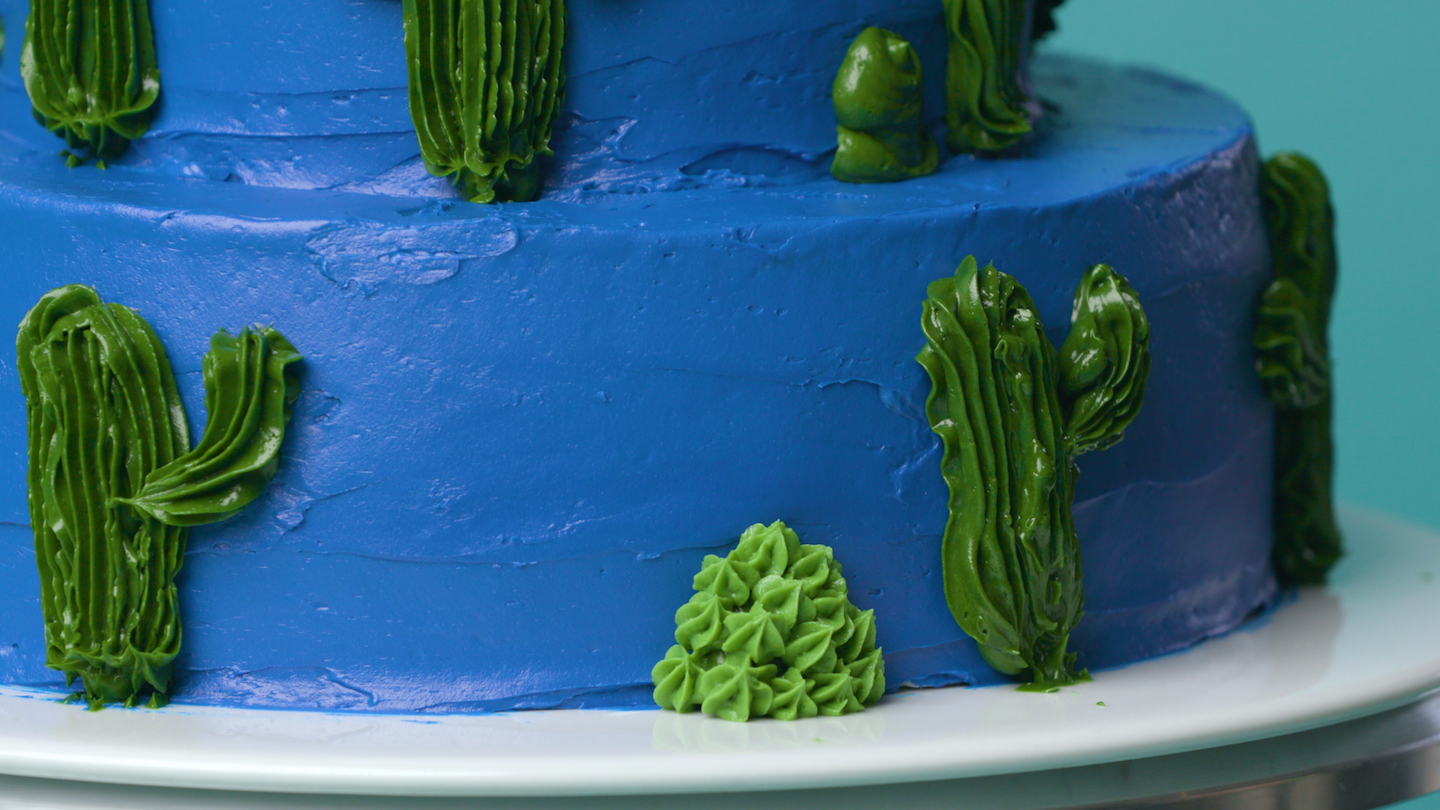
Fill another piping bag with a different shade of green and fit it with a small star tip. Pipe small kisses on top of the large dots you already placed to create cute squat cacti.
7. Cover the Cake with Cacti
This project is the perfect excuse to play around with different piping tips as you fill up the blue space. (Remember to use all four green buttercream mixtures to create variety!) The cake can look however you want, but here are some awesome piped plants to try:
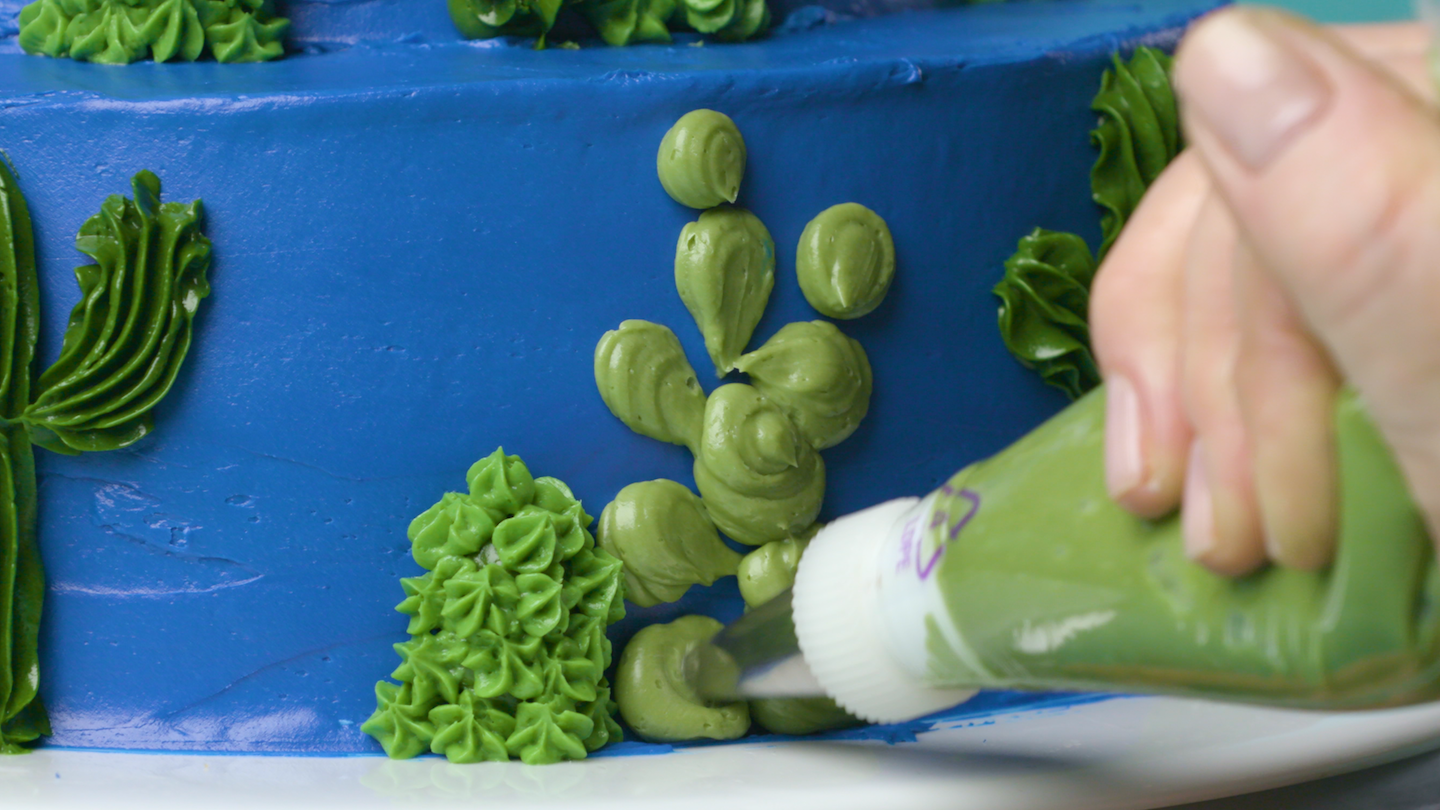
Fill a piping bag with a third shade of green and fit it with a medium round tip. Now layer up some clusters of dots.
Pipe a large dot with a medium round tip at the base of a tier. Fit a piping bag with a curved petal tip and pipe ridges over the surface.
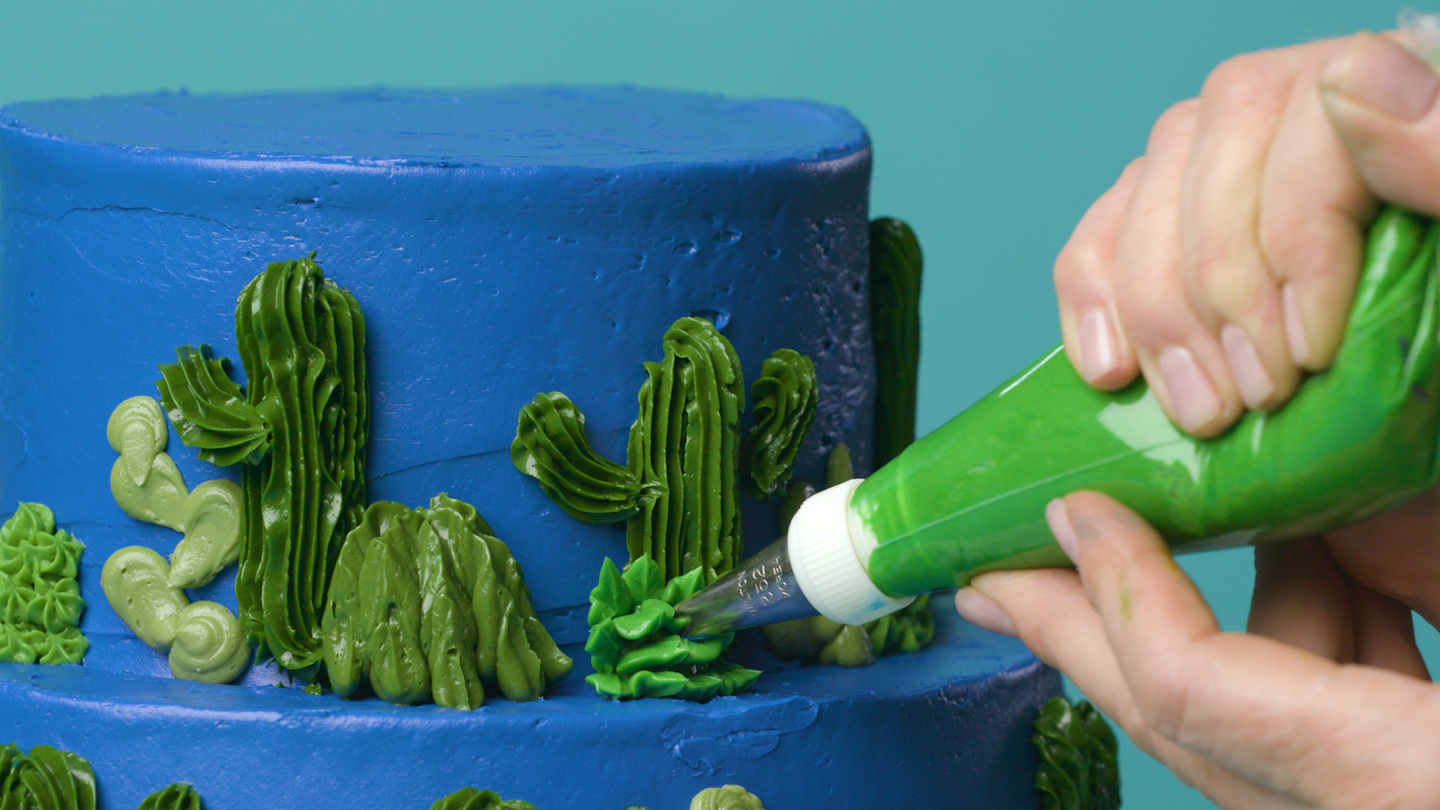
Use a leaf tip to pipe small kisses on top of a large dot, just like you did with the small star tip. You can also pipe a cluster of leaves directly onto the blue surface as an easy filler.
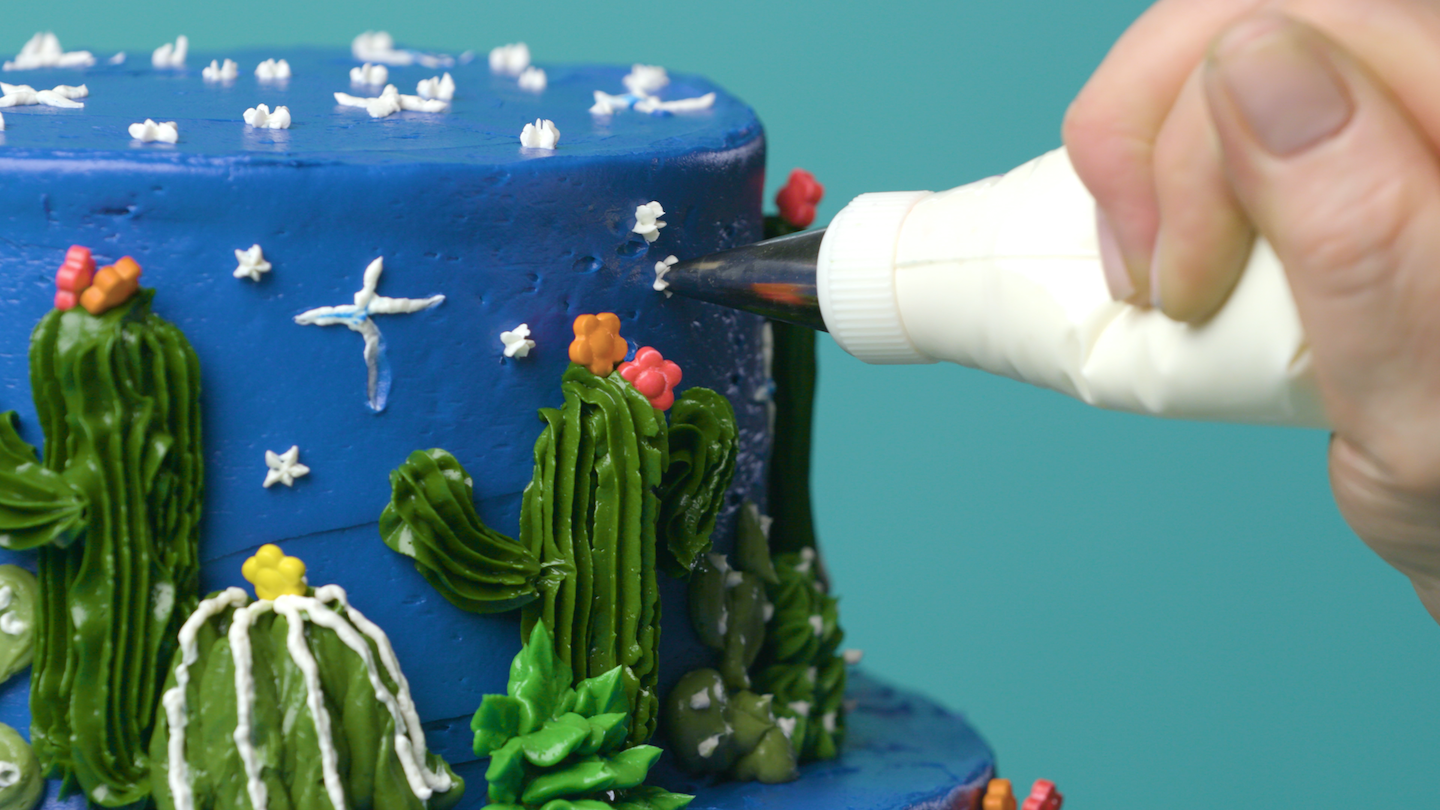
8. Add the Needles
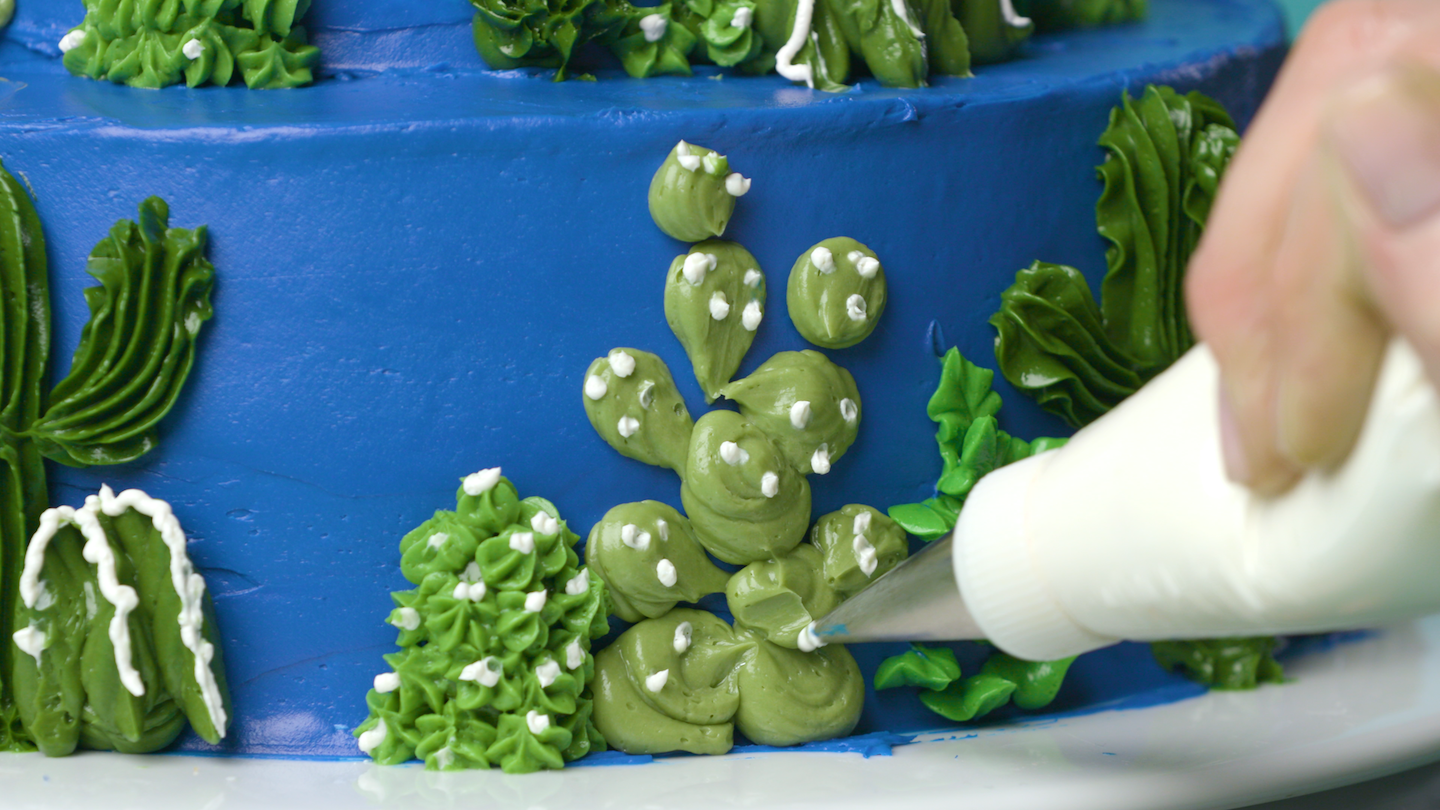
Here’s the thing about cacti: they’re covered in prickly needles. To make ‘em, fill a piping bag with white frosting and fit it with a small round writing tip. Carefully dab white dots and lines on top of your plants. Put spines anywhere you want, but remember, not every single cactus needs prickles. You’ll get a cooler look if you mix it up.
9. Place Candy Flowers
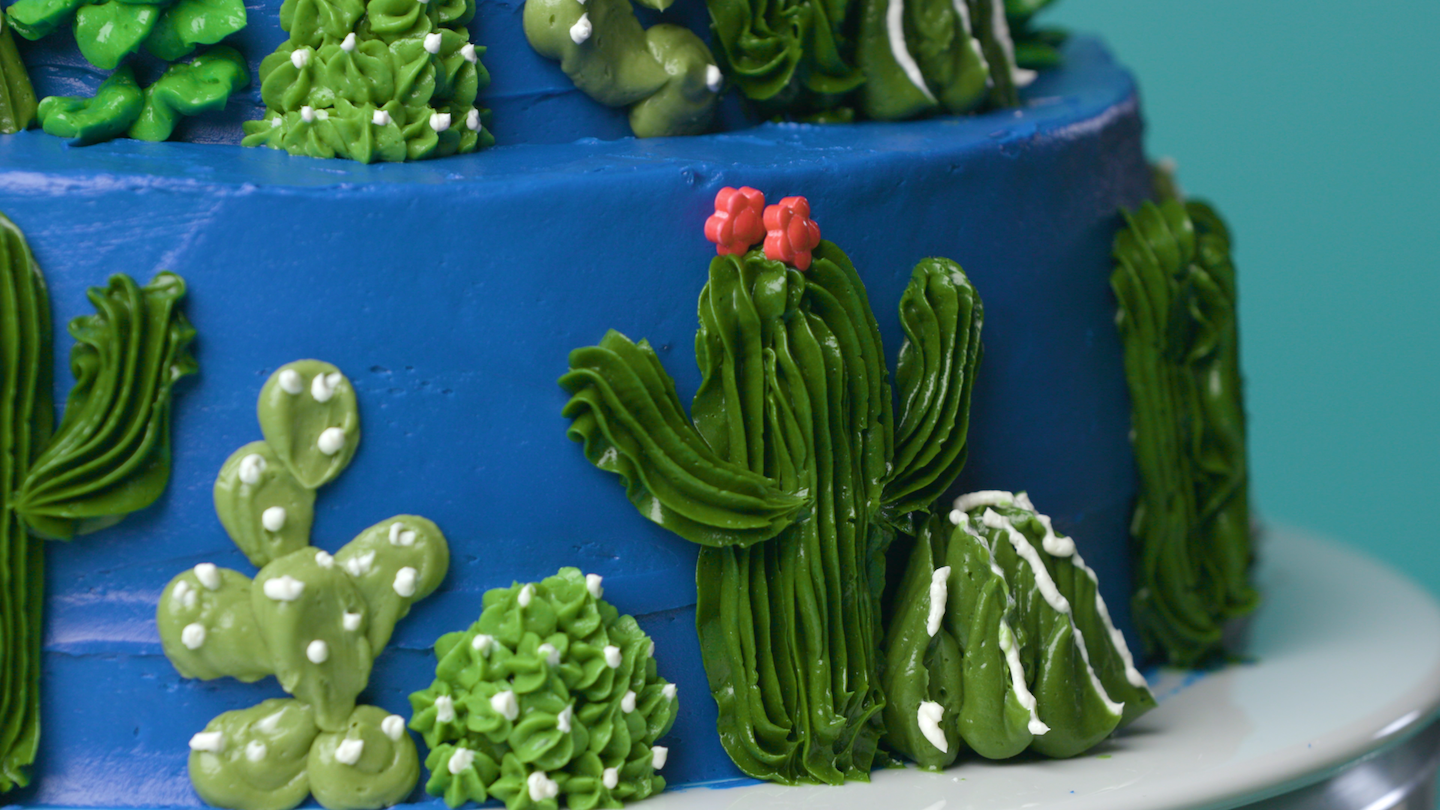
Here’s another thing about cacti: they bloom! Place small flower candies on top of some of your creations.
10. Pipe the Stars
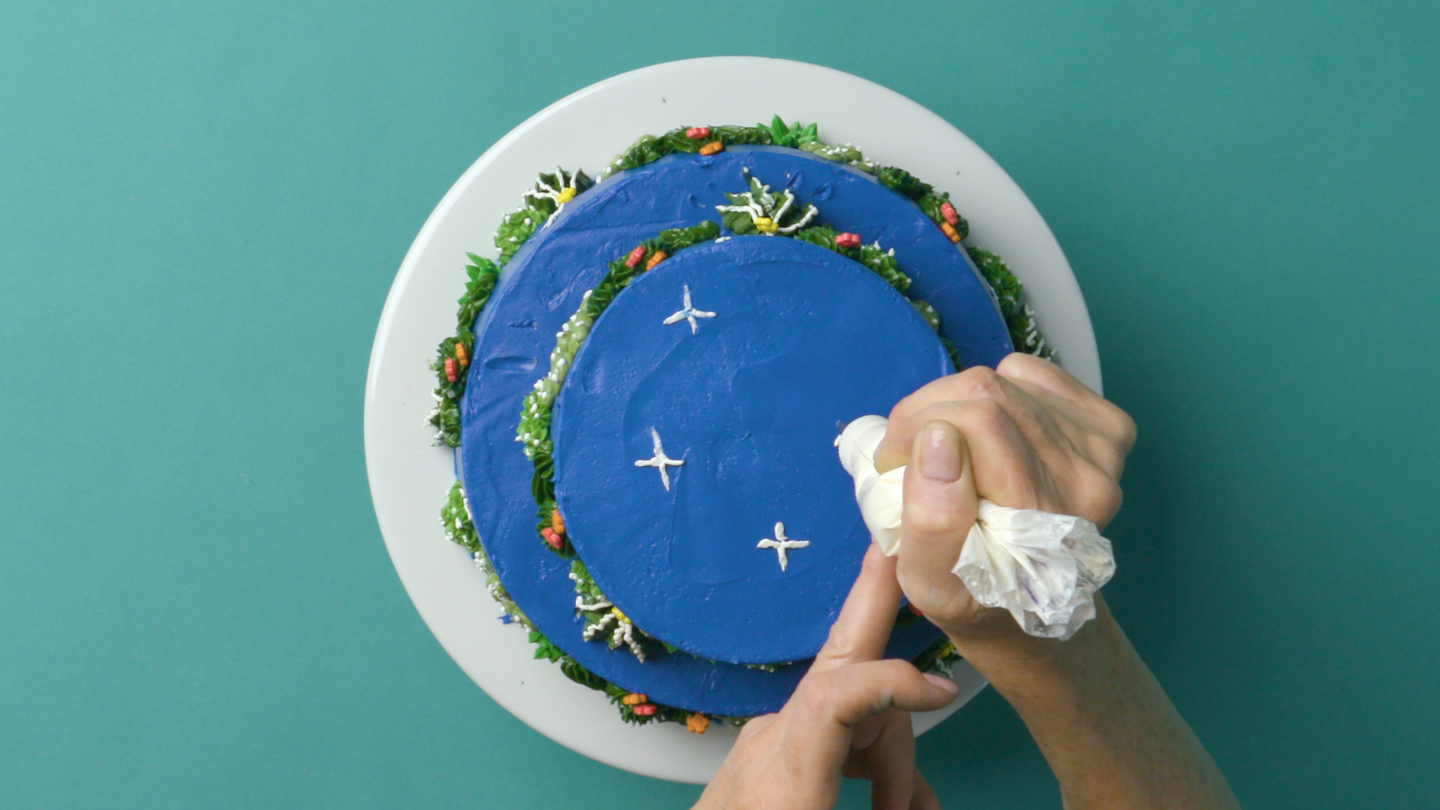
Pick your white buttercream-filled bag back up and pipe stars all around your desert sky. Don’t overthink these — they can just be simple crosses.
Then fit the bag with a tiny closed star tip and pipe tiny kisses for more starlight.
11. Add the Sand
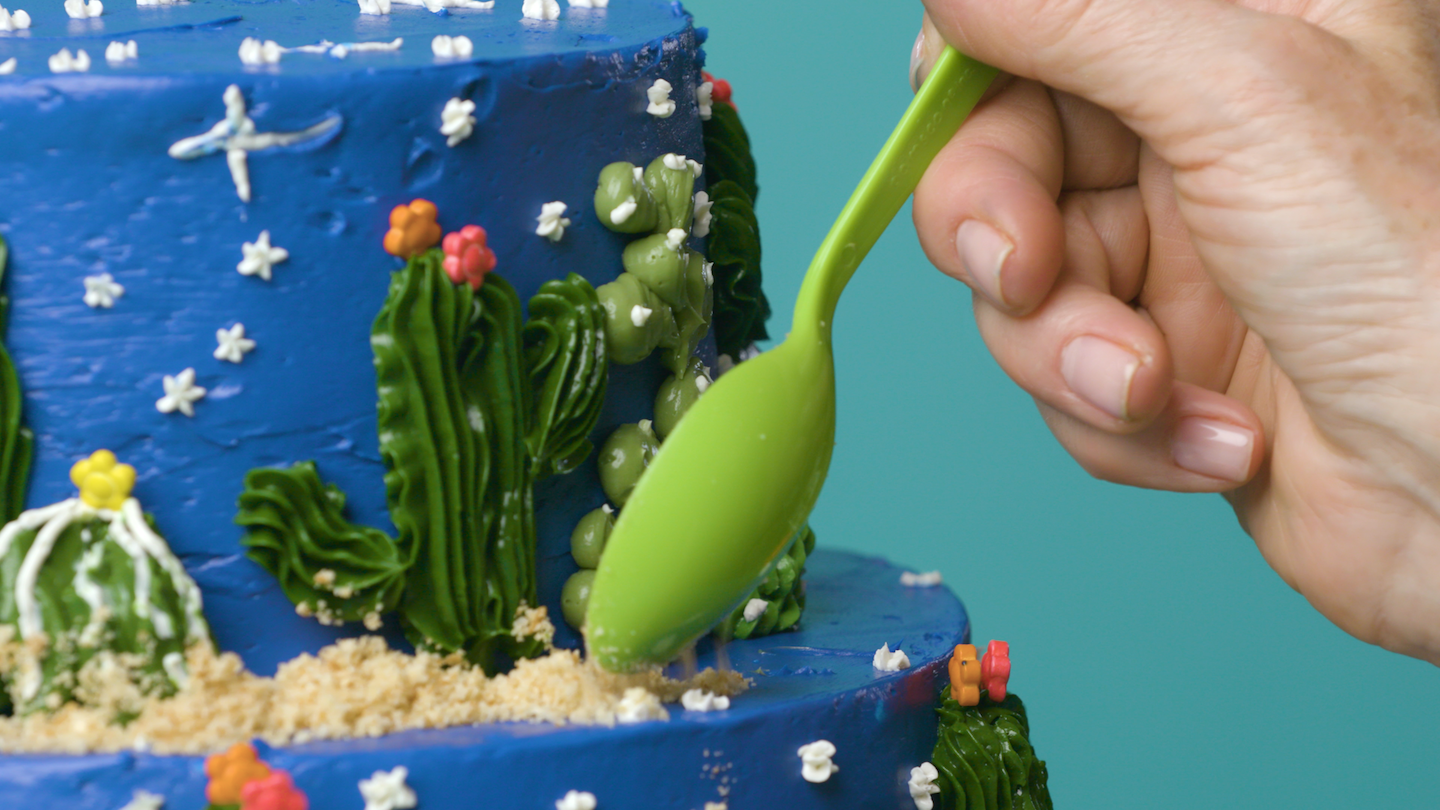
Crush some vanilla wafers until they’re a fine, sand-like powder. Spoon the crumbs on the cake around both tiers.

We’re starstruck!

Share tips, start a discussion or ask other students a question. If you have a question for an expert, please click here.
Already a member? Sign in
No Responses to “Enjoy the Desert for Dessert With a Prickly Cactus Cake”