
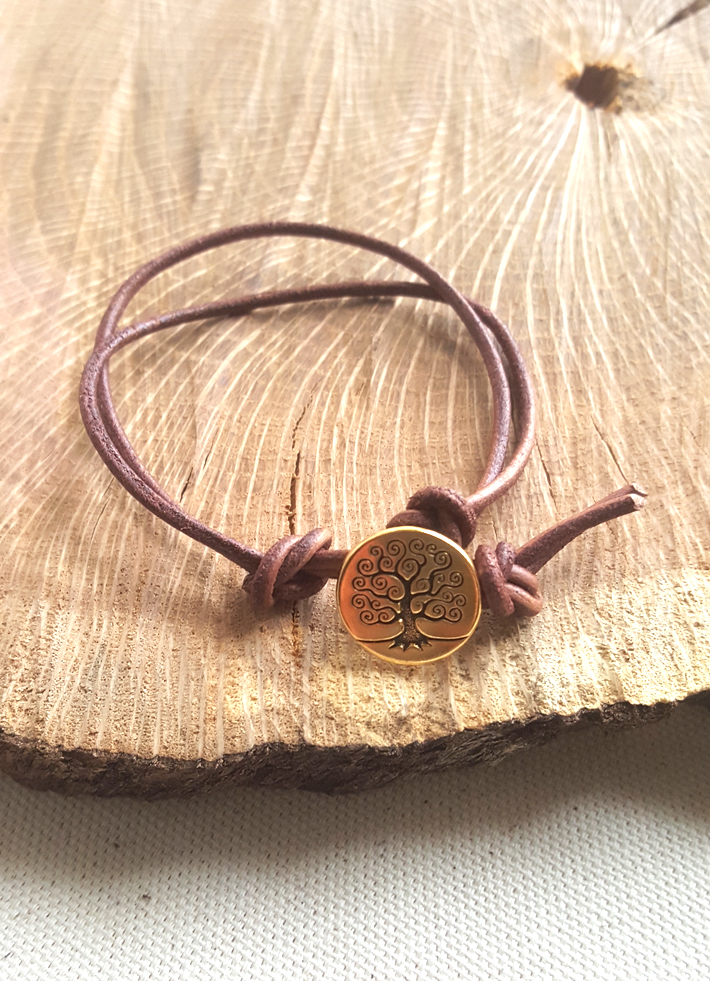
Who doesn’t love a fast and easy jewelry project? This button knot bracelet is easy enough for even the newest jewelry maker, but jewelry experts will appreciate how quickly this bracelet comes together.
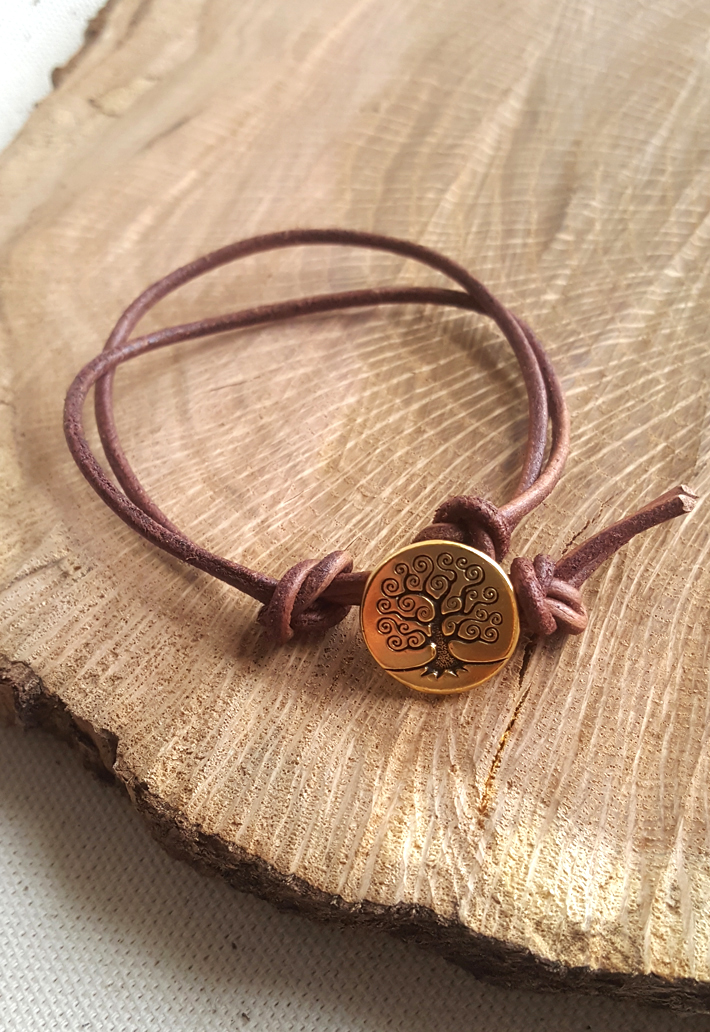
All photos via Karen Roark of I Always Pick the Thimble
Here’s what you need to make the knotted button bracelet:
- Decorative button with a shank. A shank is a small metal loop on the back of the button used for attaching to fabrics. (This button is from Nunn Designs.)
- 1 yard of your choice of stringing material, such as leather, waxed linen thread, ribbon or hemp. Any stringing material can work; you just need a material that will fit through the shank of the button. For this project, I used 2 mm leather cord.
- Scissors.
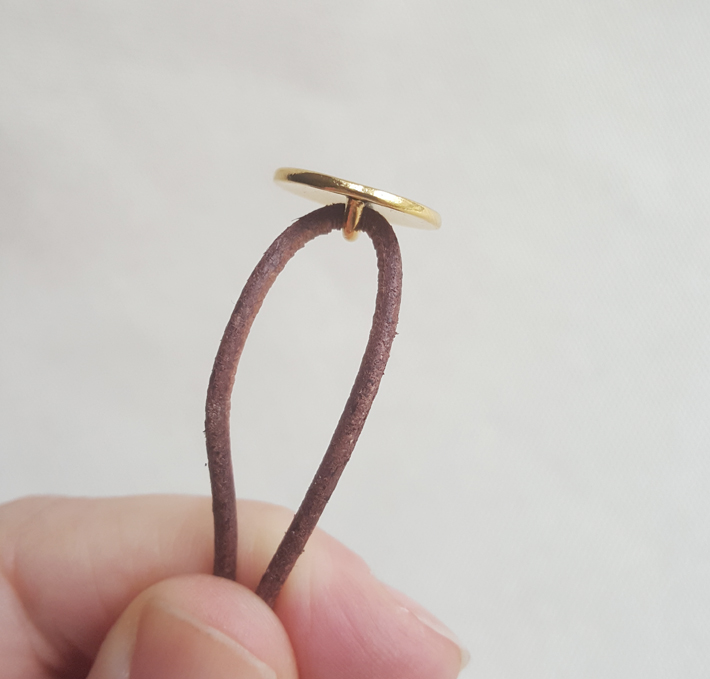
Step 1: Attach the button
Find the middle point of your stringing material and fold in half. Slide the button onto the stringing material and let it rest in the fold.
Tip: Thicker leather cord can be a little stiff right out of the package, which makes it tough to tie the knots. To soften it, run the entire length of leather through your hands five or six times. You could also purchase a leather conditioner to apply to the leather before running it through your hands.
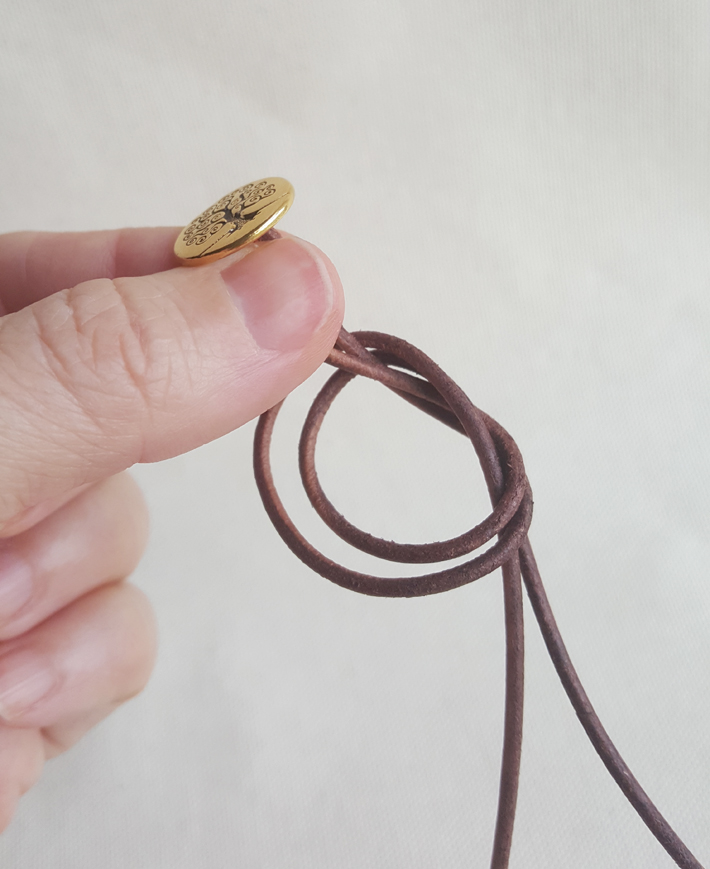
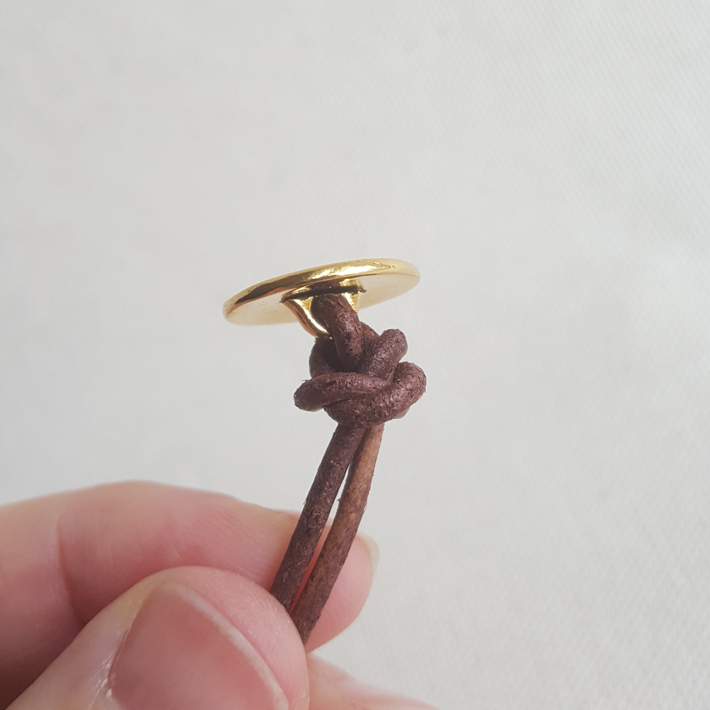
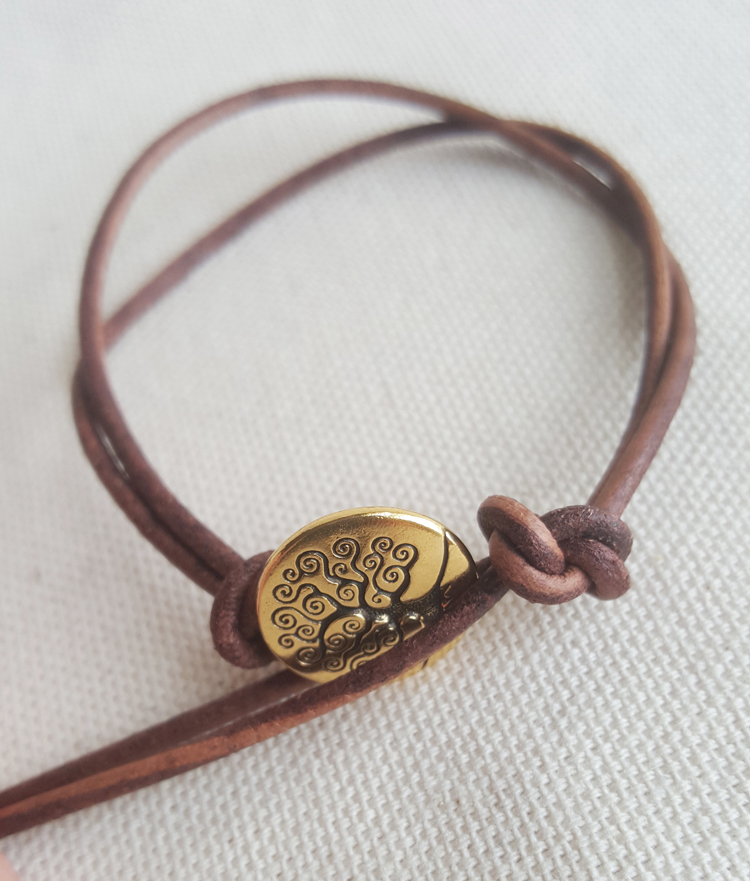
Step 2: Tie the knot
Holding both cords together, tie a knot just under the button. Keep the knot loose, continuing to work it closed, until the knot sits against the button.
Step 3: Size the bracelet
Wrap the bracelet around your wrist and make a mark where each end of the cord meets the middle of the button. Tie a second knot at this location.
Step 4: Making the bracelet closure
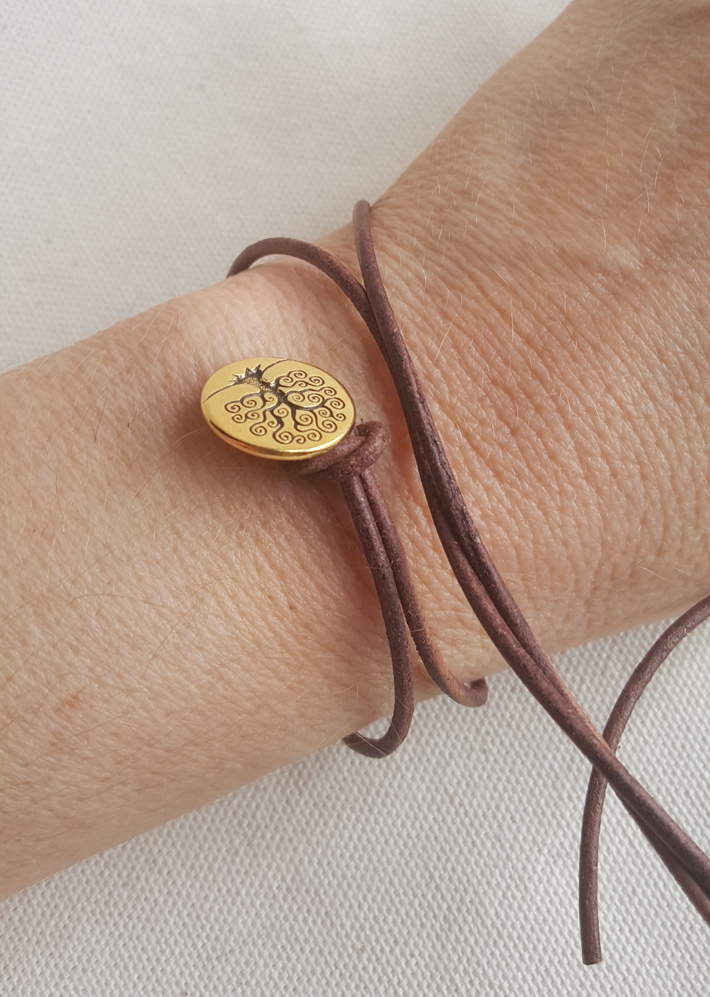
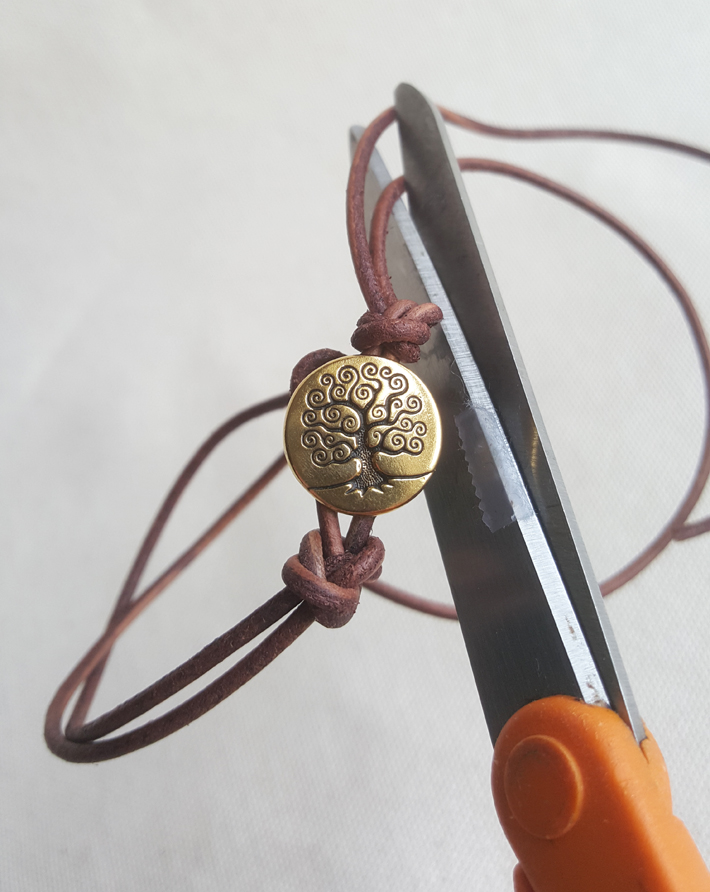
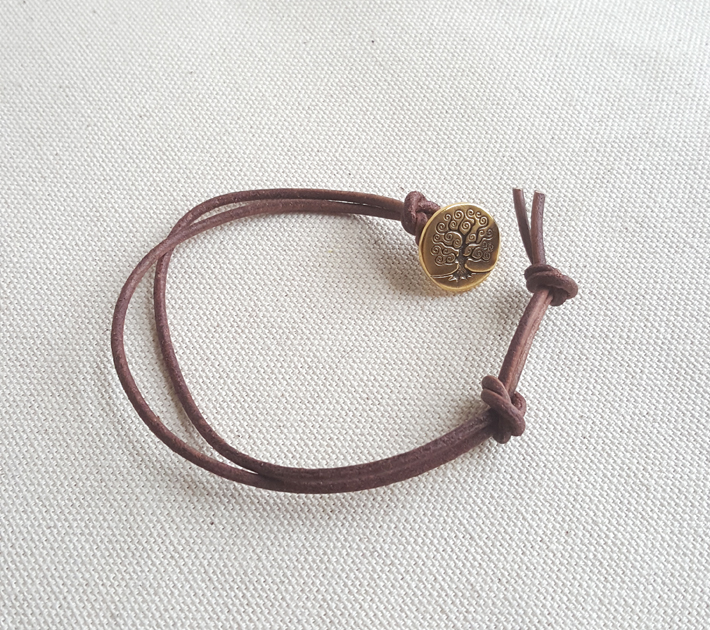
Measure the width of your button. Tie a third knot the width of the button away from the second knot you just tied. The two cords act as a closure to slide the button through. Cut off the ends of the leather at a diagonal about 1″ away from the end knot. Slide the button through this opening and you are done!
Tips and variations
If you are making this bracelet for a friend, the second and third knots can be moved and re-tied for a better fit. Just don’t cut the ends of the stringing material too short or it will be difficult to retie.
To add additional color and beads, slide round beads or rondells onto your stringing material before tying the first knot. The beads will slip and slide around on the cord, making it fun for children to wear. You can also add charms with a jump ring or slip them onto the leather before tying the knots.
This can be a good project for children to learn to tie knots. These button knot bracelets can even be made with yarn and plastic buttons for an inexpensive craft project for a group of kids. Or dig around in grandma’s button box to find some unusual and stand out buttons. Either way, have fun!
Share tips, start a discussion or ask one of our experts or other students a question.
No Responses to “Want to Show Off A Beautiful Button? Make This Simple 3-Knot Bracelet”