
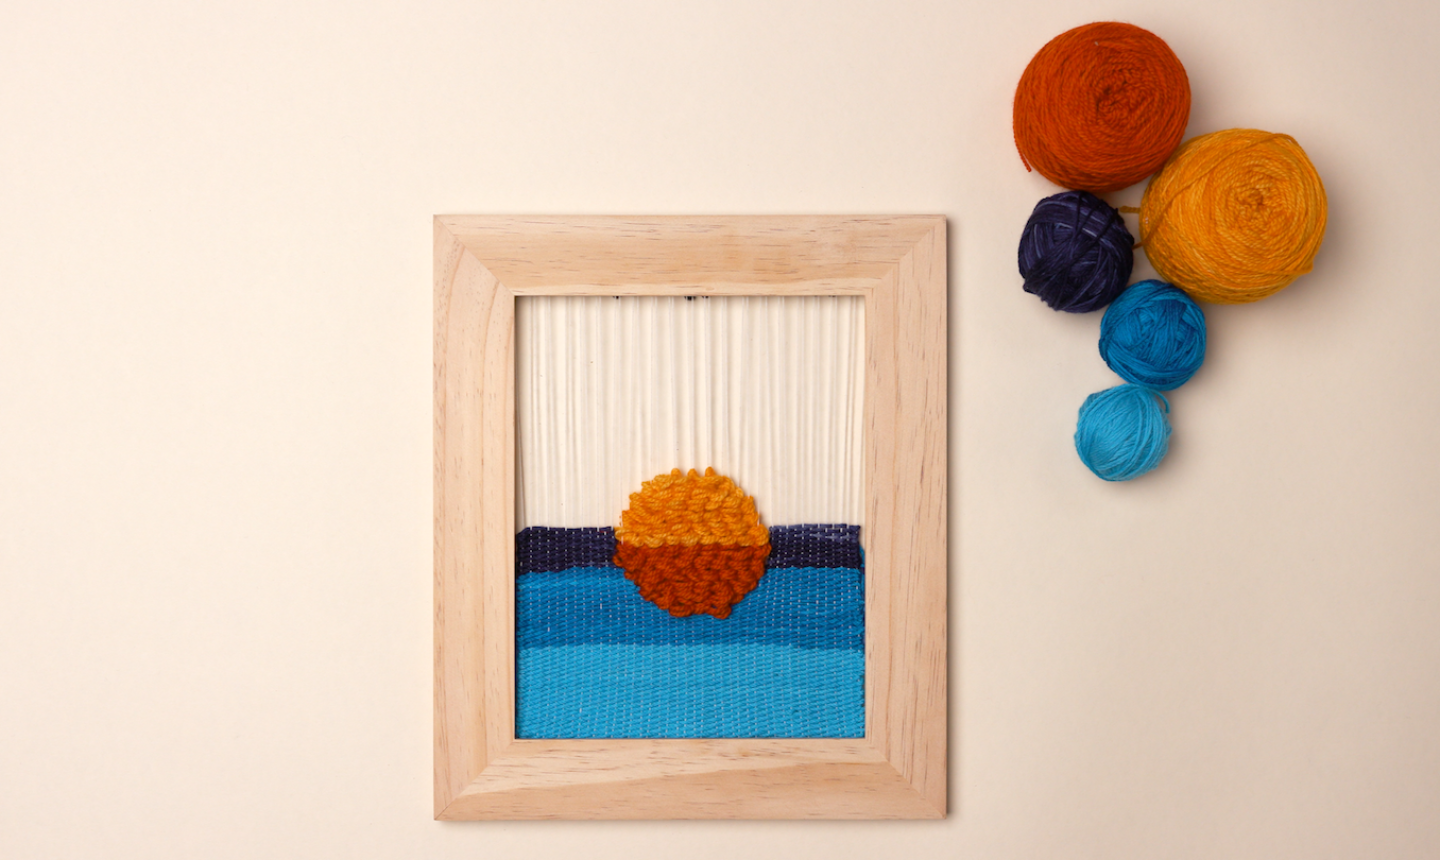
To make this gorgeous woven sunset, you don't need any fancy tools — just a wooden picture frame and a fork from your kitchen (really!). Plus you only need to know two stitches, and we'll teach you both of 'em.
Woven Wall Art
Level: Easy
What You Need
Pro Tip: This is a great chance to use up some of your scrap yarn — the weight and fiber type aren't important, as long as the oranges and blues are roughly the same weight.
Instructions
1. Set Up the Frame
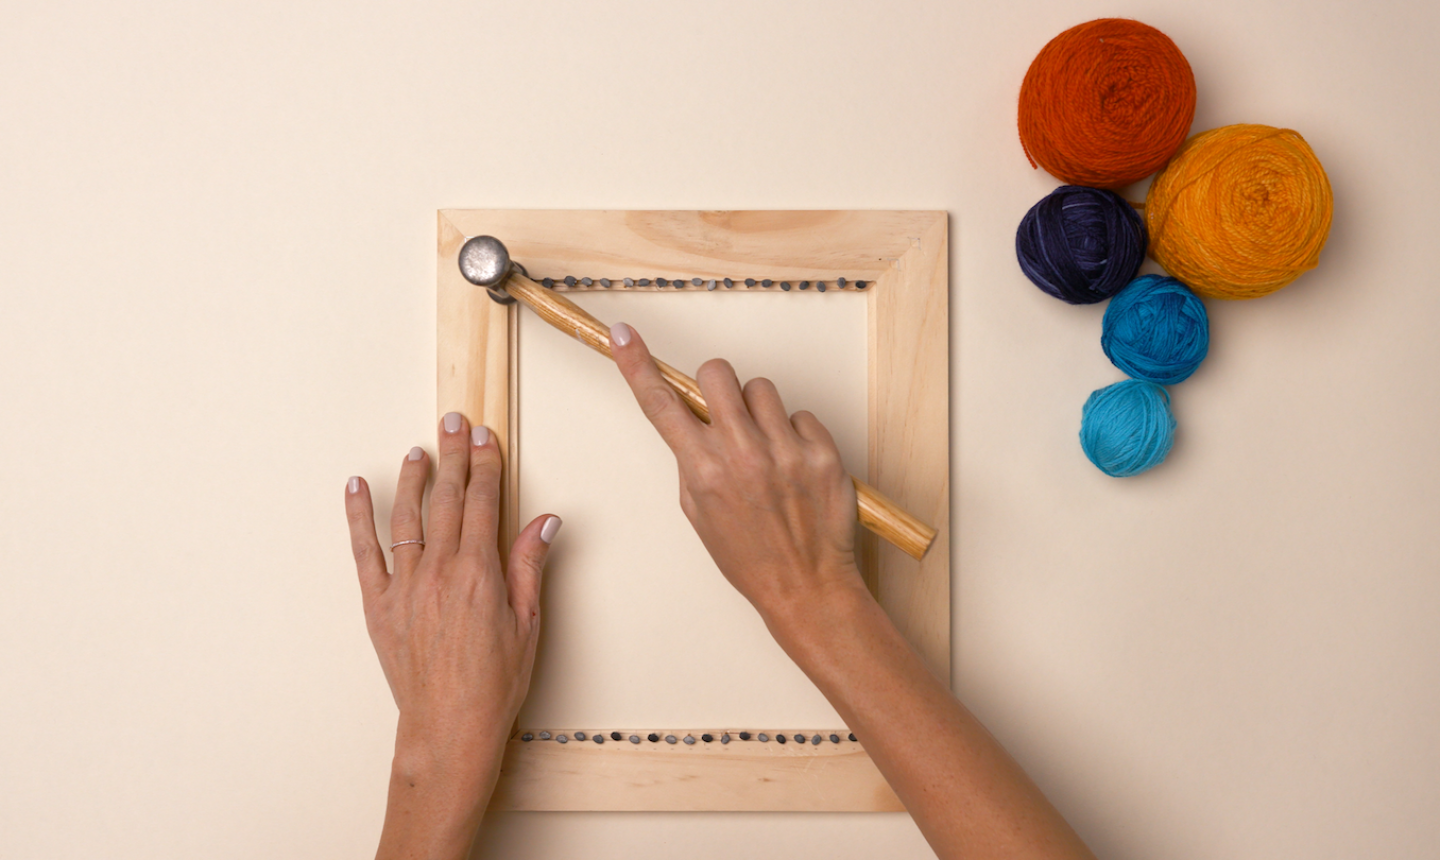
For this project, a simple wooden frame will act as your loom. With the back side facing up, remove the backing and hammer upholstery tacks into the inside edges of the frame.
Space the tacks about ½-inch apart across the top and bottom. Don’t hammer them too far into the wood — you want 'em to be raised enough for easy stringing.
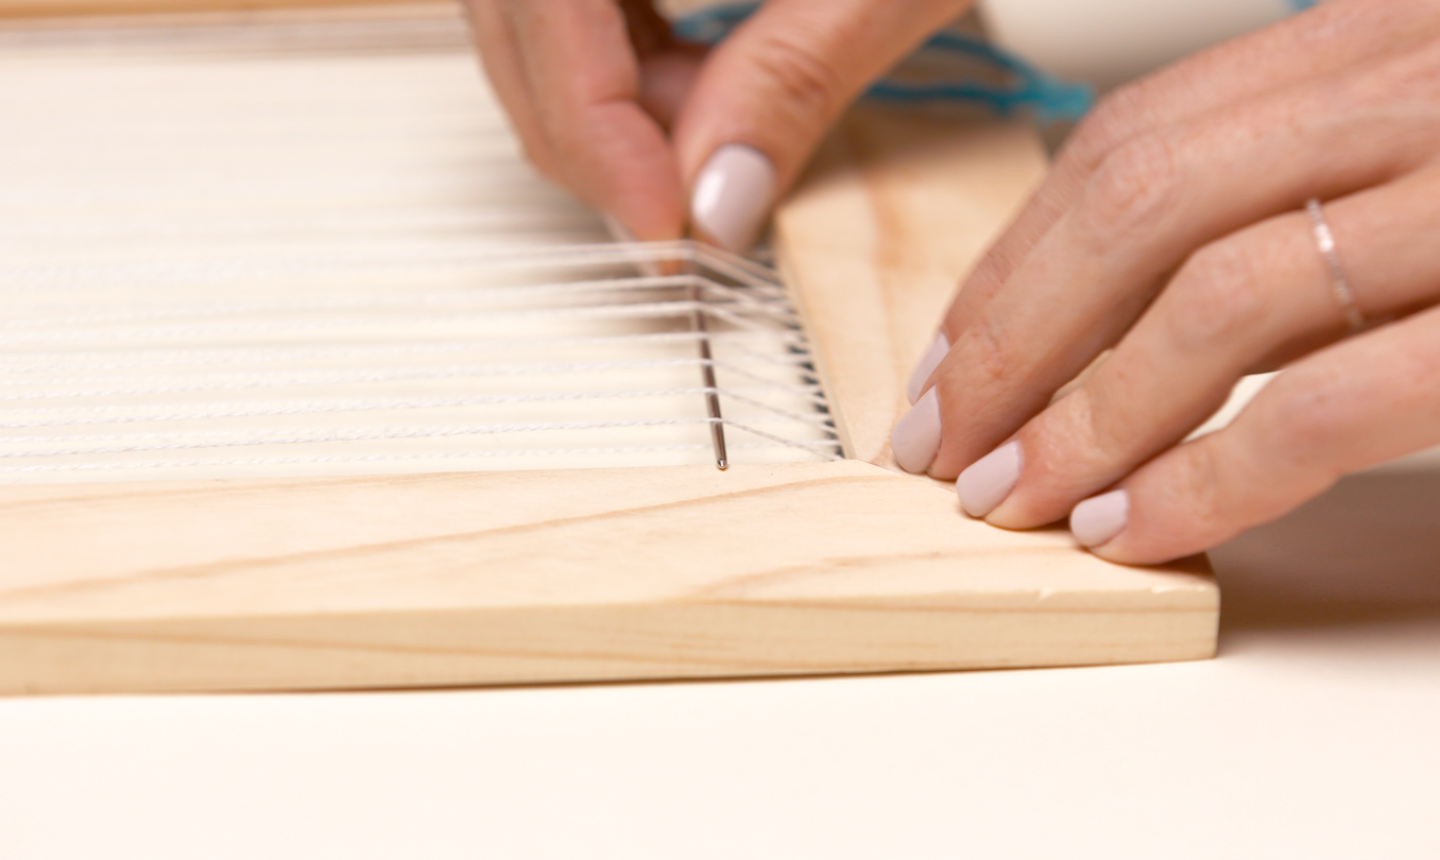
2. Warp the Loom
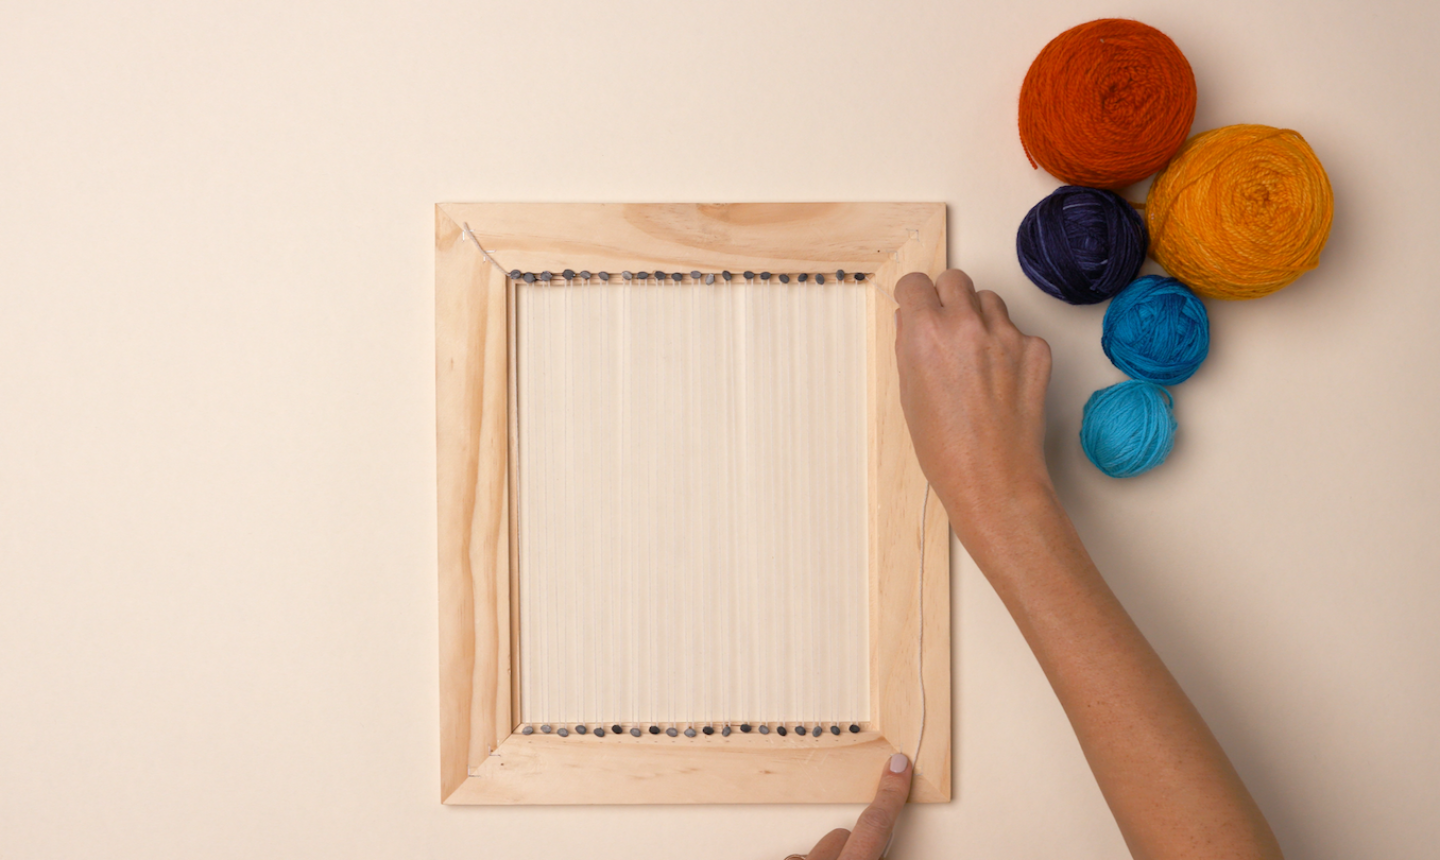
Using white cotton thread, tie a knot around the first tack (at the top left). Bring the string down and loop it around the bottom left tack, pulling it tight. Bring the string back up and loop it over the tack beside the top left.
Keep warping left to right until you reach the last tack. Tie a knot around it and trim off the excess.
3. Start Weaving
Flip the frame over so it's right side up. Thread a weaving needle with light blue yarn. Starting in the middle of the loom, weave the needle through the strings to the end, going over and under every other string as you work from right to left. This is called a plain weave.
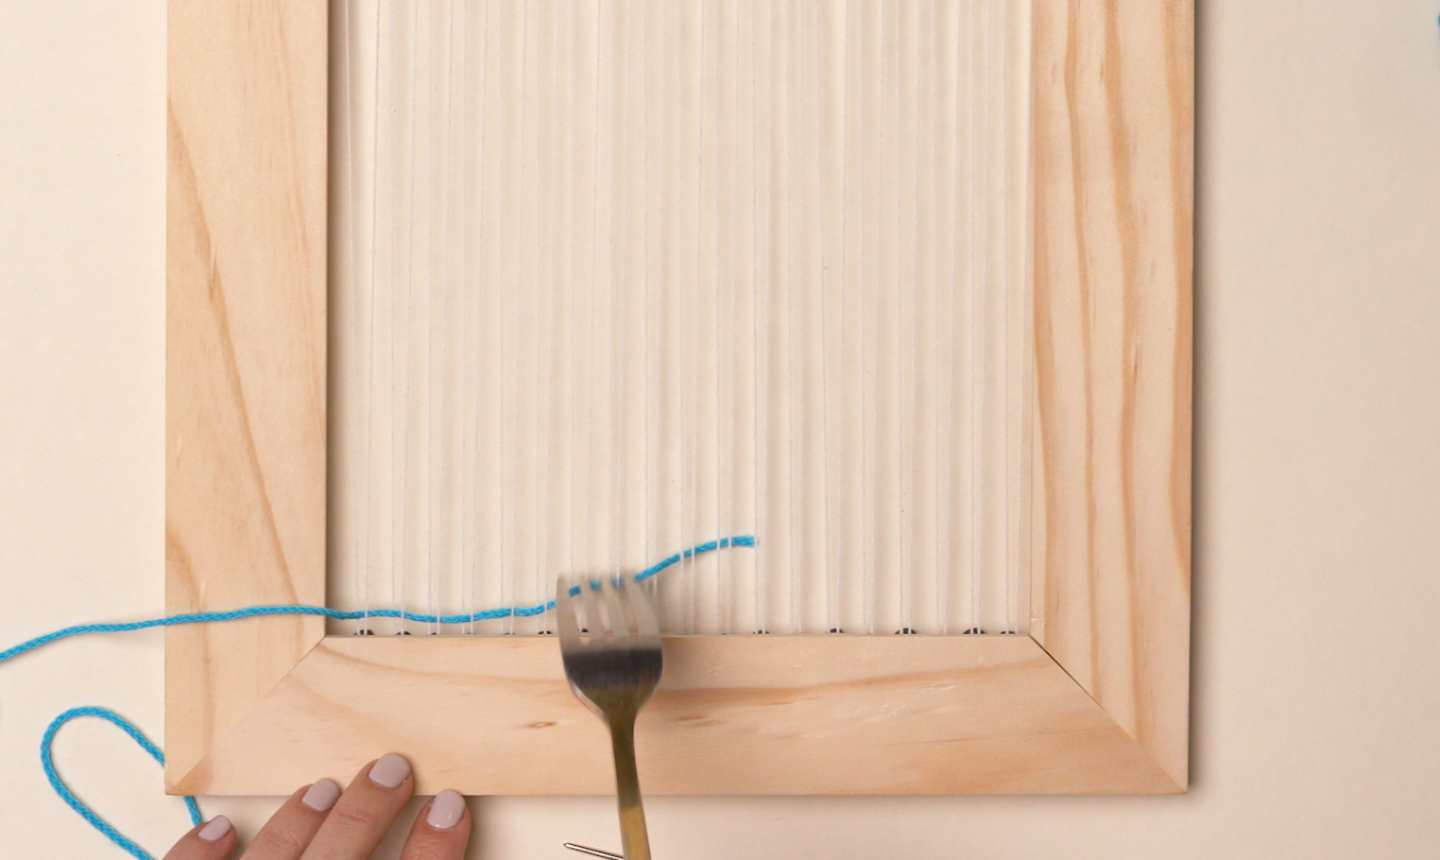
Once you reach the edge of the frame, use a fork to move the yarn down to the base.
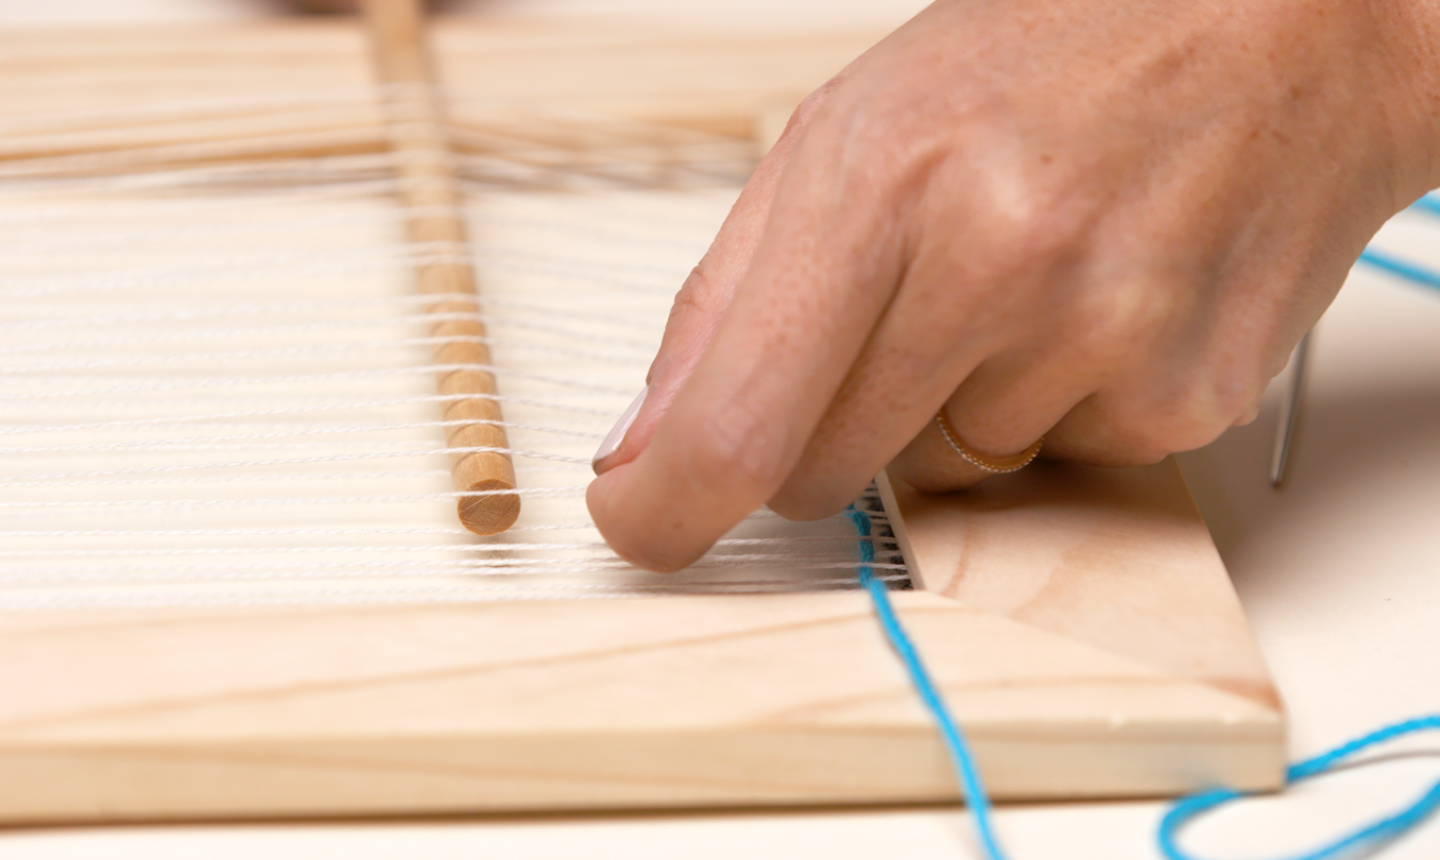
Then weave a dowel through the string to create a DIY shed stick.
Good to Know: A shed stick is a common tool used by weavers that separates the strings in the loom, making it easier (and faster!) to move your yarn.
4. Keep Weaving

Pick your weaving needle back up. Loop the yarn around the end string and work your way back across the loom in the opposite direction. Once again, use a fork to push the string down to the base. Keep working back and forth across the loom.
Pro Tip: It’s so easy to catch any mistakes, even if this is your first time weaving. Just remember your stitches will always be alternating — if you went over one string in your first row, you’ll go under it on the second, over it again on the third, etc.
5. Change Your Colors

As you build your rows, you’ll eventually move from the light blue yarn to your medium blue. Simply thread the weaving needle with your next color and continue weaving like before. Stop when you’re about halfway up the loom.
Good to Know: The act of weaving will hold your yarn inside the loom, so there's no need to use any special stitches. Just weave the tail into the weft (the crosswise yarn) when you end a color. If you're nervous about the yarn coming undone, you can knot the tail to secure it.
6. Make a Placeholder
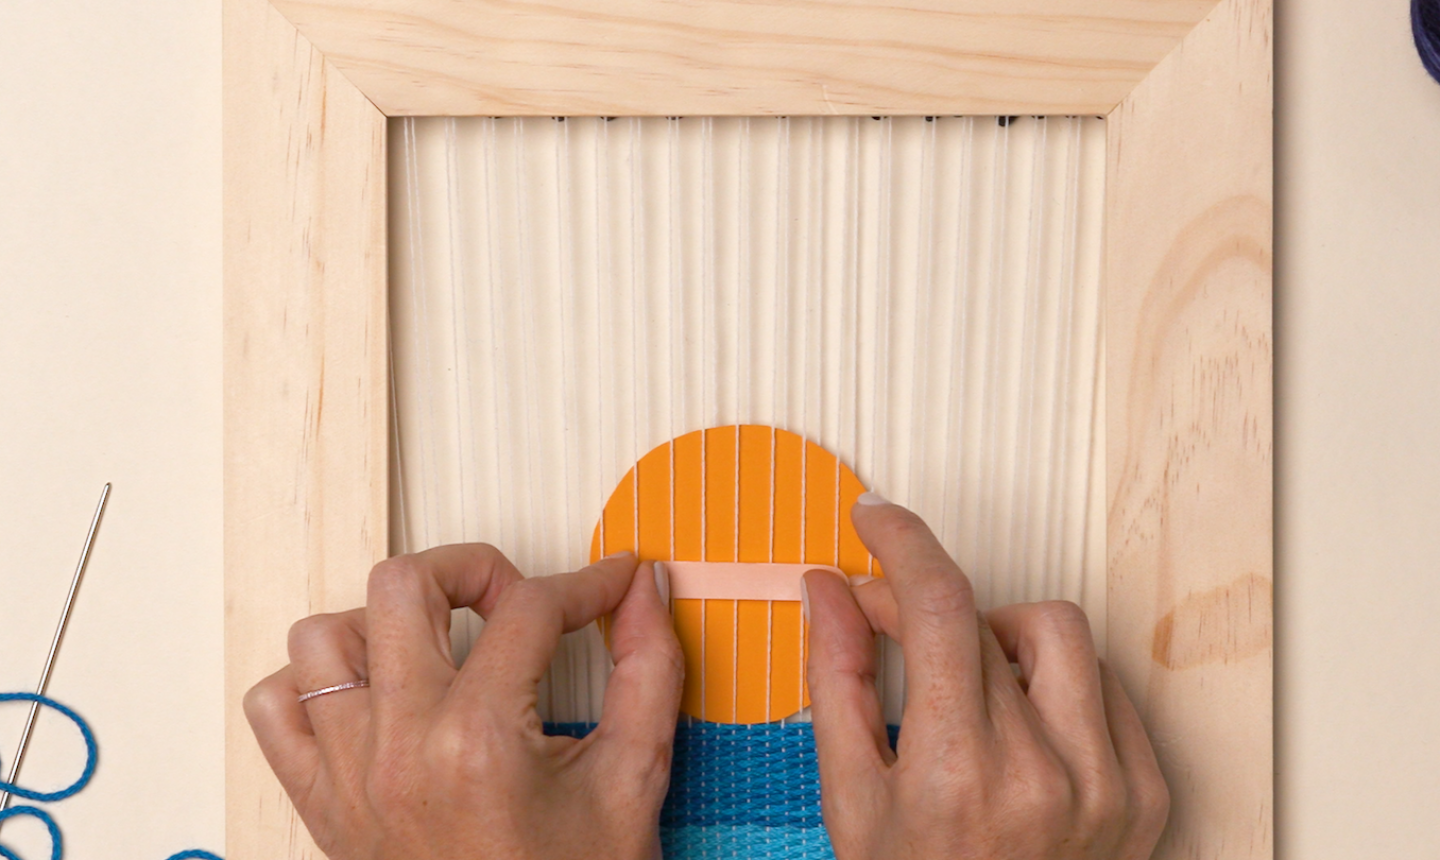
Cut a piece of card stock into a circle. Weave it between your thread, remove the dowel and use a piece of Scotch tape to hold it in place.
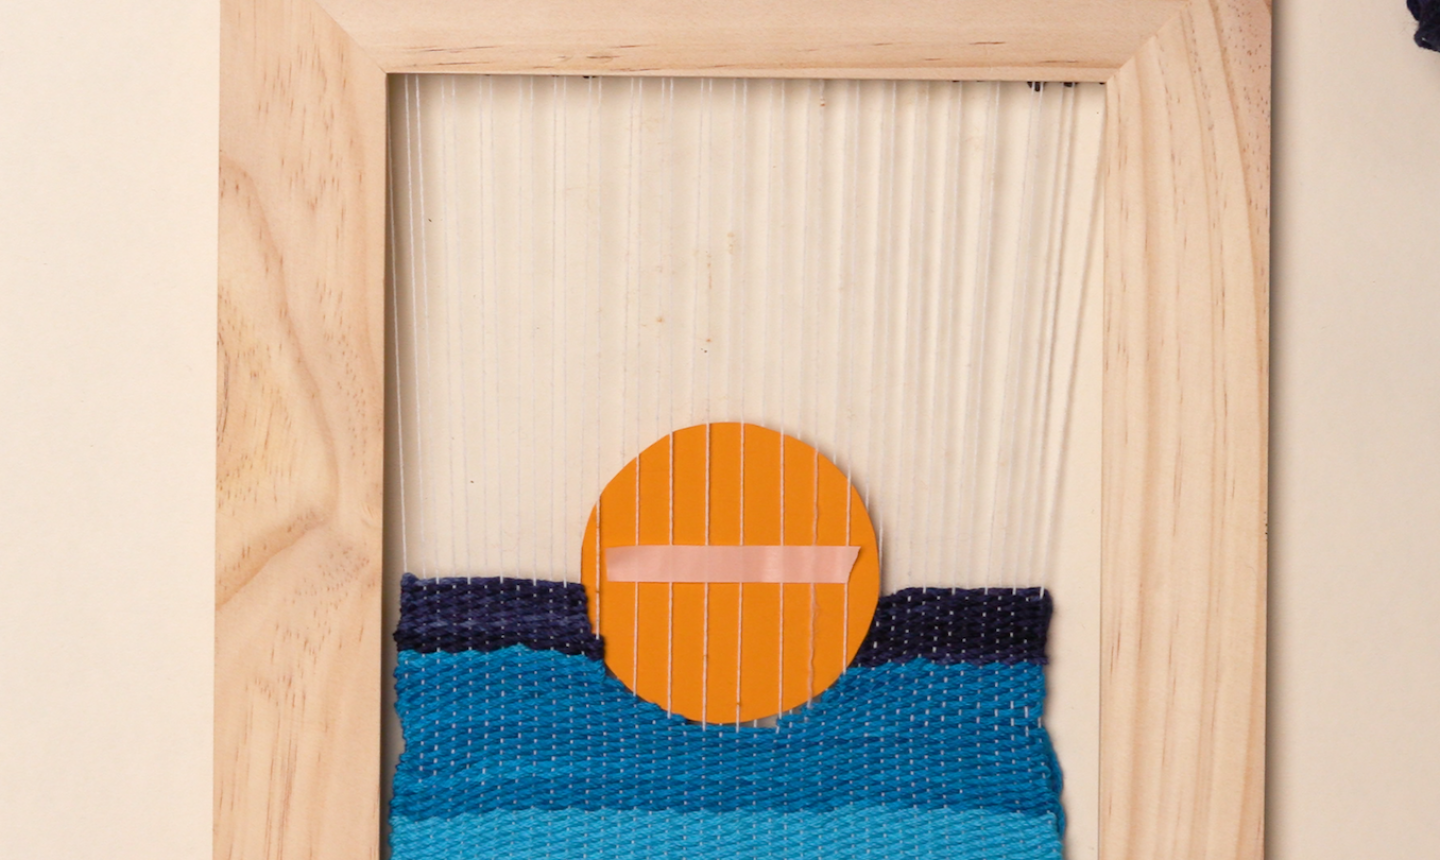
Work around the sun cut-out with your medium blue yarn. Then switch to your darkest blue and work until you’re about halfway up the circle on either side.
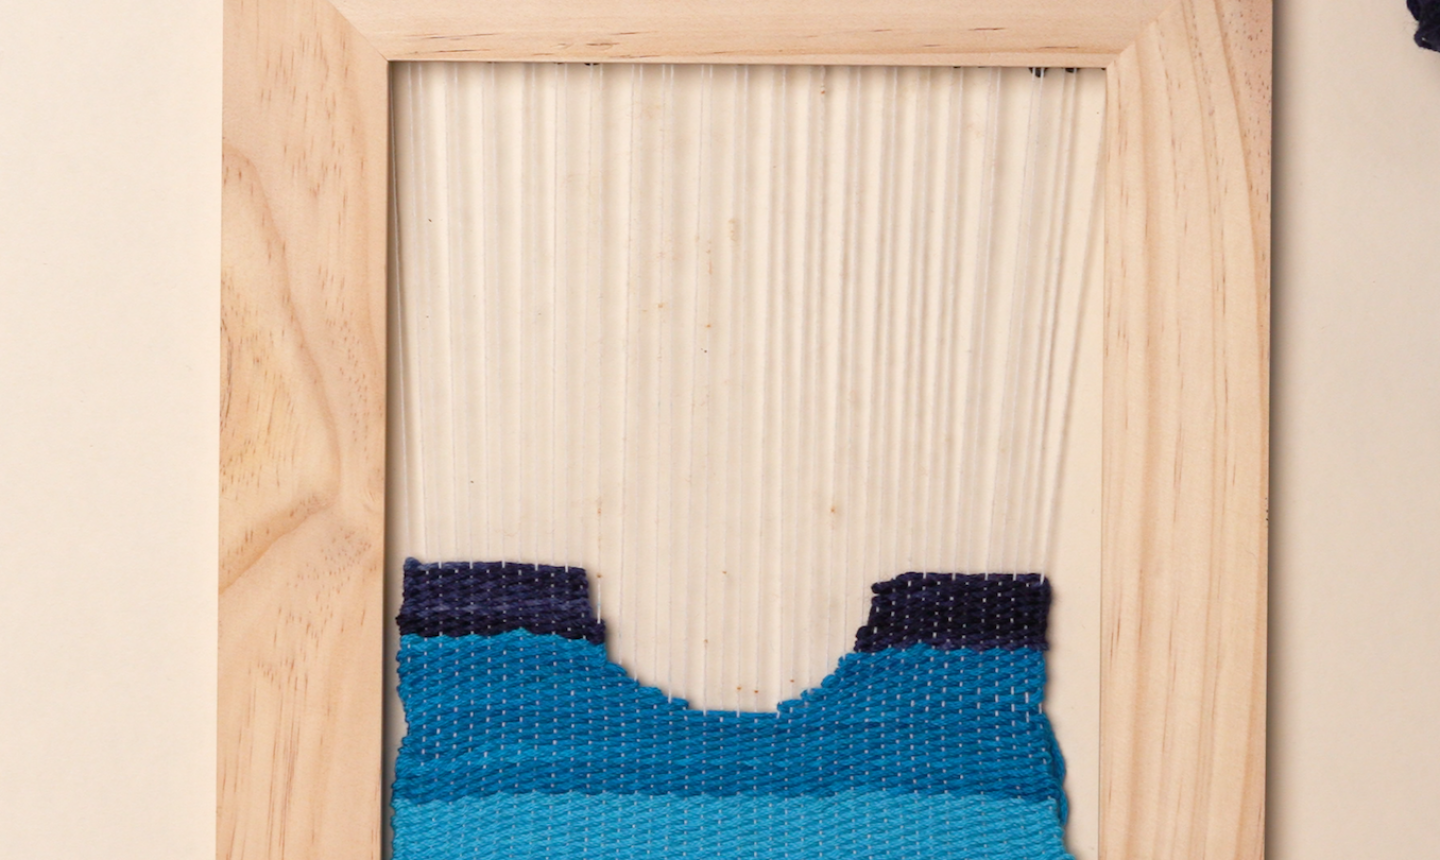
Remove the tape and slide out the card stock. You’ll have an empty space in your weaving where you’ll start threading your sun.
7. Stitch the Sun
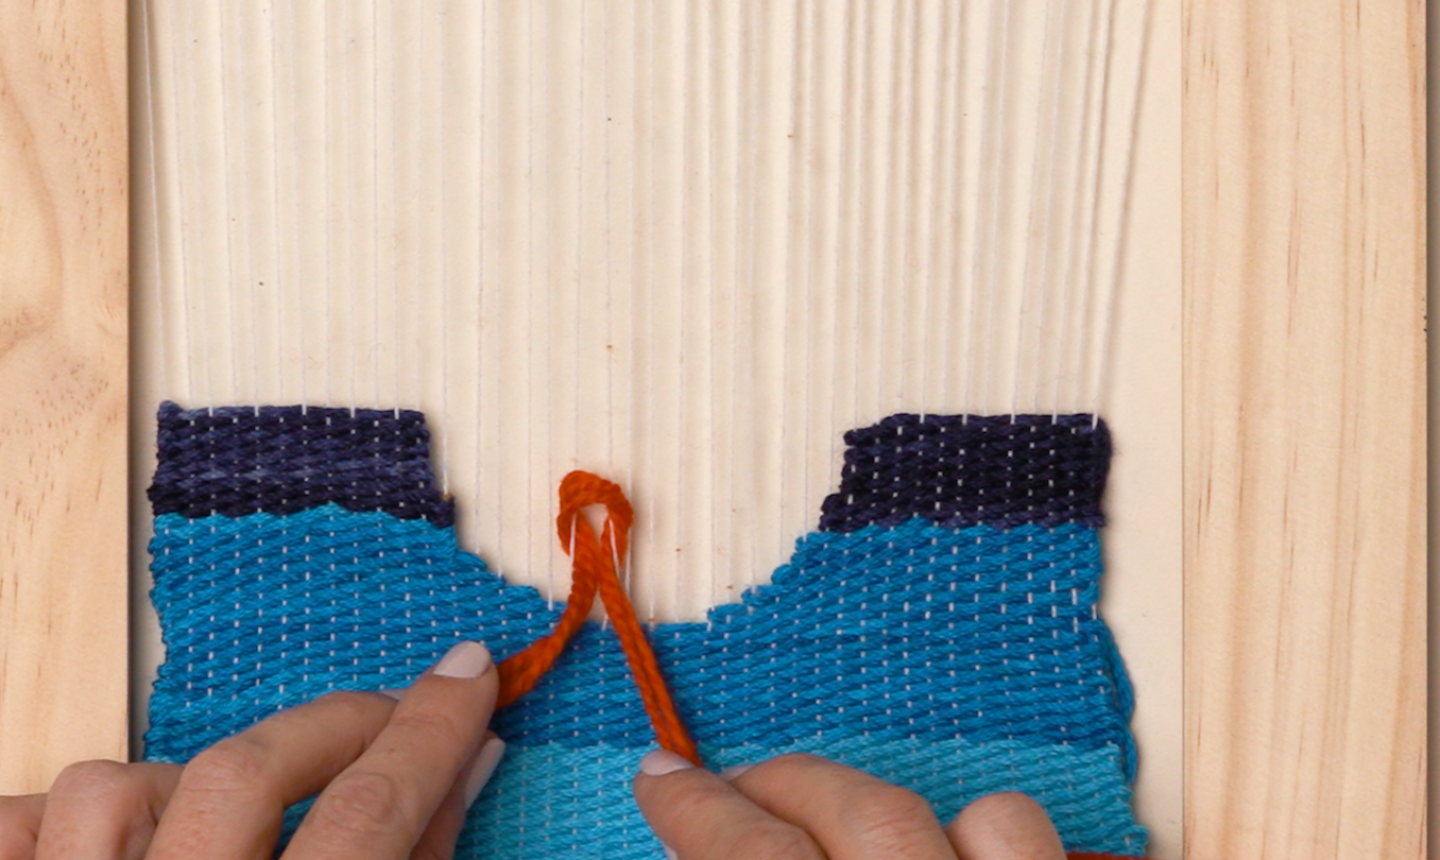
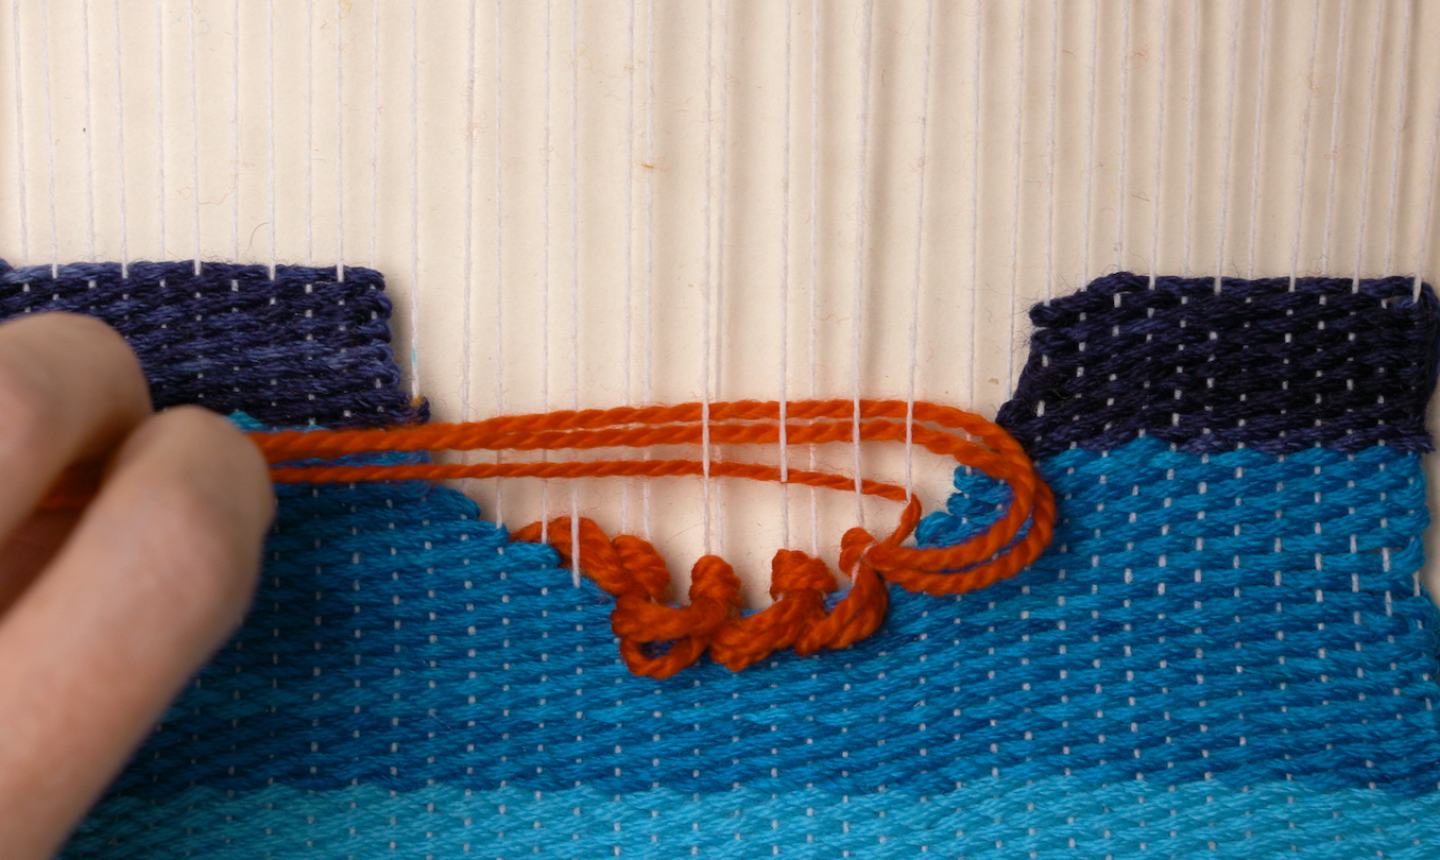
For the sun, we’re ditching the simple over-under weaves and making rya loops (don’t worry; it’s easy). Cut a length of dark orange yarn and fold it so you’re holding three strands. Start on the left at the lowest point of the sun. Loop the yarn around two strings in your loom, so it looks like the photo above.
Pull both tails tight so the orange yarn comes down against the blue. Place the short tail in the back of the weaving.
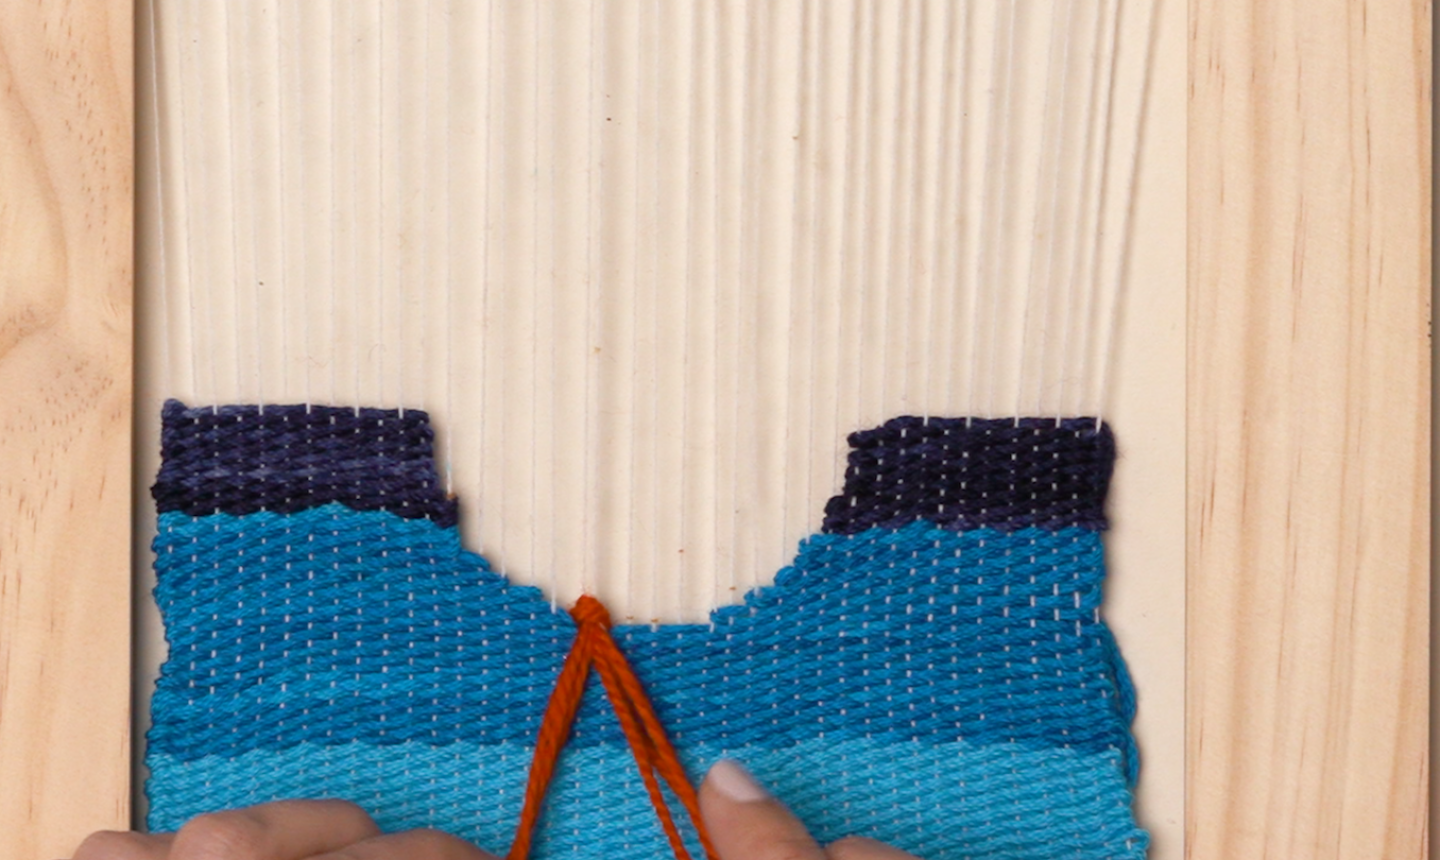
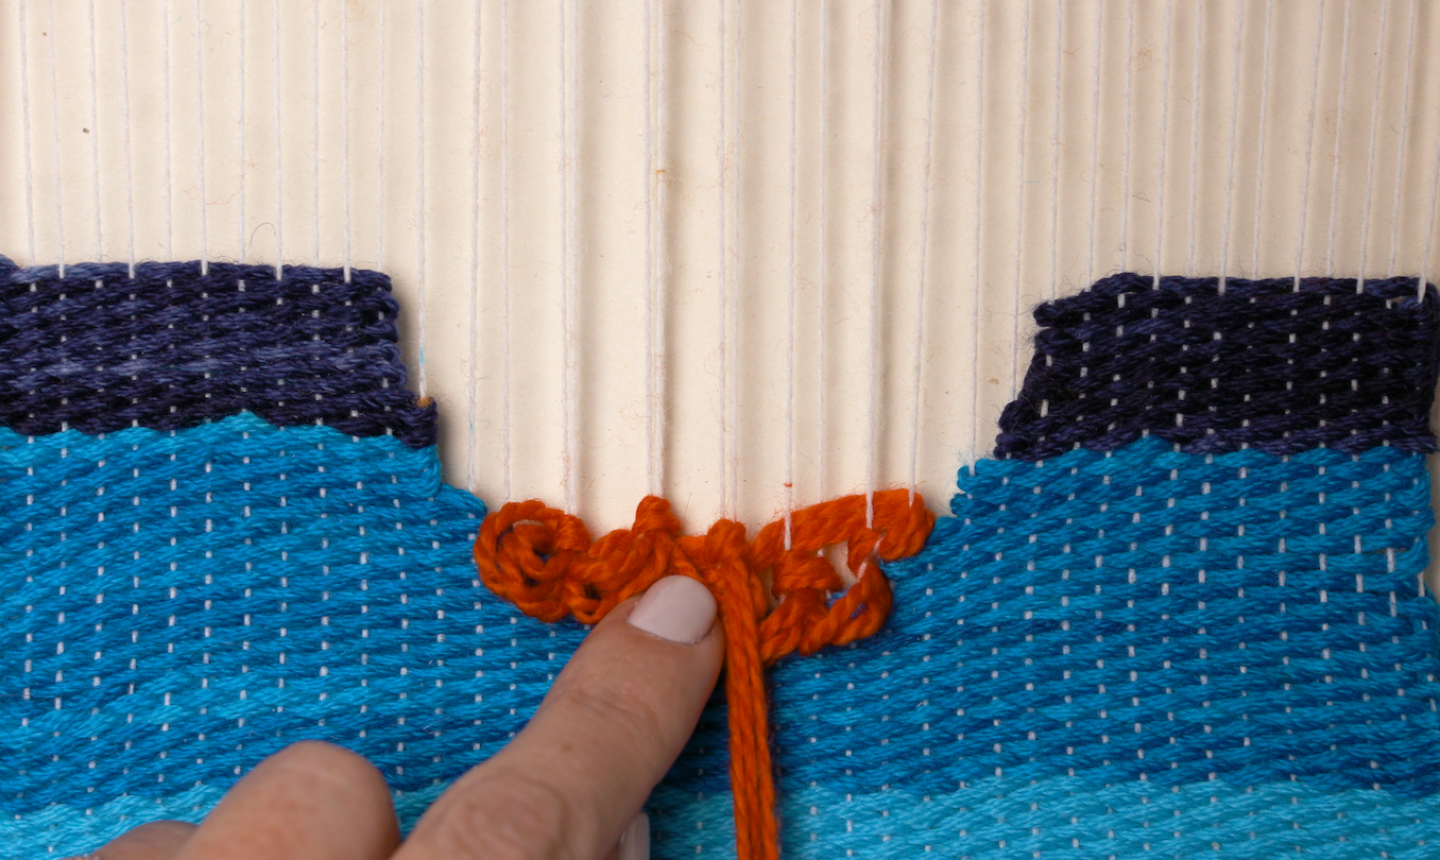
For the next stitch, you’re going to work with the next two strings to the right. Pass the yarn under the first string, from right to left to make a small loop.
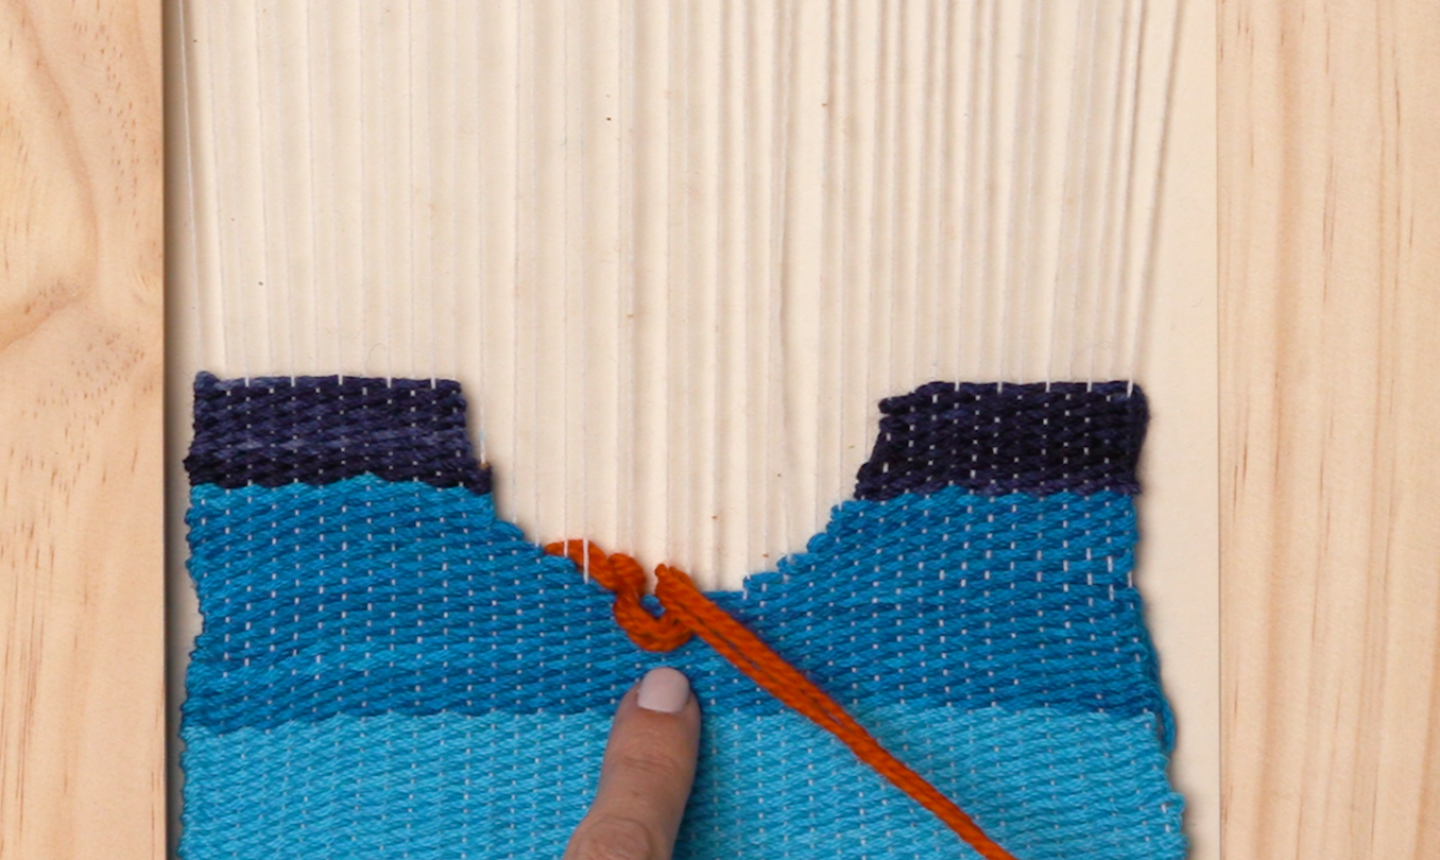
Hold the loop in place with a finger. Pass the yarn under the second string, again from right to left. Pull tight.
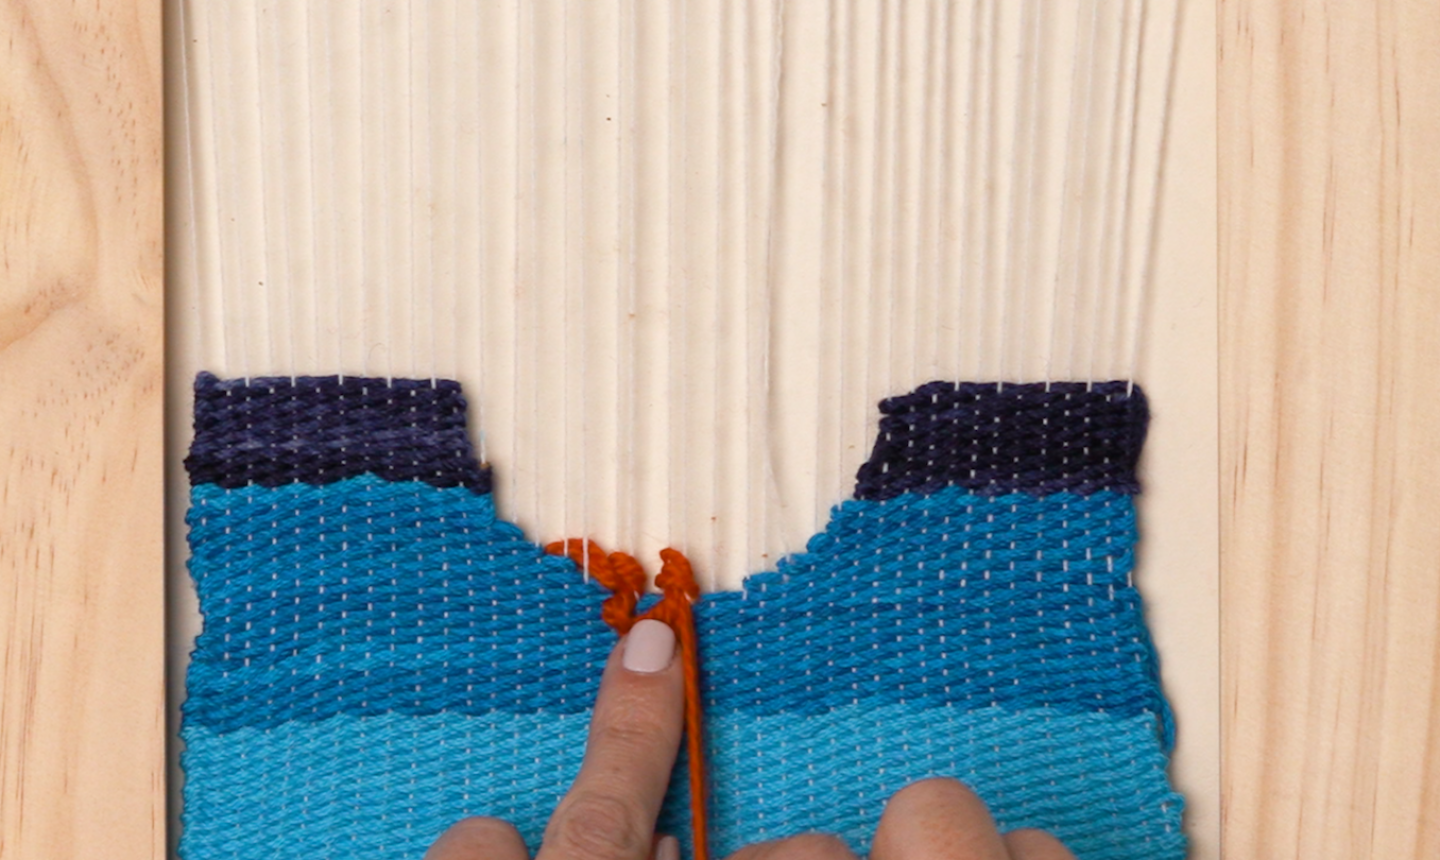
Repeat this method across the sun. You'll end up with a row of little hanging loops that cluster together to give your sun extra dimension. When you reach the end of the row, loop the yarn behind the next string and weave back to the beginning using the simple under-and-over stitch.
Use a fork to press the woven rows together, then make more rya loops across the sun.
When you’re halfway done, switch to your gold yarn and use the same method to finish.
8. Form a Cloud
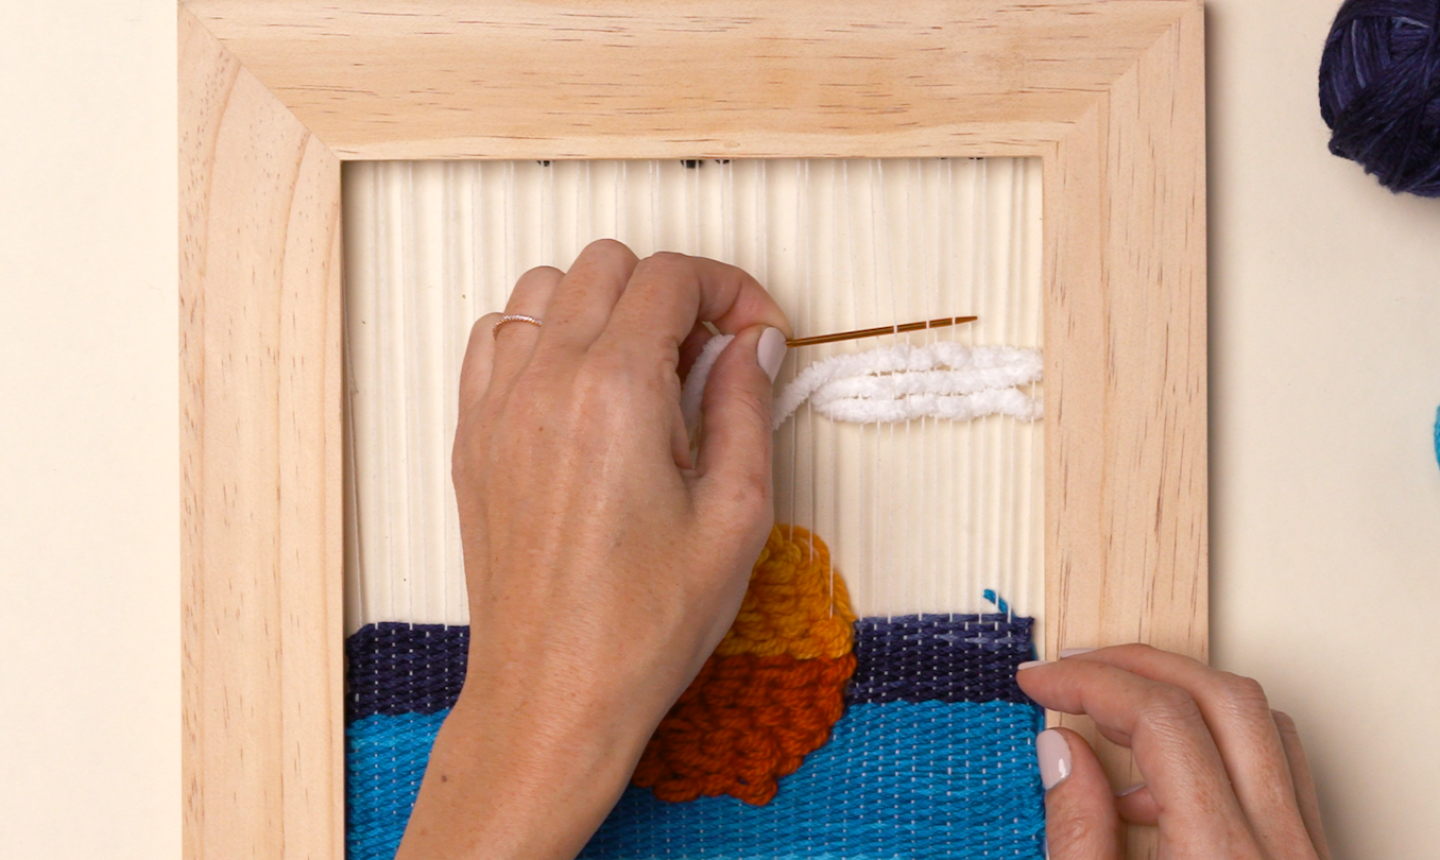
Thread a tapestry needle with white super bulky yarn (for extra fluff). Pick a spot above the sun and weave the yarn through a handful of strands. Weave back and forth, making the cloud smaller as you work up.
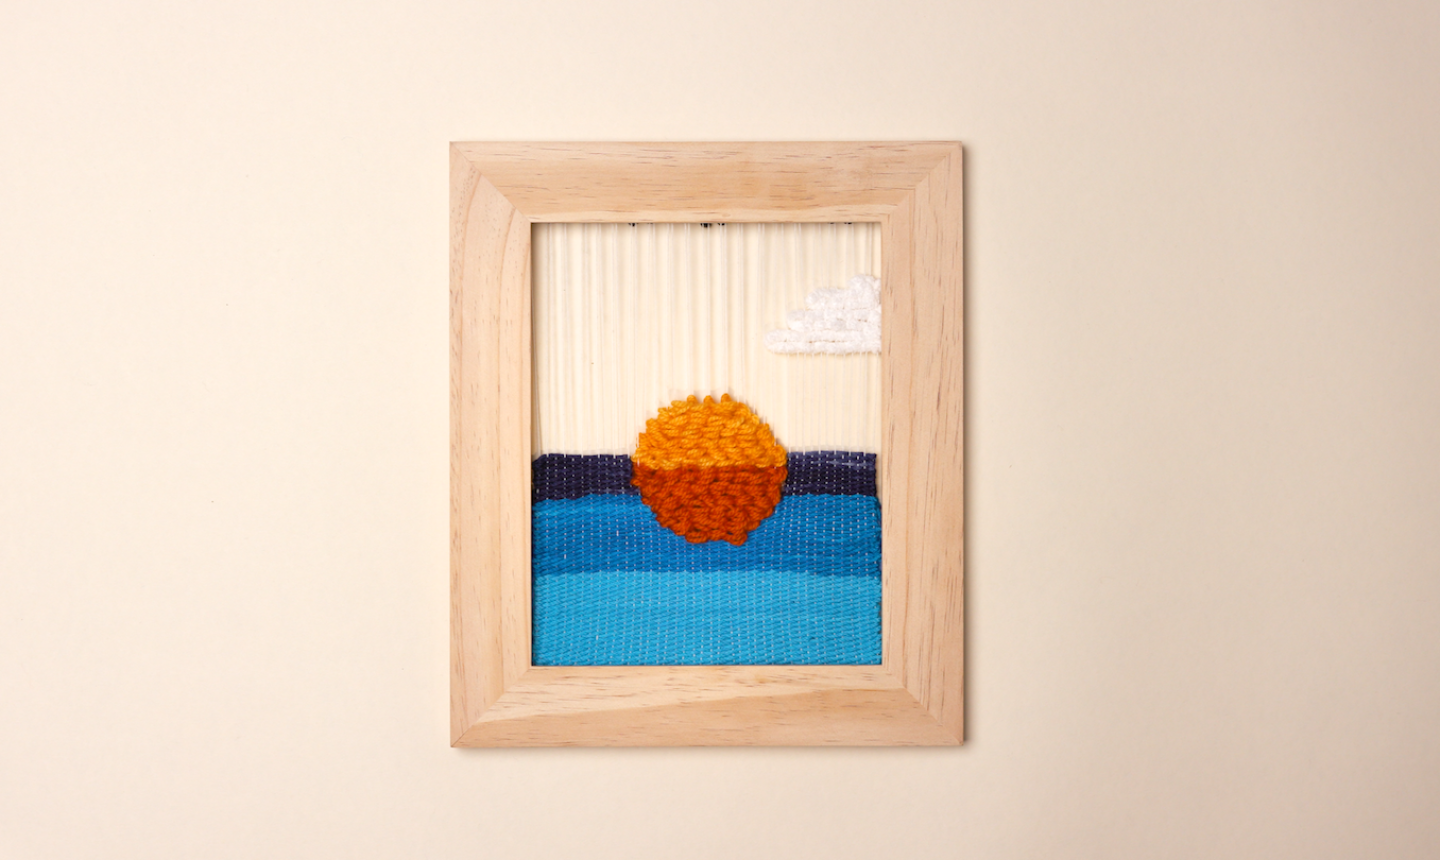
Now just hang it on the wall and you can watch the sun set every day!

Share tips, start a discussion or ask other students a question. If you have a question for an expert, please click here.
Already a member?
No Responses to “Weave a Simple Sunset for a Gorgeous Piece of Wall Art”