There's one material budding jewelry designers are most likely to reach for: wire. It's one of the most versatile materials around, and easy to work with even if you're new to the art of jewelry making. Check out the basics here, and you'll be ready to tackle beautiful wirework jewelry making like a pro.
The Wire
Wire comes in a number of different metals: silver, copper, bronze, brass, steel, anodized aluminum, even gold (if you're feeling fancy!). If you're new to wire however, you might want to start out with copper. It's pretty cheap, not too hard (which is particularly important when you're first starting out) and behaves in a similar way to silver (a great metal to work up to).
The Gauge
Gauge refers to the diameter of the wire, and there are two main gauge systems that you'll find in craft wire: the American Wire Gauge (AWG), and the gauge/diameter given in mm (metric).
Depending on where you live, you'll probably run into one kind of gauge on the reg (the U.S. typically only sells American Wire Gauge, whereas the metric gauge will be found in the U.K.). But in this day and age when you can peruse and purchase supplies from all over the world so easily, it's useful to know how these gauges correspond to each other.
AWG: 16 (1.3mm)
Closest metric: 1.25mm
A nice thick wire to work with. Perfect for sturdy clasps and heavy jump rings.
AWG: 18 (1.02mm)
Closest metric: 1mm
As above, but can also be used for ear wires (although they may be too thick for some). Useful for connecting chunkier beads with simple or wrapped loops.
AWG: 20 (0.81mm)
Closest metric: 0.8mm
Perfect for ear wires. A good choice for making beaded chain.
AWG: 22 (0.64mm)
Closest metric: 0.6mm
Good for making beaded chain with small-holed beads (such as freshwater pearls). This is the thickest wire we recommend using for wire-wrapping.
AWG: 24 (0.5mm)
Closest metric: 0.5mm
Useful for making beaded chain using small gemstones with tiny holes. Good for wire-wrapping or weaving.
AWG: 26 (0.405mm)
Closest metric: 0.4mm
Great for intricate wire-wrapping or weaving. Perfect for wire-wrapping delicate gemstone briolettes.
AWG: 28 (0.32mm)
Closest metric: 0.3mm
Good for delicate wire-wrapping and weaving. Good for binding ribbon if you're after a delicate-yet-rustic look.
This list might seem a little intimidating for newbies, but don't worry. Give yourself a few weeks of playing and experimenting with wire, and soon you'll be reaching for the correct gauge for your technique without even thinking.
The Temper
Temper is the hardness or softness of a wire. Each wire is ranked as either dead soft, half hard or hard. Different tempers are best suited for different uses in jewelry making.
Dead Soft
The softest temper of wire, dead soft wire is used for lacing, weaving, coiling and stitching. When working with this temper, manipulate as little as possible.
Half Hard
The most common temper used by jewelry makers, half hard wire works great for a variety of pieces and techniques. It's commonly used for border wraps or for binding wires together.
Hard
This is the sturdiest wire you can get, which means it's usually too hard for jewelry making (with the exception of pin backs or other strong, hard pieces).
Now let's pick up some wire and get started. The first technique many jewelry-makers-to-be learn is a simple turned loop. This will get you comfortable with the basic tools and wire, giving you a solid foundation to build on.
Make a Turned Loop
Level: Easy
What You Need
Instructions
1. Slide on the Bead
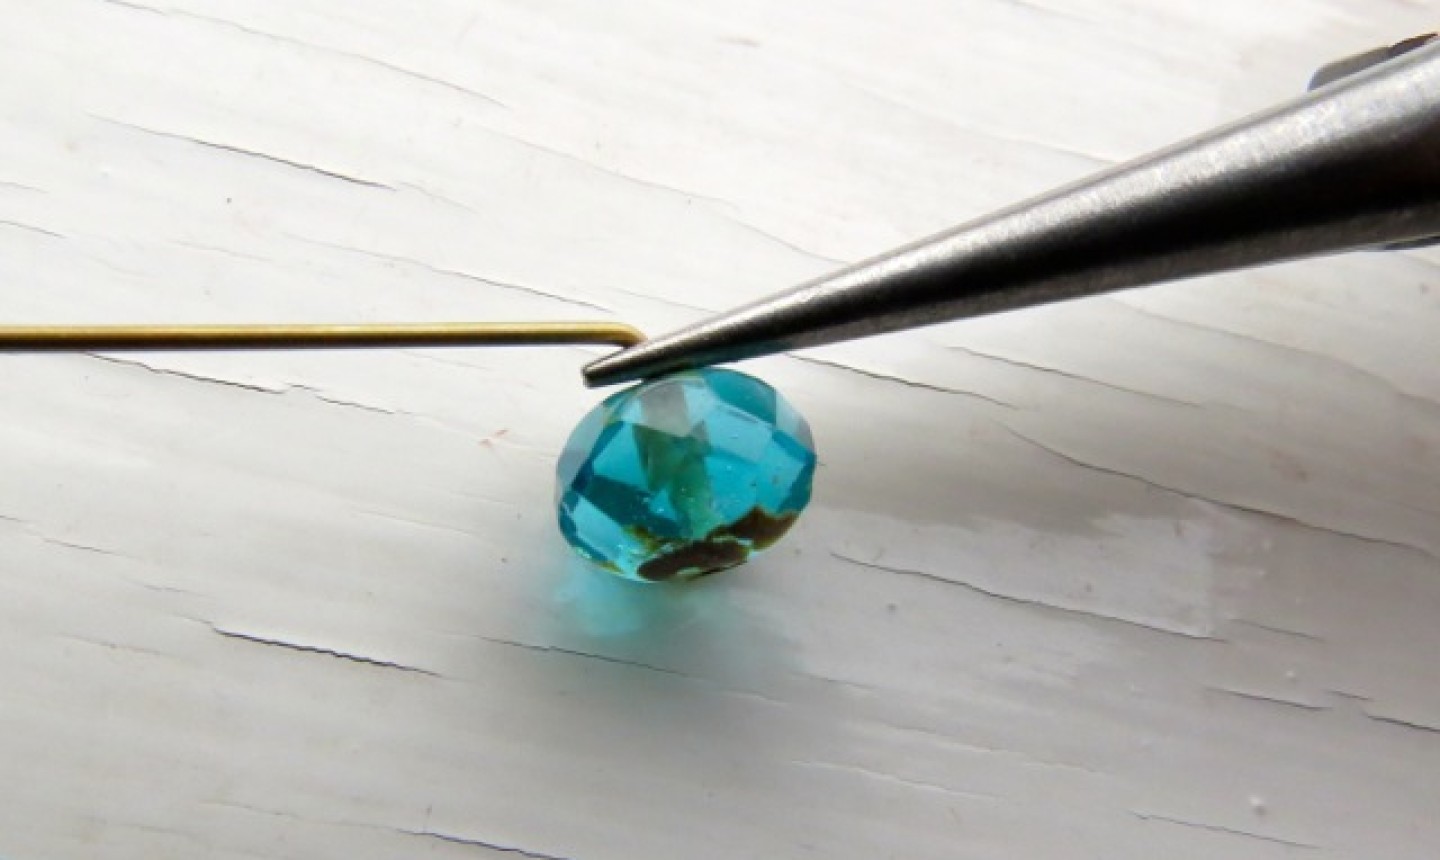
Slide a bead onto a 22g headpin. Grasp the wire directly above the bead with the tips of your round-nose pliers and bend the wire down at a right-angle.
2. Trim

Trim the wire with your flush cutters so the wire is approximately 8mm (a "short cm").
3. Turn
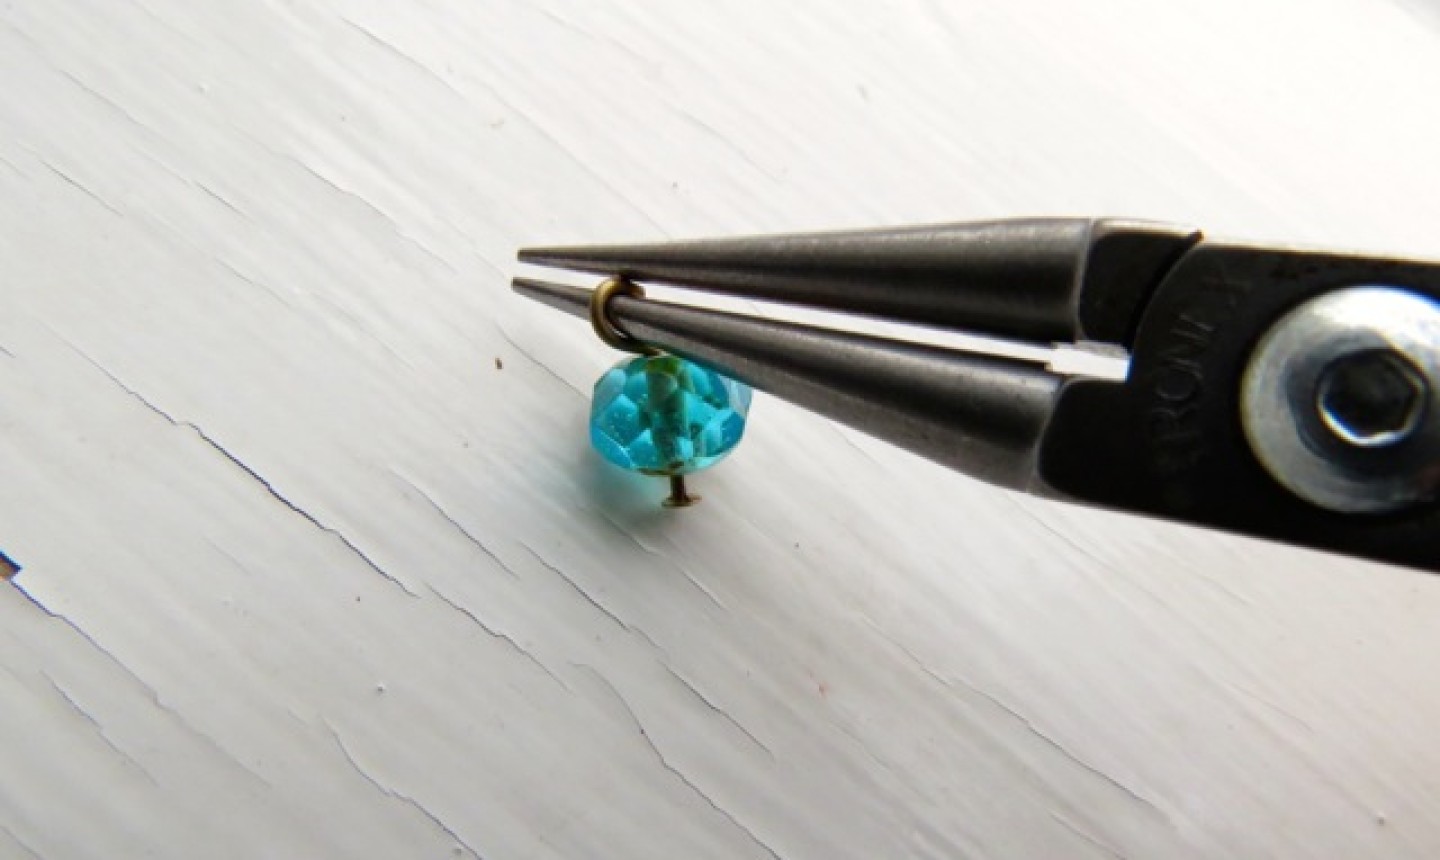
Grasp the end of the wire with your round-nose pliers. The wire should be positioned about ¼ of the way into the "mouth" of the pliers, as shown. (The right spacing will depend on your round-nose pliers, of course, but this is is a good guideline for making loops.) Holding the wire firmly (but gently), turn as far as it's comfortable for your wrist.
4. Close the Loop
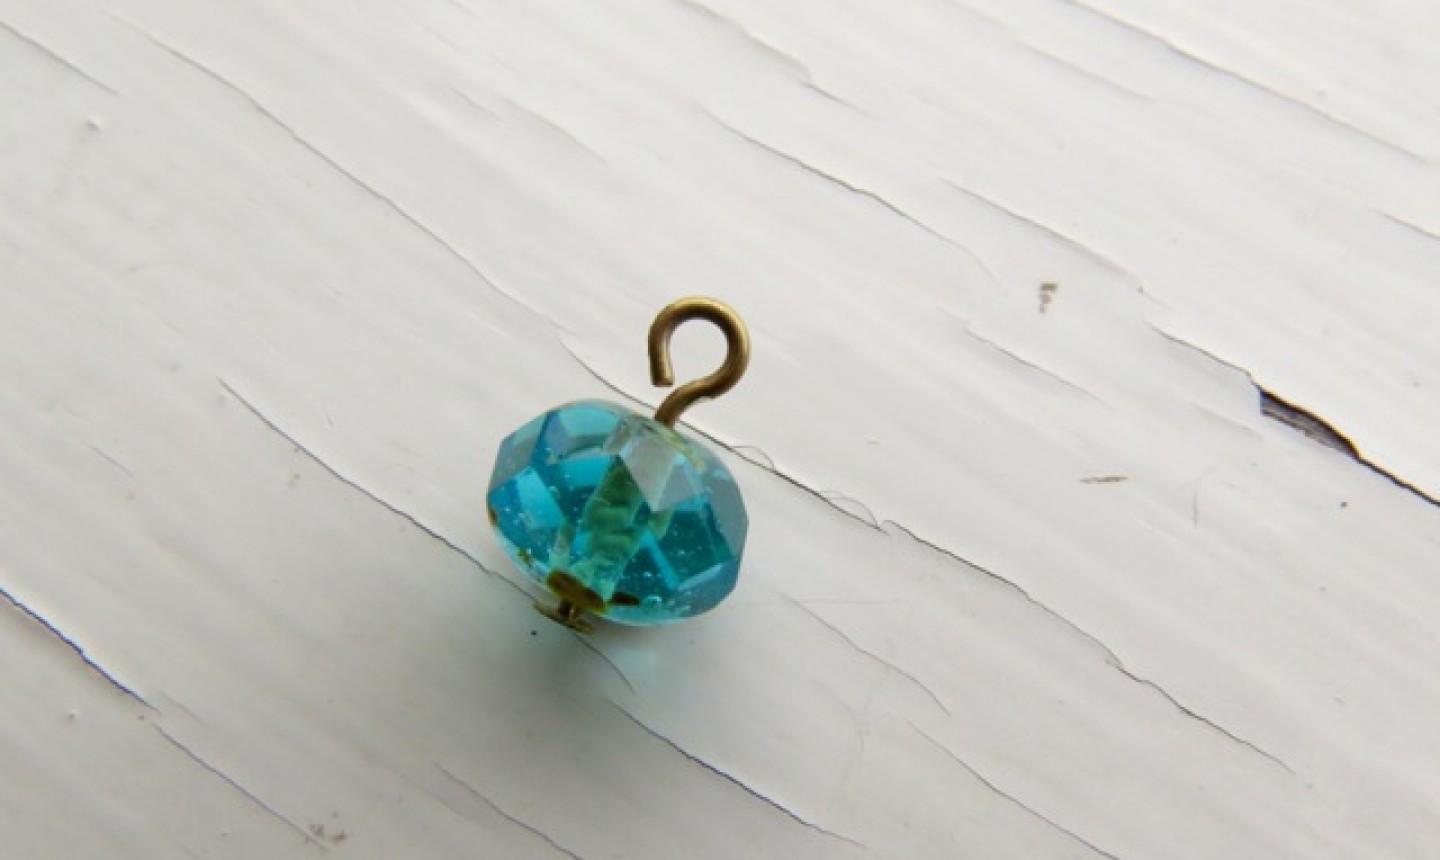
Open your round-nose pliers and reposition to continue turning the wire into a loop. Turn until the loop is closed. Flatten off with your flat-nosed pliers if need be.
Open and close your loop using flat-nosed pliers by moving the wire forward and backward – NEVER pull the loop open. This way you keep the shape of the loop nice and neat.
This may seem straightforward, but it is tricky to get it just right! Don't be disheartened if your first loop doesn't look like the one above. Try beading up several headpins (we're talking 20+) and making turned loops over and over again until you've got the technique down.
Before long, you'll be crafting exquisite pieces and even making your own wirework findings!

i have been making jewelry for a year and a half-2 years, and am only just looking into wire wrapping. this is great!
Jewlrey is my next project.
I have been making beach stone necklaces and sea glass necklaces and selling on Etsy but need some instruction to become more professional