When you think of jewelry making, it’s likely your mind jumps straight to beading or wirework. But there’s one tool that’s so versatile, there’s no way you want to miss out on it being in your jewelry toolbox: precious metal clay.
Precious metal clay, or PMC, is made from recycled metals that are ground and mixed with a binder to make a clay. It’s a go-to for jewelry makers because it’s so easy to shape, texturize and stamp. And when it’s fired, PMC solidifies and turns into a gorgeous copper, gold, silver or other kind of metal. (You can get it in a ton of different varieties.)
All of this means that PMC is super easy to work with. But there are some things you want to keep in mind when adding it to your jewelry-making repertoire.
1. Always Seal PMC Between Uses
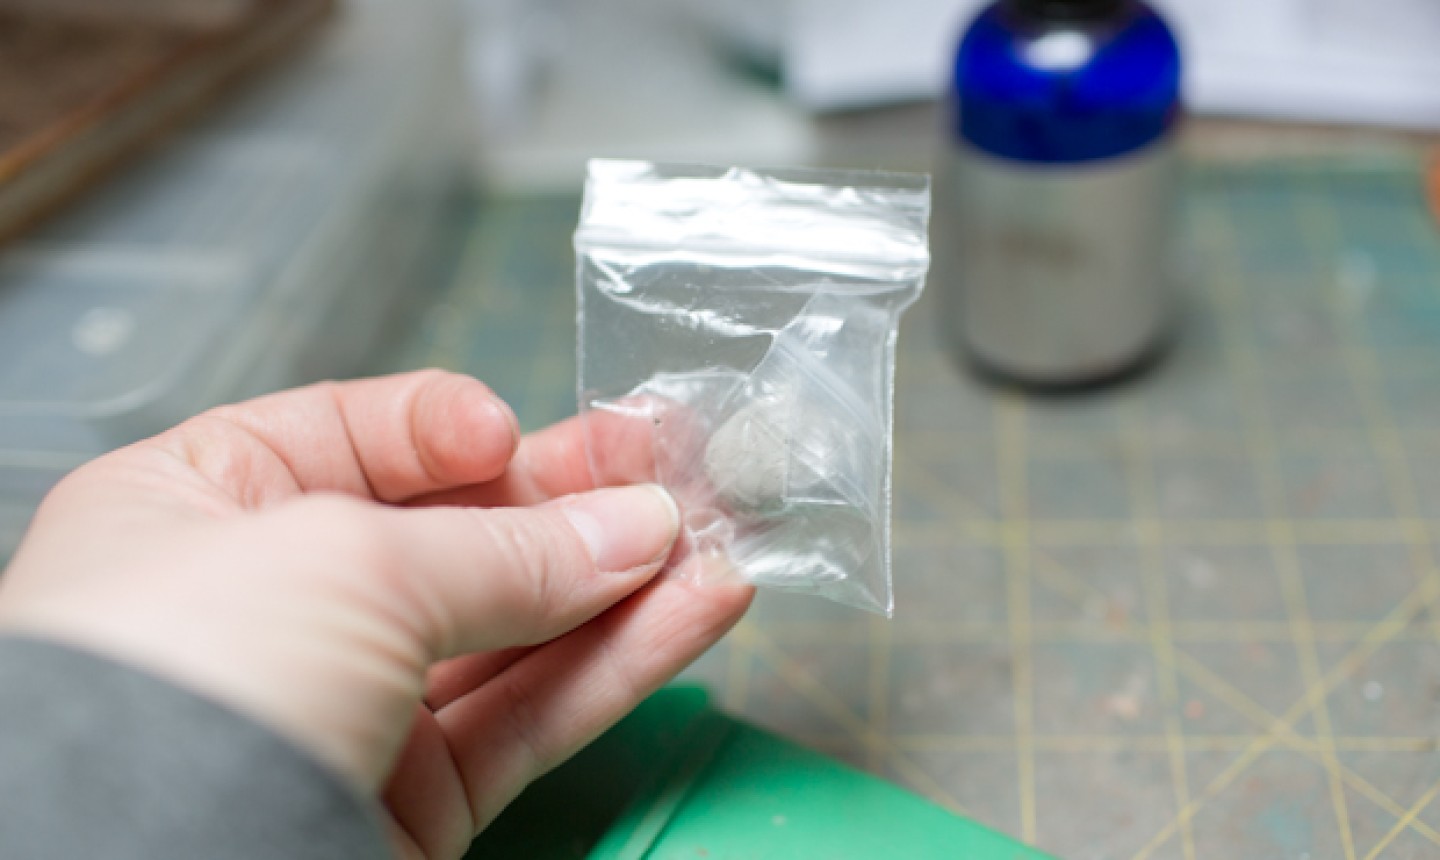
Precious metal clay can be pretty pricey, and it’s prone to drying out quickly. So not only do you want to work fast with it, but when you’re done, you should always keep your leftover clay well sealed. Placing the PMC inside at least two plastic bags helps prevent it from drying out. But if it’s still a bit hard when you come back to it, use a few dabs of water to soften it up.
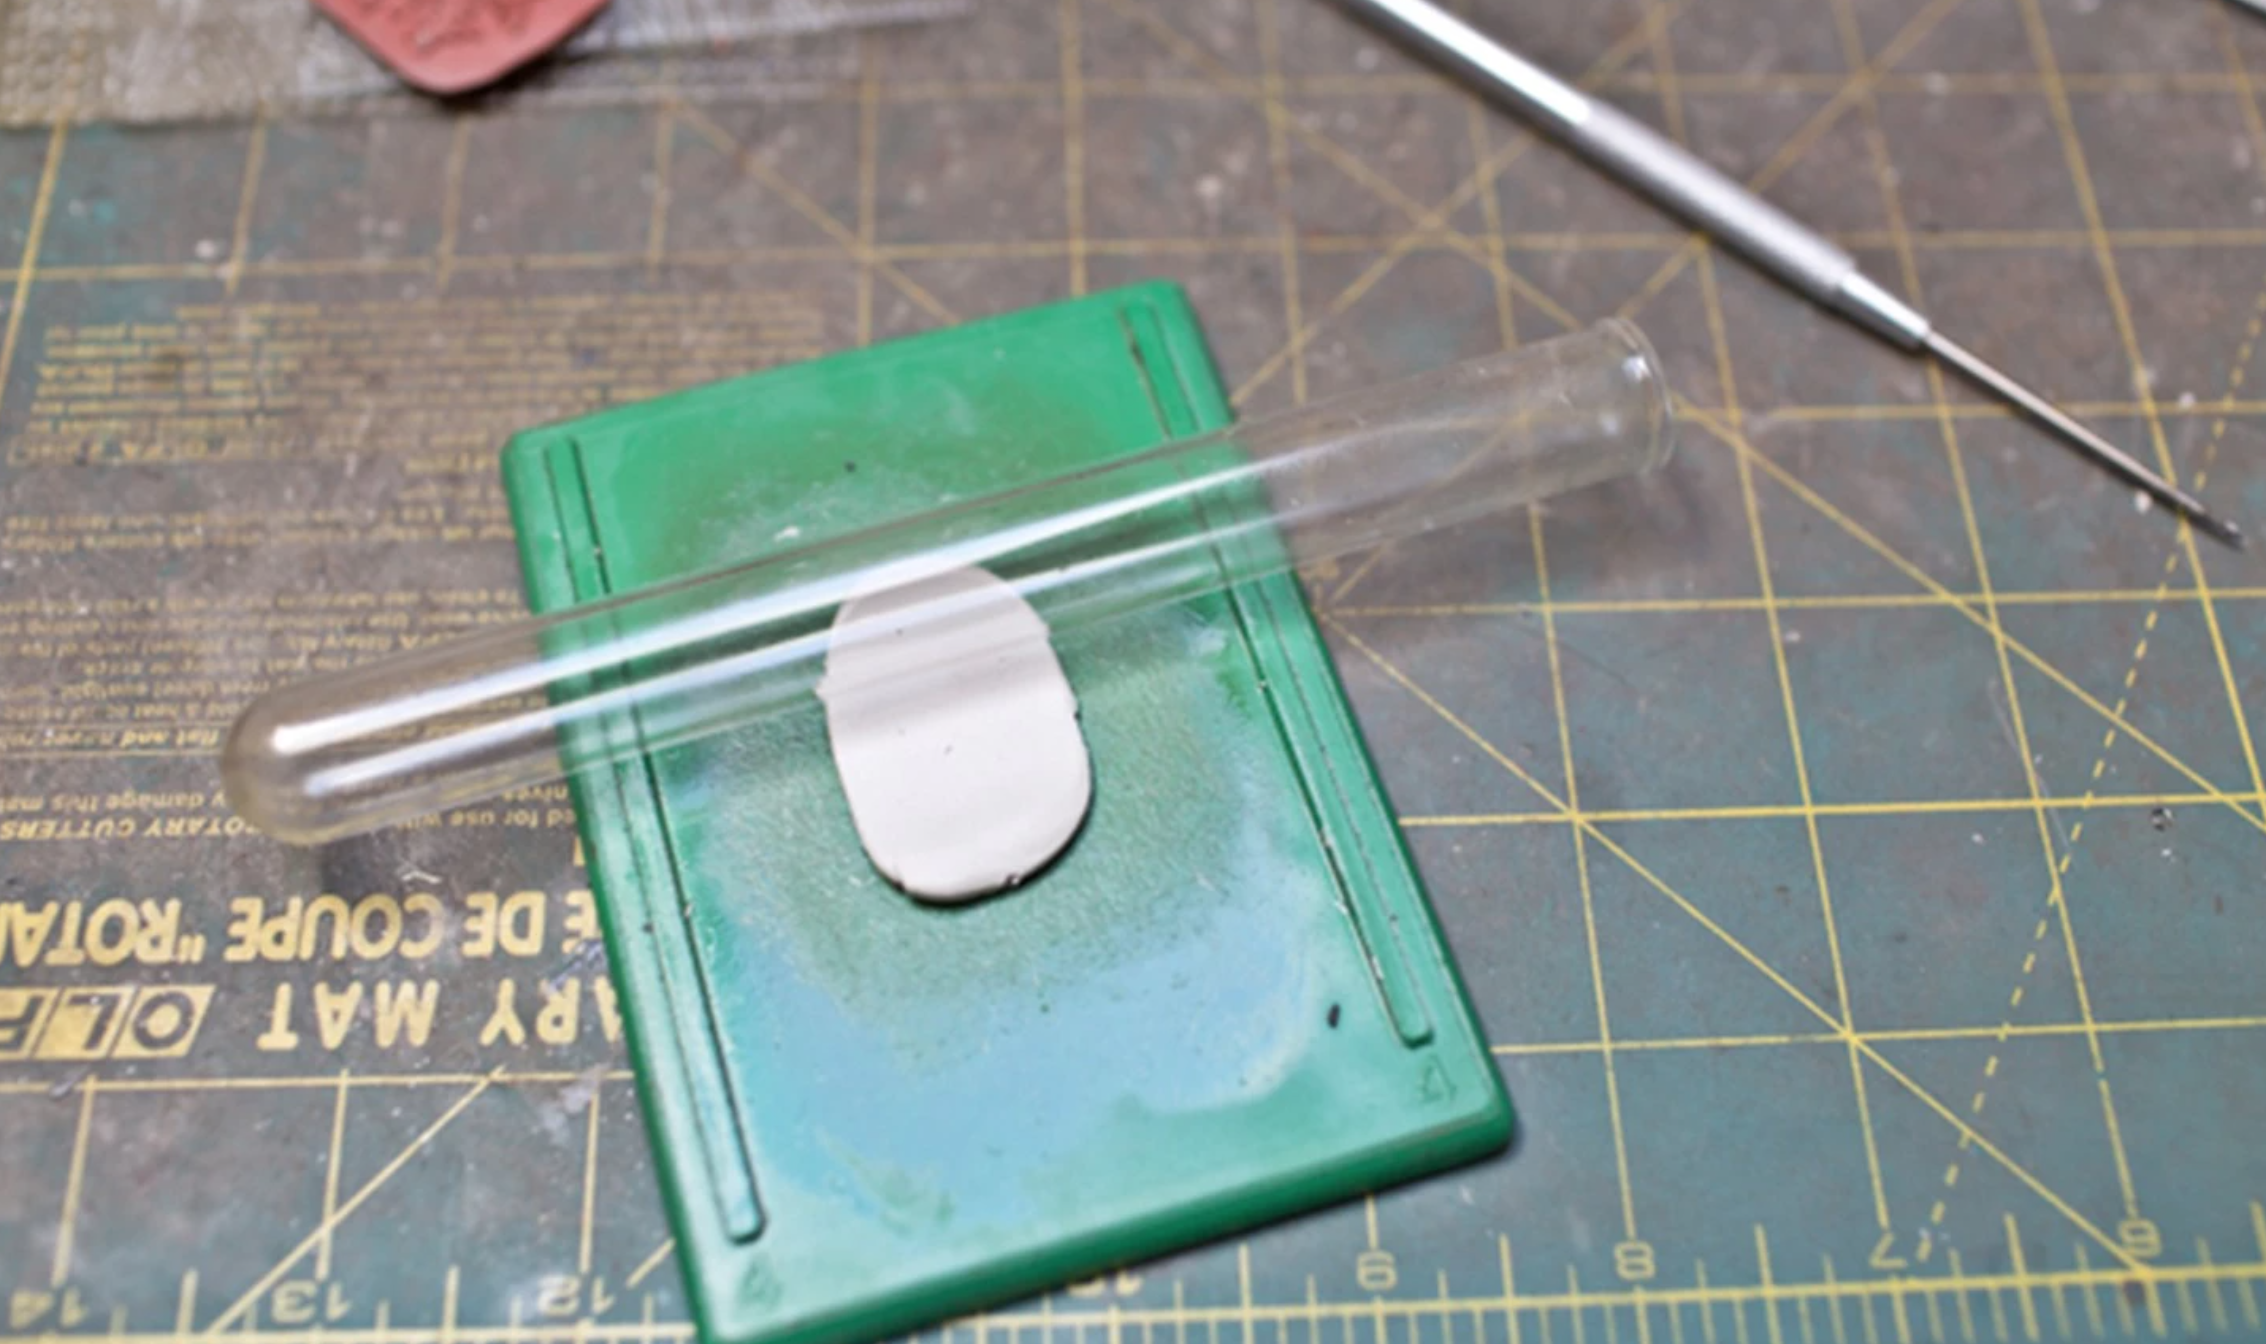
2. Avoid Plastic When Rolling

While nothing dire will happen if you use a rolling pin or plastic roller to work PMC, doing so may make the clay stick to the surface. Instead, try rolling with a glass object, like a test tube.
3. Use a Plastic Slat to Gauge Thickness
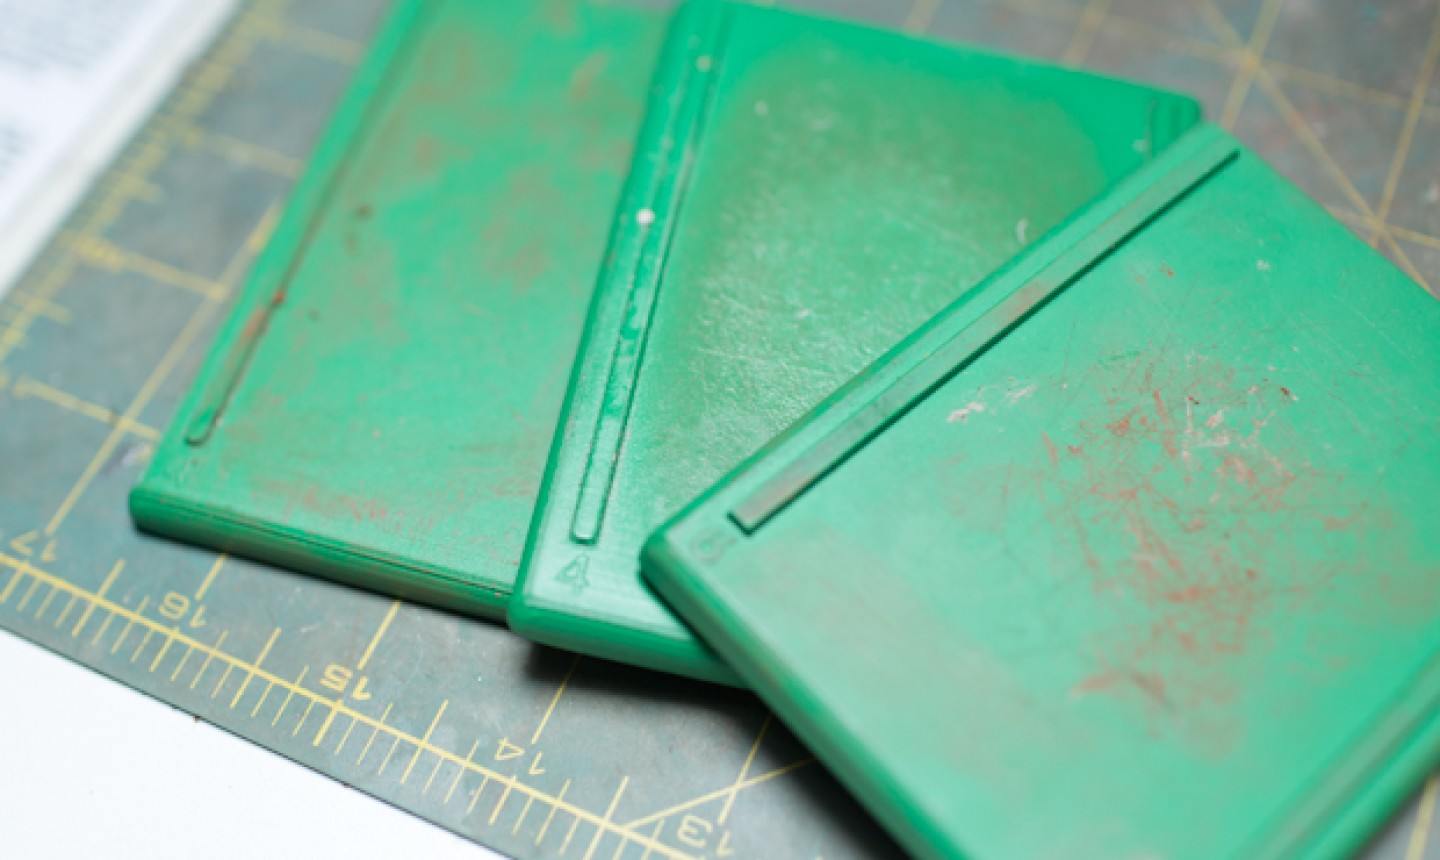
Many jewelry makers use a deck of cards to determine the thickness of their PMC, but these slats make that job so much easier. Why? They won’t expand if they get wet (like playing cards do), and remain flat through years of use.
4. Use a Toaster Oven to Dry
Using a kiln all but guarantees your precious metal clay will come out perfectly, but unless you’re a diehard jewelry maker, it’s unlikely you have one of those lying around. Instead, grab your good ole’ toaster oven and set it to 350 F. Place your final piece on a pan and bake for 20 minutes. That’s it! Using this method is better than letting your clay air dry, as that can allow the PMC to curl and bend. It’s also faster than torching your piece, and allows for a little more consistency in the overall finished result.
5. Save the Dust
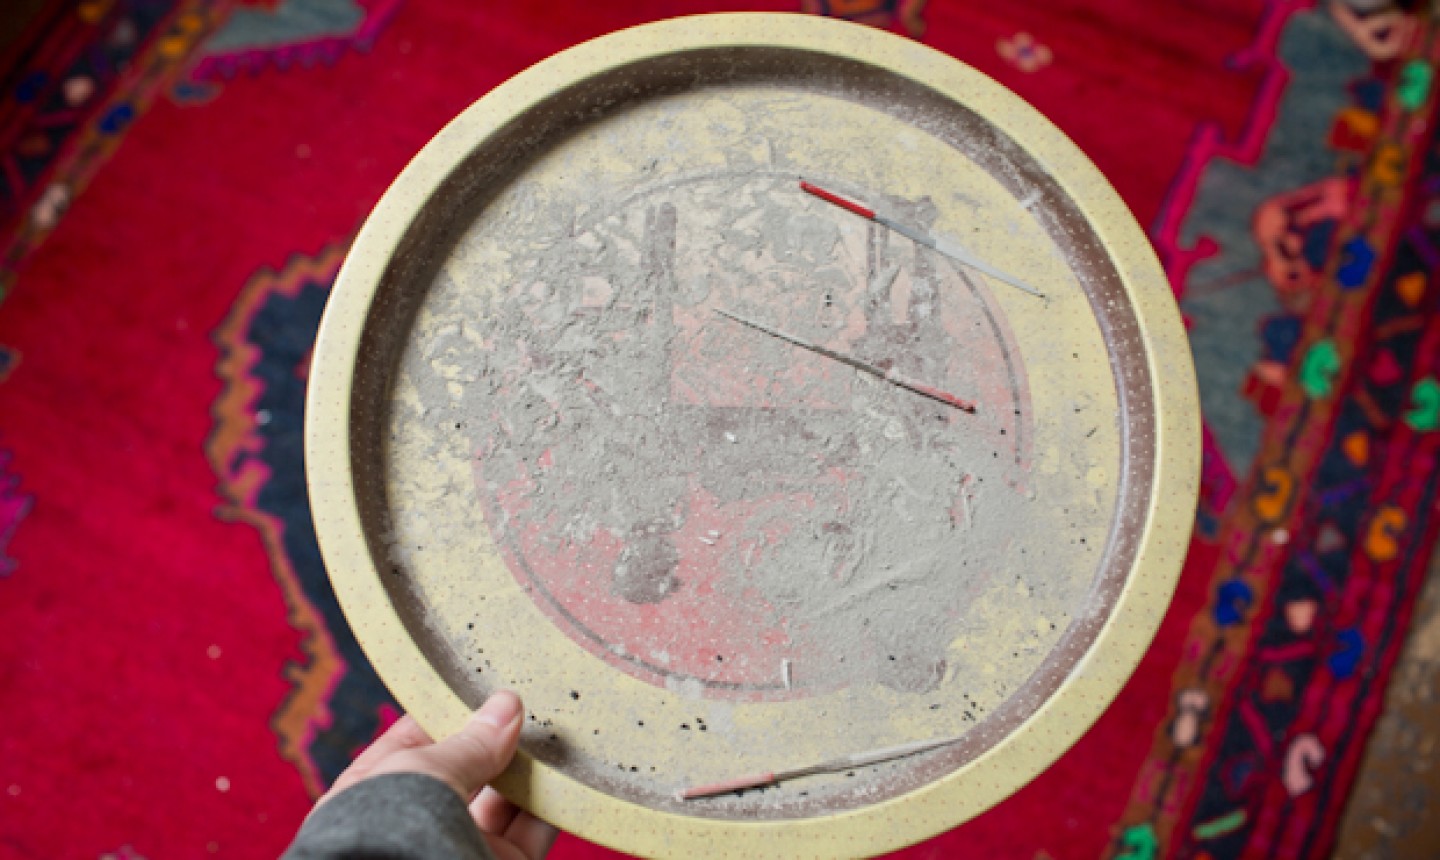
We’re all about using as much of a material as possible, so be sure to place a tray underneath your PMC when sanding — it’ll catch all of the metal dust, which you can mix with water to make metal paste for future projects!
Question… can I use any stainless steel pan to bake copper pmc?
#4: Drying PMC in a toaster oven is fine but as Vanessa Weber said, the heat will not be sufficient to sinter the clay. Why hasn't that "trick" been been removed from the list of PMC "Tricks"?
Would love to know more
Hello, I came across your post. Could you please tell me, where these green Mats with thickness gauge can be bought from? I couldn‘t find them on my search through the internet ... Thanks a lot! Stefanie
Using a toaster! I wanted to make a ring but have been delaying due to getting my hands on a kiln first. 350 is hot enough?
When working with PMC, after you fire the piece can you solder findings to it with a propane/oxygen torch?
Hi is there a class related to this topic? How do i register for it?