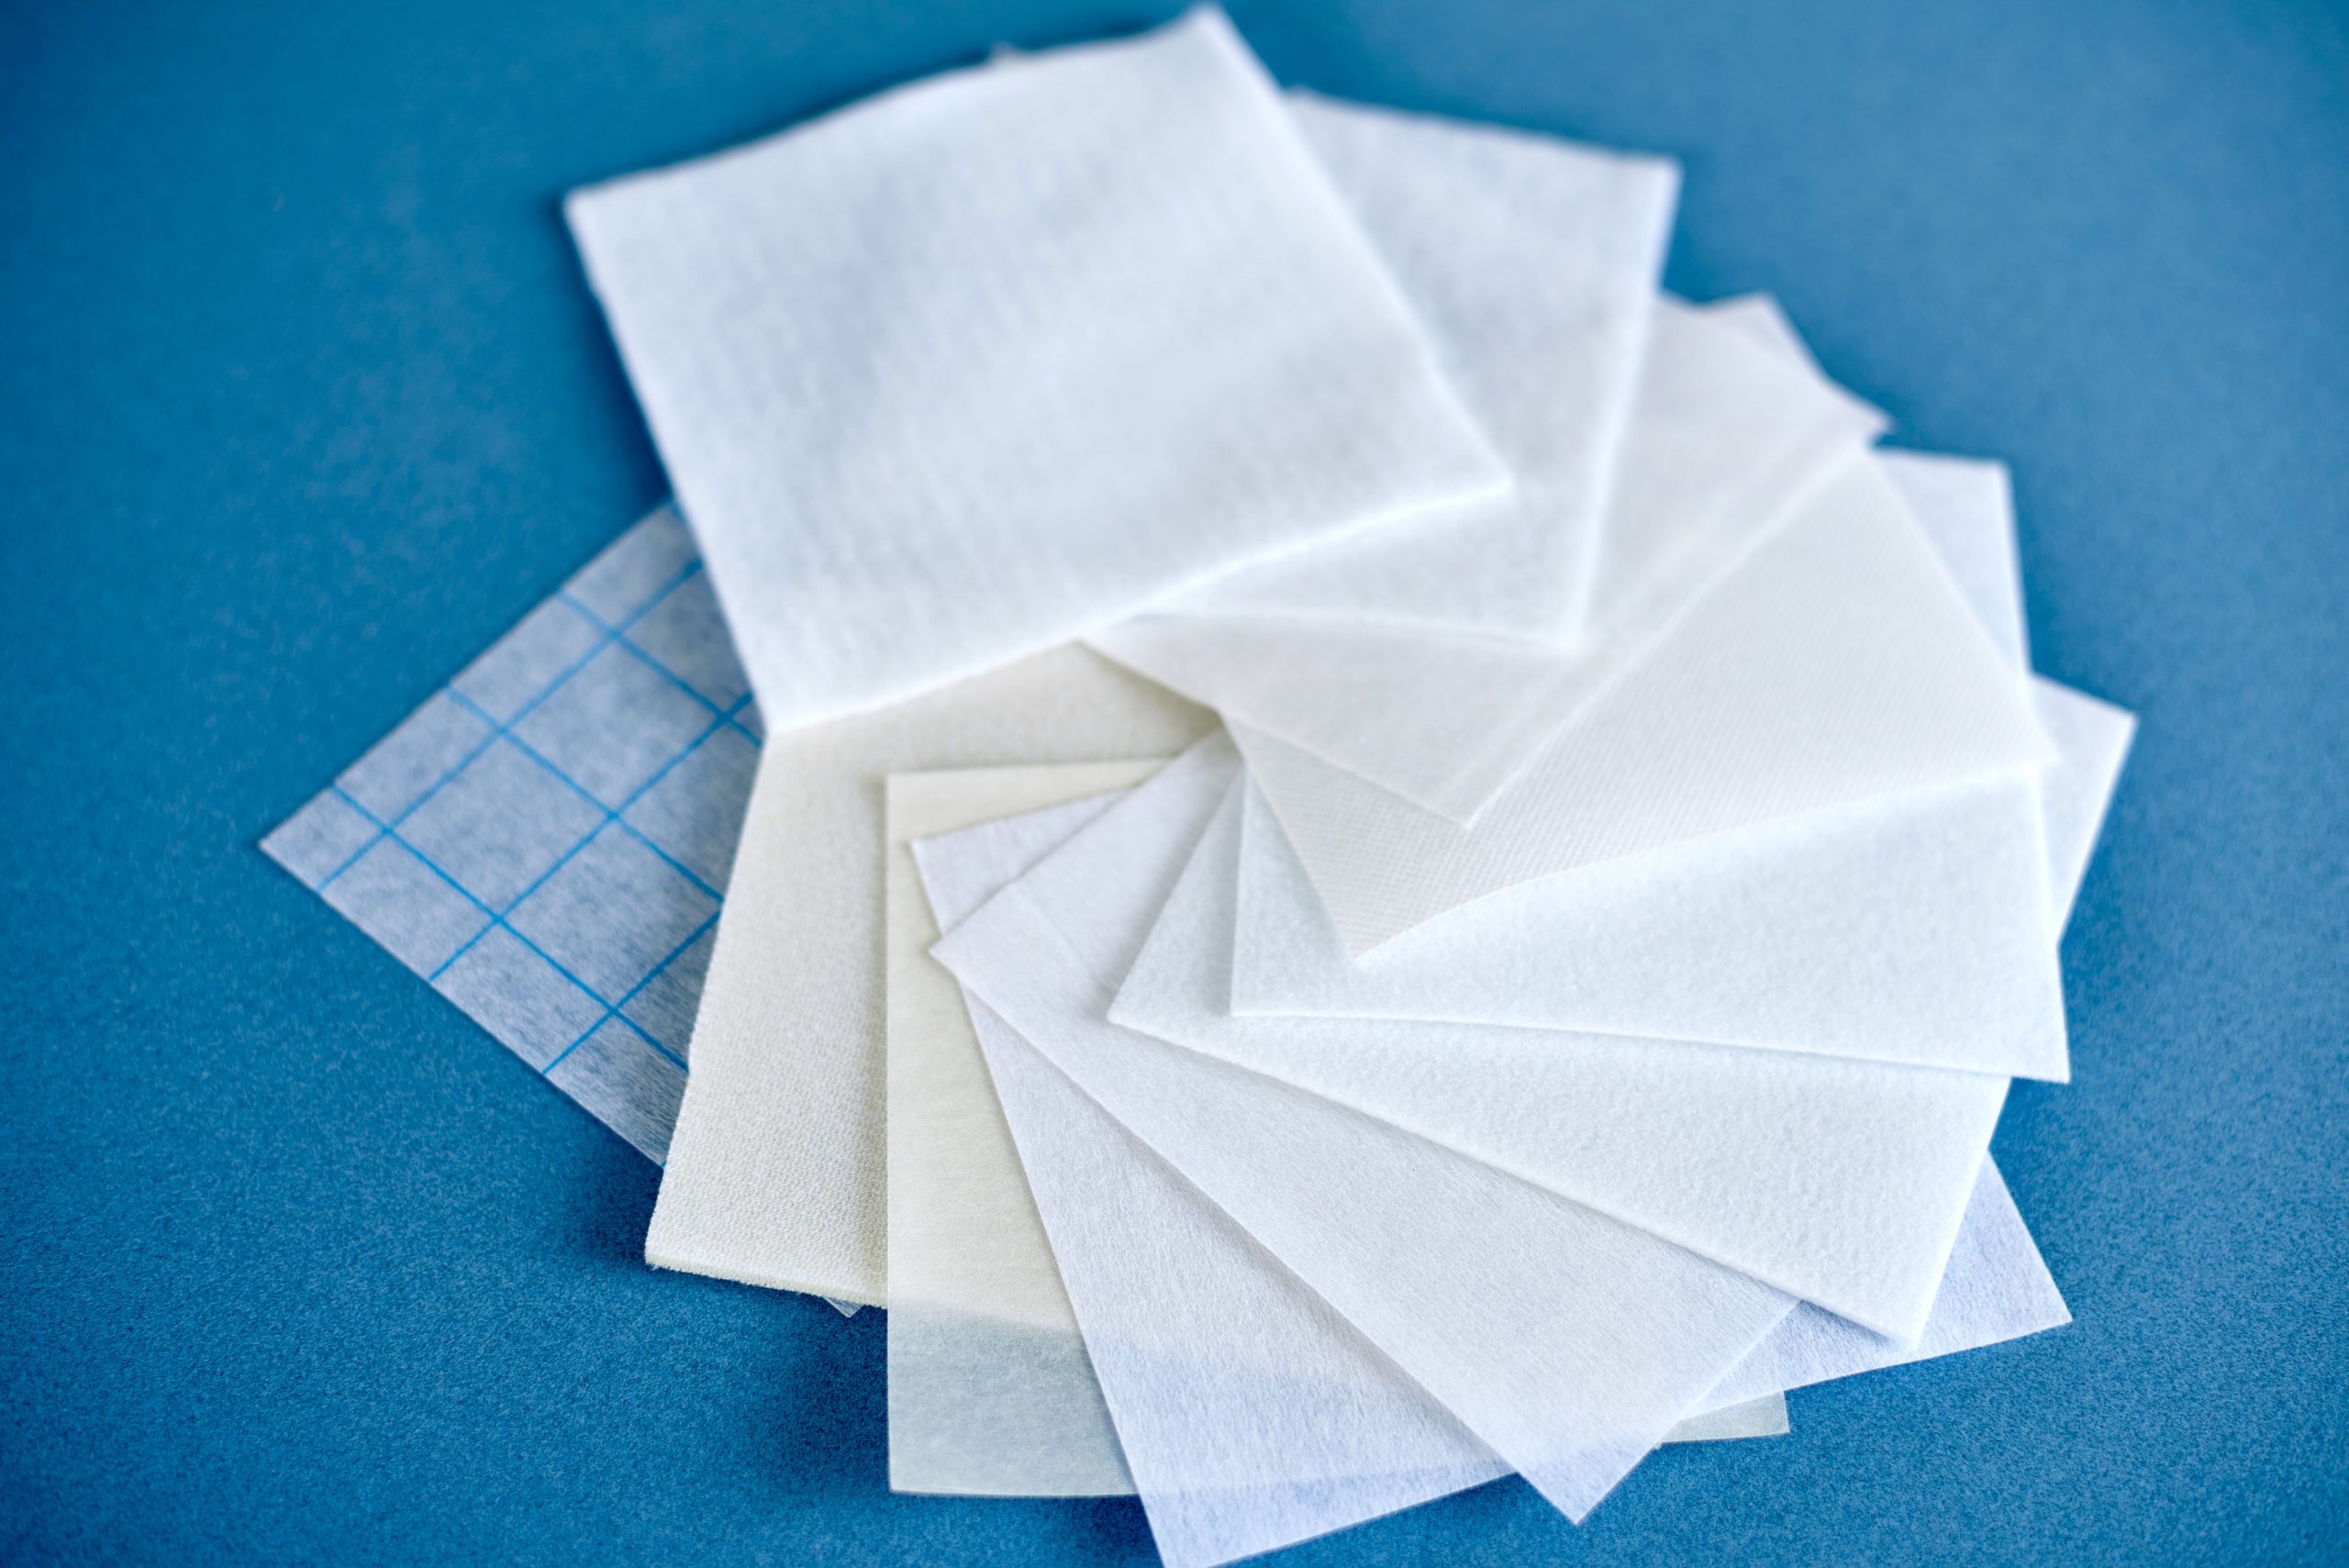
Interfacing can be your best friend ... or your worst enemy. It has a job to do — adding stiffness to fabric — and it does that job well. But, like any frenemy, it can drive you a little crazy from time to time. But with these tips for using interfacing, you can get the upper hand and make interfacing work for you.
Types of Interfacing
There are two basic types of interfacing: fusible and non-fusible. Fusible interfacings use glue and are applied to the wrong side of the fabric with an iron. It works well, except on fabrics that don't like heat or are woven so loosely that the glue can seep through. In those cases, you want to use a non-fusible interfacing that's sewn into place instead.
There's also special decor bond interfacing, which is used when you need to add interfacing to a piece of home decor, like a throw pillow.
When to Use Interfacing
Garment patterns typically call for interfacing on areas needing extra body (like a shirt collar) or strength (like buttonholes). If you are sewing knit fabric, you might use interfacing to keep the fabric from stretching out of shape. The pattern usually tells you what type of interfacing to buy and how much.
How to Choose Interfacing
There are a few important things to consider when picking interfacing. The first is deciding whether you need non-woven, woven or knit interfacing.
Non-woven interfacing doesn't have a grain and works for almost all projects. Woven interfacing has a grain, much like fabric, and the interfacing should be cut the same way as your fabric (on the bias, on the lengthwise grain, etc). Knit interfacing has a bit of stretch and works well for — you guessed it — knit fabrics.
You also need to decide the interfacing weight. Light, medium and heavyweight are your standard options; go with the one that's equal to, or a bit lighter than, your fabric.
How to Apply Fusible Interfacing
1. Start by laying your fabric right side down on your ironing board.
2. Lay the interfacing on top of the fabric, fusible side down.
Pro Tip: It's easy to tell which side is which. The fusible side is somewhat bumpy, while the non-fusible side is smooth.
3. Lay a damp pressing cloth (an old dish towel works well) on top of the interfacing. Press the iron down for 15 seconds (10 for lightweight fabrics).
Pro Tip: Double check your pressing cloth is covering the entire piece of fabric and interfacing, and don't skip using a pressing cloth — if you do, you could end up with fusible interfacing stuck to your iron plate. If this happens, unplug your iron, let it cool and clean it off.
If you need to move the iron to another portion of the fabric, pick it up and set it down — don’t glide it. Otherwise you run the risk of shifting the layers of fabric and interfacing, and could end up with a mess on your ironing-board cover.

Thanks for the instructions here. I have noticed that some sites show interfacing cut about 1/4" inside the cut fabric. Is this normal or should the interfacing be the same size as the fabric piece?
I haven’t sewn a shirt with a collar and band before and just realised I only was to put iron in interfacing on one piece of the collar, I ironed interfacing in both the front and back, should I start again??
Olá, Será que este processo é possível de aplicar em sacas de crochet, para que fiquem forradas e mais estruturadas? Obrigada
I'd like to know why my pattern says to attatch the interfacing to the lining and not the actual fabric.
So this “handy guide” talks about non-fusible interfacing but not how to apply it? Lol
Hi I am looking at making a dress out of bon bon and want to use a placard at the front - will this work when interfaced with an interfacing that has a stretch?
Quick question, I want to make a tote bag. I have canvas material for the outside and thin polyester material for the lining, would I want to use interfacing on either one.