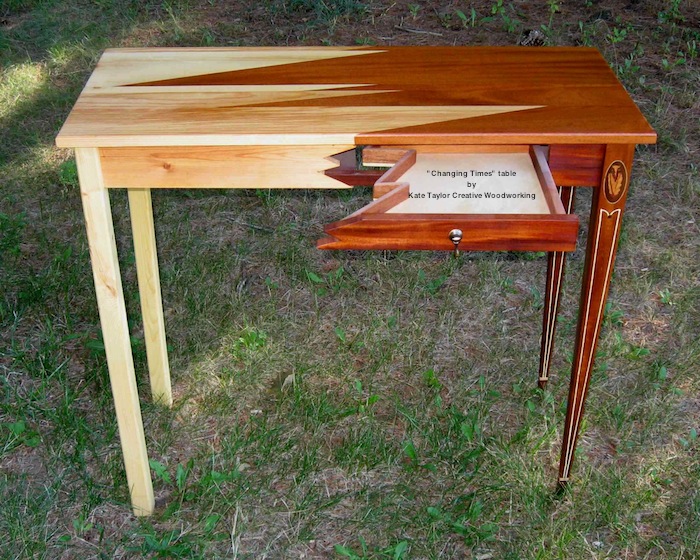
 Photo and woodwork via Kate Taylor Creative Woodworking
A good woodworker knows dozens of different types of joinery. The hard part is knowing what to use, and when. This article will cover the different types of wood joints.
First, let’s cover the joints that are particularly beginner-friendly. These rely on some external source of strength like screws, splines, or glue.
Butt joints
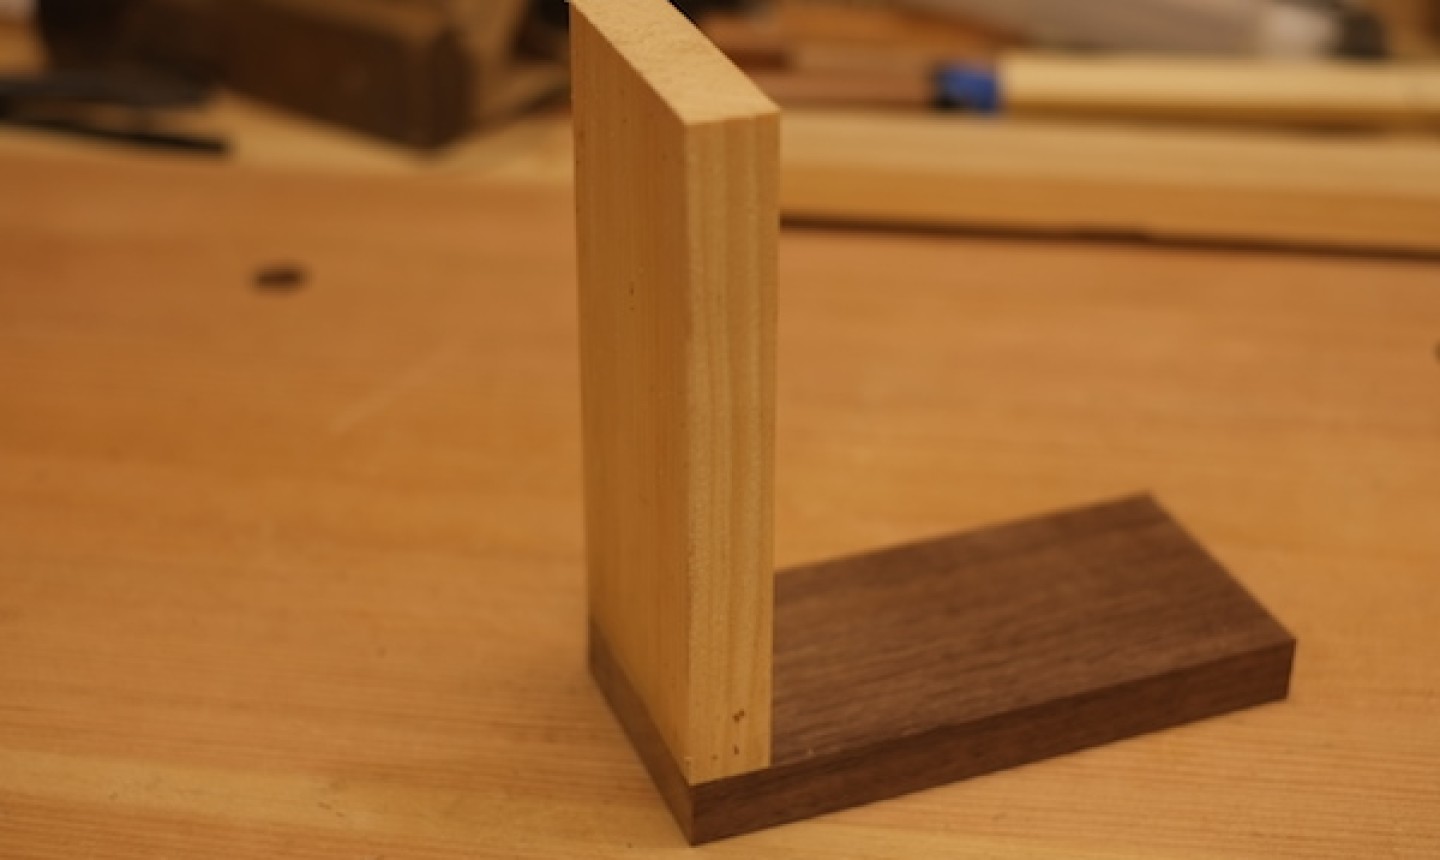
These are just two pieces of wood attached perpendicularly to each other, often with nails or screws. They can be perfectly good joints but will have no structural integrity on their own.
Butt joints can be your go-to when the work is rough or rustic or when speed matters more than looks. Just make sure your joining technique is right for the job (you might also need a metal corner bracket for extra strength, for instance). To dress up a butt joint you can either countersink or plug your nail/screw holes.
Pocket screws
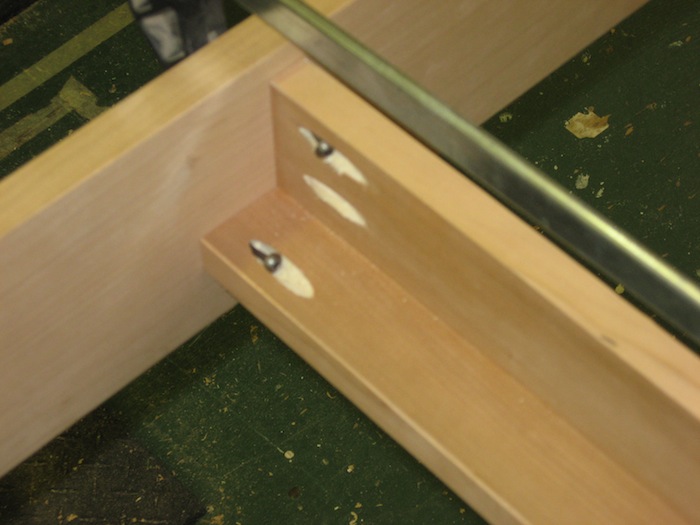 Photo and woodwork via Kate Taylor Creative Woodworking
Pocket joinery is great for attaching wood pieces with different grain orientations — table aprons and legs, for instance — or for making face frames. You might use it to reinforce a butt joint. Because the screws are toe-nailed at an angle into the wood, the joint is much stronger than a typical butt joint where the screws go directly into the end grain.
Pocket joinery is fast and relatively strong, but you will need a special jig and drill bit. These joints are not the prettiest so you’ll want to figure out a way to hide them.
Biscuit joinery
This method involves gluing wooden “biscuits” into slots cut into the wood. It’s an excellent way to hold together pieces of plywood or other engineered material, providing plenty of gluing surface as well as the strength of the biscuits themselves.
Biscuits are good for casework and for reinforcing and lining up edge joints, but the layout can be confusing until you get the hang of it.
Miter joints
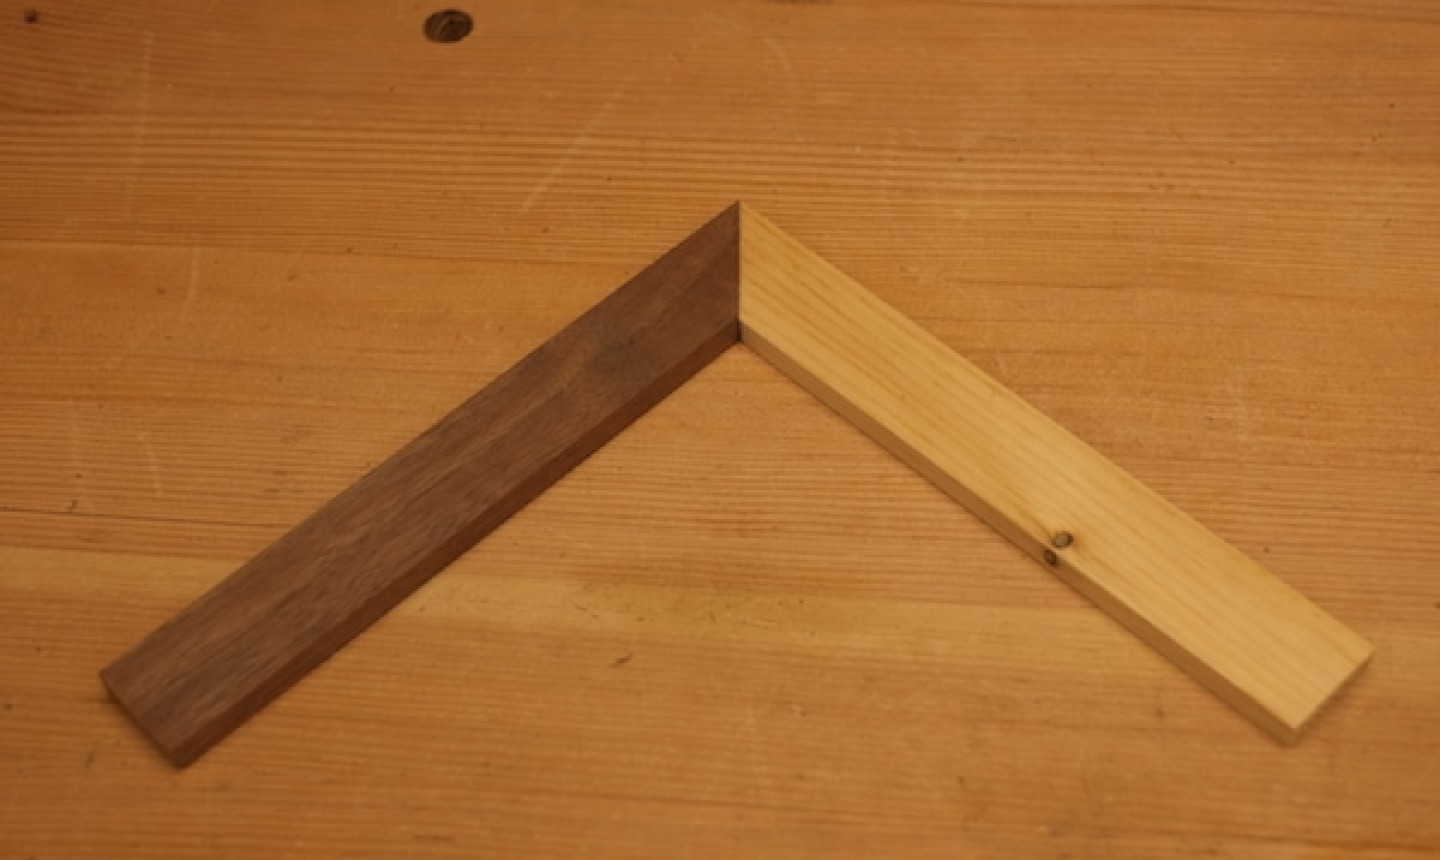
I’m including miters here because on their own they are only as strong as the glue holding them together. They have more glue surface than a straight butt joint — a plus. But the joint is still end grain, which is notorious for not taking glue well.
Thanks to the super strength of new glues, a small box made only with miters will usually hold just fine. Still, adding a spline is a good idea.
Miters with splines look nice, so the joint itself can add to the design. The biggest negative is weakness. You will also need to take extra time to set the joint up properly so it has no gaps.
Now that we’ve covered the easiest wood joints, let’s jump into a few that need a bit more #woodskill.
Edge joint
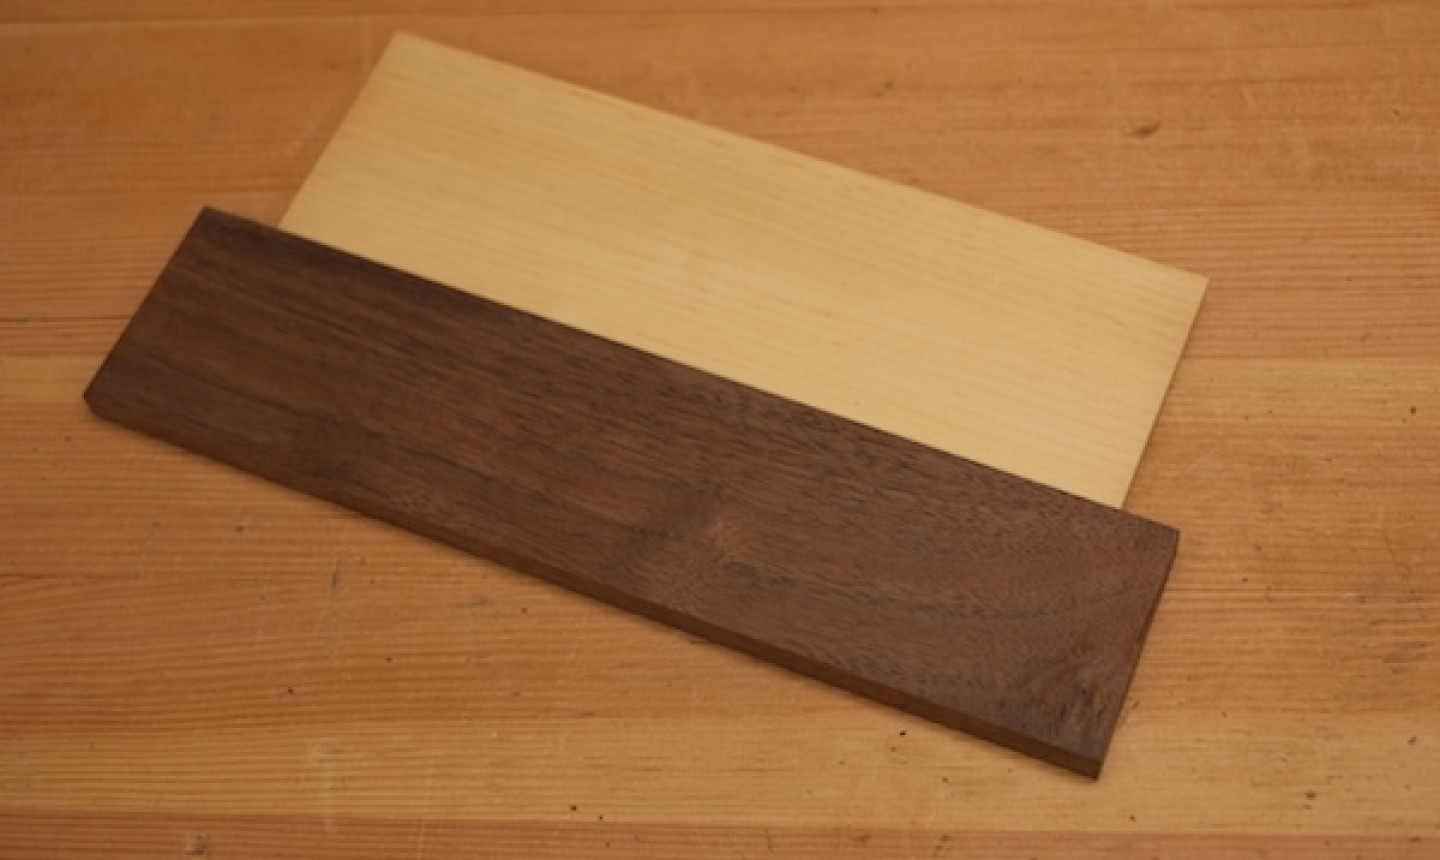
Picture this: you need an 8-inch wide panel for your next project, but the widest board you have is only 6 inches. This is where the edge joint comes to the rescue — just by gluing the boards side-by-side.
I know what you’re thinking: Two boards glued along the edges can’t possibly be sturdy. But you’d be surprised by how strong this joint really is. If you try to break the board, the wood around the glue joint will break before the glue does.
However, gluing wood fibers end to end makes the joint considerably weaker, so this should only be used to widen a board, not lengthen it.
Dovetail joint
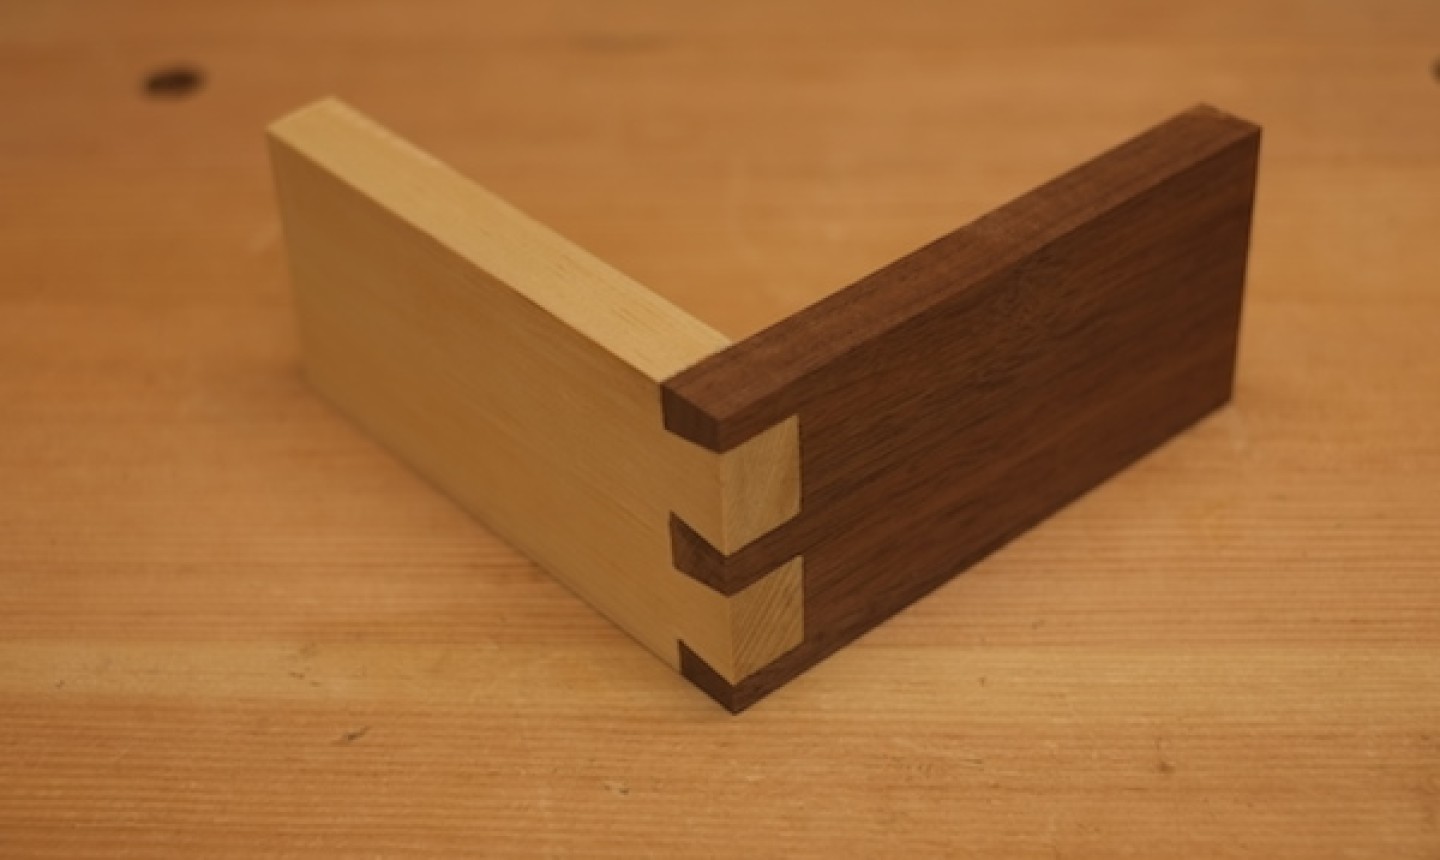
Dovetail joinery is famously popular in the world of wood joinery techniques, and aside from its strength, it’s often used for decoration. The ends of the pieces (called tails and pins) interlock and make a solid joint.
Novices take note: this joint isn’t exactly simple — tight-fitting dovetails are considered to be a sign of a great woodworker. But even if you’re not well-versed in dovetail joints, even one done a bit sloppily can be very strong.
Mortise and tenon joint
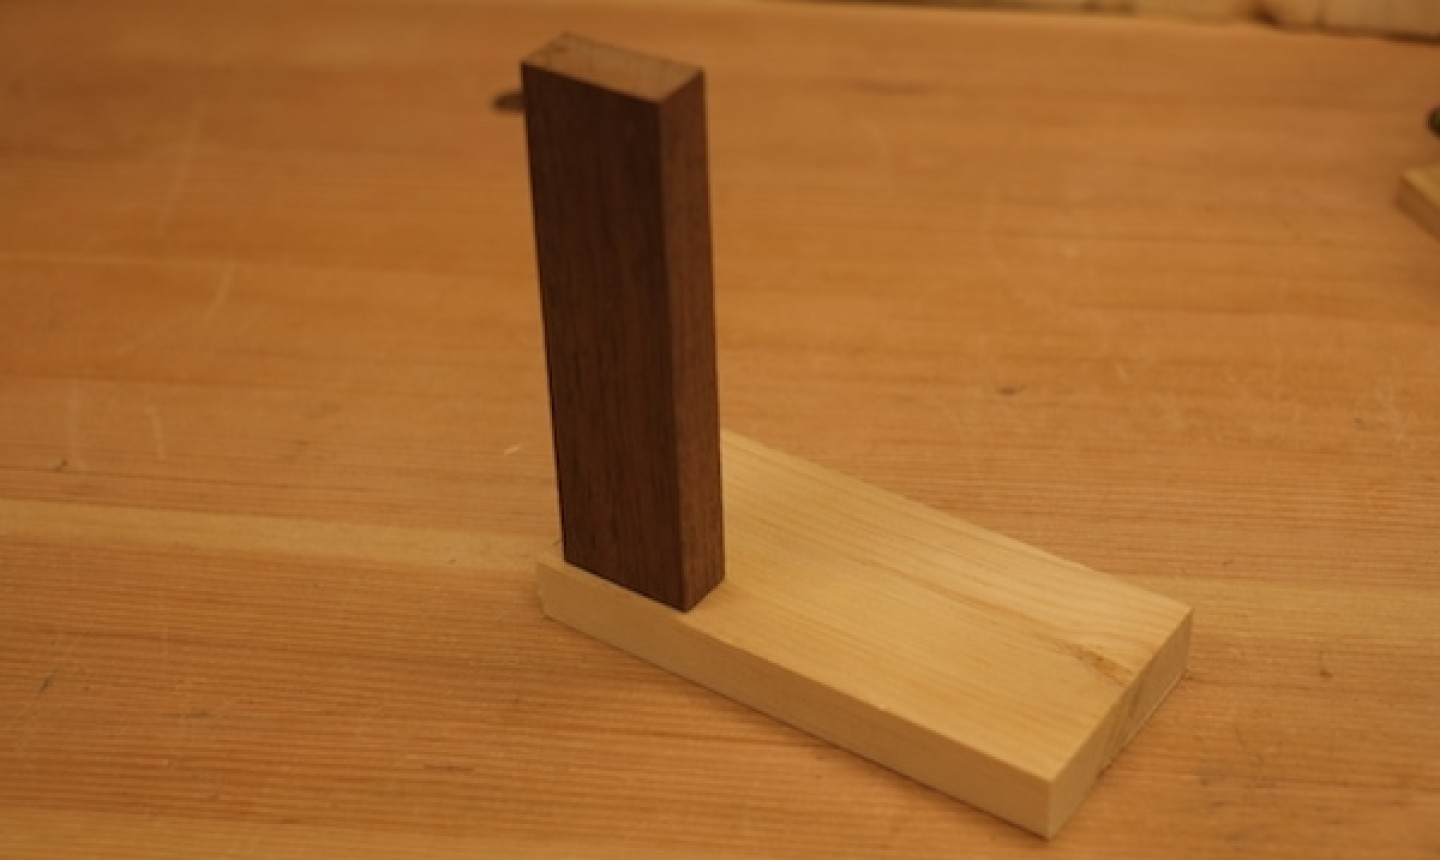
This joint might look like a butt joint from the outside, but hiding out of sight is a tenon (that is, a projecting piece of wood) that fits into the mortise (a recess) of the other piece, locking the wood together.
This method provides a lot of strength and glue surface. There are also many varieties of the mortise and tenon joint, including mortise and tenons that incorporate wedges or pins to lock the joint in place.
Dado joint
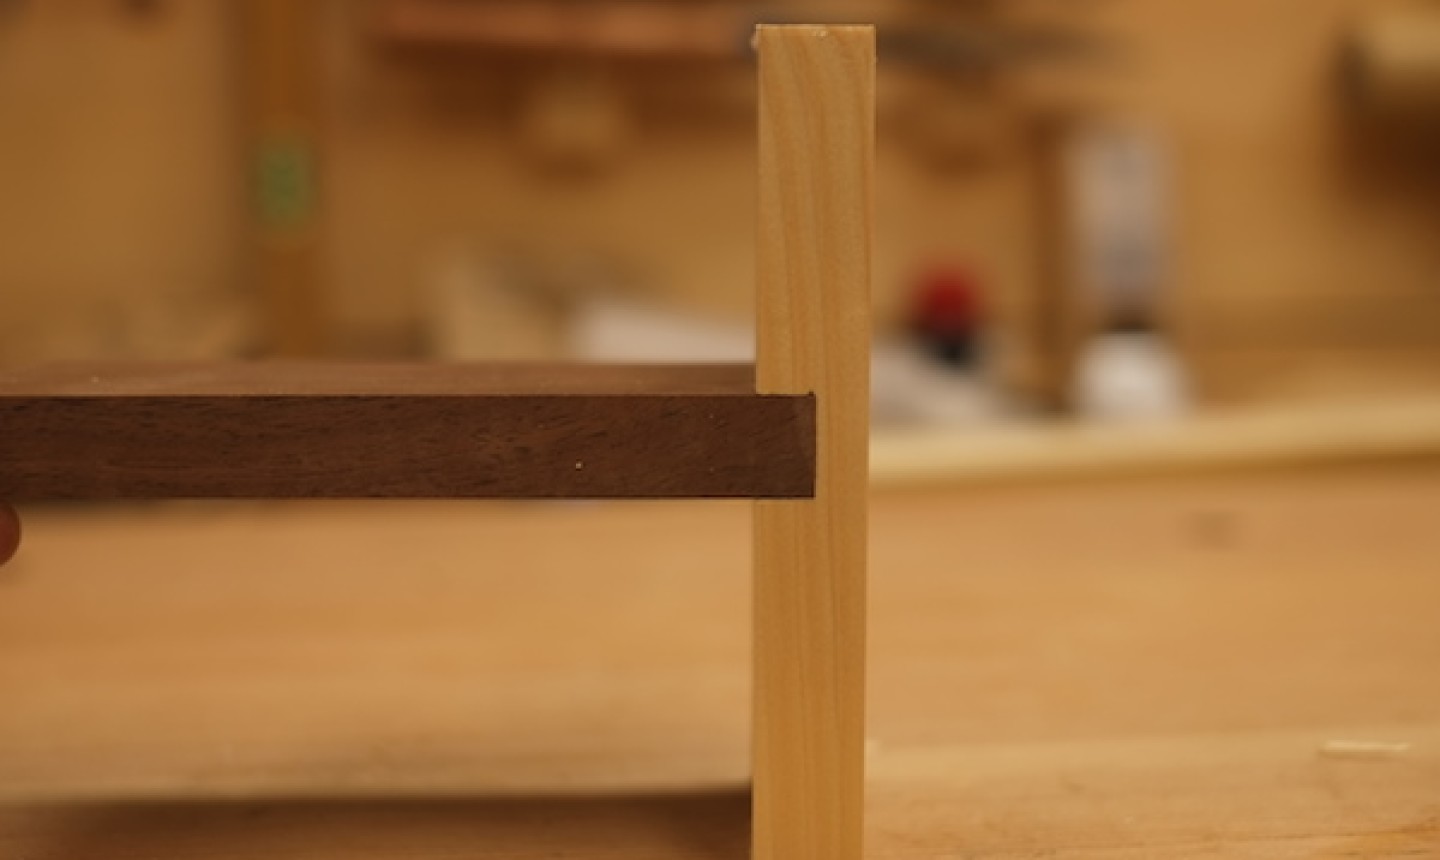
One of the most common uses for the dado joint? Shelves. This method joins two pieces of wood with a groove cut into one board that a second board fits into.
please sent information on woodwork joints
Four different fancy wood joint
Great
Omgosh. I've been debating between using a butt joint vs. a pocket joint for days, and you just blew my mind when you wrote - you can use a pocket joint to "reinforce a butt joint", which means I can always add it after the fact if I'm questioning the piece's integrity/ stability! My gosh, I feel like an idiot :p Thank you!!
Your Comment here...Thank you very much am very grateful. Pls I need more information and good sketches on joint
Thanks for this, really want to learn more
This is very clear and stright forward info. Thank you for taking the time to share. Deciding on the joint is always a challenge. I feel more comfortable with some more than others.
Thanks for this. I am looking for wood joint ideas for my DIY project to build a small work table/ <a href="https://skytomato.my" rel="nofollow ugc">Website Design Malaysia</a>
What joint to be use for a A stand swing frame
Edge to edge