Bored of regular ribbing? Switch it up a bit with the twisted rib stitch! The twisted rib is just like your usual ribbing, except that the knit stitches are knit through the back loop (ktbl). This gives them a neat little twist that makes them look a little different from normal ribbing.
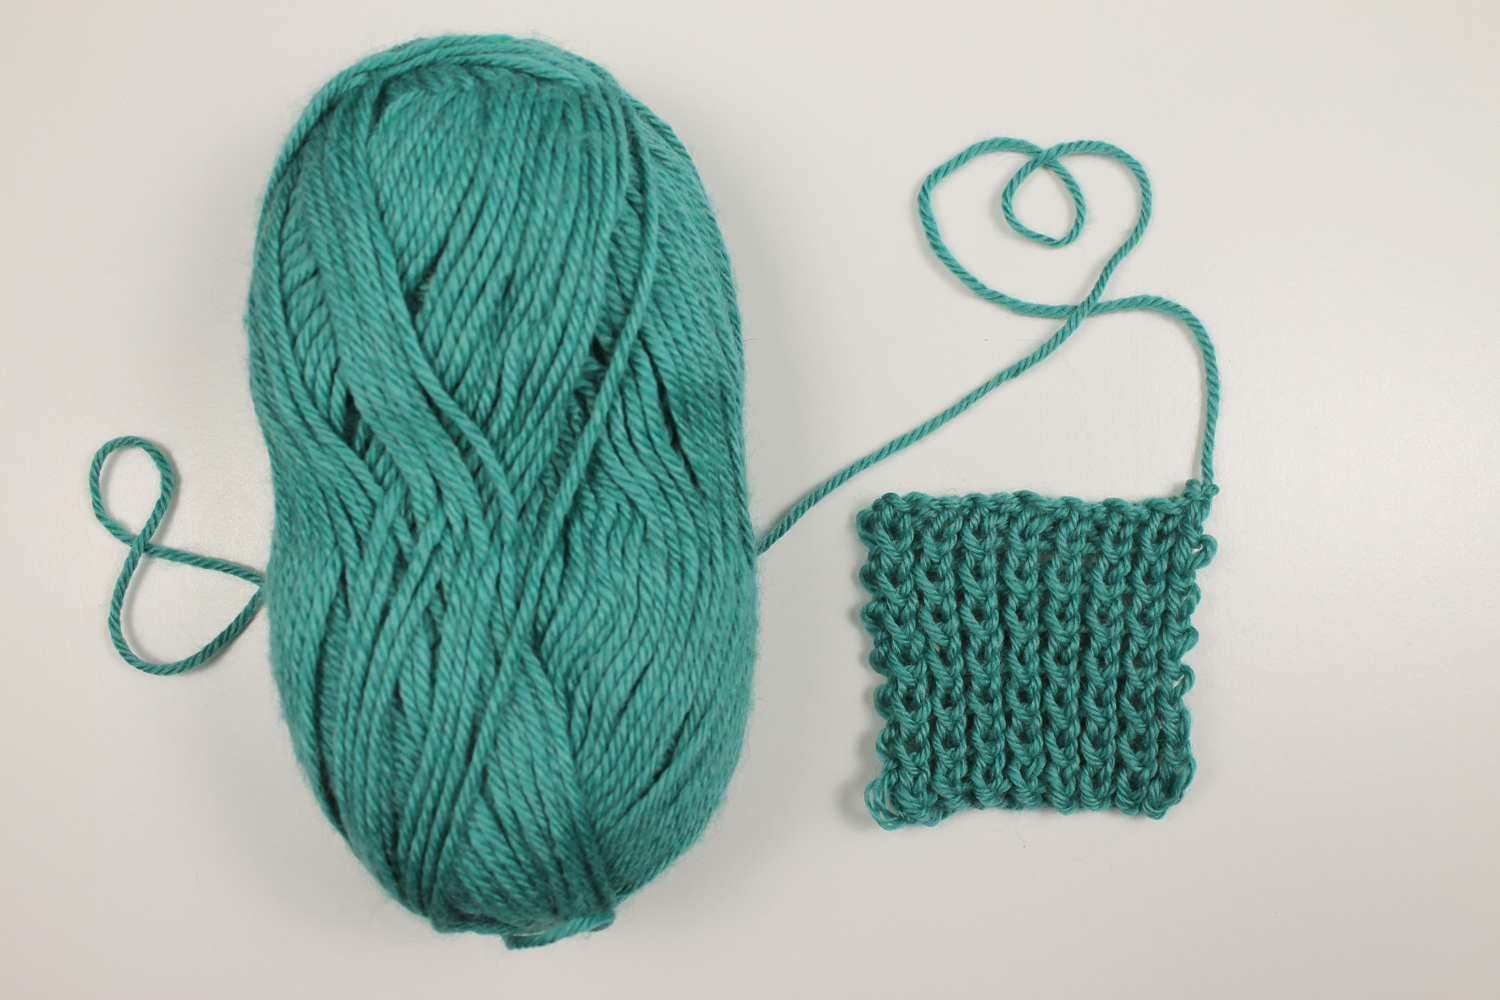
The small change is pretty subtle, but once you work up a swatch you'll see the difference. Twisted rib is super easy to substitute in place of regular rib, too. Read on to find out how to stitch this pretty little twist!
Twisted Ribbing vs. Regular Ribbing
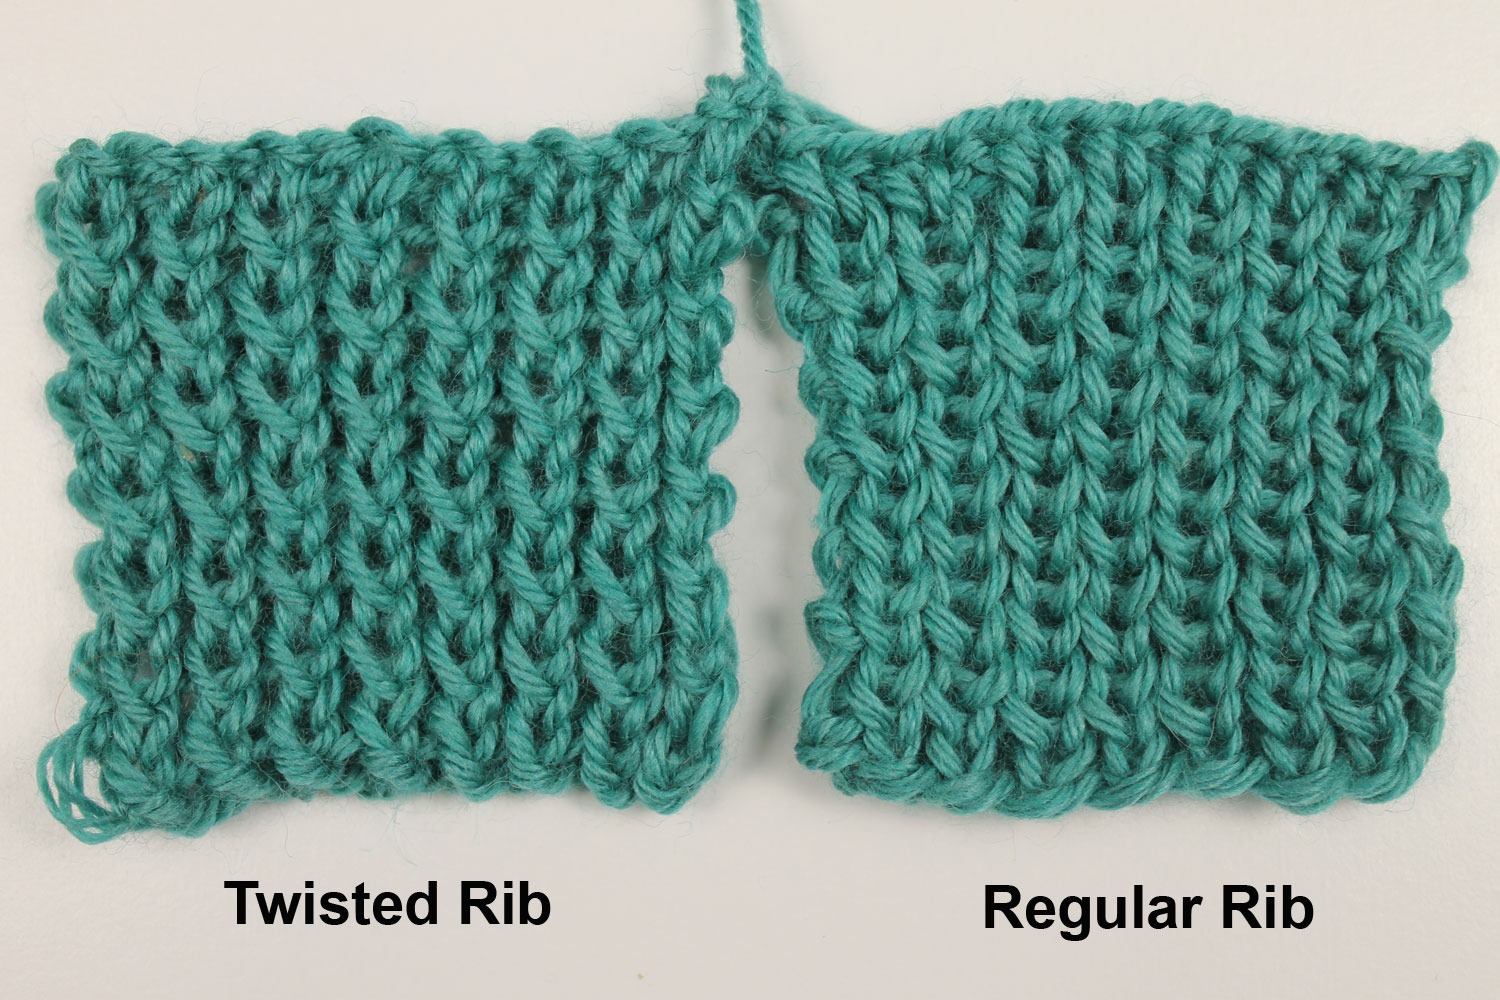
Take a look at the two swatches pictured above. The swatch on the right is regular rib, while the swatch on the left is twisted rib. Here's the difference:
Regular Rib: *K1, p1; repeat from * to end.
Twisted Rib: *K1tbl, p1; repeat from * to end.
So the only difference is that instead of knitting a regular knit stitch, you're knitting through the back loop (ktbl).
Still can't see the difference? Each knit stitch is in the shape of a V. Notice how the bottom of the V in the twisted rib twists to overlap a little, while the regular rib doesn't have that twist. That's the tiny little difference that changes the entire style.
Twisted rib stitch tutorial
Let's walk through the steps for twisted rib.
There are all kinds of variations on the twisted rib (we'll get to that later!), but for now we'll use this pattern: *K1tbl, p1; repeat from * across.
For this swatch, I cast on 16 stitches.
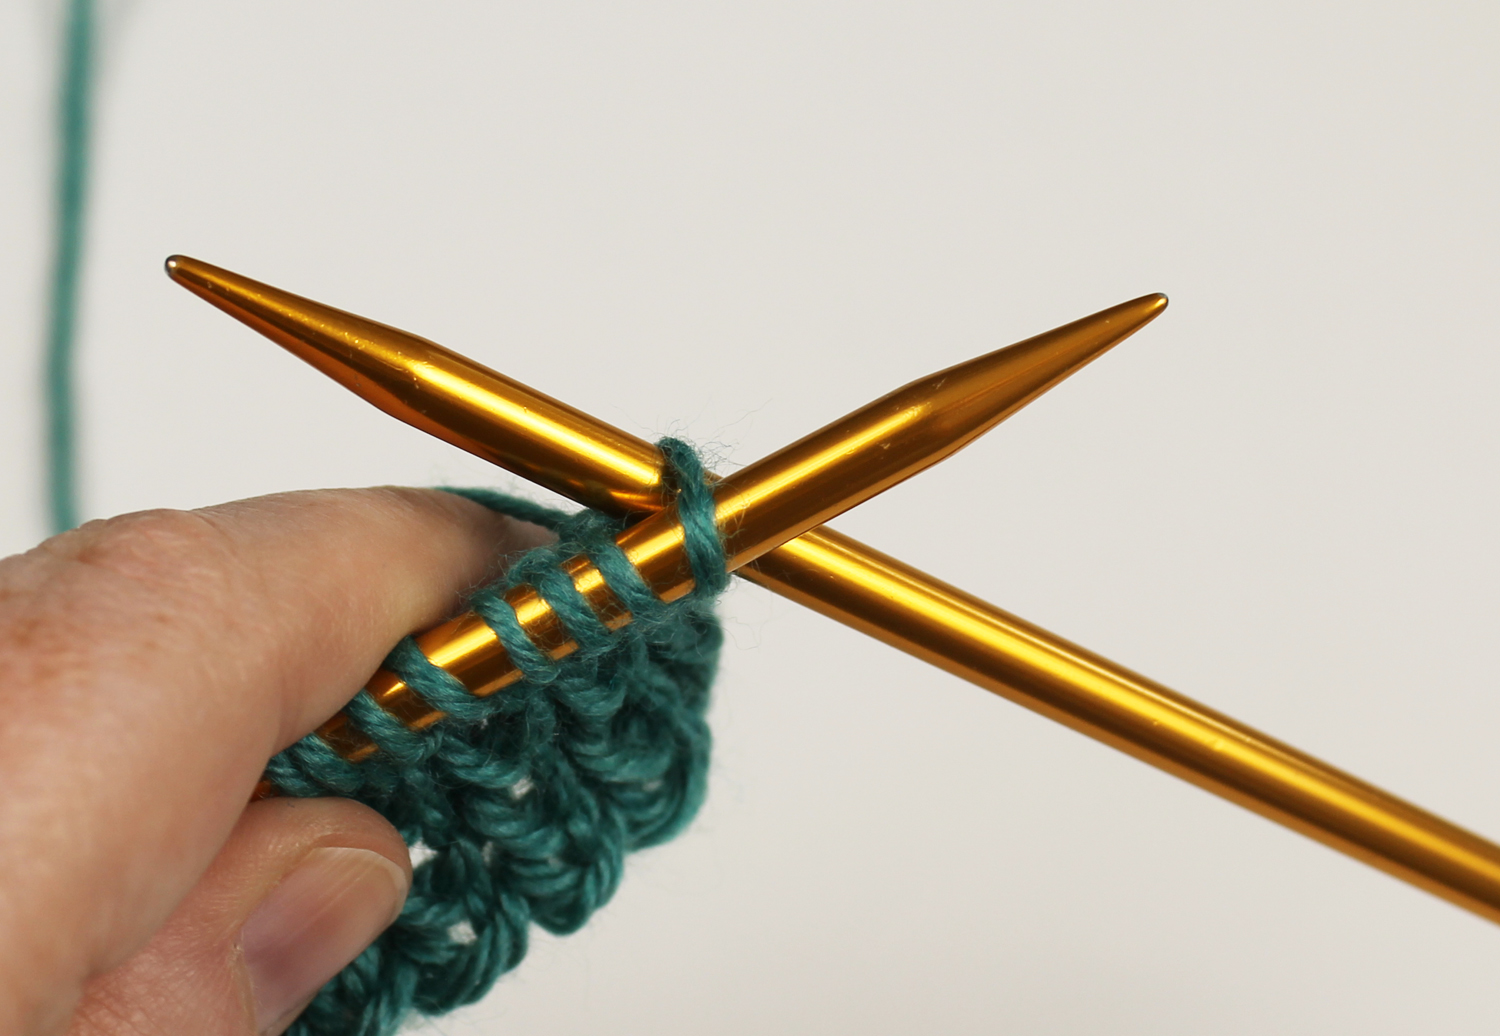
We're going to knit the first stitch, but instead of inserting the needle from front to back like a usual knit stitch, insert the needle through the back to ktbl (knit through the back loop).
You'll still hold the yarn at the back of the work, like with a regular knit stitch.
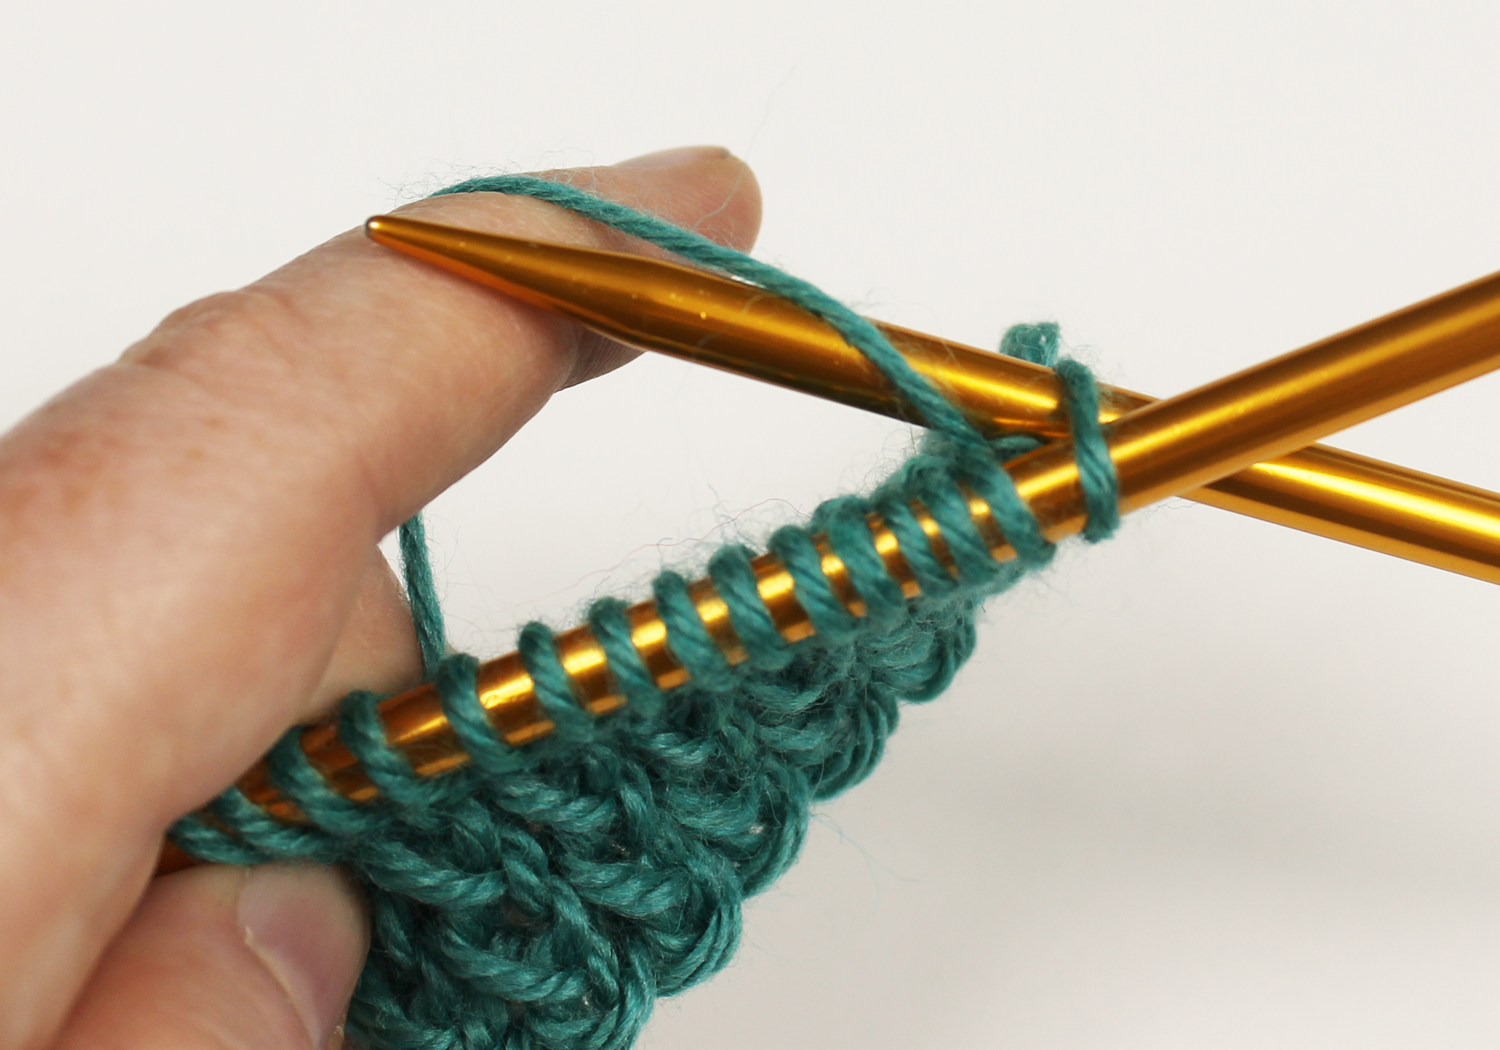
Wrap the yarn around the needle, just like you would a regular knit stitch.
Then pull the yarn through the stitch.
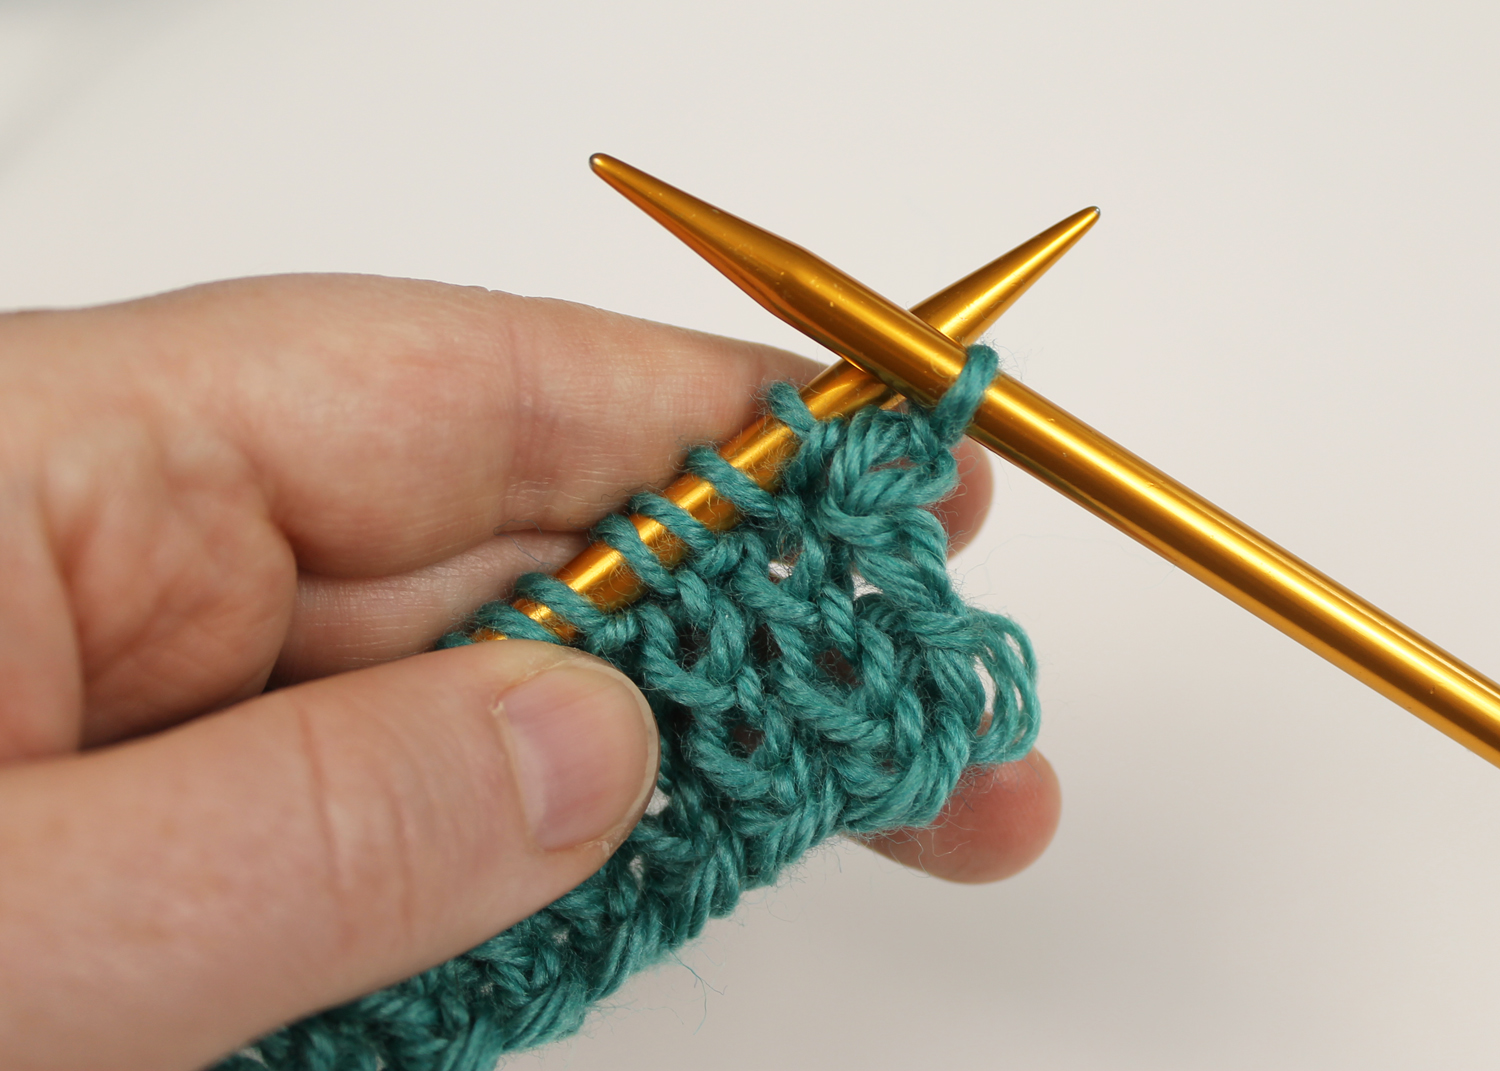
Let the stitch drop off the left needle. That twist won't be immediately noticeable, but don't worry! You'll see it after a couple of rows.
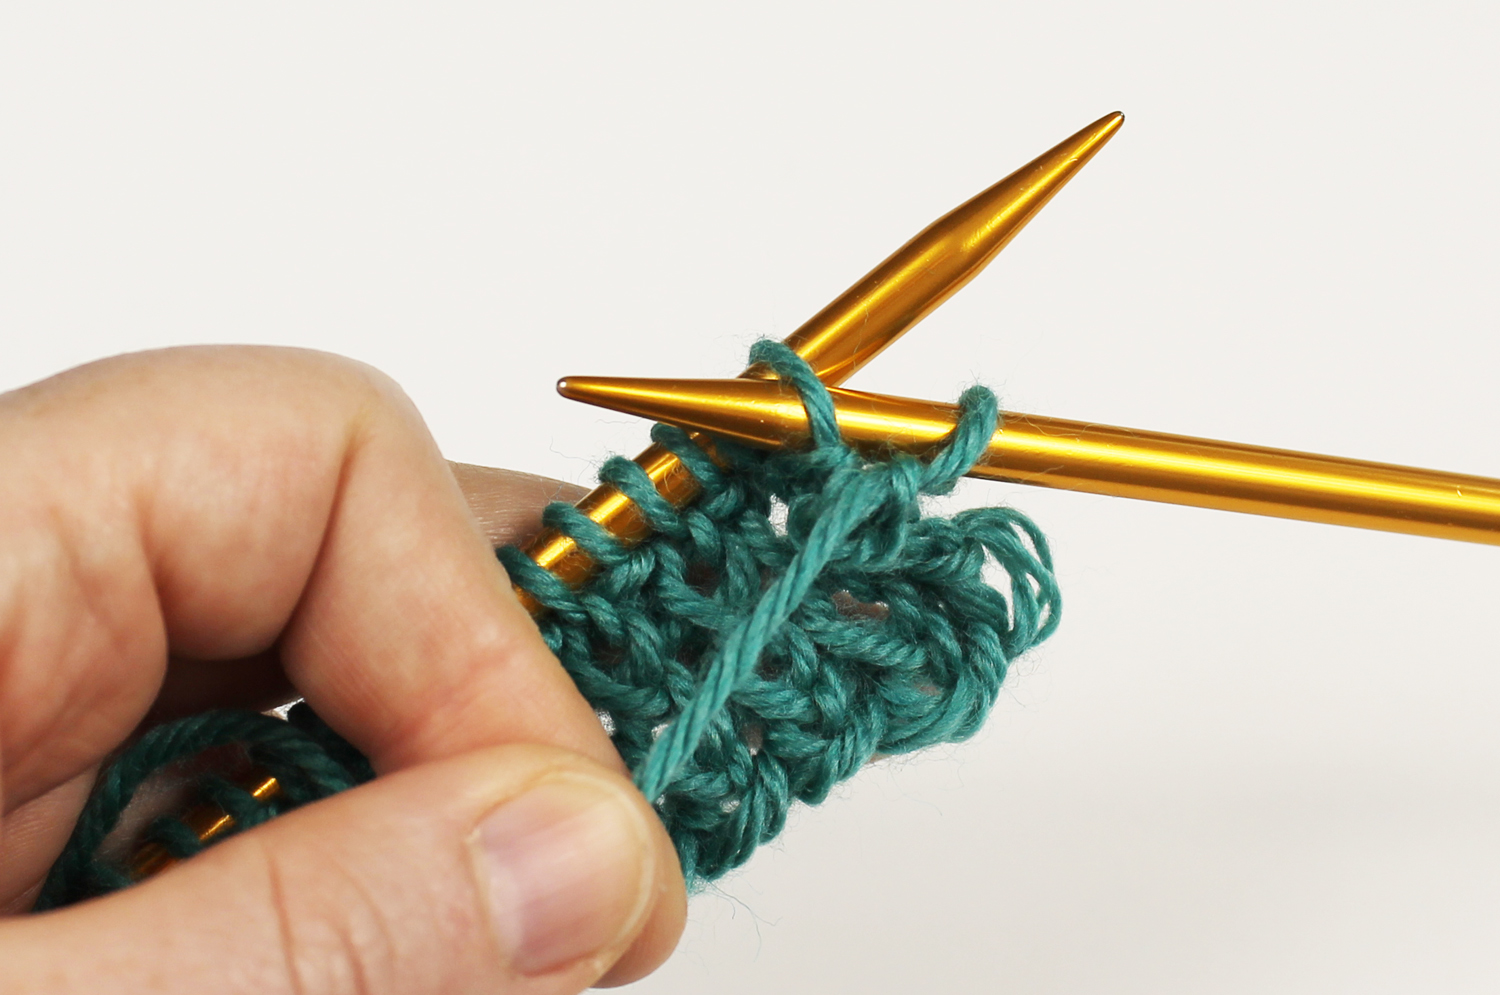
Bring the yarn to the front, and purl the next stitch just as you normally would, with the yarn held in front.
Repeat these steps across the entire row, alternating between knitting through the back loop and purling.
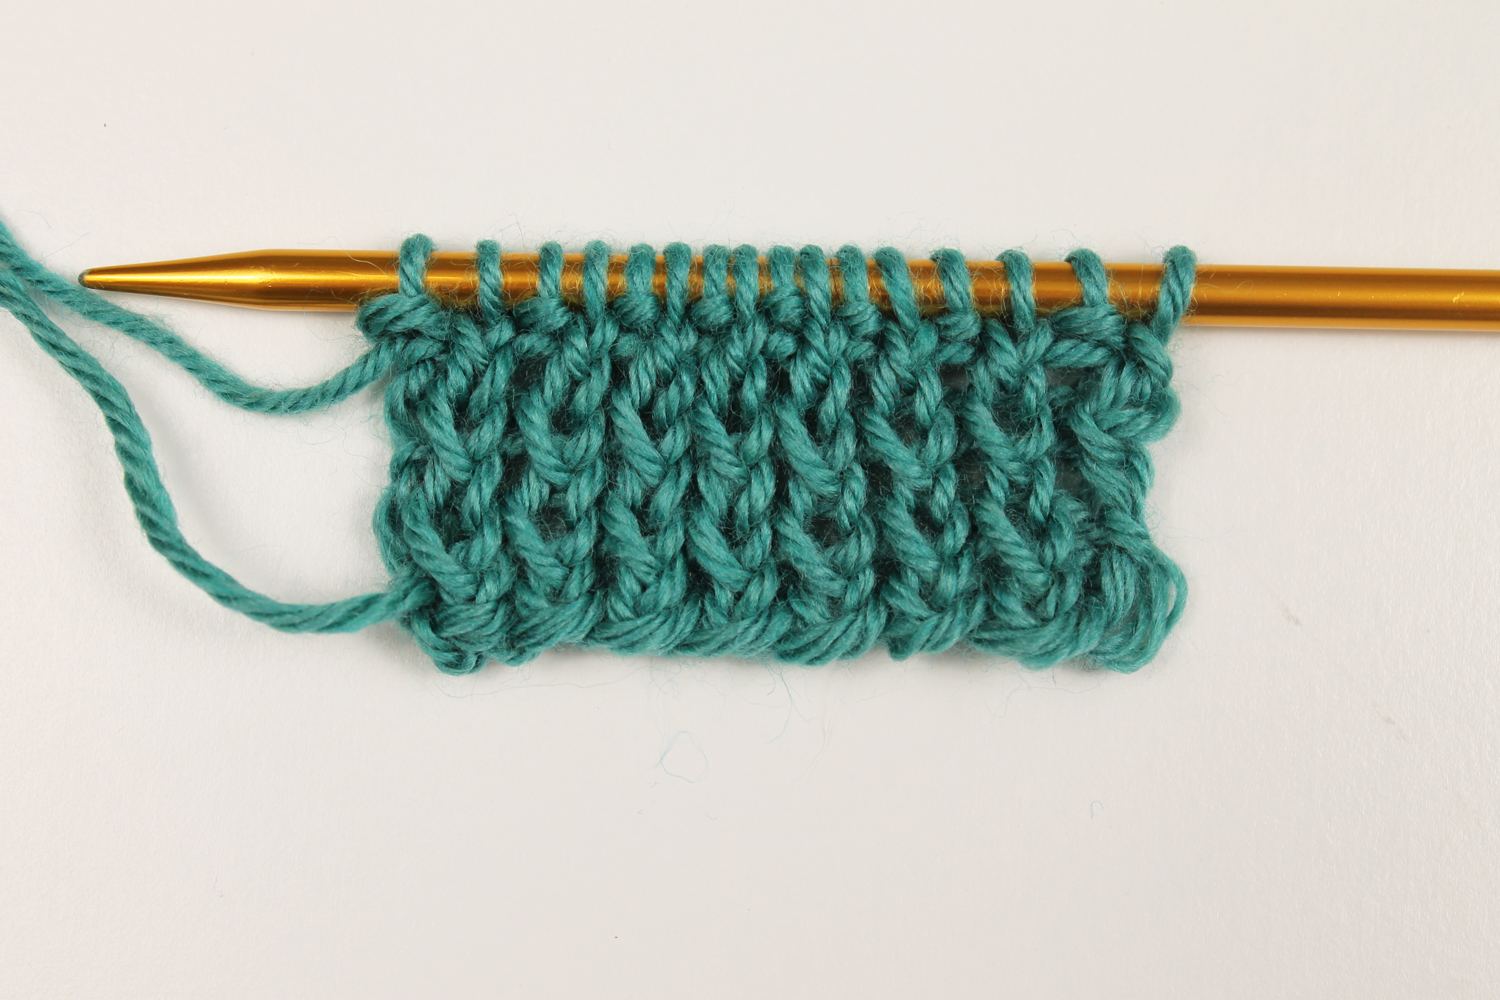
Now take a look at those knit stitches. Do you see how they twist at the bottom of each V? This is what creates that slight variation in twisted rib. When you're knitting through the back loop, you're just twisting that stitch around so that it turns and creates that pretty variation.
Twisted rib variation
There are several variations on twisted rib that you might see in your pattern. For example, some twisted rib stitches twist both the knit and the purl stitch by purling through the back loop.
Other twisted rib variations only twist on the right side rows, knitting wrong side rows like regular rib.
If your pattern uses twisted rib, it's likely there will be instructions for the special stitch. But if you're experimenting on your own, try out a few variations and see which one you like best.
Substituting twisted rib
Twisted rib can be substituted for any rib stitch. Just like with any ribbing, you can create several combinations of knits and purls with your twisted rib. For example, K2, P2 ribbing can be turned into twisted rib by simply knitting those first two stitches through the back loop instead of as regular knit stitches.
In other words, if your pattern tells you to use ribbing, just substitute the regular knit stitches for stitches knit through the back loop. K3, P2 ribbing, for example, would be K3tbl, P2 for the twist. Easy!

Share tips, start a discussion or ask other students a question. If you have a question for an expert, please click here.
Already a member?
No Responses to “Transform Regular Ribbing With a Tiny Stitch Change”