After learning the basics of Tunisian crochet, it’s time to show off all that hard work. But do you ever worry about bumpy bottoms, loopy left edges and the incessant curling? Never fear! Here are three simple Tunisian crochet hacks to make every project picture perfect.

Hack #1: Preventing a bumpy bottom
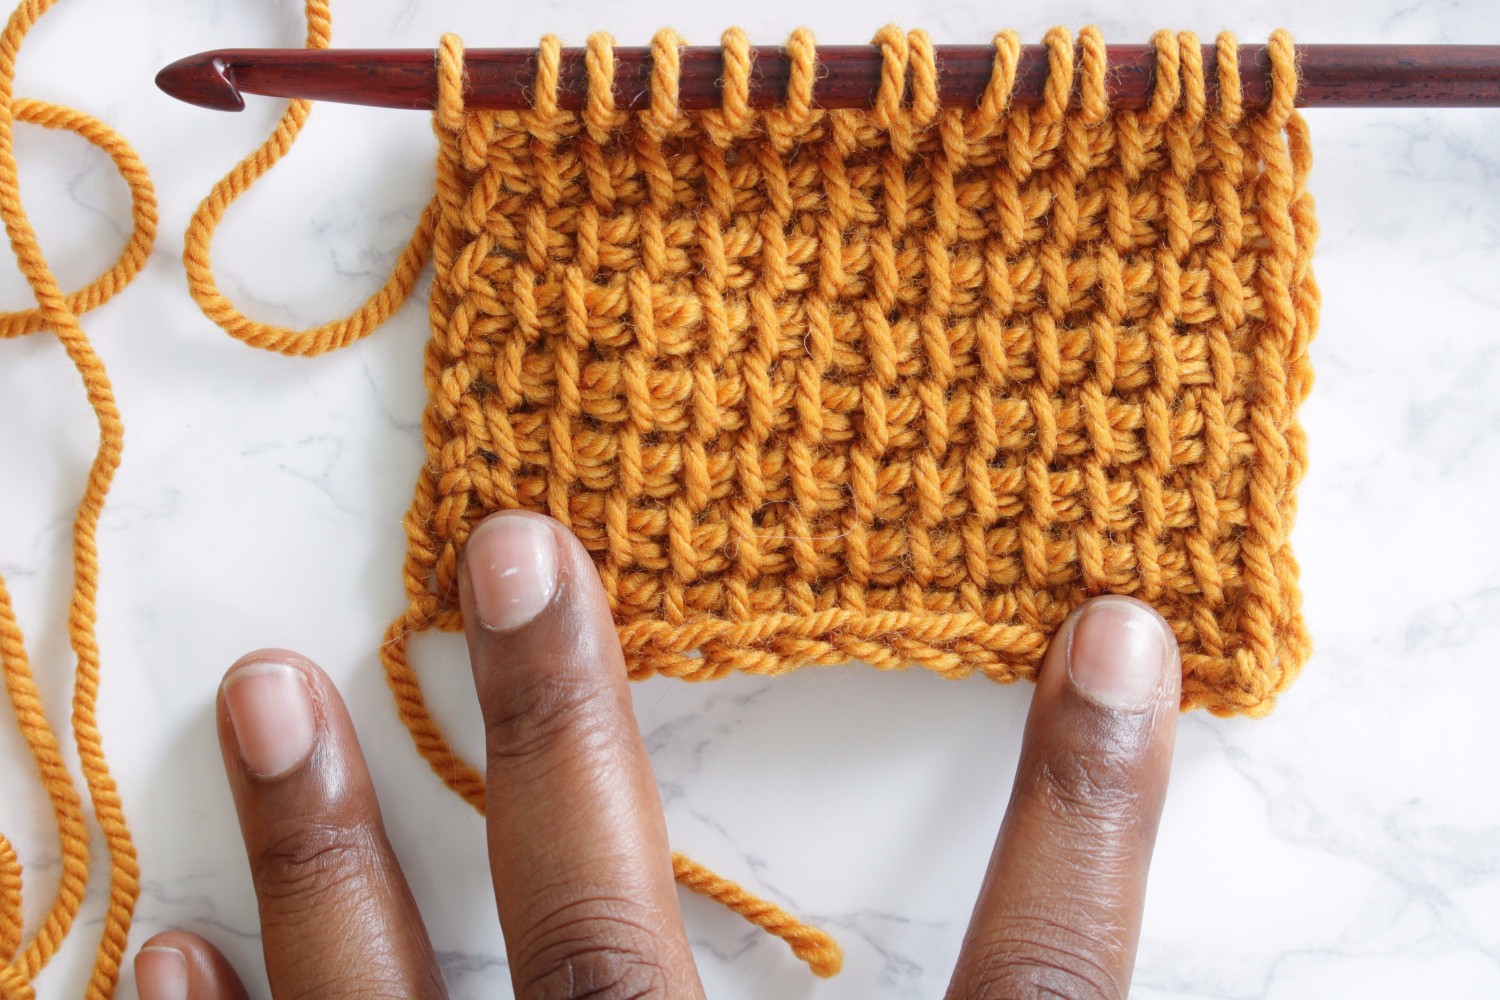
When it comes to Tunisian crochet, there is nothing worse than a bumpy bottom, which results from a foundation row that is not worked properly.
Mistakes in the foundation row cause there to be extra loops floating on the edge of the work that can easily snag. A messy foundation row can also make it difficult to attach motifs together and makes blocking nearly impossible.
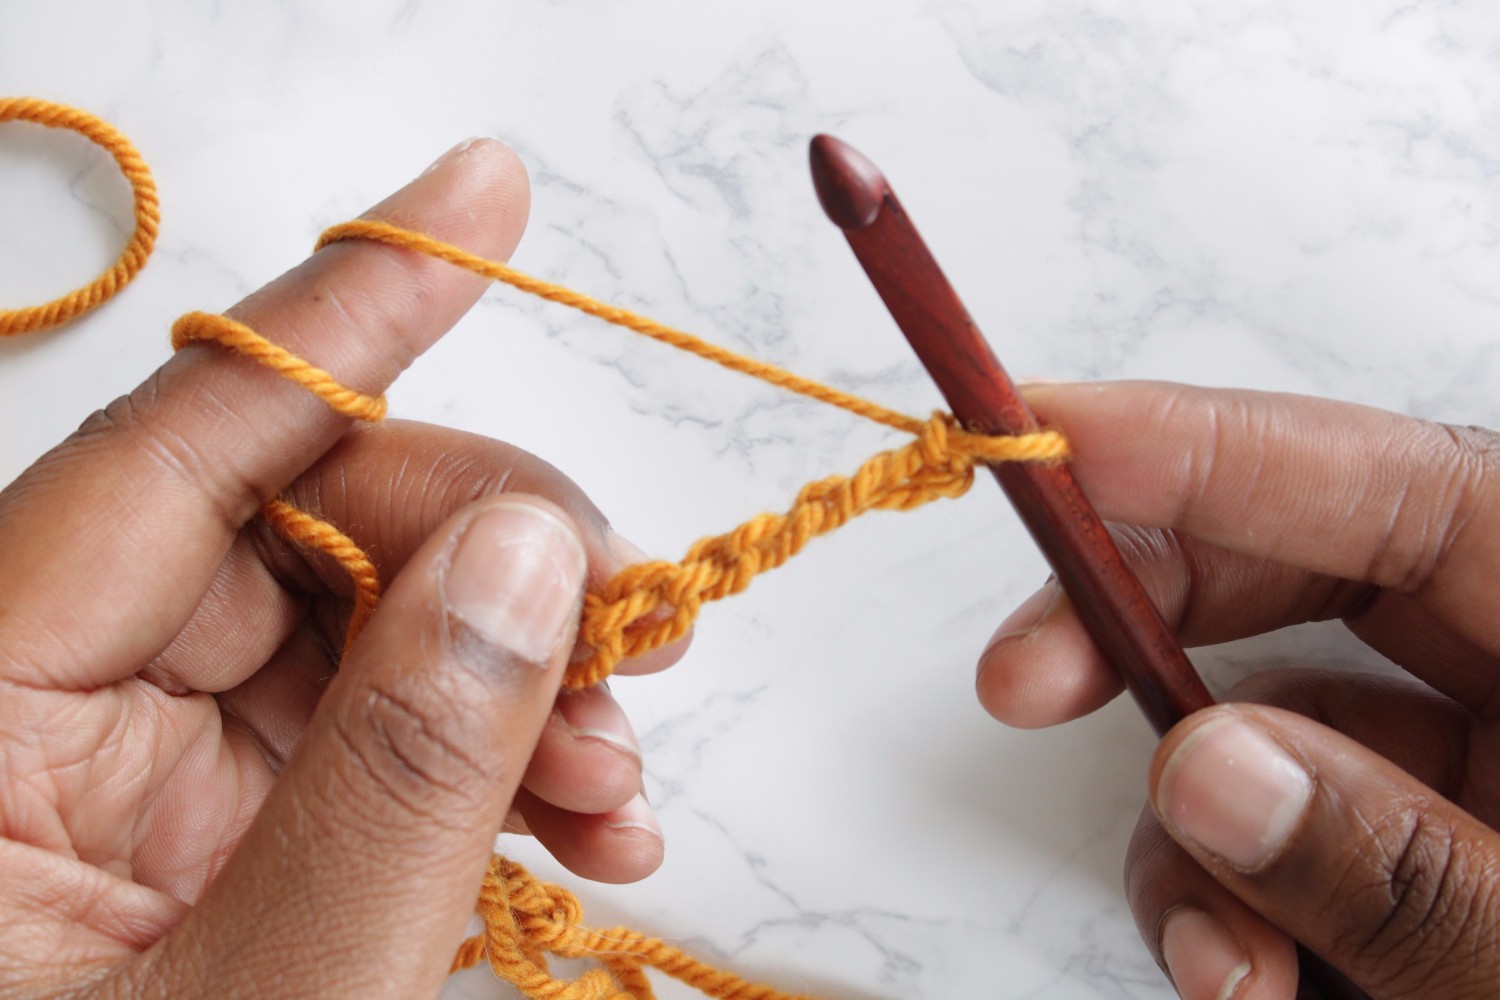
The simple solution lies in where the foundation row loops are pulled. Instead of working into the chain as normal for crochet, start the Tunisian crochet foundation row by working into the back bump of the chain.
This is found by rotating the chain 180 degrees and finding the loops that run along the back side of the chain. Starting with the second bump from the hook, insert the hook and pull up a loop in each bump along the chain. Working the foundation row this way creates the neat bottom edge Tunisian crochet is known for.
Hack #2: Avoiding loopy left edges
Similar to the bumpy bottom, the loopy left edge is a result of a series of stitches being worked incorrectly. Leaving the left edge worked improperly produces unsightly large floating loops that might be mistaken for a tension error.
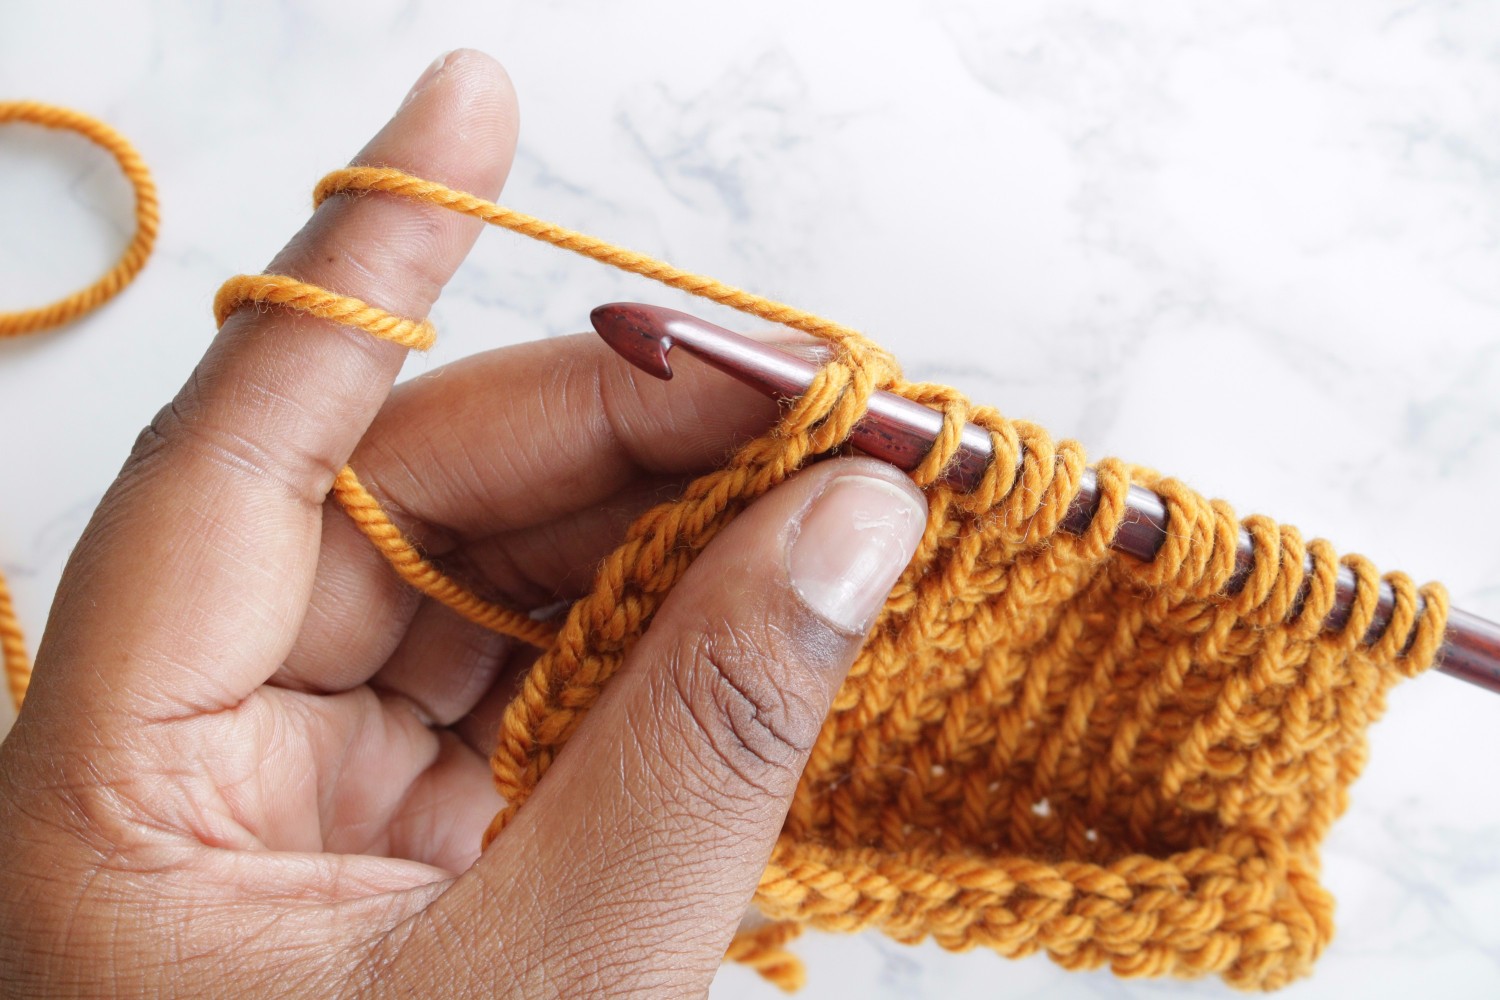
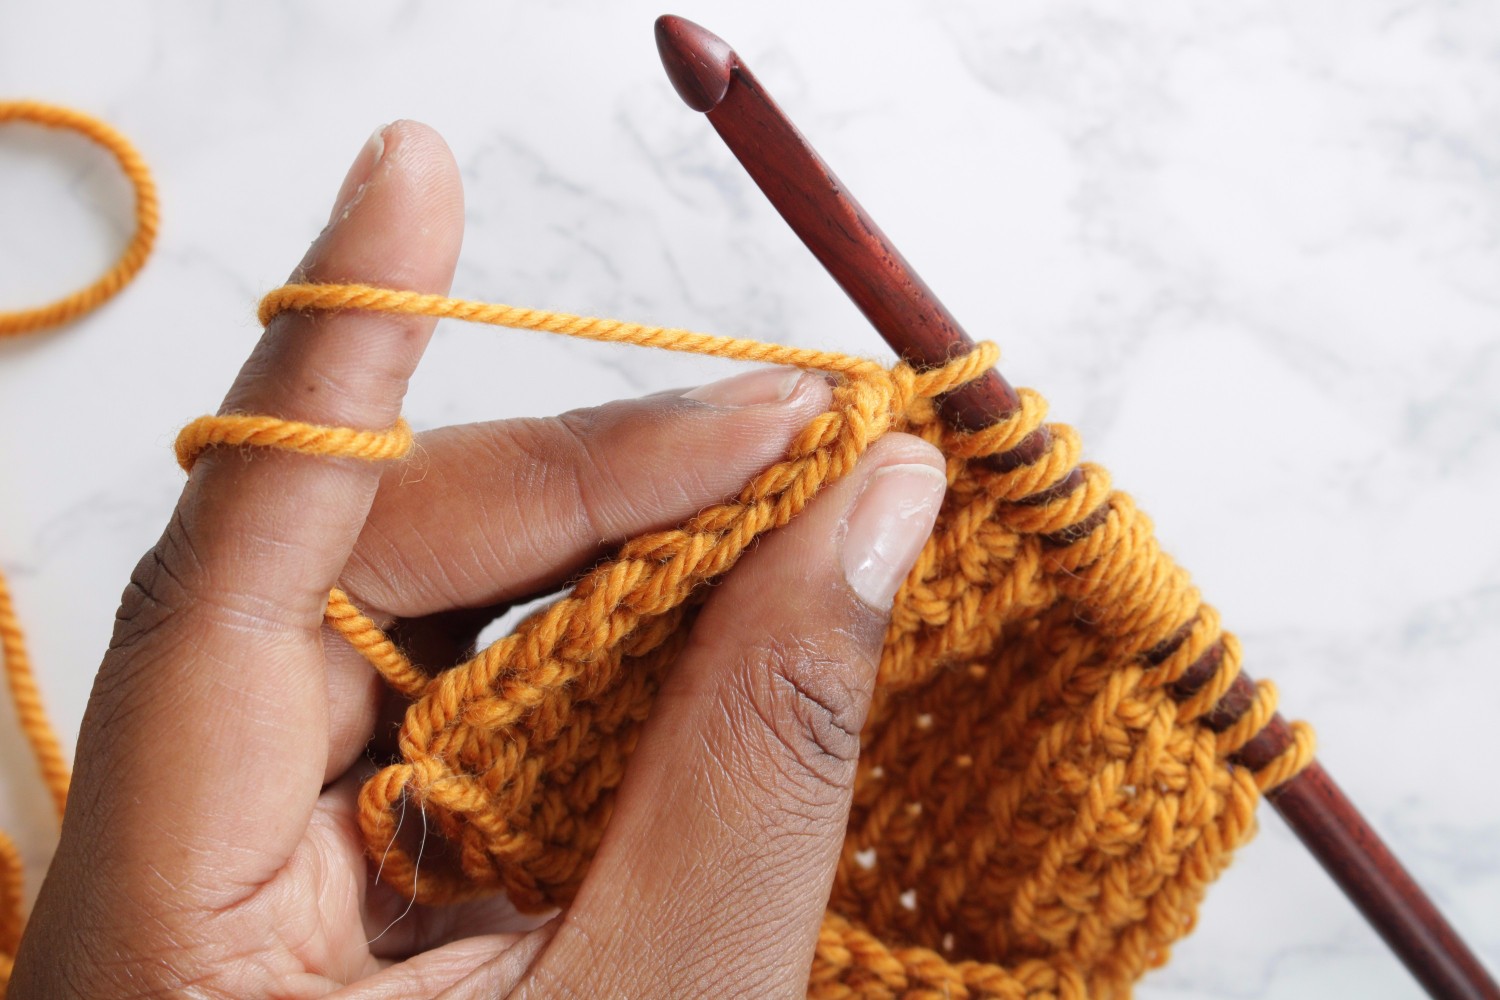
Try this simple fix to get clean edges each time: For the last stitch of the forward pass of any Tunisian crochet stitch, pinch the work between your thumb and forefinger as shown above. Rotate the work toward you so the left edge is showing clearly. Insert the hook under BOTH loops of the last stitch, pull up a loop, then proceed to the return pass as instructed. Working under both loops of the last stitch ensures all stitches are uniform and makes tension a non-issue.
Hack #3: Cure curling once and for all
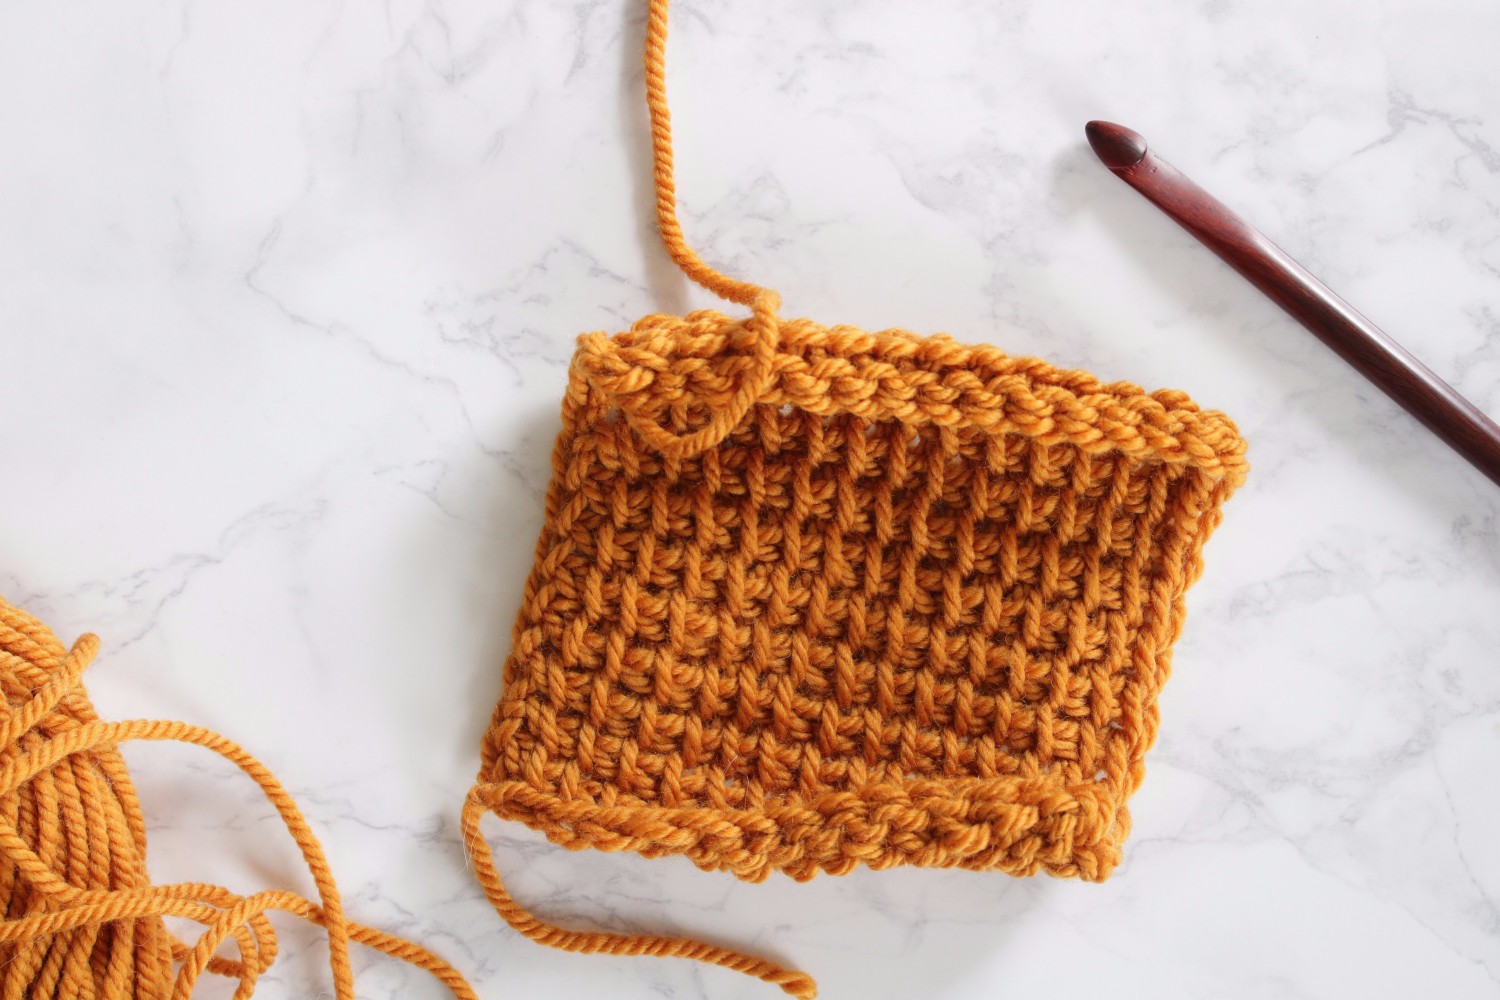
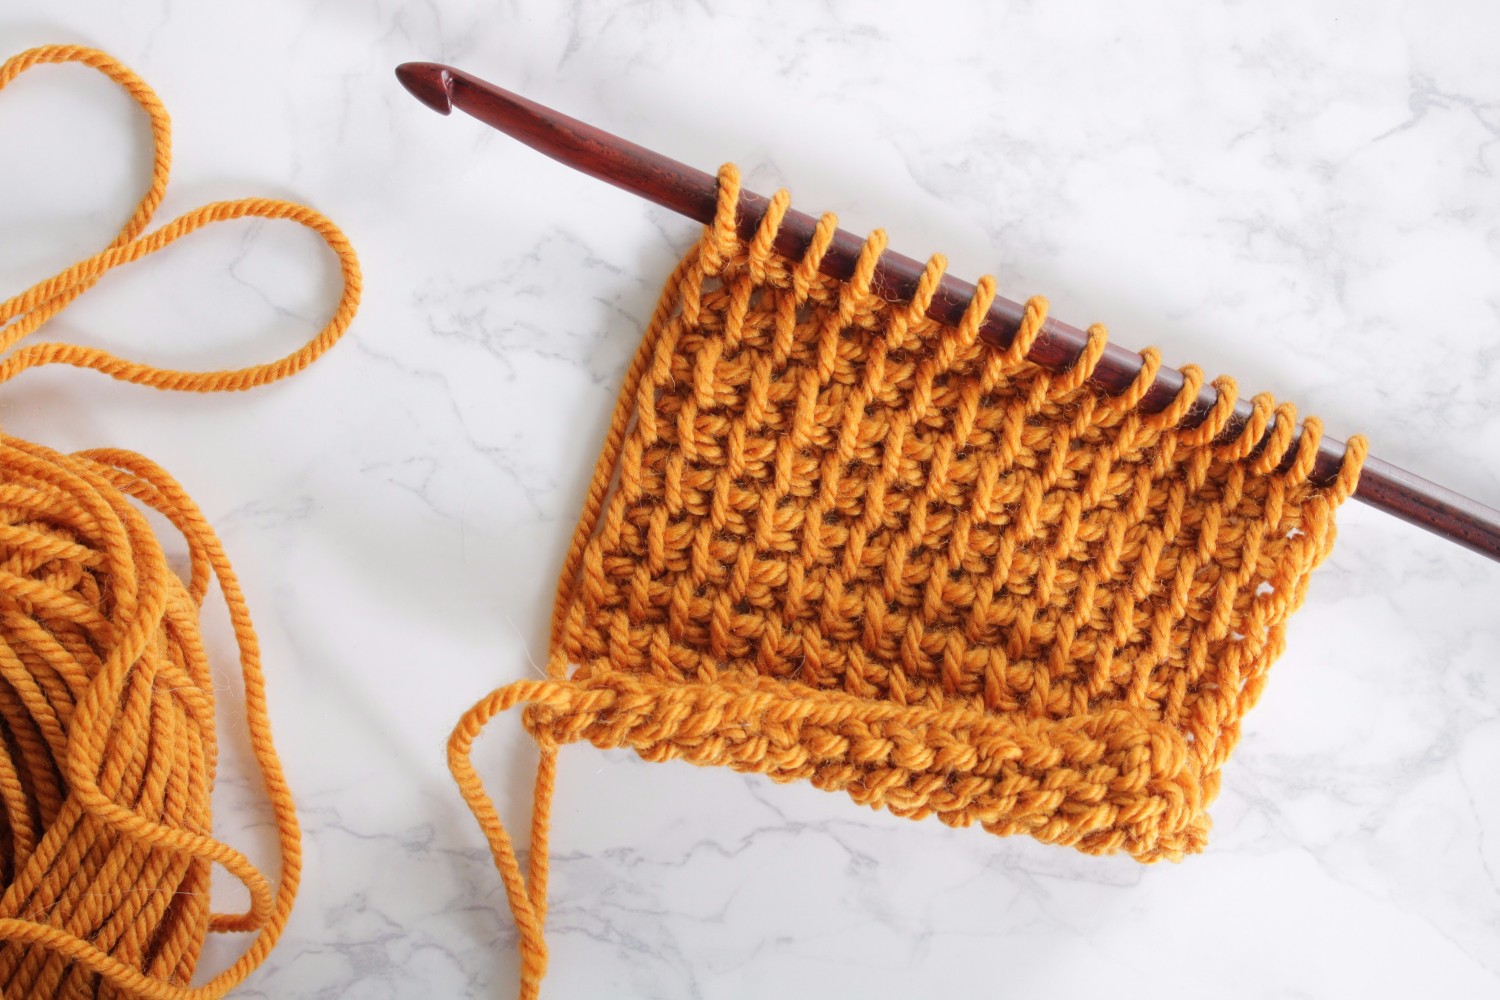
The biggest frustration almost everyone has when learning Tunisian crochet is the incessant curling.
The top and bottom edges of Tunisian crochet fabric tend to curl inward, and there is little to be done about this while the project is still in progress. The curling is a result of constantly pulling stitches forward as more and more rows are completed.
The first line of defense against curling is choosing the right hook size. A rule of thumb to learn early on is to choose a hook one to two millimeters larger than the yarn’s ball band suggests.
For example, if a DK weight, category 3 yarn calls for a 4.0mm crochet hook, try a 5.5mm hook to start and see how the tension and gauge feel for the project you are planning. Increasing the hook size loosens the tension on individual stitches and helps the yarn relax a little.
When all else fails, blocking a finished piece of Tunisian crochet is the best way to cure the curl. Blocking introduces moisture to the party and helps fibers (especially animal fibers) behave.
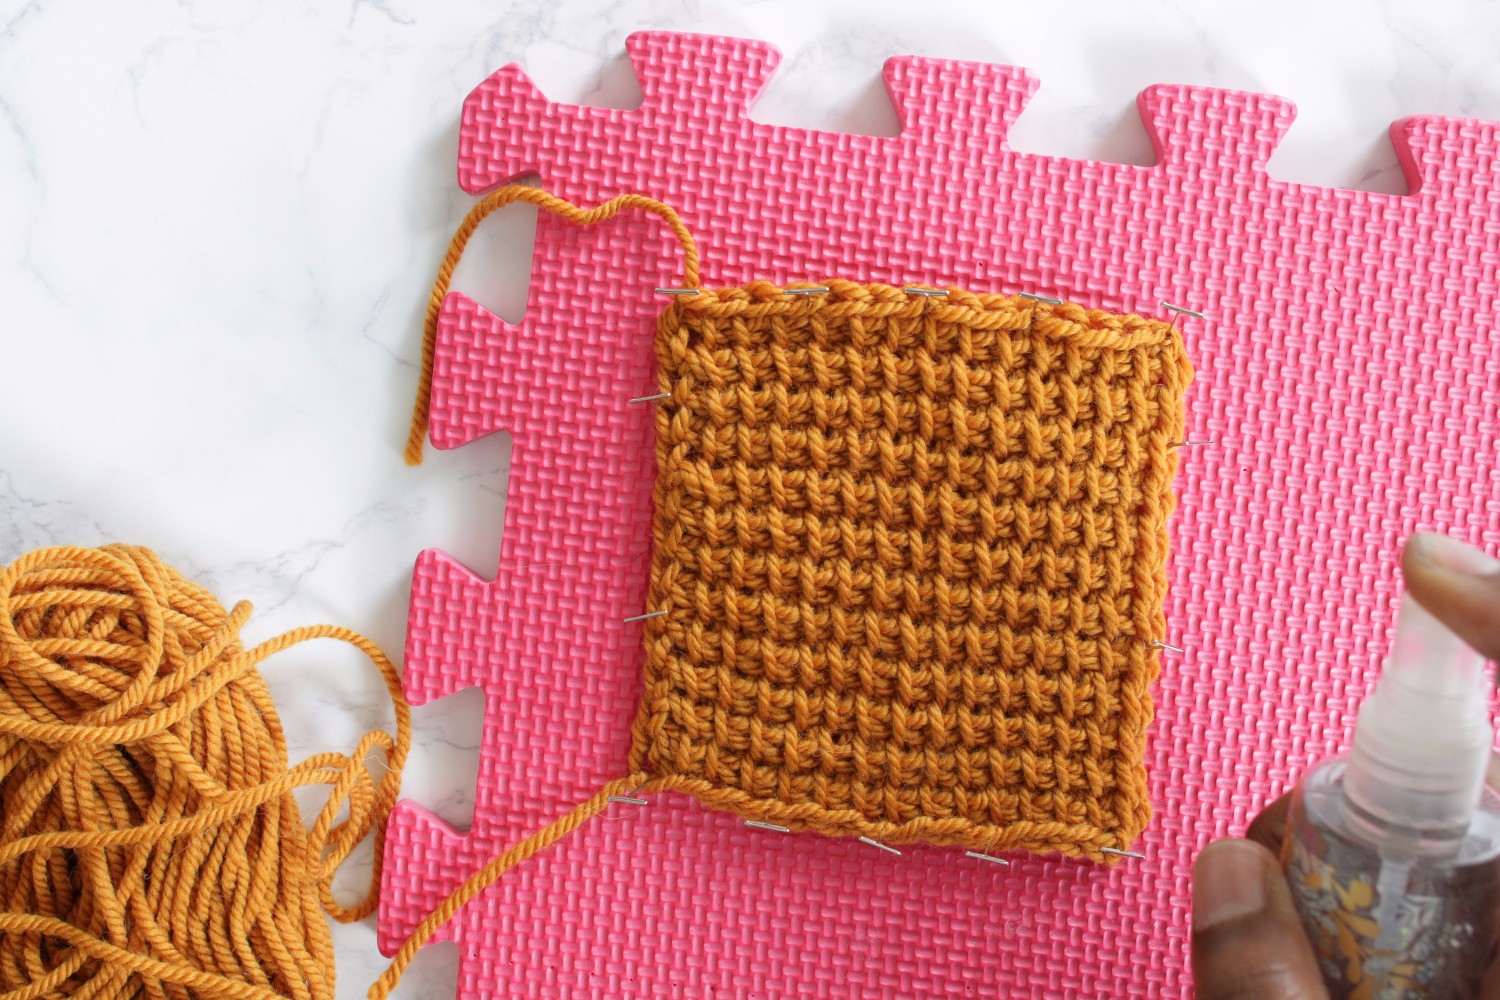
The easiest blocking method is spray blocking. To start, spread the project flat onto a blocking board, or in this case, a clean foam play mat. Pin the piece into shape using rust proof pins. Spray the piece evenly with warm water. Once the piece is damp, leave it to fully dry. Rest the blocking board under a ceiling fan to speed up the process.
Pro tip: Add freshness to your blocking process by using Soak Flatter Spray. Soak Flatter Spray is lightly scented and leaves Tunisian crochet projects soft and static-free.
Have your tried any of these hacks on your projects? What are some of your best tips for Tunisian crochet beginners?

Beginner’s Guide to Tunisian Crochet
Combine the best of two needlecrafts to create three cozy accessories that look like they’re knit — all using a single crochet hook!
Thank you for this! In the late 1970s I bought what seemed to be just a long crochet hook (no instructions) tried it out and was delighted with the result. With variegated green yarn I was able to make strips about 8 or 9” wide and 5 feet long while seated on my long daily bus commute. When I had 5 or 6 strips, I used regular crochet stitches to attach them, and then made an edge about 1 inch wide all around. It turned out beautifully in spite of my not having your helpful info on edging. After pressing, it became an unexpected gift for an elderly relative who saw it and took it home. I did not know it was called Tunisian crochet. Will try it again, as it is so easy to do while still spending time with my dearly beloved. Blessings.
I start with 2 strands of yarn just for the chain. Works for me. I call it the afghan stitch and I be doing it for 75 years. I learned to crochet when I was 6 years old, and knit when I was 10. I have been looking for a crochet hook about 10" long in all sizes. I have a lot, but they are 15" long and it is to hard to hold.