
Photo via Joseph Feller
The patterns in Among Stones are all designed to be enjoyable to knit and great to wear. They are the kind of knits that I want to wear every day, a key focal point to add interest but otherwise not too fussy! Top-down raglan shoulder construction is very forgiving and easy to modify, Carol says. You can change the type of increases or change the rate of increases to modify the sweater easily to your body. Check out Carol’s answers to our burning questions about this wonderful technique!So what is top-down raglan shoulder shaping?
As the name implies, it is worked from the top starting at the neckline. You cast on enough stitches for the back of the neck and the top of the shoulders and perhaps also for the front of the garment. Sometimes the shaping for the front is worked after you start, increasing to form a gentle curve around the front of the neck. After the cast on, you mark each raglan seam line, which is at each side of the sleeve left and right, giving you 4 raglan seam lines in total. Now, you will work an increase at each side of those seam lines every other row. If you are working flat, then you will have those increases every right side row and if you are working in the round, the increases will be every other round. You continue working those increases until you have the correct depth for your yoke (the upper body section of your garment) and enough stitches for your body and sleeve. Do keep in mind that the final step of the raglan construction is to cast on stitches across the underarm area. Because of this, you will have a little less body and sleeve stitches at the bottom of the raglan then the total you need.There are two main modifications you can make to your raglan.
First, let’s take a look at the increase type.
 Dacite (left) and Dolomite (right); Photos via Joseph Feller
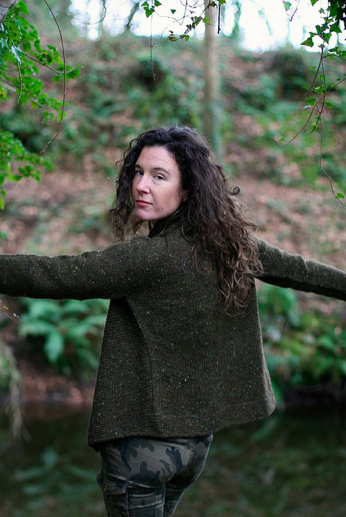
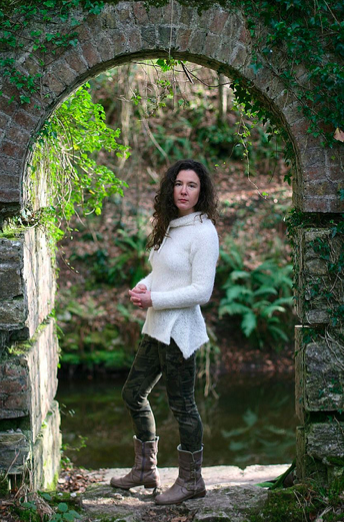
- Dacite and Dolomite both use a simple increase type, kfb. With this method, you’re just knitting into the front and back of the same stitch and it creates a series of “bars” that run down either side of your raglan shoulder seam.
Gabbro; Photo via Joseph Feller
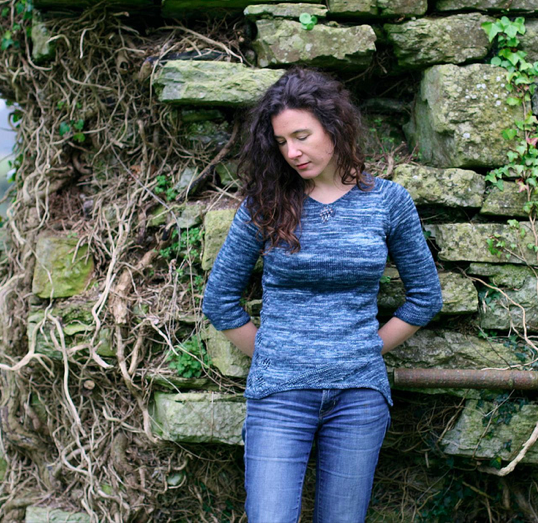
- Liathite, Liathite Jr and Gabbro all use M1R and M1L increases. This type of increase is subtler. You are lifting the bar of yarn between the stitches from either the front or back and then twisting the stitch to prevent a hole. The directional slant of this increase is very slight, but by changing the number of stitches between the increases you can create different seam effects also.
I would 100% wear Dolmite. It is too beautiful!
I love Carol's creations! As I am short and busty, top down construction is the best way for me to knit (or even crochet) any type of top. I think Dolomite will be the first sweater I will knit. It's said that shaped hemlines are well suited for petite bodies. Nancy Lee