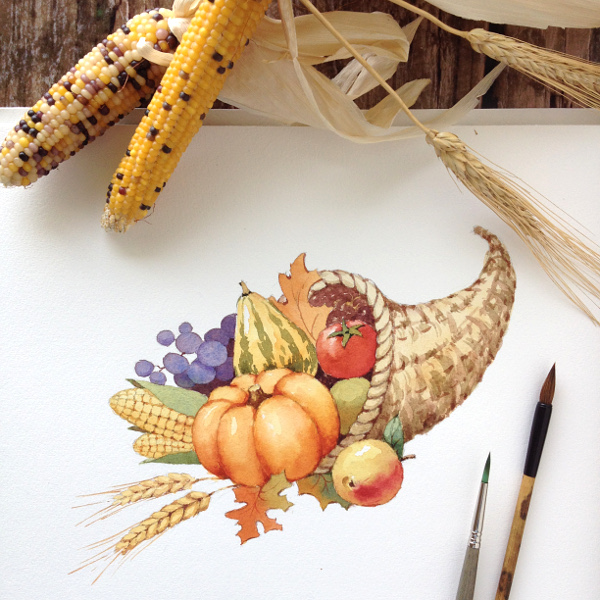
Make your Thanksgiving dinner even more festive with a one-of-a-kind painting hanging on the wall. There are a ton of motifs you can paint — turkeys, decorative gourds, fallen leaves, hearty pies — but one of the most popular Thanksgiving symbols is the hearty cornucopia. With all its shapes, colors and textures, it’s so much fun to create. Keep reading for Thanksgiving art ideas.
Cornucopia Painting
Level: EasyWhat You Need
Watercolor Paints
- Yellow Ochre
- Raw Umber
- Light Red
- Perylene Maroon
- Winso Violet
- French Ultramarine
- Quinacridone Gold
Tools
- Two soft fine-tipped round brushes, one large and one small
- Watercolor paper
- Palette
- Water
- Pencil
- Eraser
Pro Tip: The paints listed are what we used in this tutorial. Feel free to substitute any colors needed for your own still life. And if you want a more luminous painting, be sure to use transparent watercolors instead of opaque.
Instructions
1. Make Your Sketch
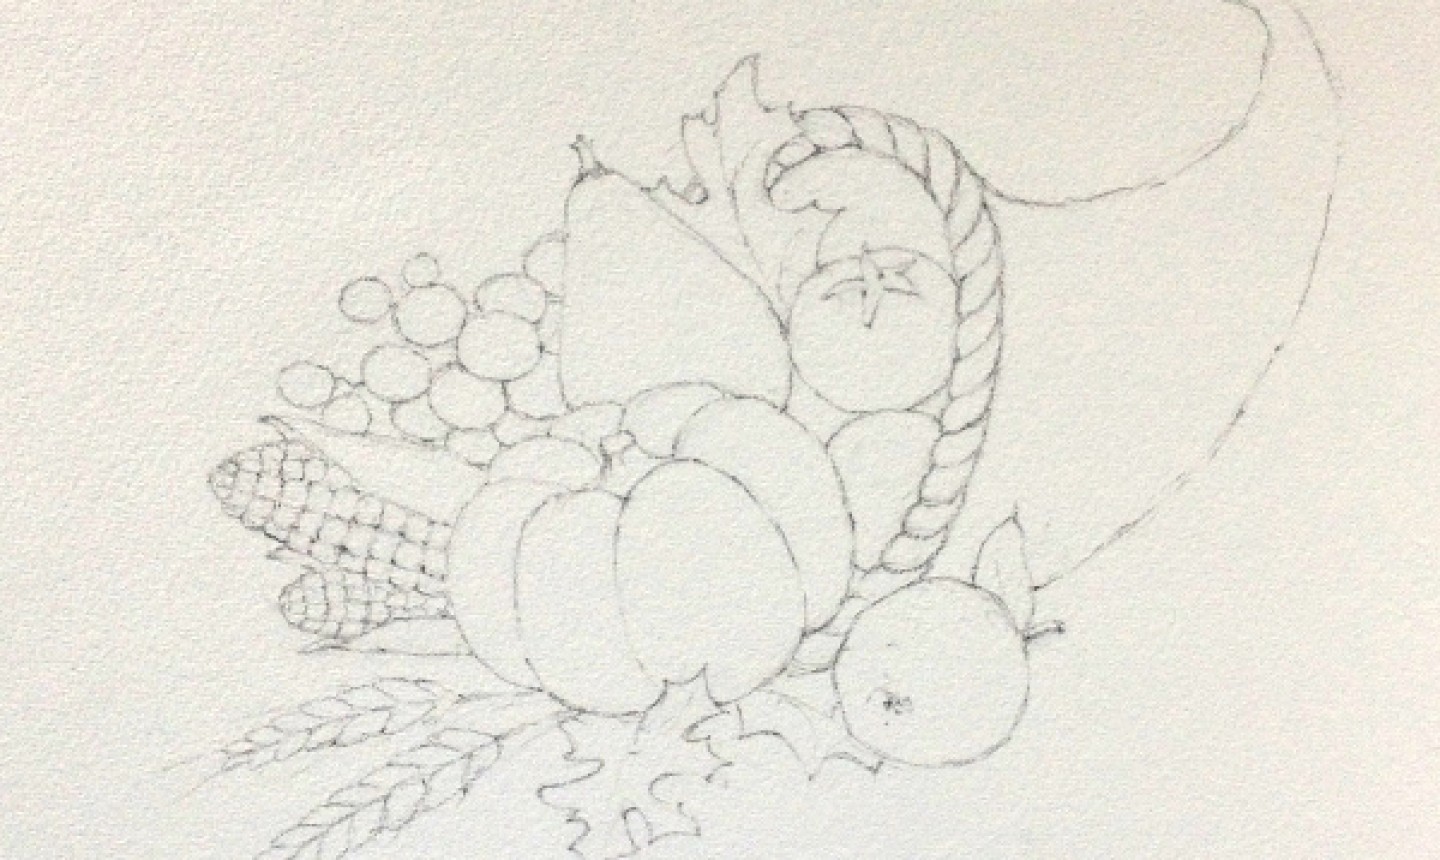
Do a preliminary contour drawing of a cornucopia. If you don’t have one to draw from real life, you can use a reference photo.
Add some leaves and wheat stalks to enrich the composition. Try to combine objects of complementary colors. For example, blue-violet grapes make a perfect match for yellow and orange vegetables.
2. Add the First Glaze
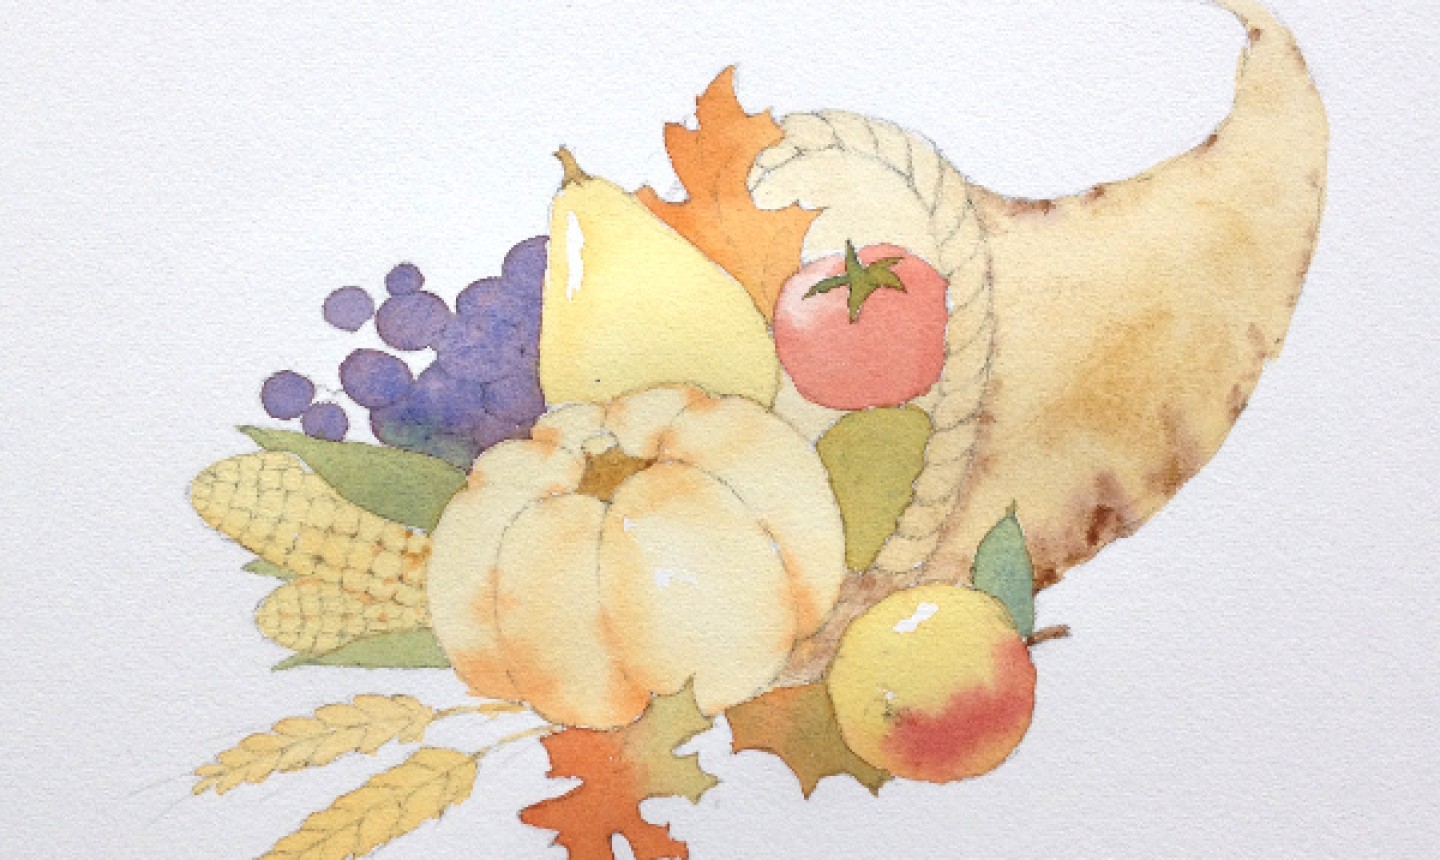
Apply the first layer of color throughout your painting. We used the following mixtures:
- Raw Umber with a drop of Winso Violet for the basket
- Quinacridone Gold with Light Red for the pumpkin
- Light Red with Perylene Maroon for the tomato
- Yellow Ochre and Quinacridone Gold for the corn ears
- French Ultramarine with Quinacridone Gold for the greens
Pro Tip: Make sure each section is completely dry before painting next to it. If you add a glaze next to one that’s still wet, the colors can bleed into one another.
Wait until the painting is completely dry before moving on.
3. Paint the Second Glaze
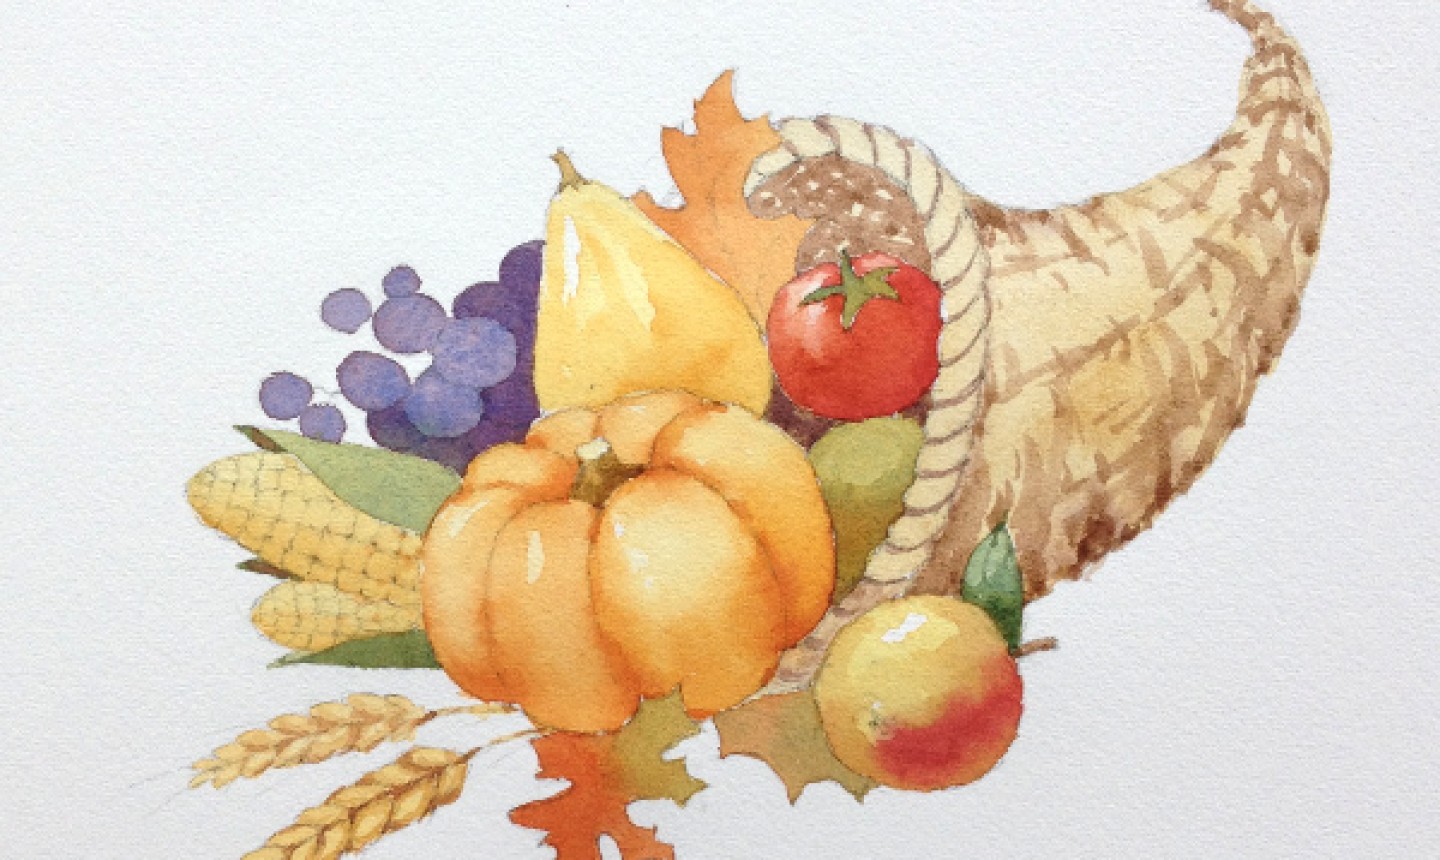
When you apply the second glaze, build shadows to create depth. Use your smaller brush to add brushstrokes to the cornucopia basket to create the woven texture.
4. Build the Layers
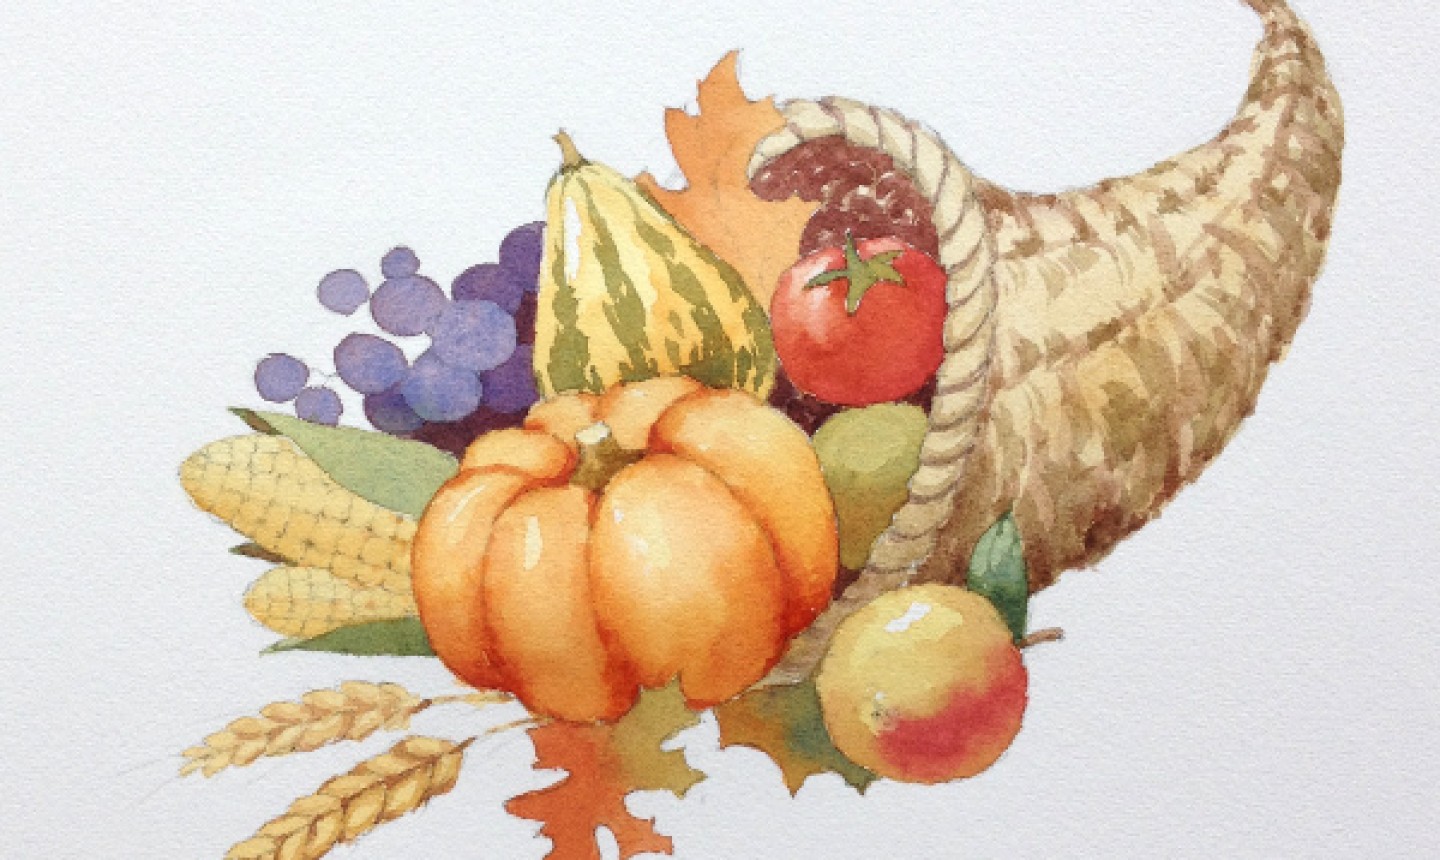
Continue building glazes and adding details. Make sure each glaze dries completely before you add another — you can use a blow dryer to speed this process up.
5. Add the Details
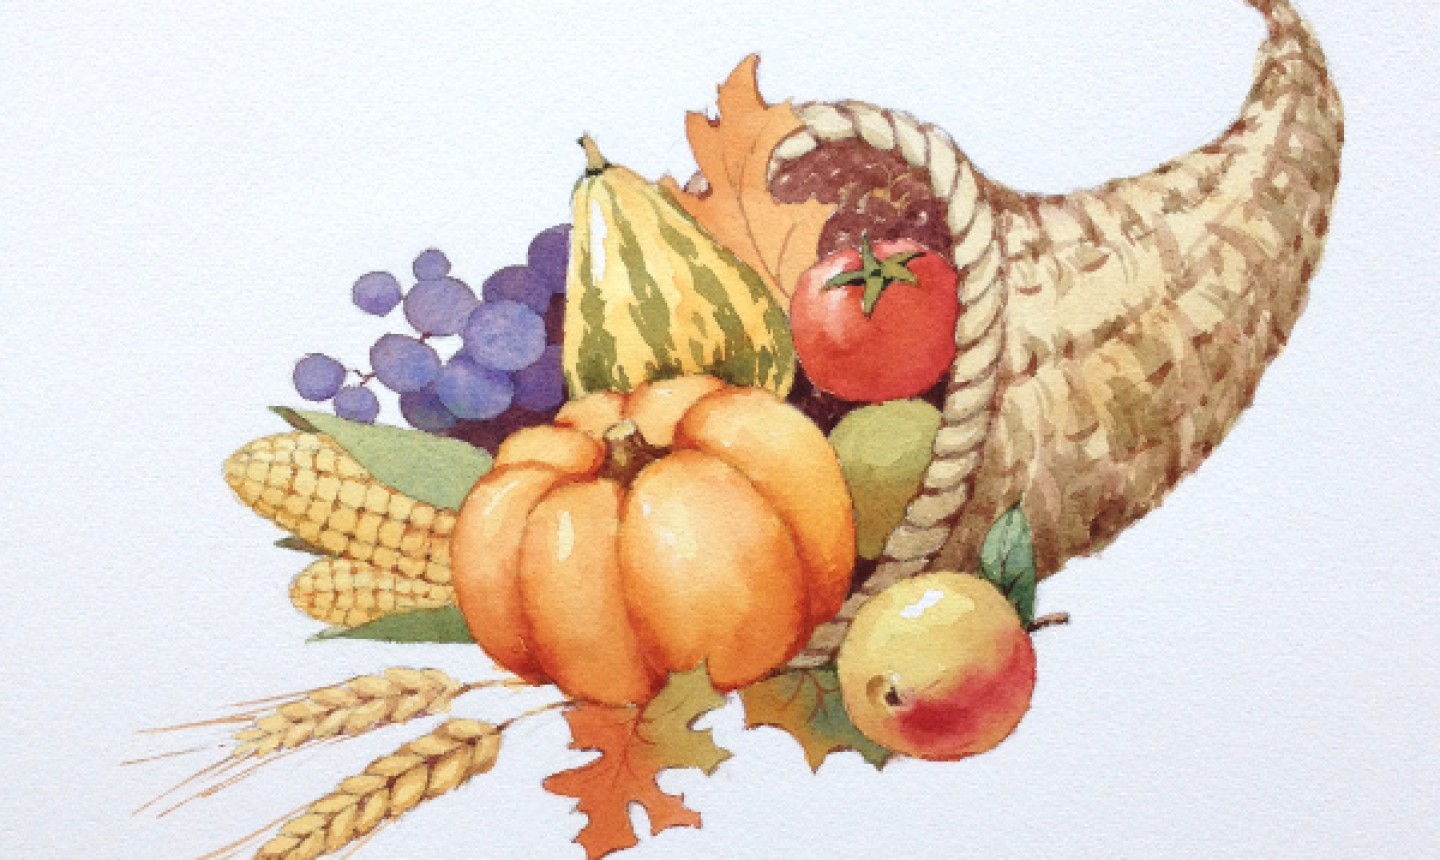
Use your small fine-tipped brush to add the final details of your painting. Let dry and hang that beauty up!
Oh Craftsy, I have missed you! So happy to see this wonderful creative platform back in action. Thanks so much for sharing this wonderful watercolour design :)