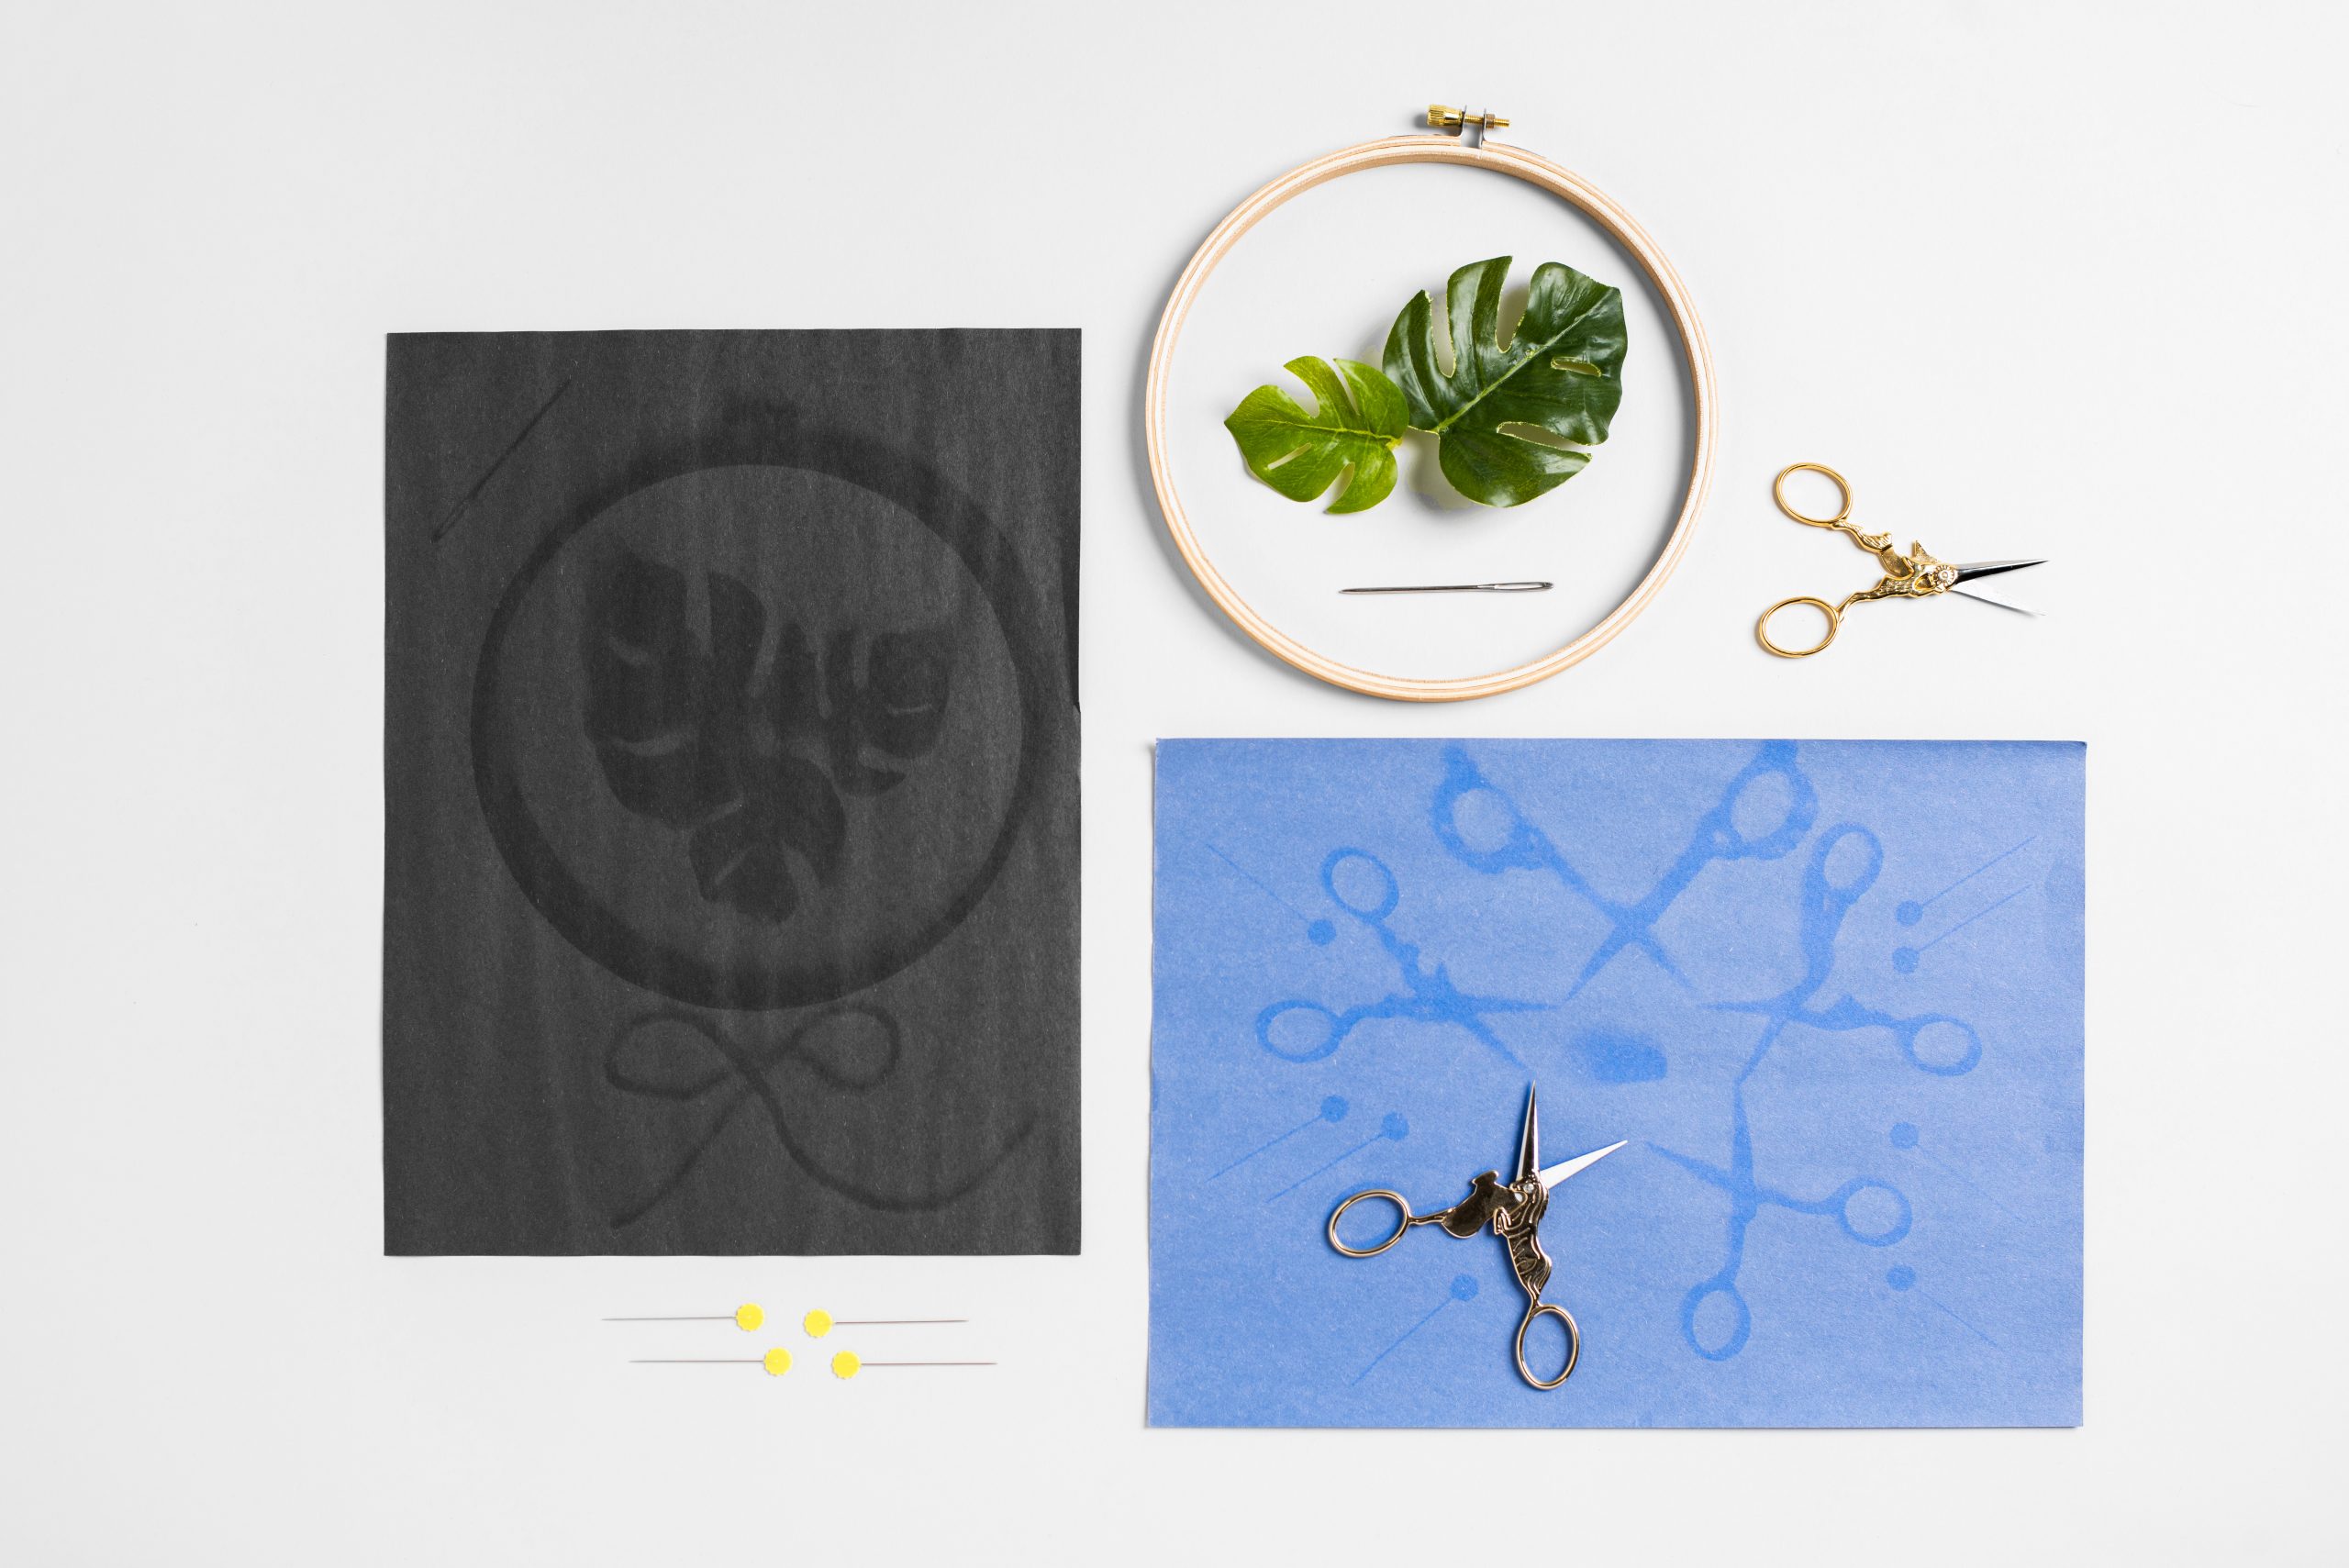
Take advantage of long summer days with an easy project that'll keep the kiddos entertained — not to mention teach 'em a little somethin' somethin' about sunlight. All it requires is a bit of patience and a burst of creative mojo.
Sun-Bleached Paper
Level: Easy
What You Need
Instructions
1. Place your objects on the construction paper in a sunlit area outside. Let your kids be creative in how each object is positioned.
2. Leave the paper out in sunlight for at least 3-5 hours.
3. Remove the objects from the paper. You'll see the sun bleached the uncovered areas, but the paper under the objects stayed fully colored.
Tips for the Perfect Project
While this craft is simple, there are a few ways to make it even cooler.
1. Choose Darker Paper
When sun bleaching paper, use a darker colored construction paper (like blue or black) to guarantee the contrast in the shapes and stencils. Plus, the darker the paper color, the faster it will fade.
2. Create a Melting Effect
Express your abstract style with a melting effect by placing a few crayons on the paper to create a dissolving pattern. This is a super cool way to make a few new art pieces for your kids' rooms. Just throw it in a cute frame, and voilà!
3. Let Your Kids Pick the Objects
Half the fun of this project is allowing kids the freedom to put whatever they would like to see on their artwork. Everything from bird feathers to harmonicas are completely allowed sun-bleaching privileges. While we recommend objects with soft or dull edges, if you allow sharper objects (like scissors), make sure they're only handled under adult supervision to stay safe.
4. Use Sun-Sensitive Paper
Instead of waiting a few hours for construction paper to bleach, you can purchase sun-sensitive paper at craft stores and see results in as little as three minutes. Perfect for a quick piece of artwork, or for the kiddo with a shorter attention span.
5. Create an Entire Scene
If you have the resources, correlate your objects to recreate a piece of scenery you love, like the beach, a park, or your kid's favorite playground.
6. Consider Weight
Just because the stenciled object is pretty doesn't mean it will hold up outside for a few hours. Choose objects that will stay put for several hours and won't be blown away by the wind.
7. Pick the Perfect Spot
Choose a spot that will have continuous sunlight for several hours. Since the sun moves throughout the day, it's important to know where the sunlight hits and make sure the paper will be well lit.

Can this work on fabric?
Put a thin sheet of plex over stencils if it's windy!