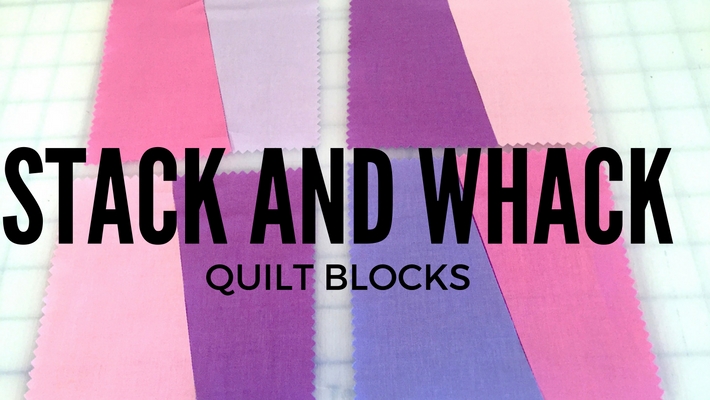
When you begin quilting, you start learning the secrets of the quilting world — little tricks that make quilting easier, faster, and more fun. Paper piecing, string piecing, strip piecing… all of these make the piecing process a little less tedious and a little more efficient and accurate.
What is stack and whack piecing?
The term Stack-n-Whack was coined by Bethany Reynolds, who’s best known for her stunning kaleidoscope quilt patterns. However, the phrase (along with “stack and slice”) has been eagerly adopted as a generic term in the quilt community, used to reference the technique of slicing multiple pieces of fabric cut at a time. This creates interchangeable pieces that can be rearranged and pieced together.
What you need for stack-and-whack blocks:
Stack-and-whack quilt blocks are a popular use for pre-cuts like charm squares or 10″ square pre-cuts.
While you can definitely do this technique with a standard quilting ruler (as I’ll demonstrate below), some specialty rulers on the market are targeted toward this technique. I especially like Vanessa Vargas Wilson’s 10″ Slicer, which is specifically designed for 10″ squares. This ruler makes it easy to create really fun designs (like the pillow below) without a lot of tedious measuring and cutting.
So how do you use the stack-and-whack method? It’s easy! Here’s a tutorial to get you started.
Step 1:
Photos via Right Sides Together
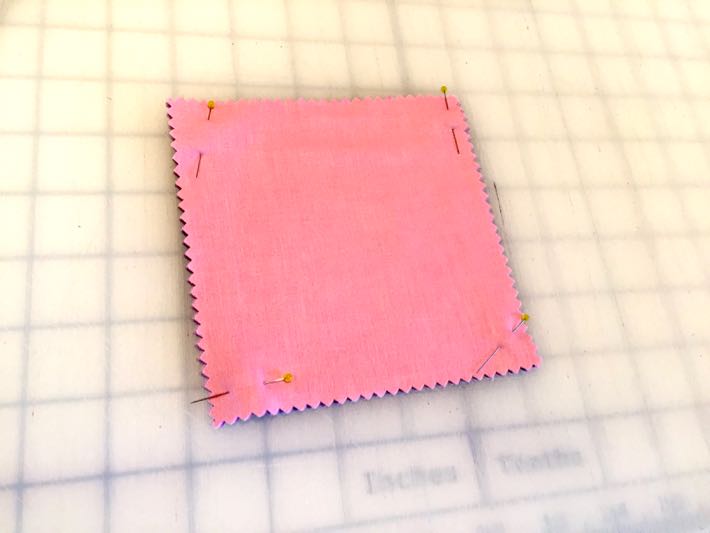
After choosing your fabric (here I chose five or six 5″ charm squares from my stash), pin them together. This is what’s known as the “stack” part of the program!
Step 2:
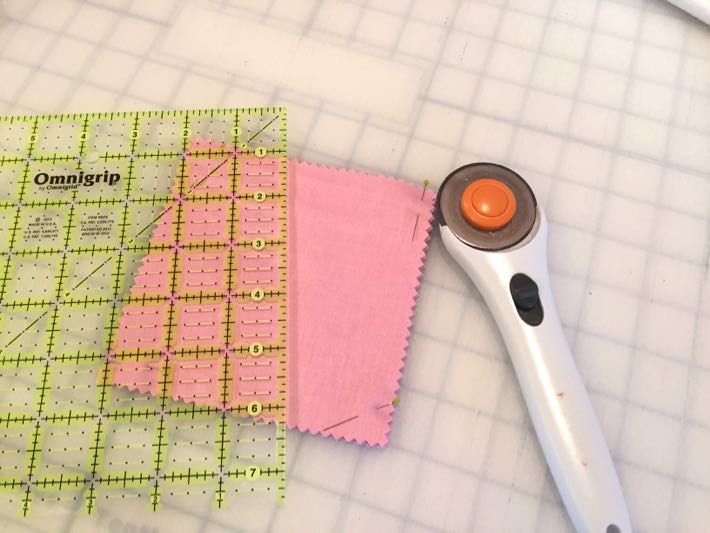
Place a ruler or straight edge where you’d like to cut. I chose an off-center, “wonky” look for my blocks. I’m only making one cut for the purpose of this tutorial, but you could make several slices if you wanted to. (This is how the cool patterns in Vanessa’s pillow were created.)
Step 3:
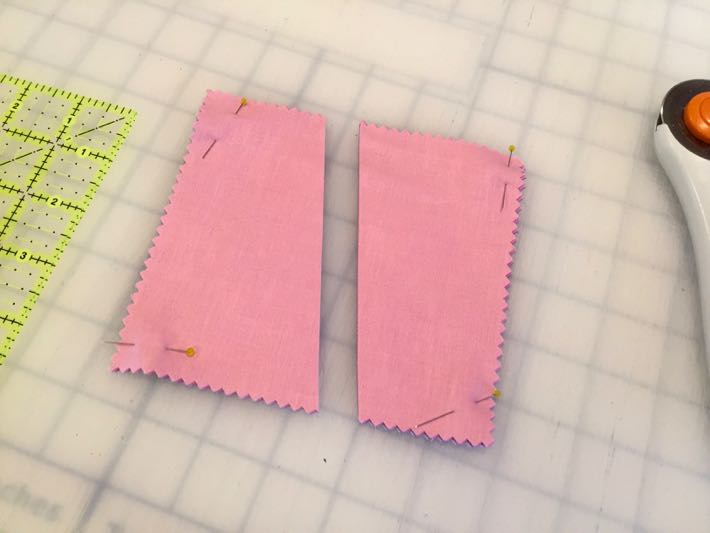
Using your rotary cutter, “whack” the block by slicing it along the ruler. Since you’ll have five or six layers of fabric, it’s best to use a very sharp and fresh rotary blade for this task.
Now you’ll have two piles of fabric in different shapes and sizes. The one thing they share is that they all have a cut edge that is exactly the same length. Now for the magic.
Step 4:
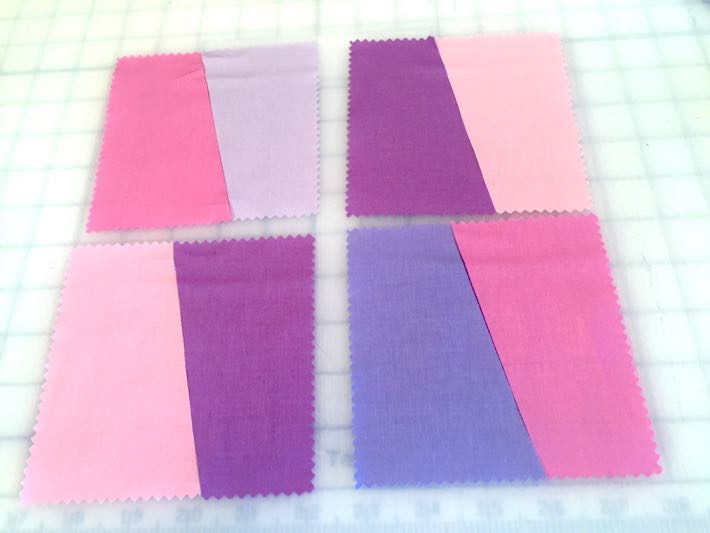
Unpin your piles of fabric, then pair up the pieces, using one from each stack. Play around with colors and arrangement, and pay attention to the secondary pattern that emerges from putting the shapes together.
I like the complementary colors in this layout, and I also like the left-to-right diagonal pattern that’s emerging.
Once you’re satisfied, sew each pair of fabrics together and press seams open.
Step 5:

After sewing the pairs of fabric together, you can square up your blocks. In my case, the blocks are not square anymore because of the seam lines, but I decided to leave them as in.
Then, sew the blocks together into one big block. I’ve only sewn one big block here, but I can imagine how cool the repeating shapes would be if I created more blocks and made this into a quilt top.
And that’s it! I love not having to spend hours at the cutting table with this method, which means I can spend more time behind my machine and create truly wonderful quilt blocks in a fraction of the time.

Thanks for the great tip! I’ve been trying to think of a new way to make a quilt for our new Son-In-Love! He likes the color Blue so I have many 10” squares! This is the perfect pattern!
Sounds good but no picture
I’m almost 83 and I’m. Very beginner at quilting. I need all the simple patterns and techniques to make a great quilt. Thank you for this advice.
It's nothing I've seen before. Cool
I am new to sewing so a friend has shown me this method using 9 fat quarters. It turned out beautiful. Easy for a learner.
Lovely
I like. This is different than what I have seen before. Thank you.
That would be fun to learn.
Looking forward to viewing your website!
Can you use a large block, say 10-12 inches and make more cuts? Like maybe 5?