Classic granny squares sometimes are a little too old-fashioned for modern projects. Here's an easy alternative: Make a solid granny square, which is just as simple to make but has a more contemporary style. This no-holes square can be adapted to any size for use in a huge range of projects.
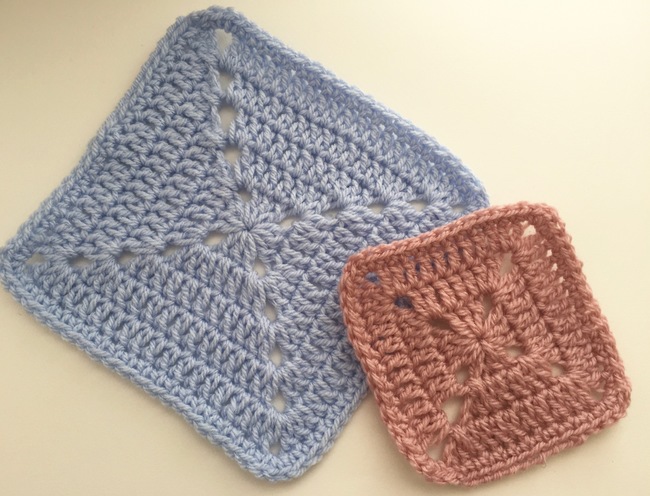
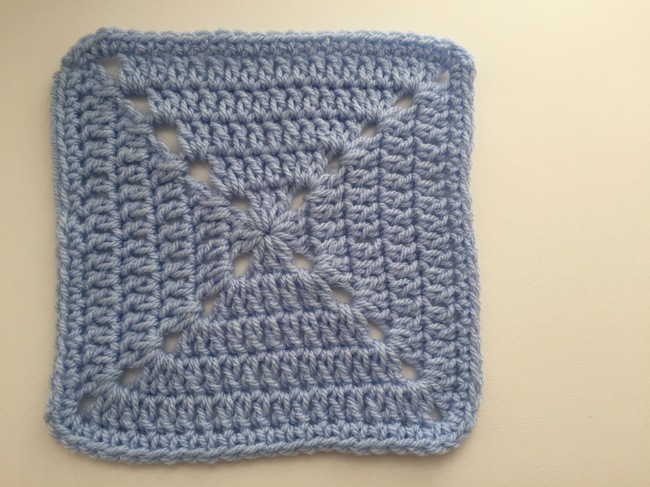
Photos by Kathryn Vercillo of Crochet Concupiscence. Samples crocheted in Sprightly Acrylic Wool Worsted Yarn in Misty Pink and Sprightly Acrylic Worsted Yarn in Misty Blue.

FREE Granny Square Pattern
Get our go-to granny square pattern, for free!
We’ll go step by step through each round of a solid granny square.
Round 1
The first round of the solid granny square is exactly the same as the first round of a classic granny square.
If you prefer a different method of starting a classic granny square (like using a magic ring), you can use that for Round 1.
Step 1:
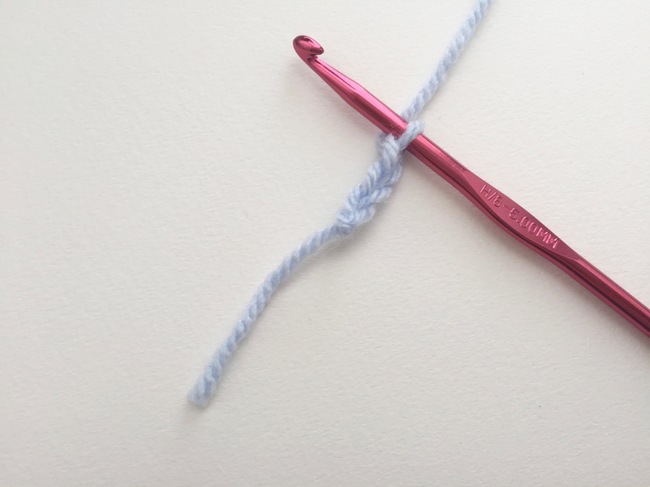
Ch 3 (counts as first dc, here and throughout).
Step 2:
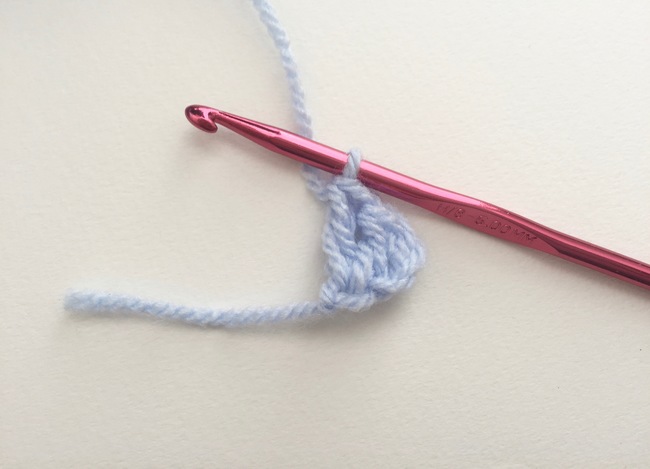
2 dc in 3rd ch from hook.
Step 3:
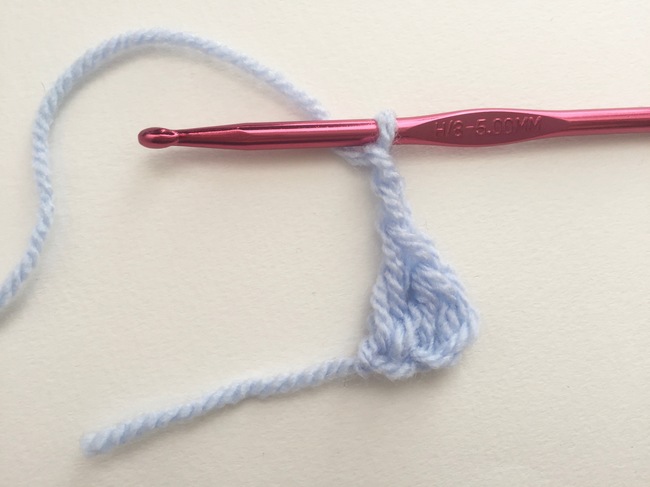
Ch 2 (this will create the space for your first corner).
Step 4:
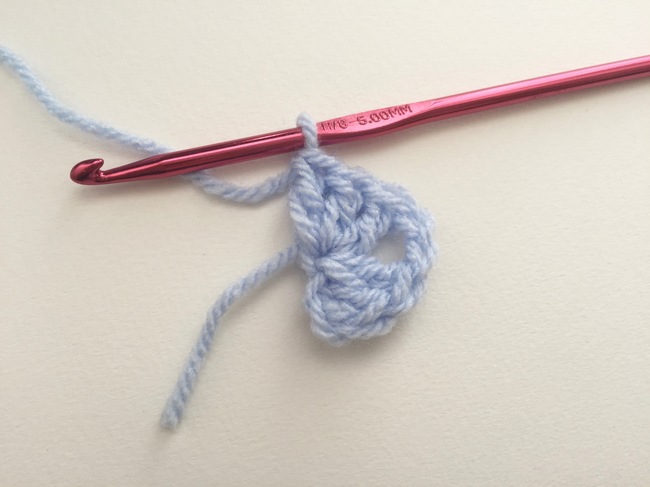
3 dc in same st (3rd ch from hook).
Step 5:
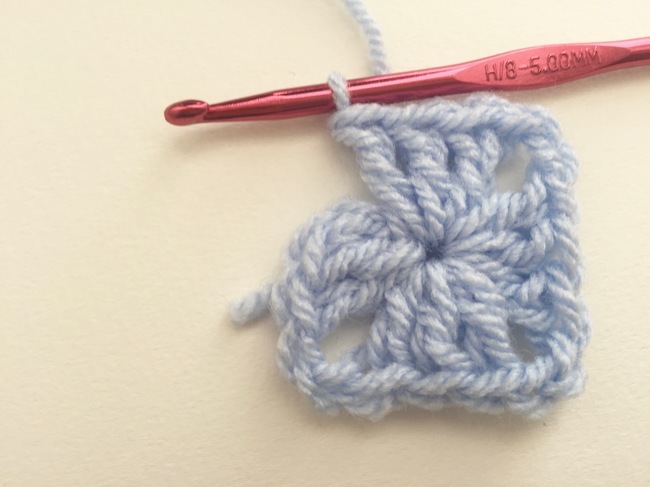
Repeat Steps 3 and 4 twice
Step 6:
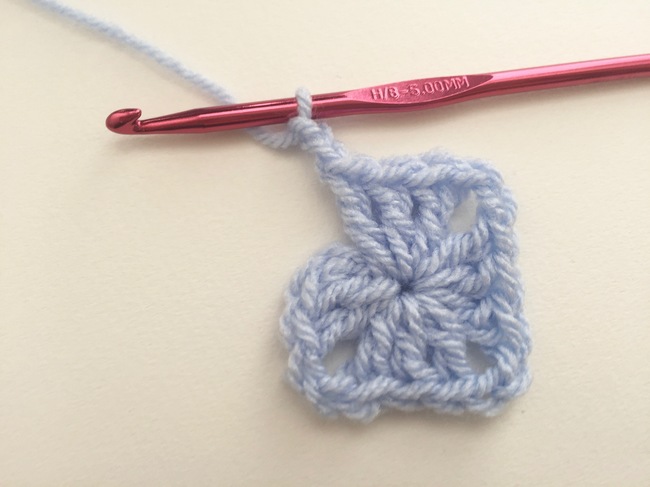
Ch 2.
Step 7:
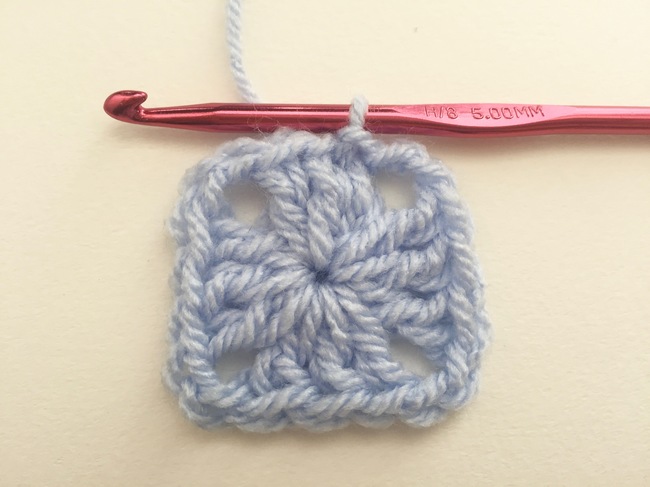
Sl st into top of ch 3 to close round.
Round 2
To make this a solid granny square, you'll double crochet in each stitch across the sides. The corners will consists of 2 dc, ch 2, 2 dc.
Step 1:
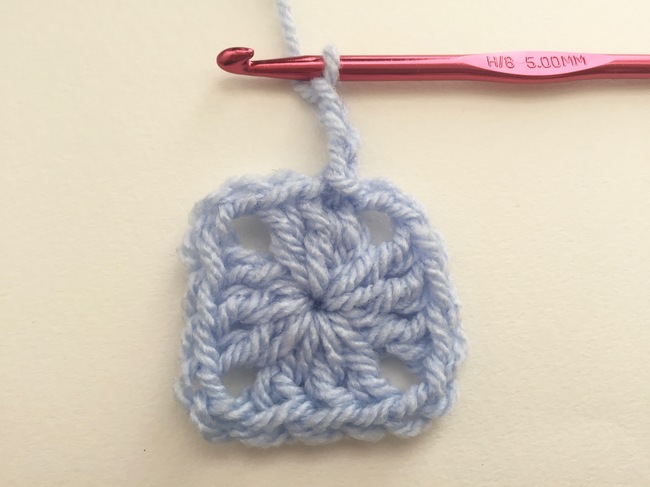
Ch 3.
Step 2:
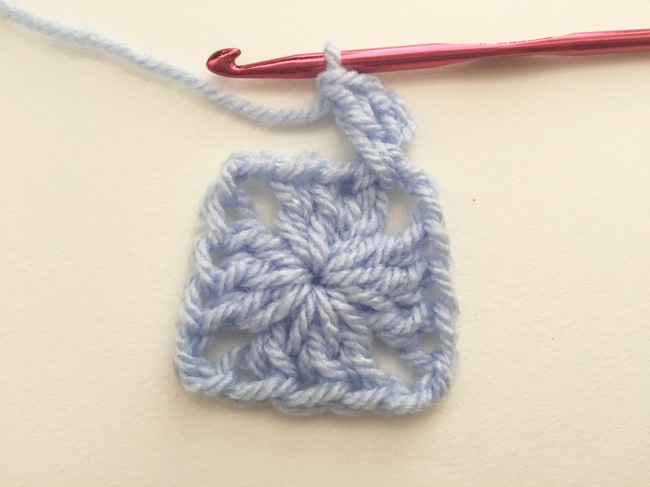
Dc in same corner ch-sp.
Step 3:
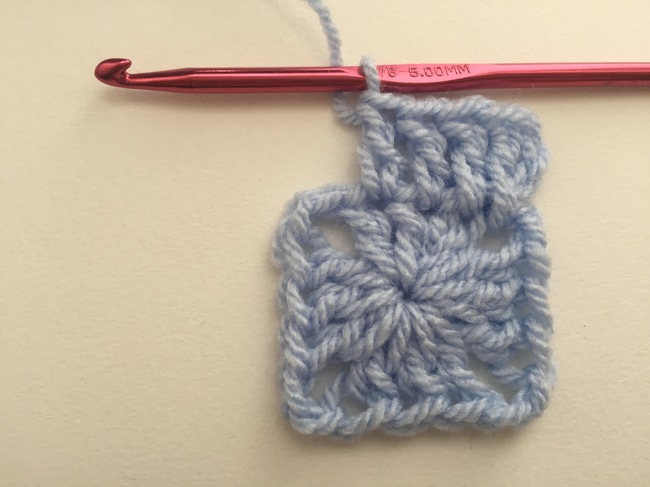
Dc in each st across (3 dc).
Step 4:
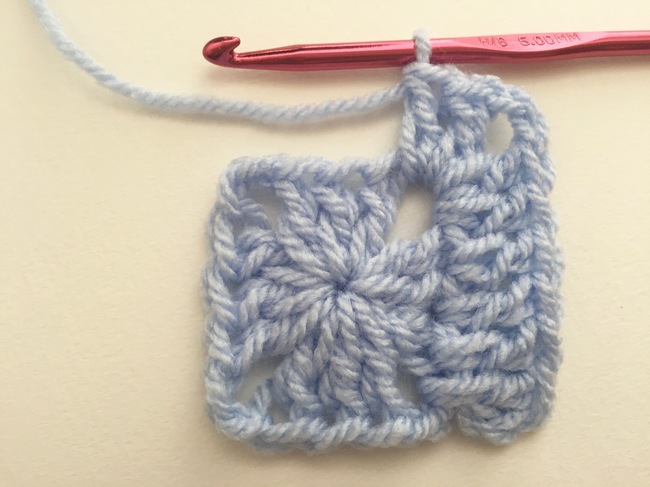
Work into the corner ch-sp: 2 dc, ch 2, 2 dc.
Step 5:
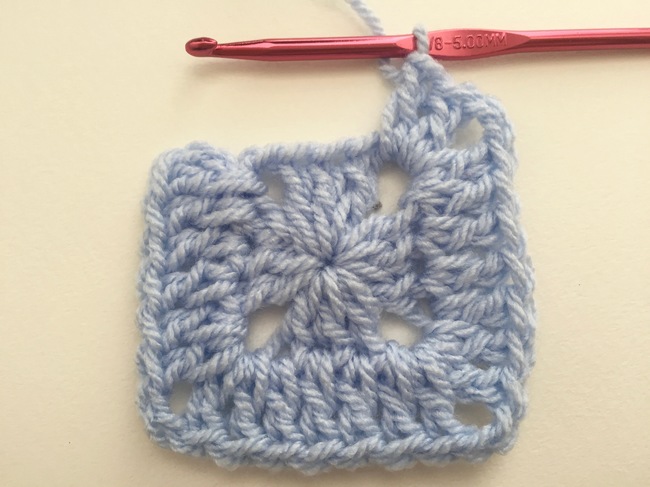
Continue working dc in each st across, working corners as in Step 4, all the way around.
Step 6:
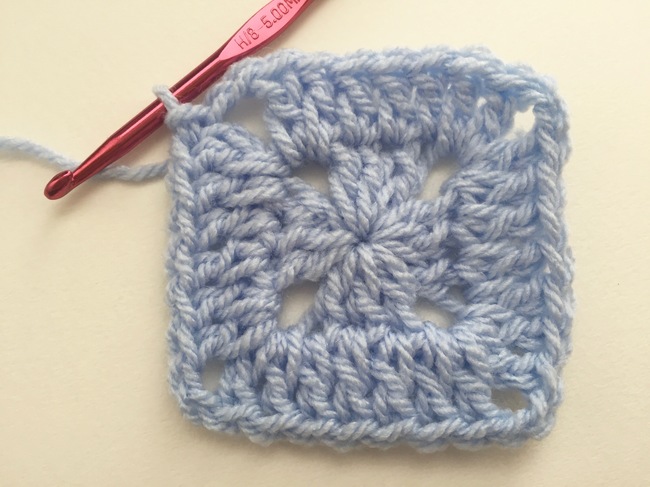
When you get to the final corner, work 2 dc, ch 2 and then sl st into the top of the first ch 3 to close the round.
Round 3
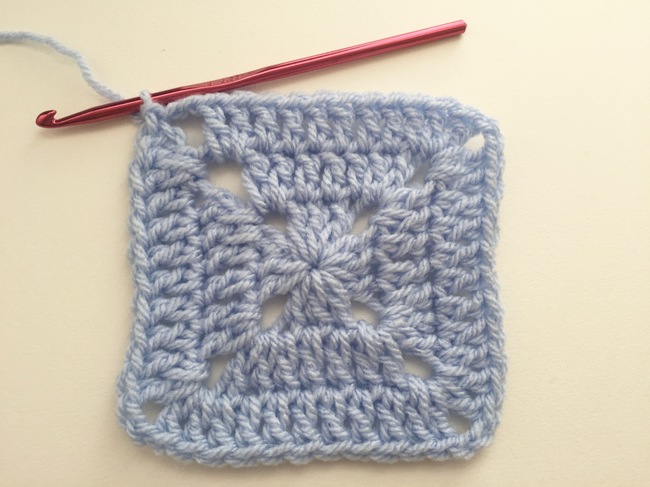
The rest is easy! Each additional round is worked the same way as Round 2. The only difference is that you'll have more dc stitches on each side.
Just to make sure you've got the hang of it, here's a quick step-by-step for Round 3:
- Ch 3.
- Dc in same corner ch-sp.
- Dc in each st across (7 dc).
- Work into next corner ch-sp: 2 dc, ch 2, 2 dc.
- Continue working dc in each st across, working corners as in Step 4, all the way around.
- When you get to the final corner, work 2 dc, ch 2 and then sl st into the top of the first ch 3 to close the round.
Continue growing the square for as many rounds as you wish!
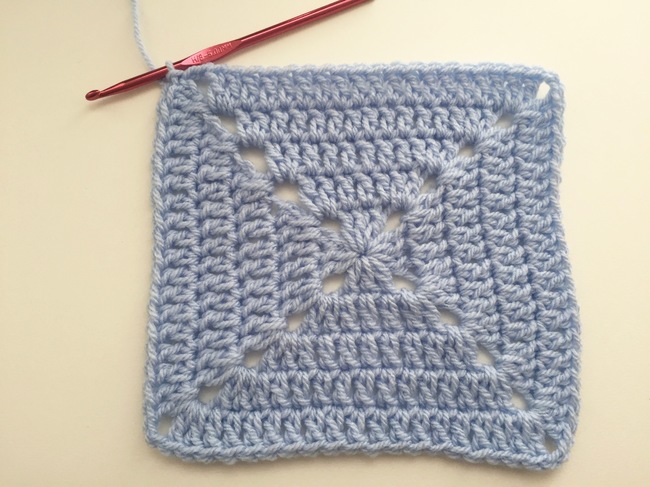
How to finish your solid granny square
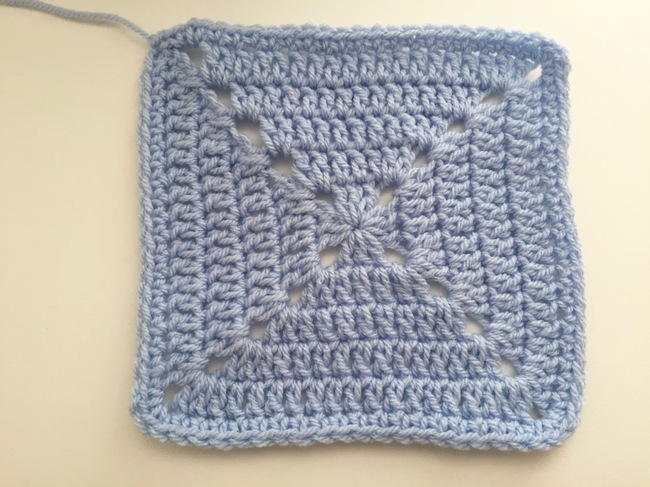
The no-holes nature of the solid granny square makes it look especially polished with an edging around it. If you want to add an optional single crochet edging, here's how to do it:
- Ch 1.
- Sc in each st across.
- For the corner, work 1 sc, ch 1, 1 sc into the corner ch sp.
- Repeat around, working sc in each st across the row and corners as in Step 3.
- When you get to the final corner, work sc, ch 1 and then sl st into first sc to close round.
Finish off and weave in ends.

FREE Granny Square Pattern
Get our go-to granny square pattern, for free!

i would like the pdf pattern please. thank you 29 march 2025
I would like to have the granny square pattern please and thank you.
Just to say thank you. I have been looking for help on this and glad I found you.
I would like a solid granny square pattern please
I would like the pdf pattern for your solid granny afghan. Thank you
I am a beginner crocheter
The instructions are very clear, and I love the pattern; thank you.
Just started
Love the solid granny square and am looking forward to making lap blankets. Thank you!
Thank you