
If you hate making mistakes, life can feel fraught. But silver clay might be just the therapy you need.
Do something wrong with silver clay when you’re working on a piece of jewelry, and you can just fix it. That’s because silver clay is a totally forgiving material. (Silver itself? Not so much.)
I’m here to teach you how to make one-of-a-kind pendants with silver clay and texture mats, but you can consider that just a starting point. You could also use any type of metal clay (bronze, copper) or any items you happen to have with interesting textures (poke around your junk drawer).
Silver Clay Pendants
Level: Easy
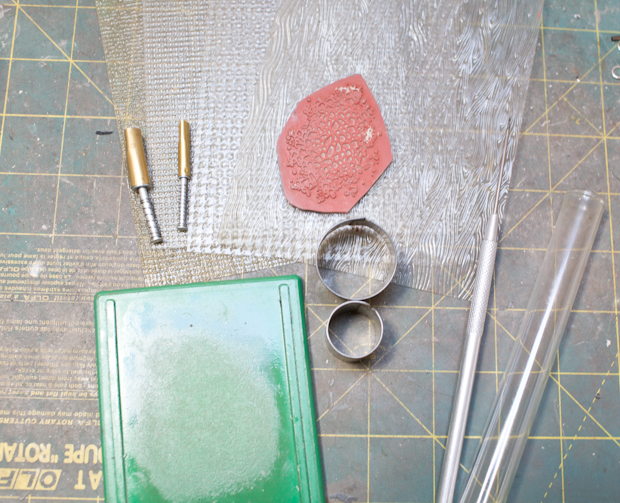
What You Need
Instructions
1. Roll Out Your Clay
Pick any thickness you like.
2. Pick Your Texture
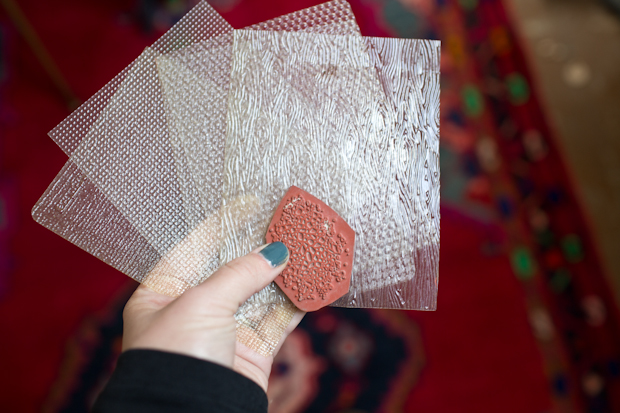
I work with a collection of texture mats, plus a pebble-texture stamp. The mat with the wood grain is my favorite.
3. Spray Your Texture Mat
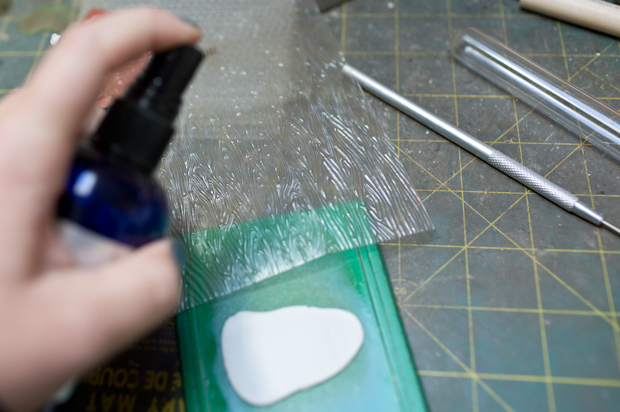
Use HattieS No Stick, or just rub on some olive oil.
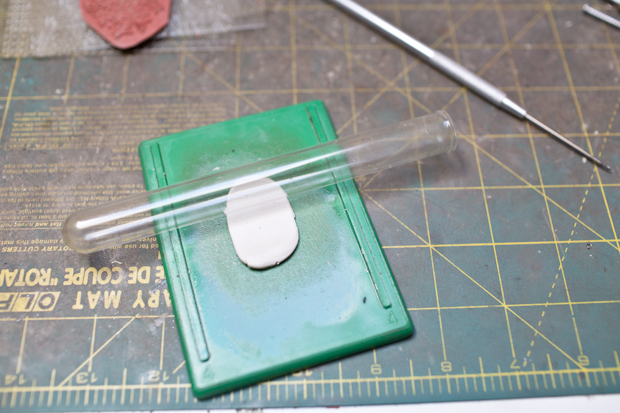
4. Make Your Imprint
>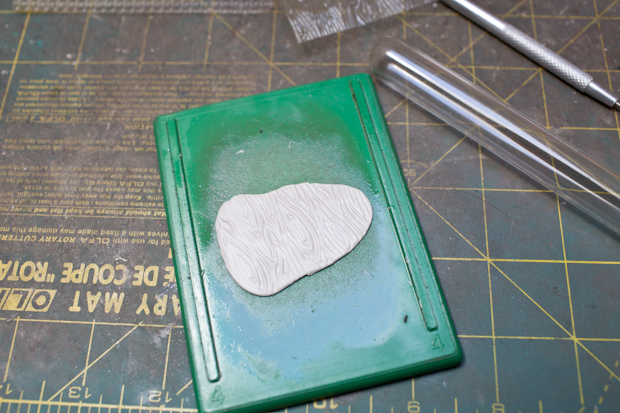
Place the mat texture-side down on the clay and gently move your roller over it. Once it’s well rolled, pull off the texture mat and there’s the imprint. So cool!
5. Cut Out Your Design
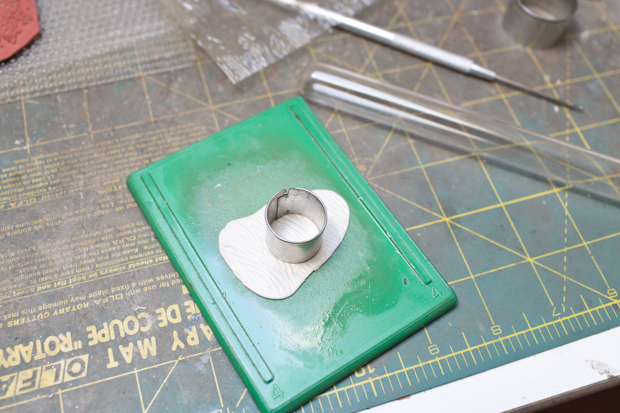
Use a small circle cutter or, for bigger pieces, a glass or jar from your kitchen — anything, really. You are left with a perfect circle of clay.
6. Store Excess Clay
Roll it up and stash it inside two or three airtight bags.
7. Punch Holes
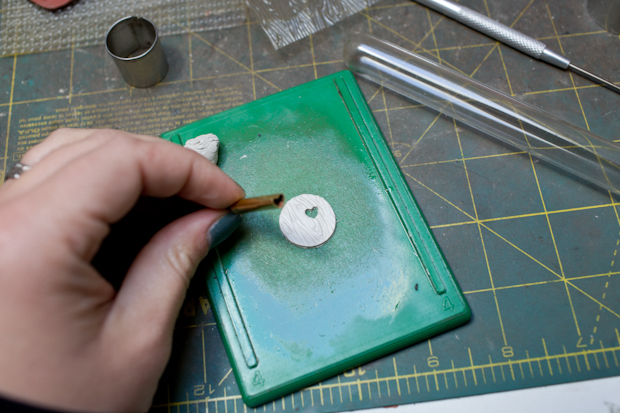
Here I use a heart-shaped metal puncher. You’ll also need a needlepoint to make a tiny hole in the top of the pendant for the jump ring to go through.
8. Fire the Clay
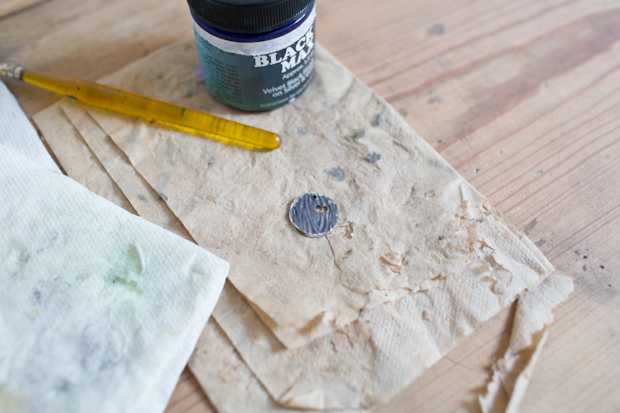
Dry, sand and fire the metal clay. I use Black Max oxidizing liquid to darken the color and highlight the texture, but you could also use Liver of Sulfur.
9. Polish the Piece
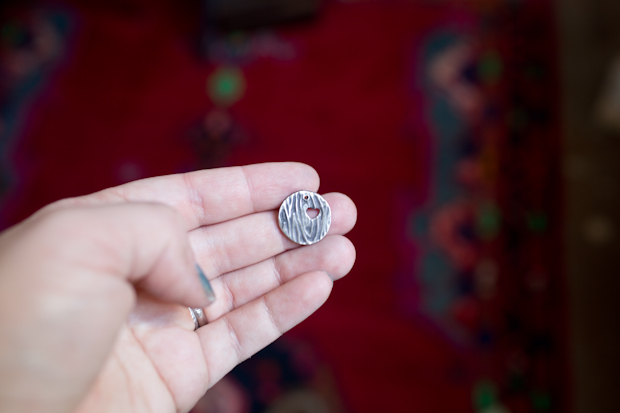
Wipe off excess Black Max with a polishing cloth or sand paper and you are left with a cute little pendant.
Remember when you fire your piece it will shrink a little. Read the instructions on the clay package to learn what the shrink rate is.