Shrinky dinks may be a blast from the past — they were all the rage in the ’70s and ’80s — but they’re still the best way to turn your favorite memories into beautiful pieces you can wear on your wrist, around your neck or in your ears. All you have to do is pick your photo, trace it onto shrink film and follow the simple steps below.
Shrinky Dink Jewelry
Level: Easy
What You Need
Instructions
1. Trace and Cut Your Image
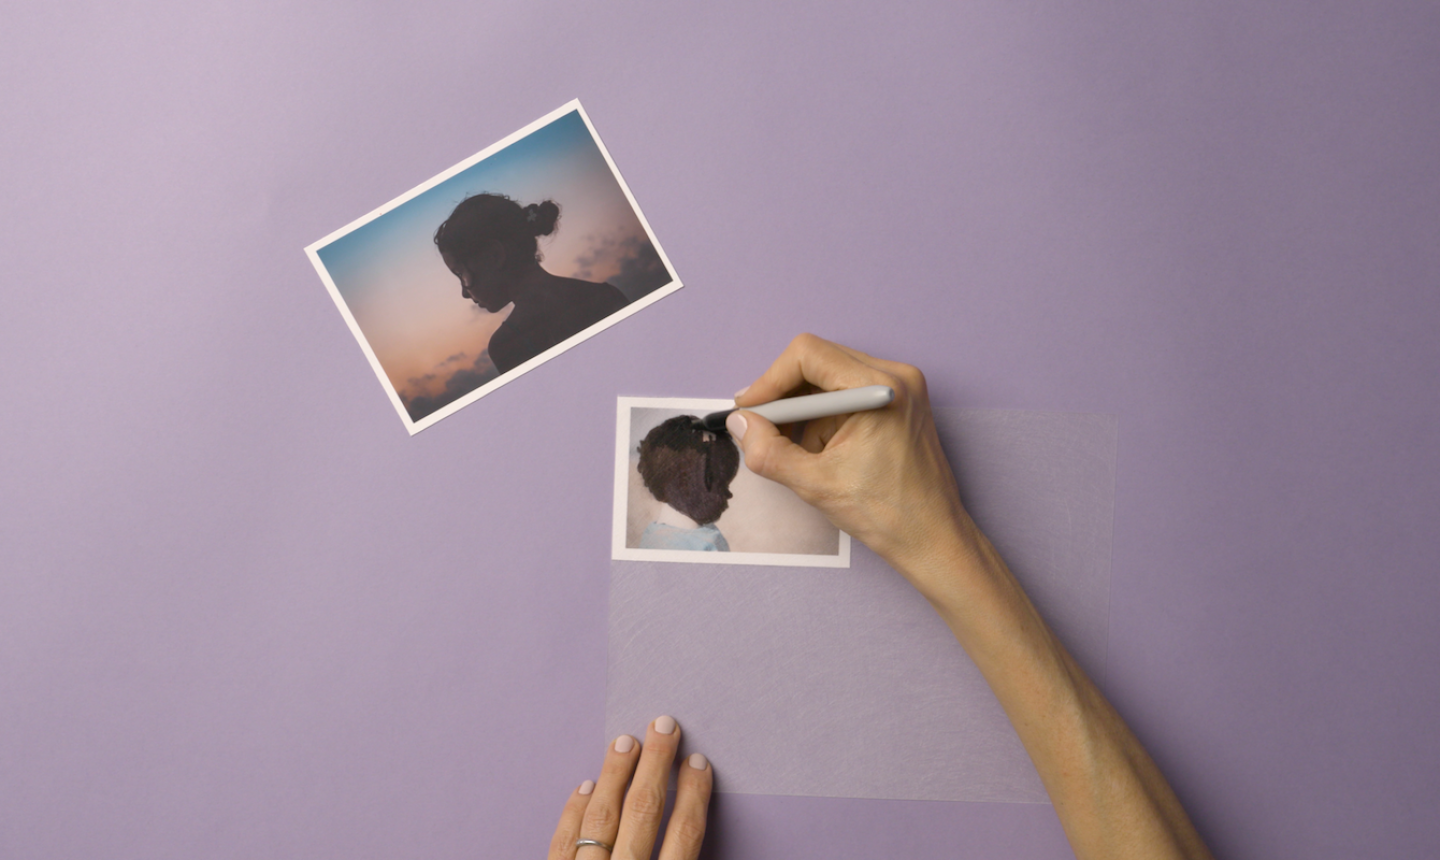
Place the shrink film over your image. Carefully trace around the outline and fill it in with a Sharpie.
Cut around the shape with embroidery scissors, being super careful not to make any accidental cuts.
2. Punch
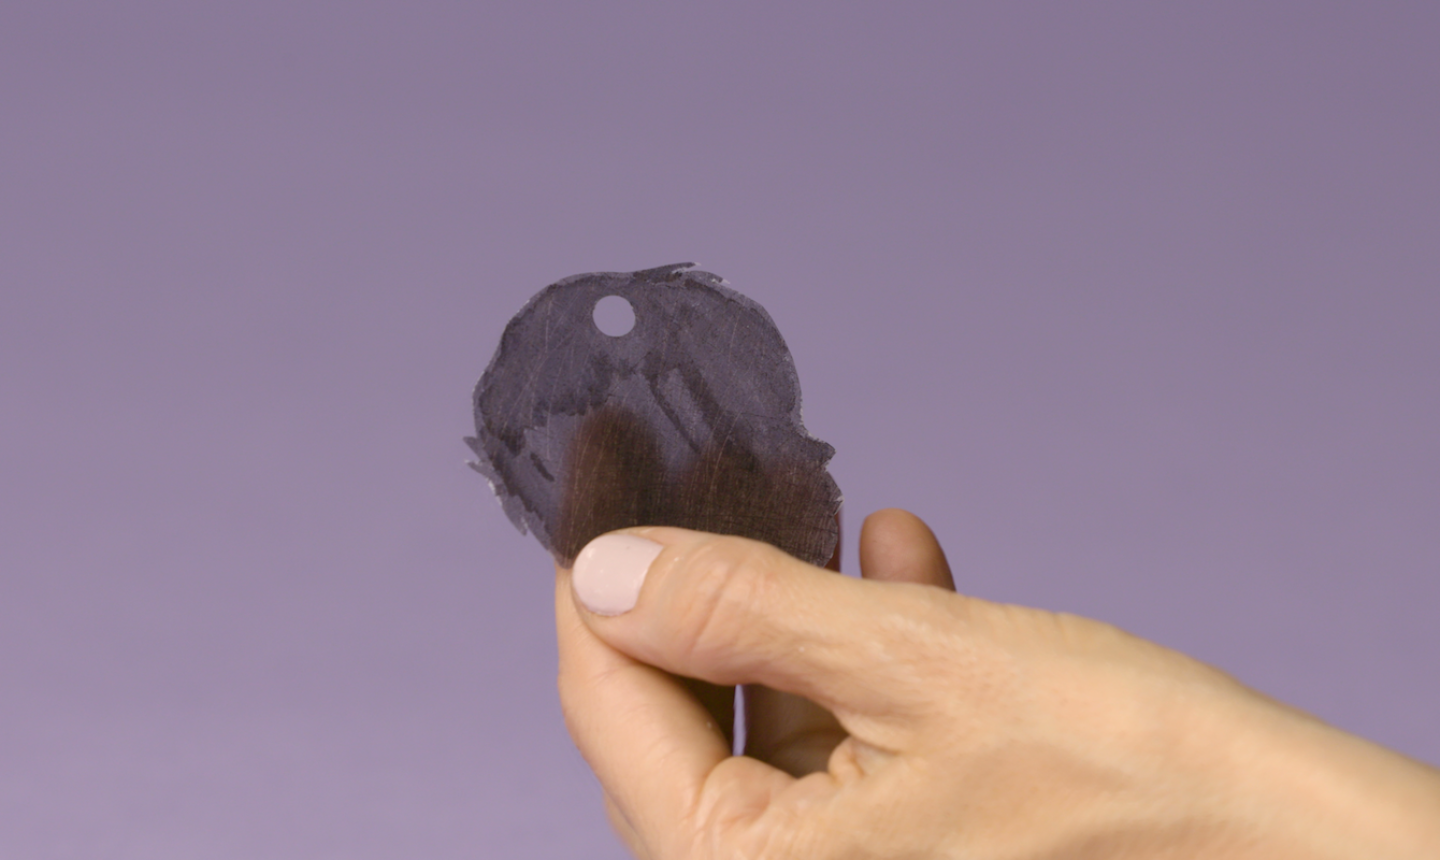
If you’re making earrings or a necklace, punch a hole where you want the jewelry wire to go.
3. Bake
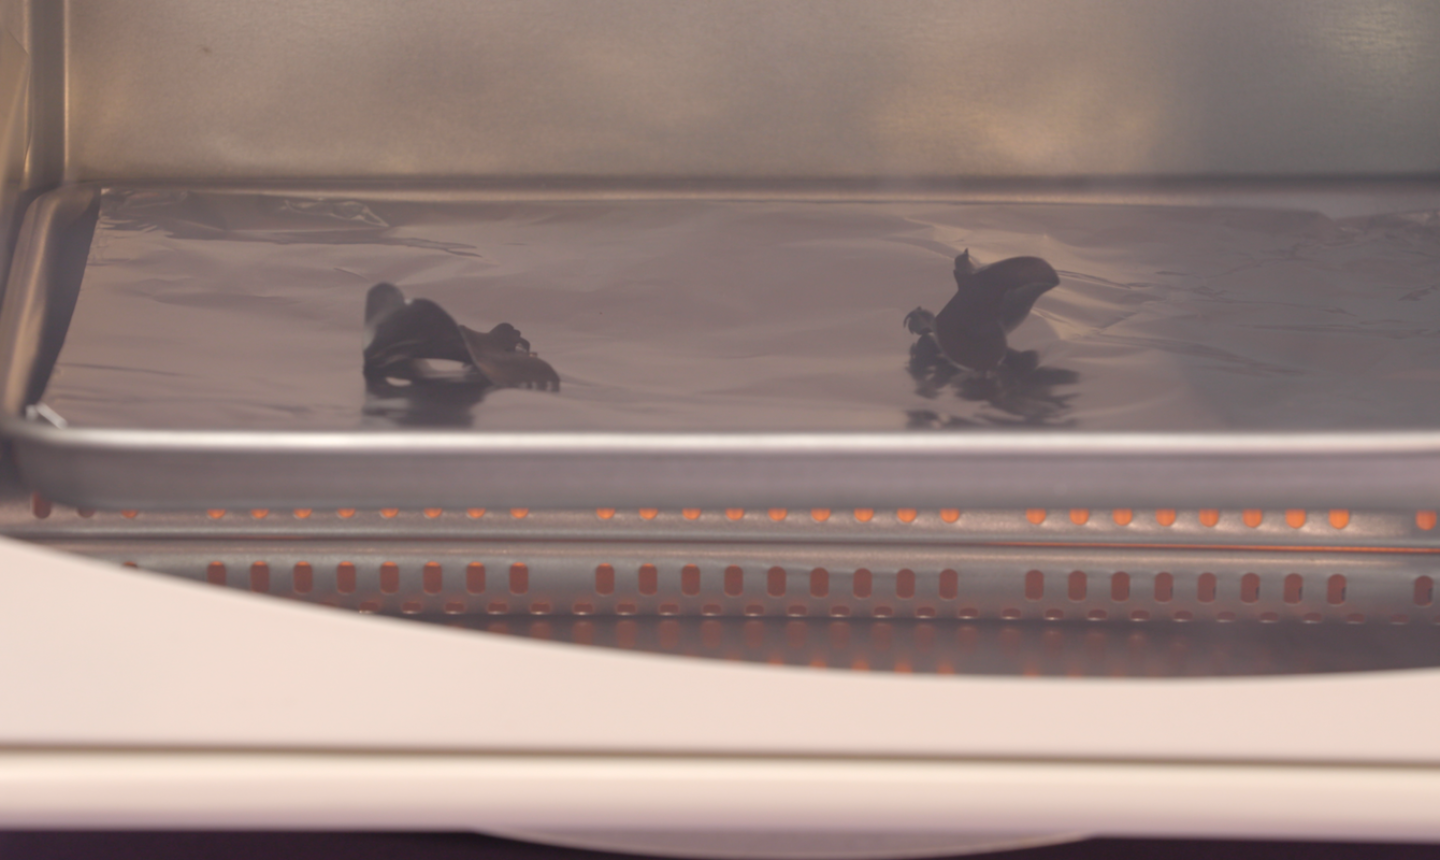
Bake at 280 F for 1-2 minutes. The film will shrink to about ⅓ of its original size.
Remove the shrinky dink(s) from the oven and set aside to cool.
4. Place the Wire
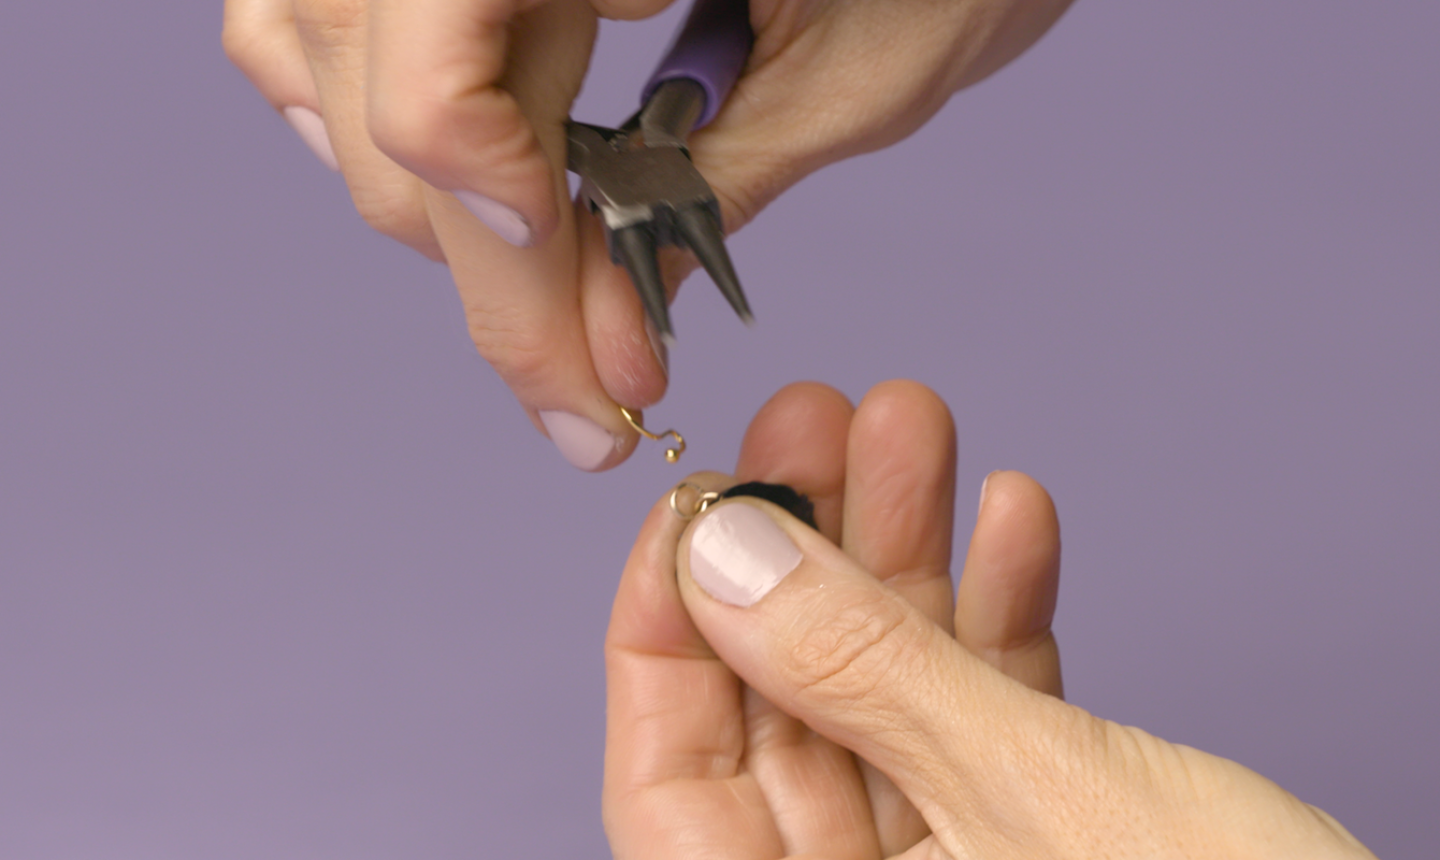
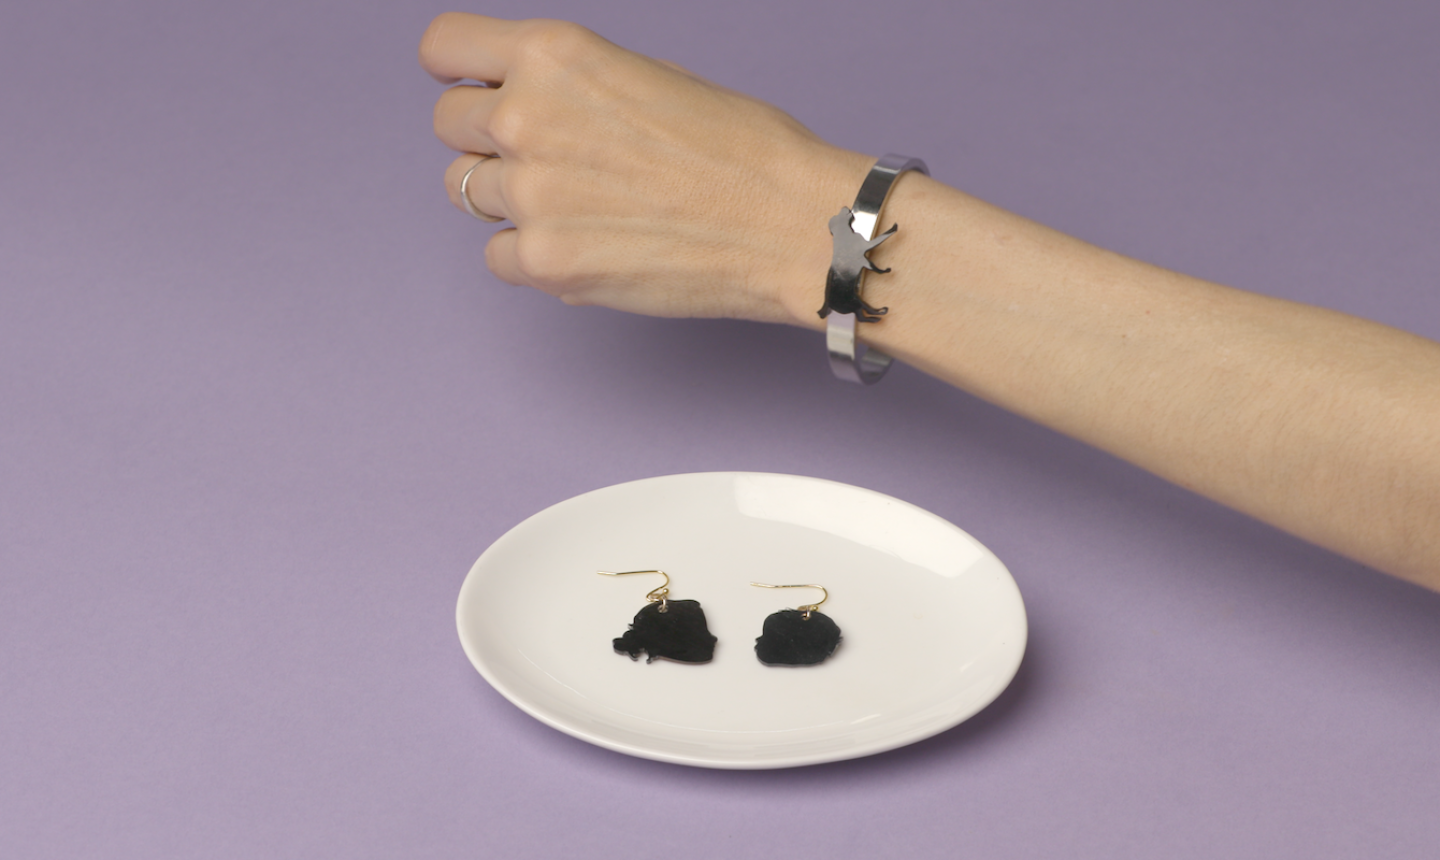
To make earrings, place a rump ring through the hole in your shrinky dink and squeeze the ends closed with pliers. Then insert earring wire and secure with pliers.
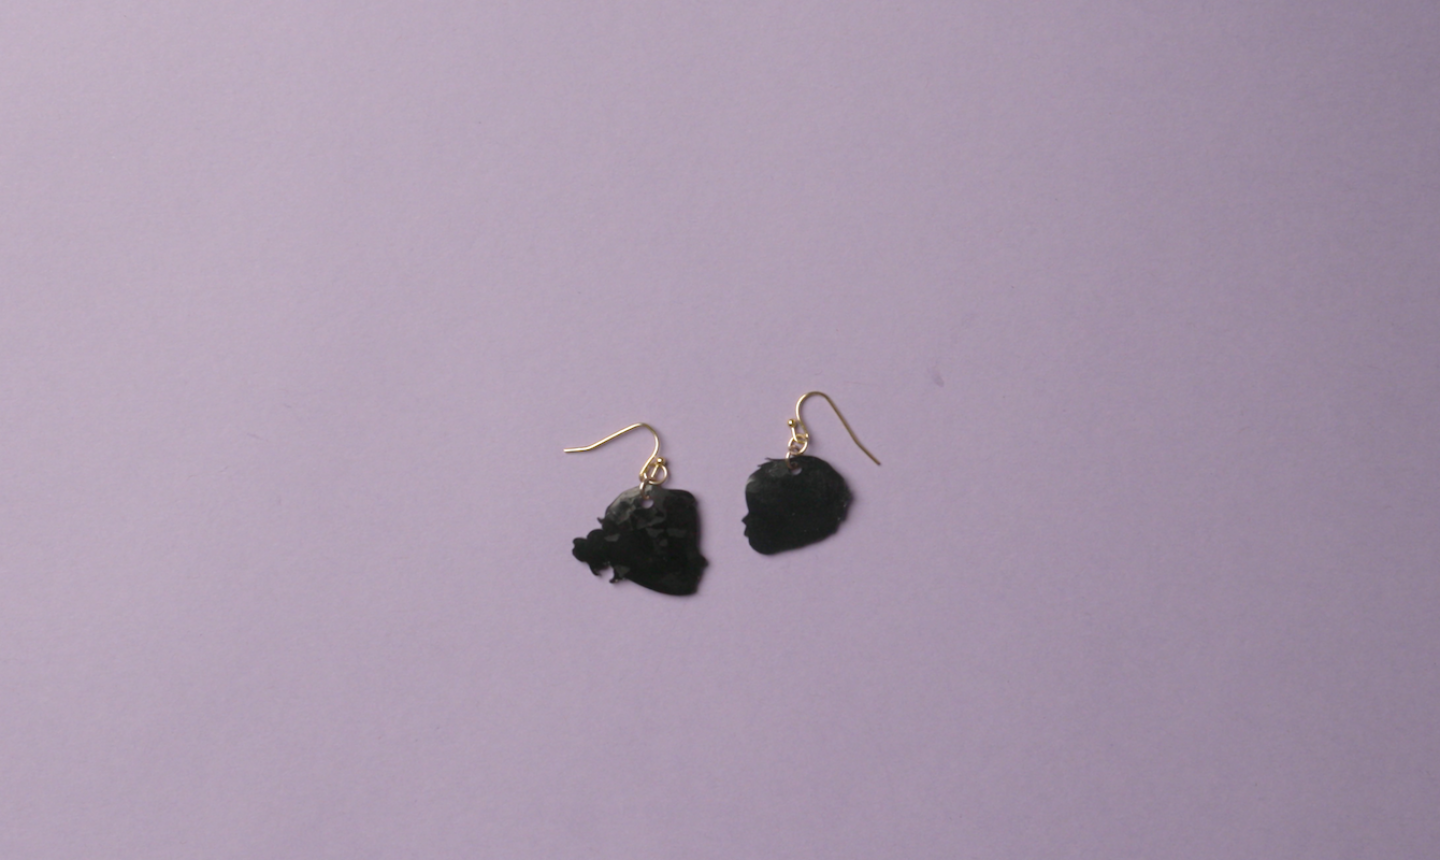
That’s it! Then you’ve got the cutest custom jewelry!
Cuff Variation
If you want to make a bracelet, follow steps 1 and 3, but skip step 2 — you don’t need the hole punch.
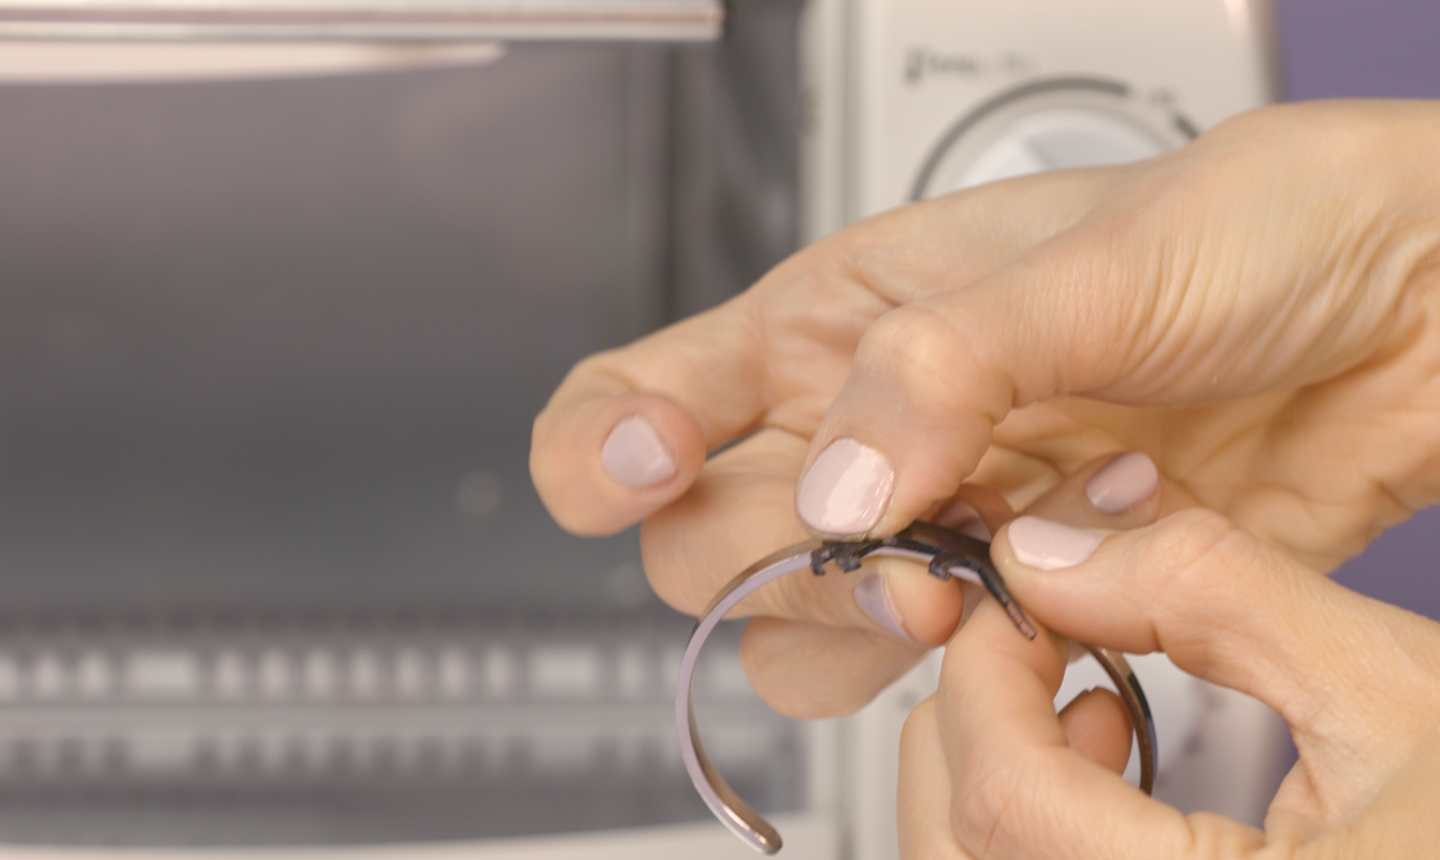
After baking (and while the shrinky dink is still warm), hold it against the bracelet so it molds to the shape.
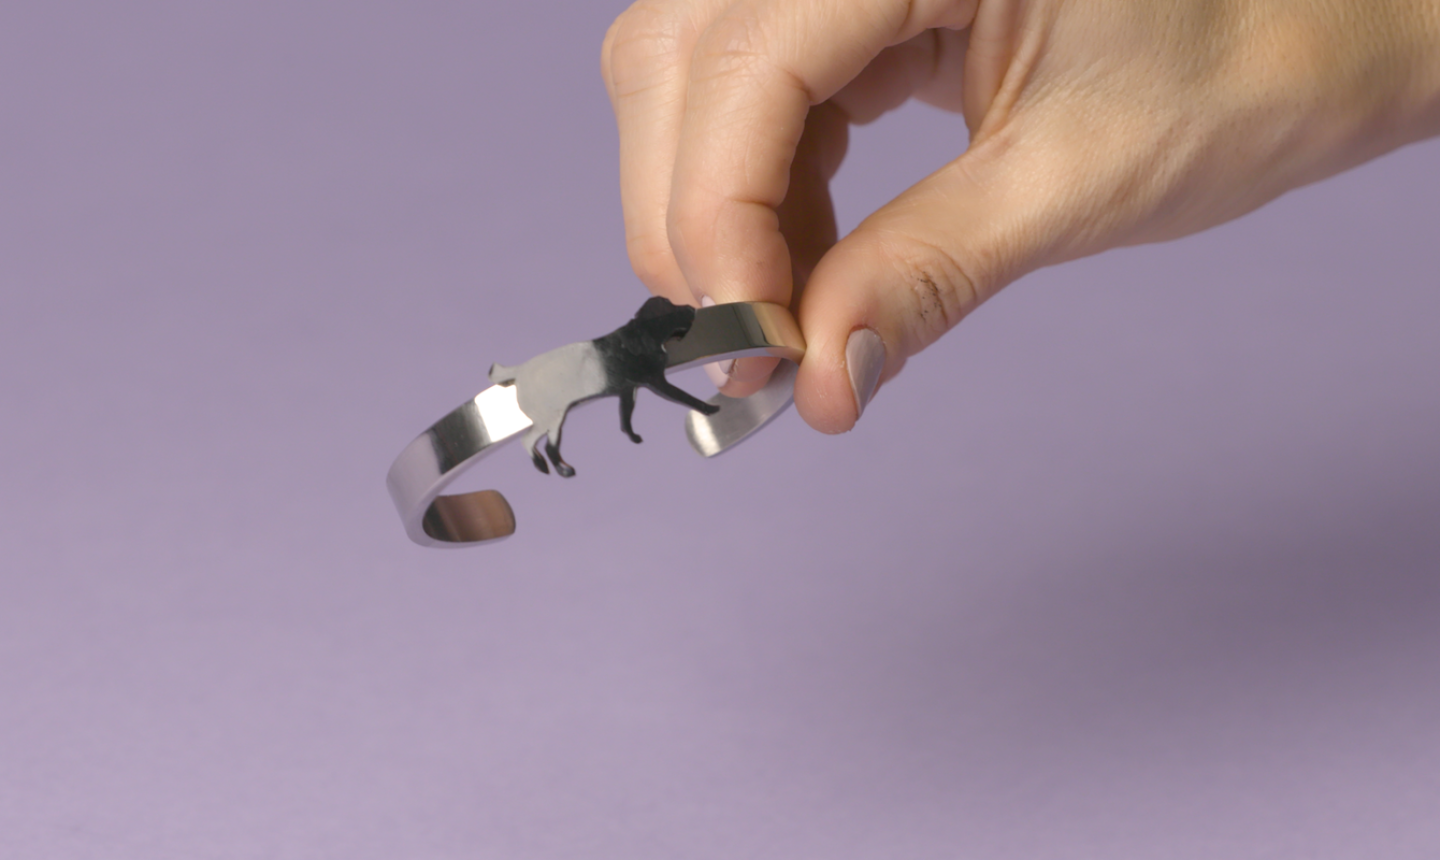
Glue the shrinky dink in place with craft glue and let dry. Then it’s ready to become serious arm candy!

what is shrink film?