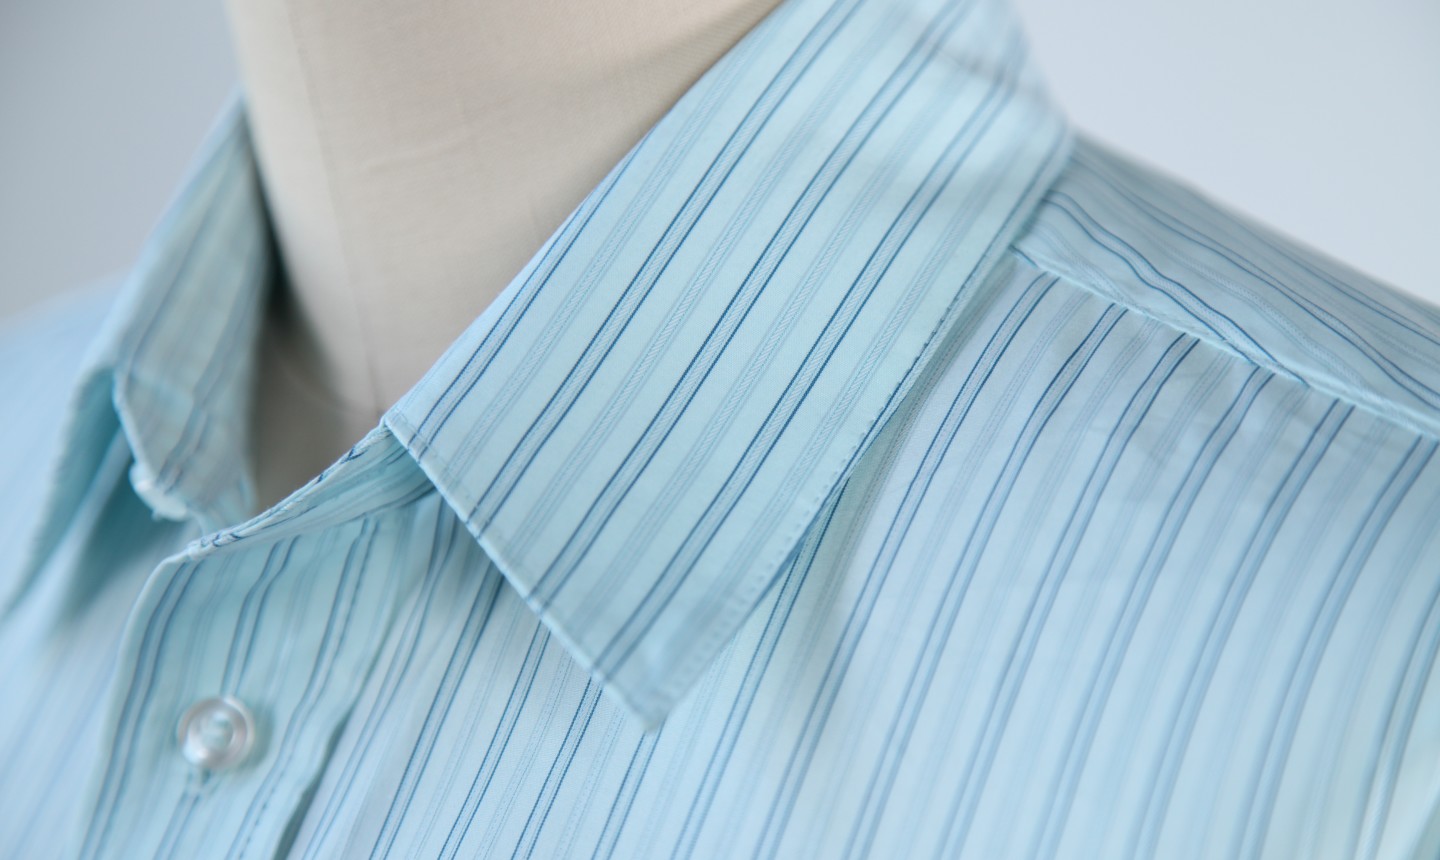
Sure, you can sew a shirt collar no problem. But does it always have that crisp, snappy look? If not, you may be missing out on a major secret: trimming.
With this quickie tutorial — and knowing just how much fabric to shave off — you'll be turning out shirt collars that are so ahh-mazing, you'll have major bragging rights when you tell people you did it yourself.
How to Sew a Shirt Collar
Level: Easy
What You Need
- Fusible interfacing
- Fabric
- Pattern pieces
- Thread
- Pins
- Tracing wheel
- Scissors or rotary cutter
- Iron
Instructions
1. Add Fusible Interfacings to Collar Pieces

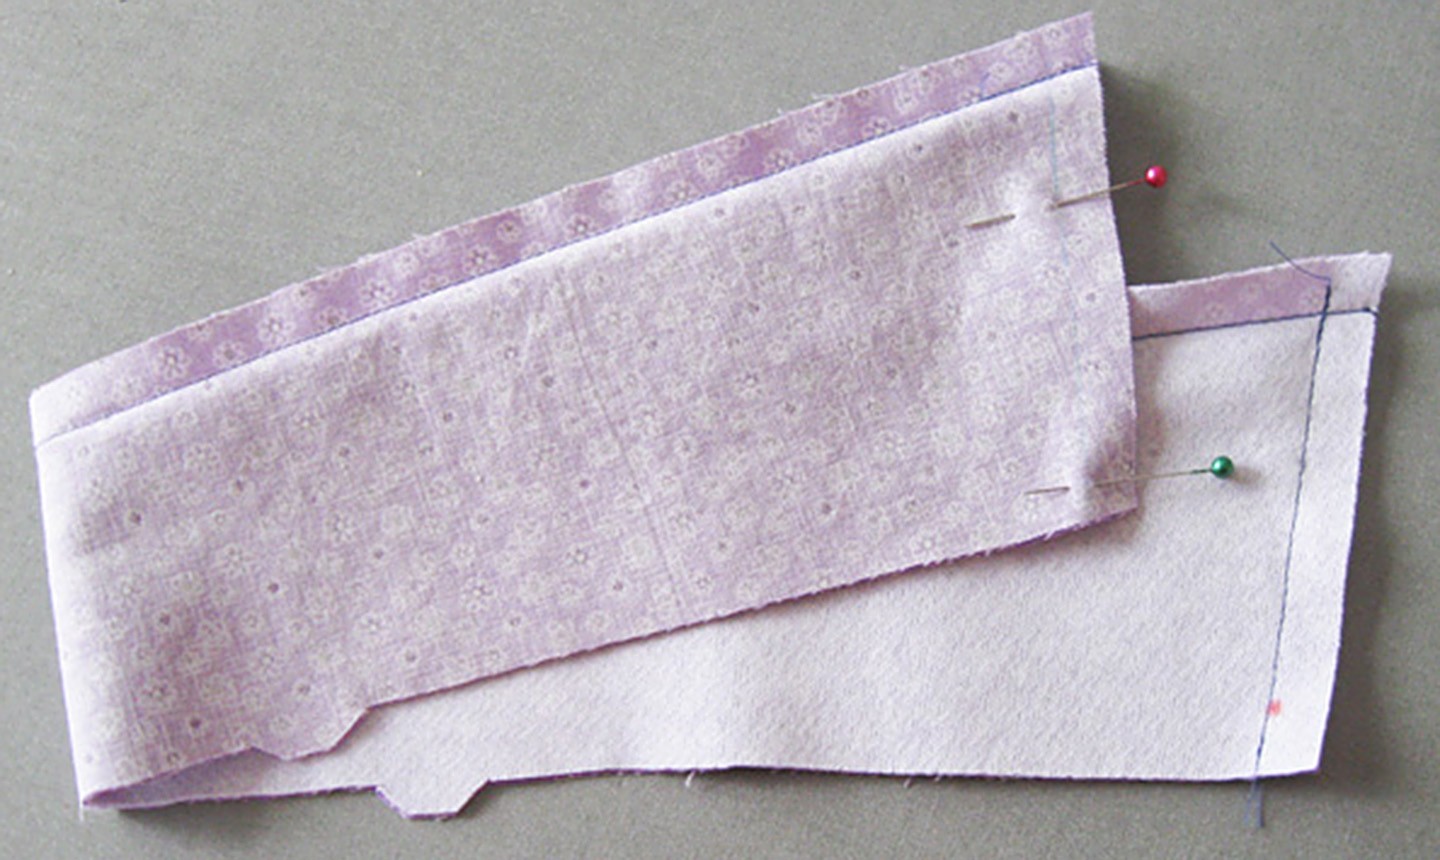
Most classic shirt collars are made up of two pattern pieces: the collar (the piece shown at the bottom in the image above) and the collar stand (the curved piece at the top). You'll need two of each piece, so the fabric will be folded to double.
Attach fusible interfacings to one of each piece to give them structure and body. Do this before you pin and cut out your pattern pieces — make sure to test-run your interfacing on scraps to help you decide what works best with your particular fabric.
2. Sew the Long Collar Seam

Once your interfacing is done, pin and cut your fabrics using the pattern pieces. Before removing the pattern pieces, transfer the pattern markings — on the collar stand, you may see notches for matching, and dots or triangles to mark the shoulder point where the collar attaches to the shirt.
With the markings transferred, move the pattern pieces out of the way and place the collar pieces right sides together. Sew the seam on the long outer edge, as shown in the image above.
Pro Tip: If your collar pattern has 5/8" seams (instead of smaller 3/8" seams), it's a good idea to trim them down after stitching to reduce bulk.

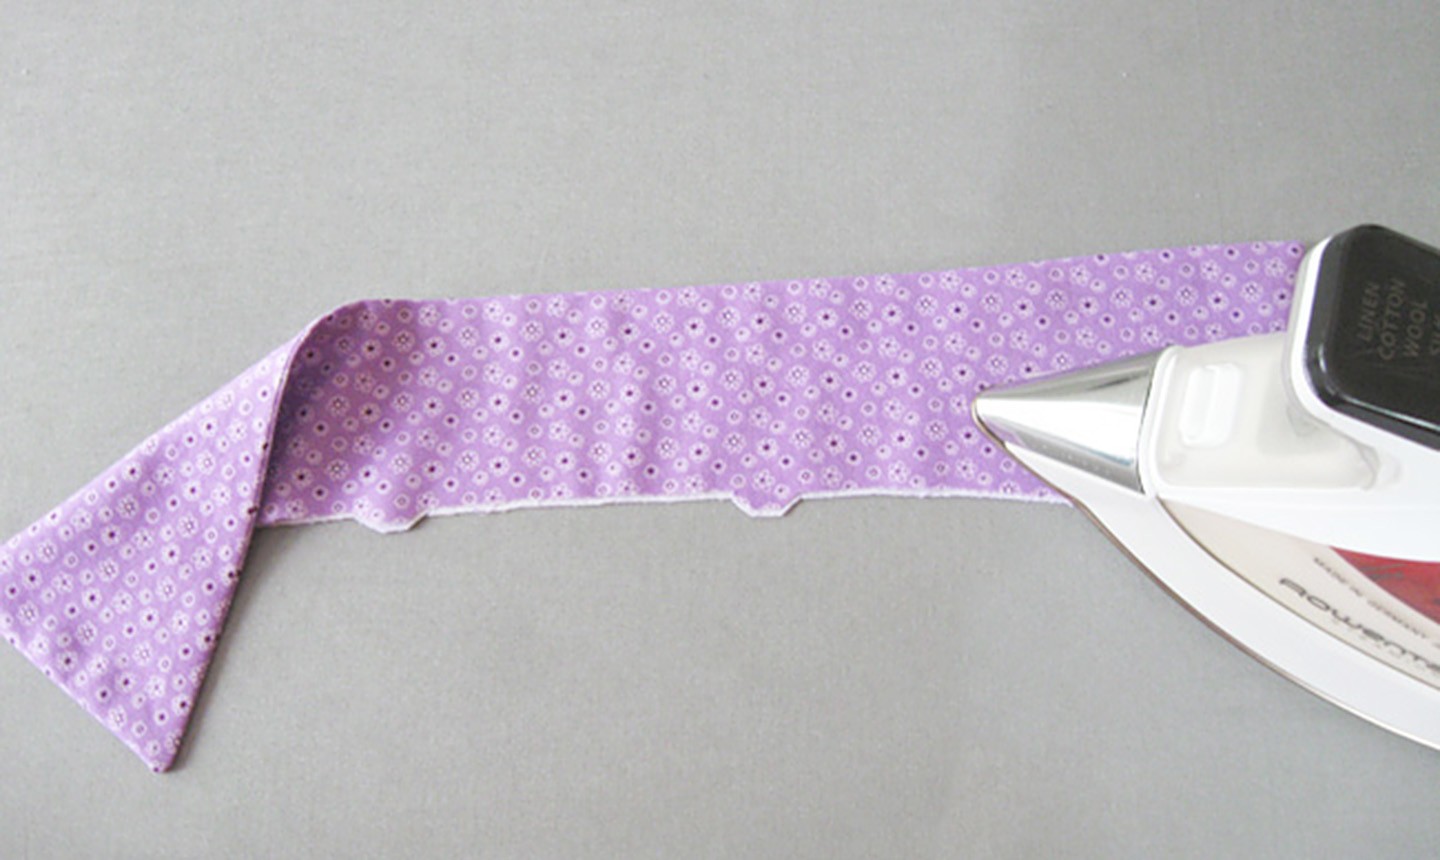
Press the long seam open. Doing this before turning and pressing will give you a crisper edge.
3. Sew the Short Edge Seams
Sew the side edges of the collar. Use a shorter stitch near the point for extra security.
4. Trim and Turn
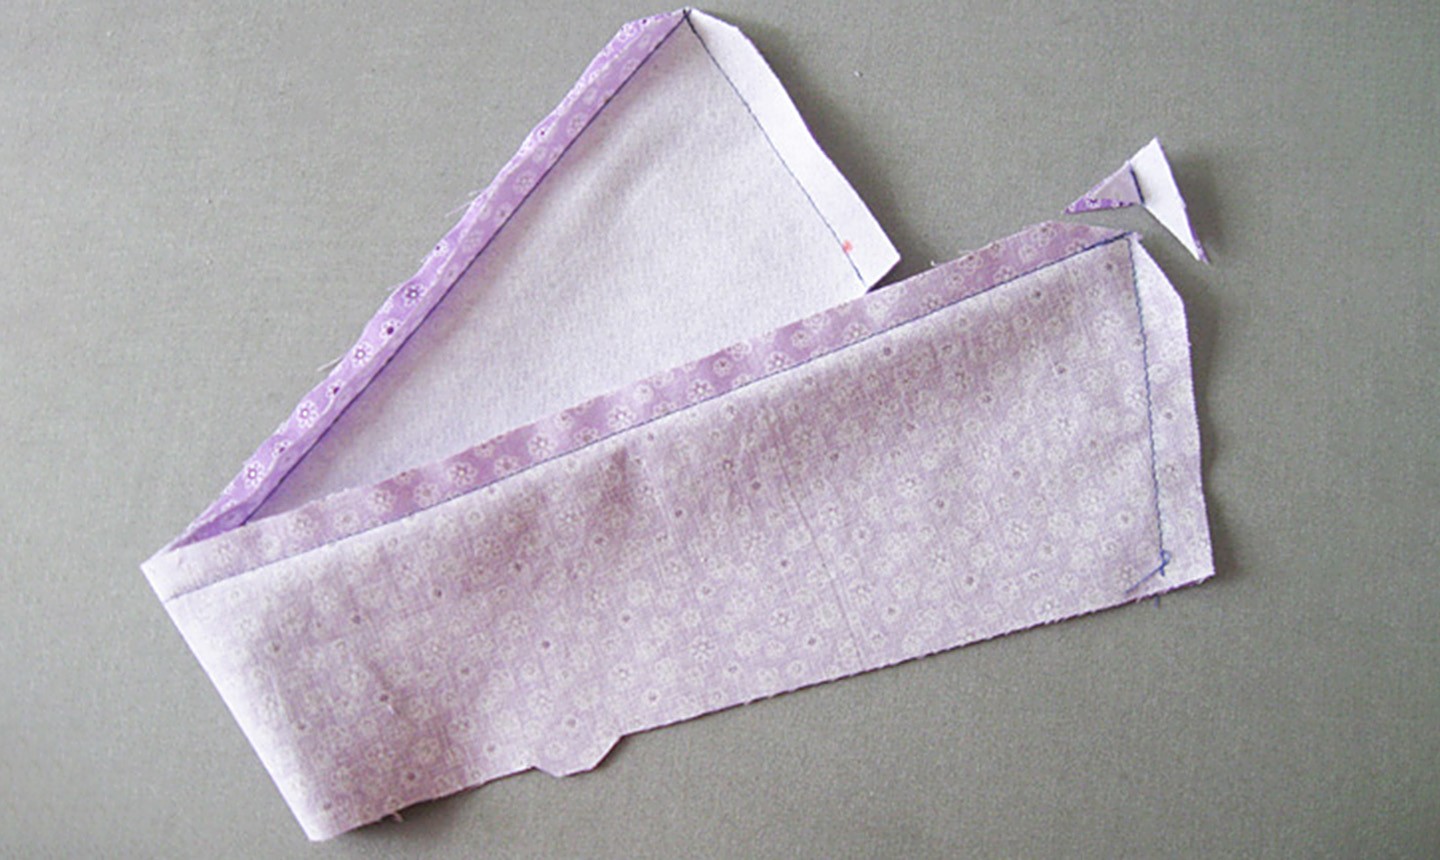
Carefully trim away the point of the collar, as shown above. Depending on the angle of your collar point, you may have to trim more than a diagonal. Regardless, the goal is to have the seam allowances "kiss" in the middle. (Be careful when you do this — you don't want to trim through your stitching.)
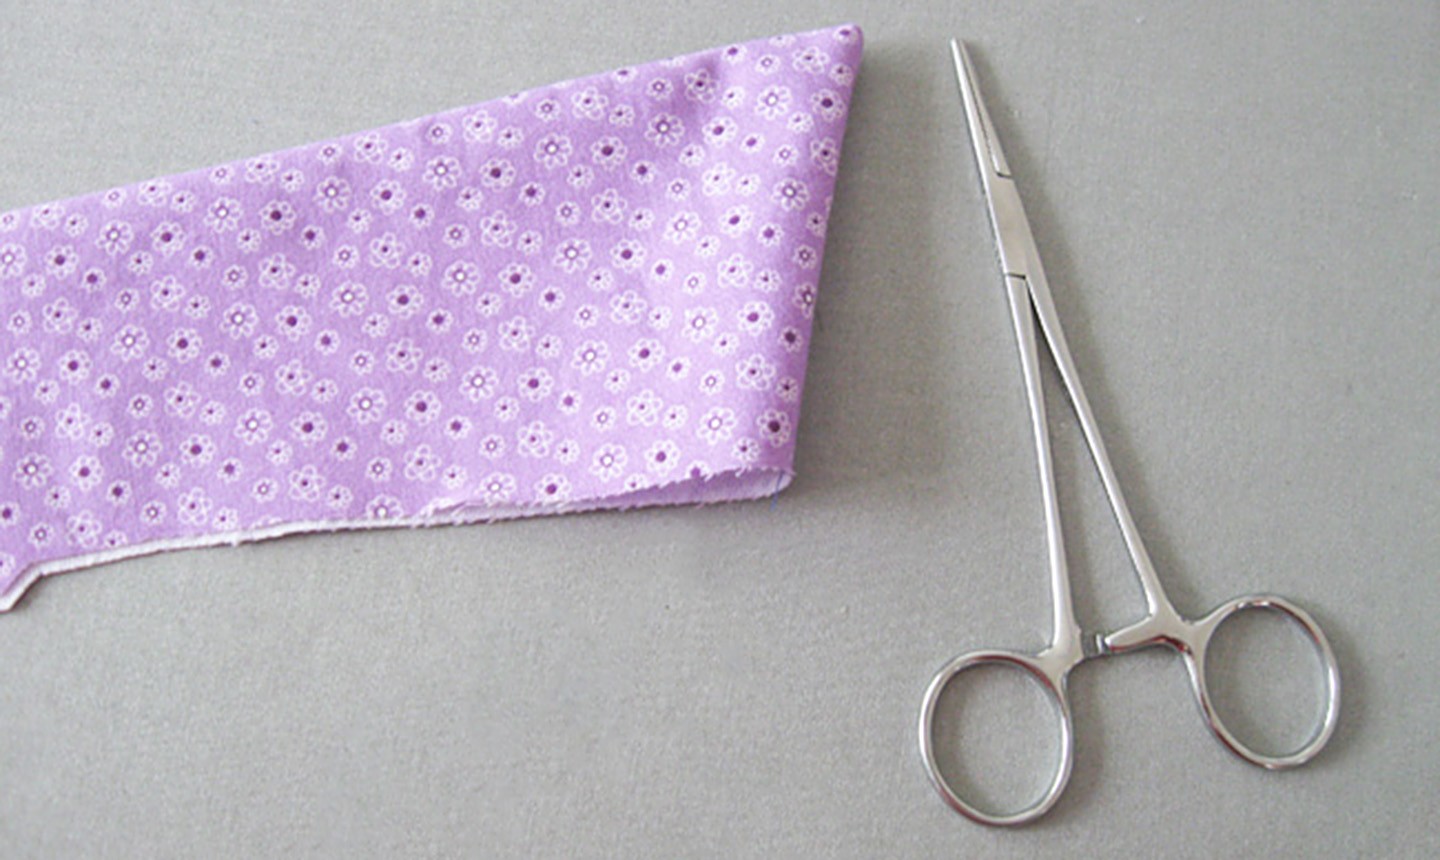
Turn the collar right side out. With a point turner (or another blunt tool), gently push the corner to create the point. Take your time so you don't poke a hole in the fabric; you can tease the last bit of the corner out with a pin or needle if necessary.
5. Press the Collar
Press the collar flat. Roll the seam edge ever so slightly toward the underneath, as it offsets the bottom edge just a bit.
6. Attach the Collar to the Collar Stand
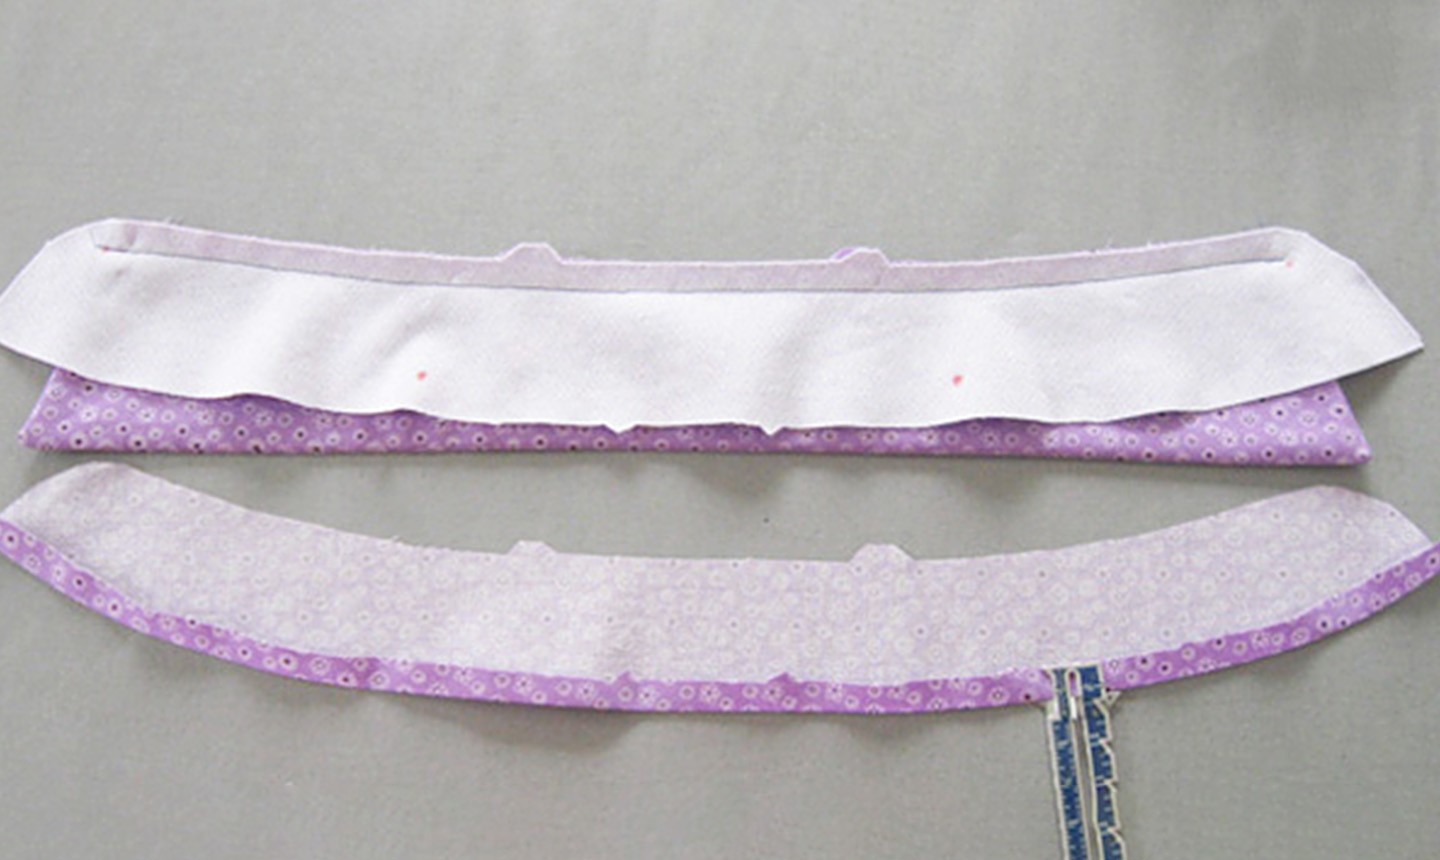
Line up the collar to the interfaced collar stand piece using the dots and notches as guides (as shown in the top portion of the image above). Stitch the collar to the interfaced stand.
Take the collar stand piece that doesn't have interfacing (as shown in the bottom portion of the image), and press up the seam allowance on the curved edge. Sandwich the collar between the two collar stand pieces, wrong sides facing out and notches matching. Pin in place, then stitch from corner to corner using a 3/8" seam allowance.
7. Trim the Seam Allowances on the Collar Stand

Trim the edges of the now-attached collar stand, leaving about 1/8", as shown above. There's no need for notches, and the seam turns right side out beautifully.
8. Press Your Collar Again
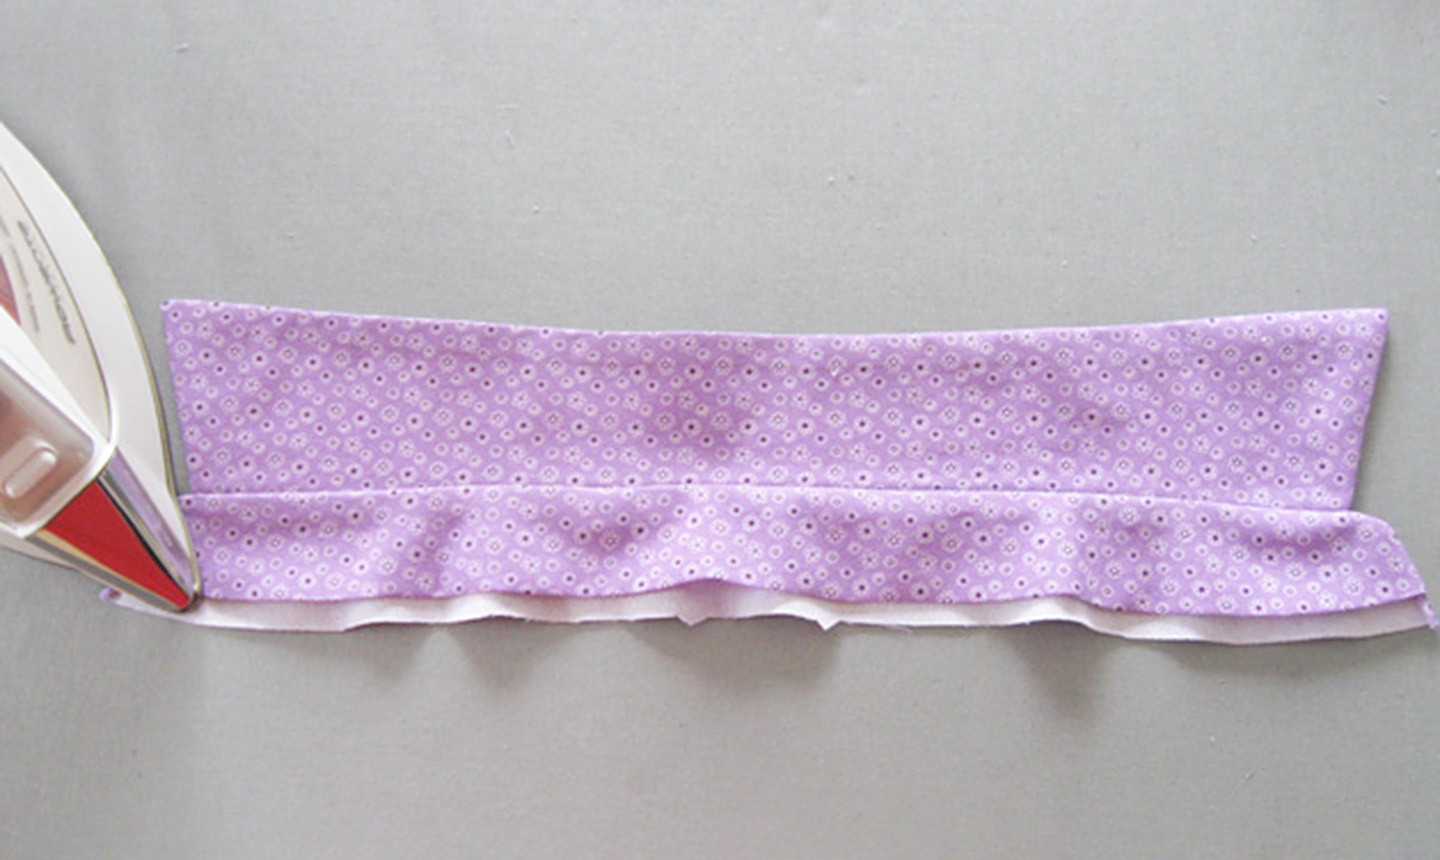
Turn your collar and stand right side out and press the round sides, working the seam to the edge to get a crisp finish. Press the rest of the collar.
Remember, not all collars are the same, and instructions may vary based on your pattern. Be sure to follow yours closely for a crisp, ultra-fresh result!

I learn how sew a collar shirt
I love that i will like to learn more
Your Comment here...intresting
This is my first collar thanks for haveing this pattern on line.
I need to learn how to cut corset
I see what everyone means, the tutorial is very good, but it just seems to stop. I am sure that there must be a bit more to that.
I desperately want to know how to sew shirt collars.
I am very interested in sewing and I'm just an beginner.. Thanks
Your Comment here... this is awesome and helpful. thanks.
Thanks