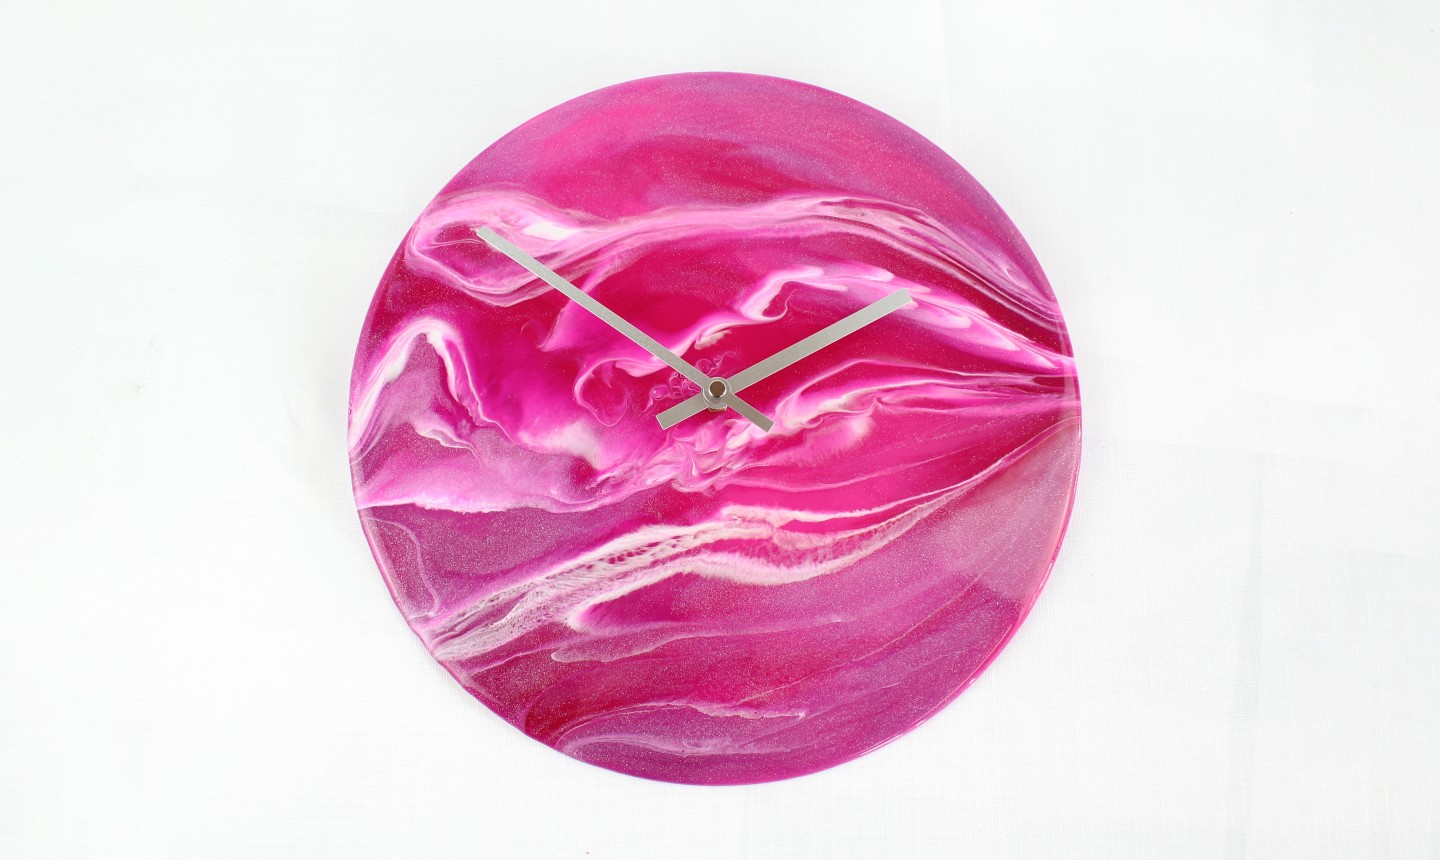
No, this is NOT a fine art piece available only in a fancy gallery. It’s a totally do-able DIY that starts with — wait for it — an old vinyl record. Just. So. Cool.
Fluid Art Clock
Level: Intermediate
What You Need
Pro Tip: Resin is not skin-friendly, so make sure you cover up with old clothes and wear protective gloves!
Instructions
1. Prep
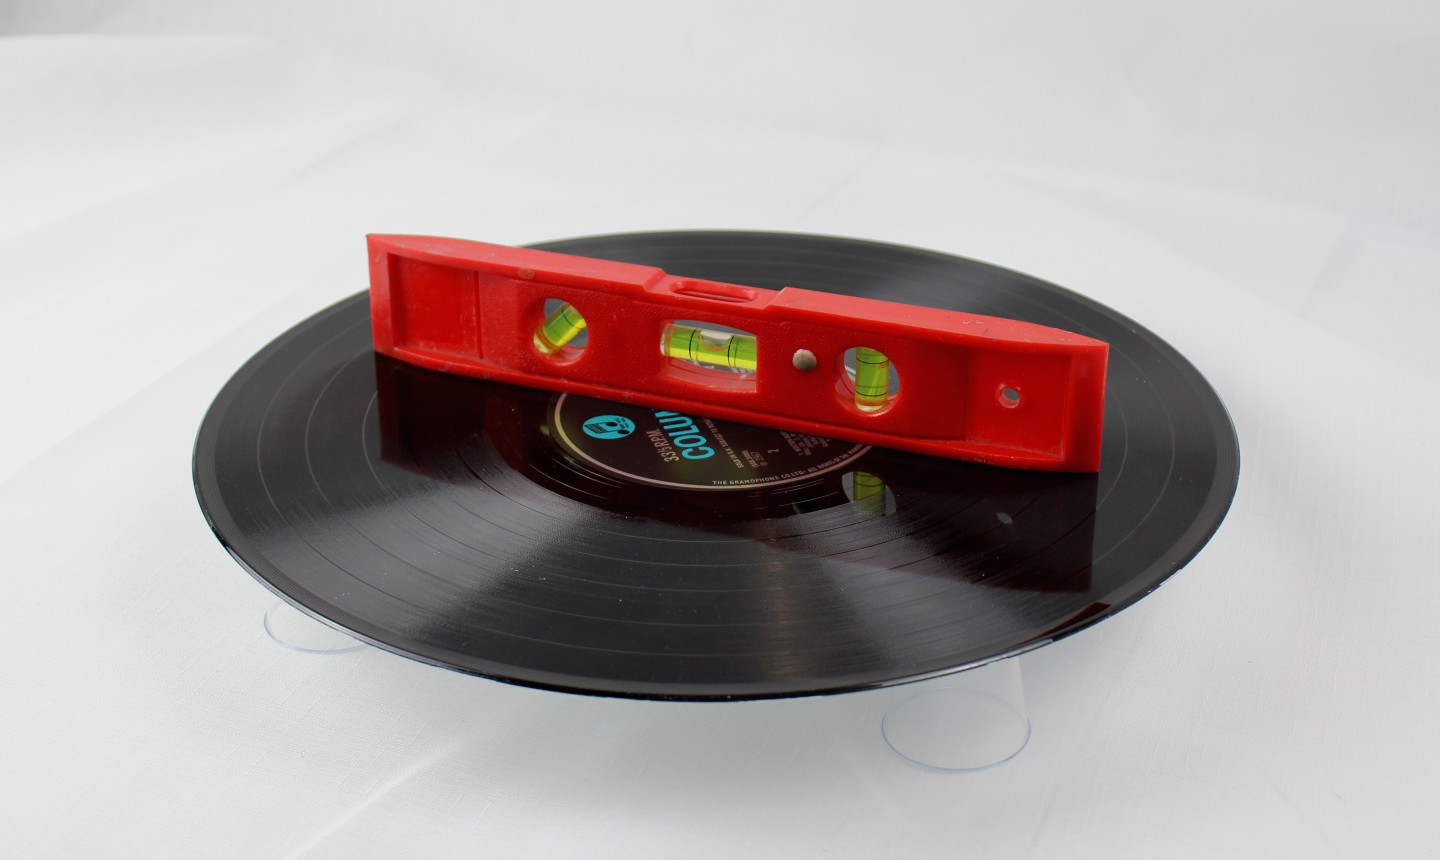
Making sure your work surface is well protected, place your record on four upturned plastic cups. Use your spirit level to check that it’s resting evenly, adjusting if necessary.
2. Paint the Base
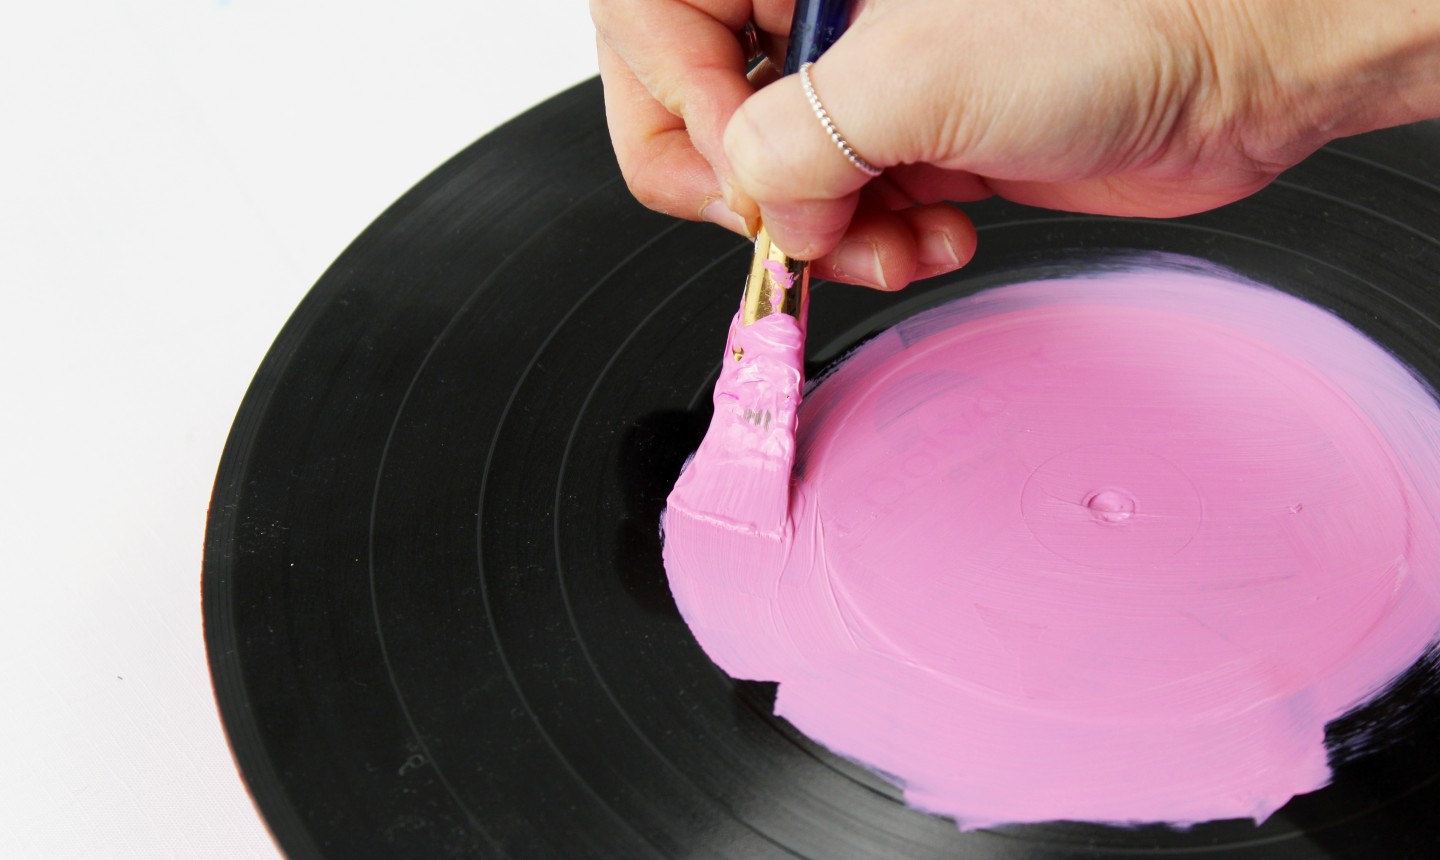
Tape over the central hole and cover the record with an acrylic base. This will be the background color and foundation for your clock.
3. Mix the Resin
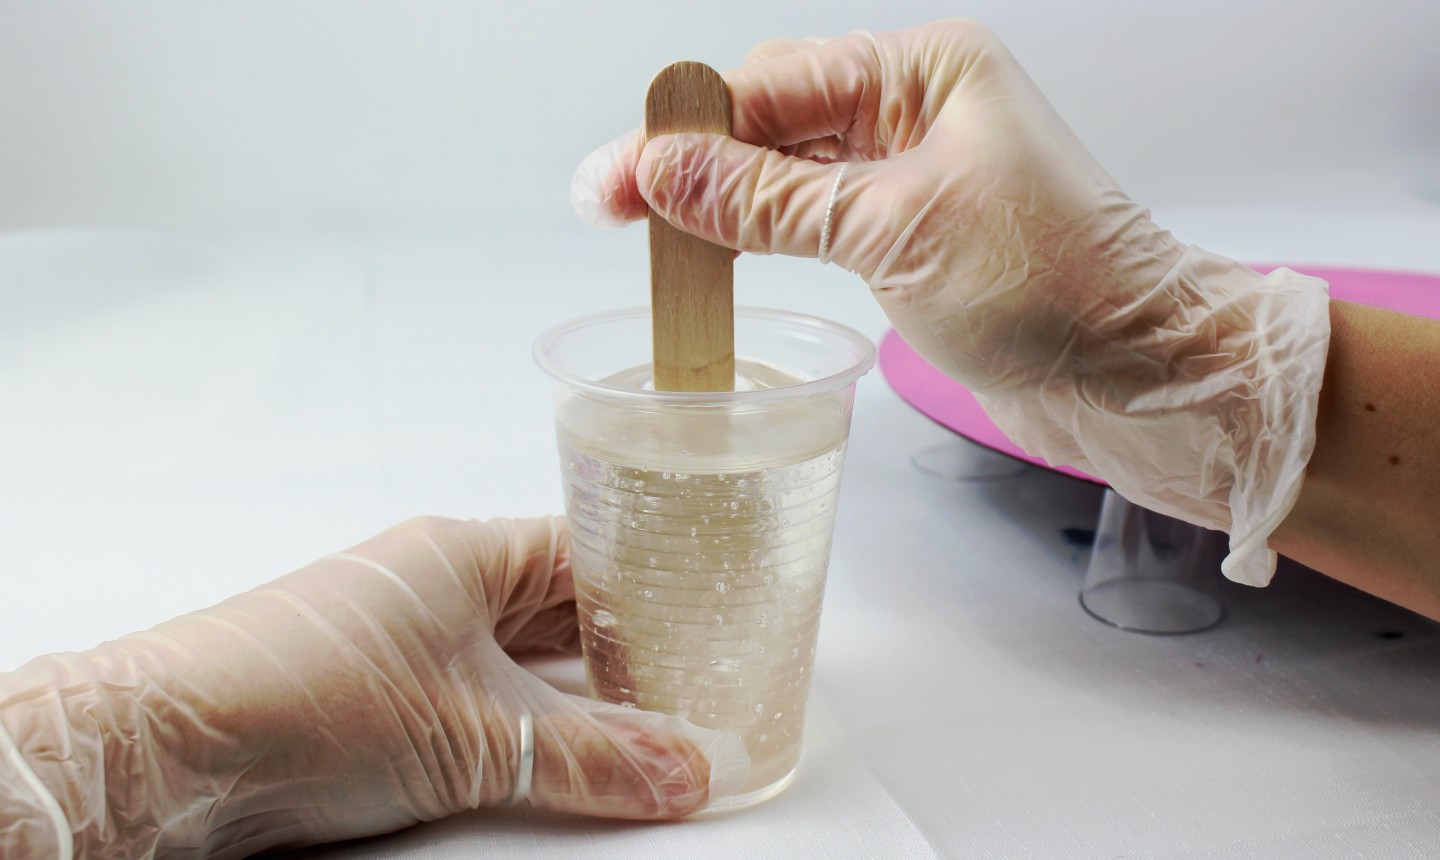
Measure your resin according to the instructions on the bottles. Most art resins are mixed to a ratio of one part resin to one part hardener. You will need approximately 6 oz in total. Use a popsicle stick to slowly mix the two parts together until thoroughly combined.
4. Add Color
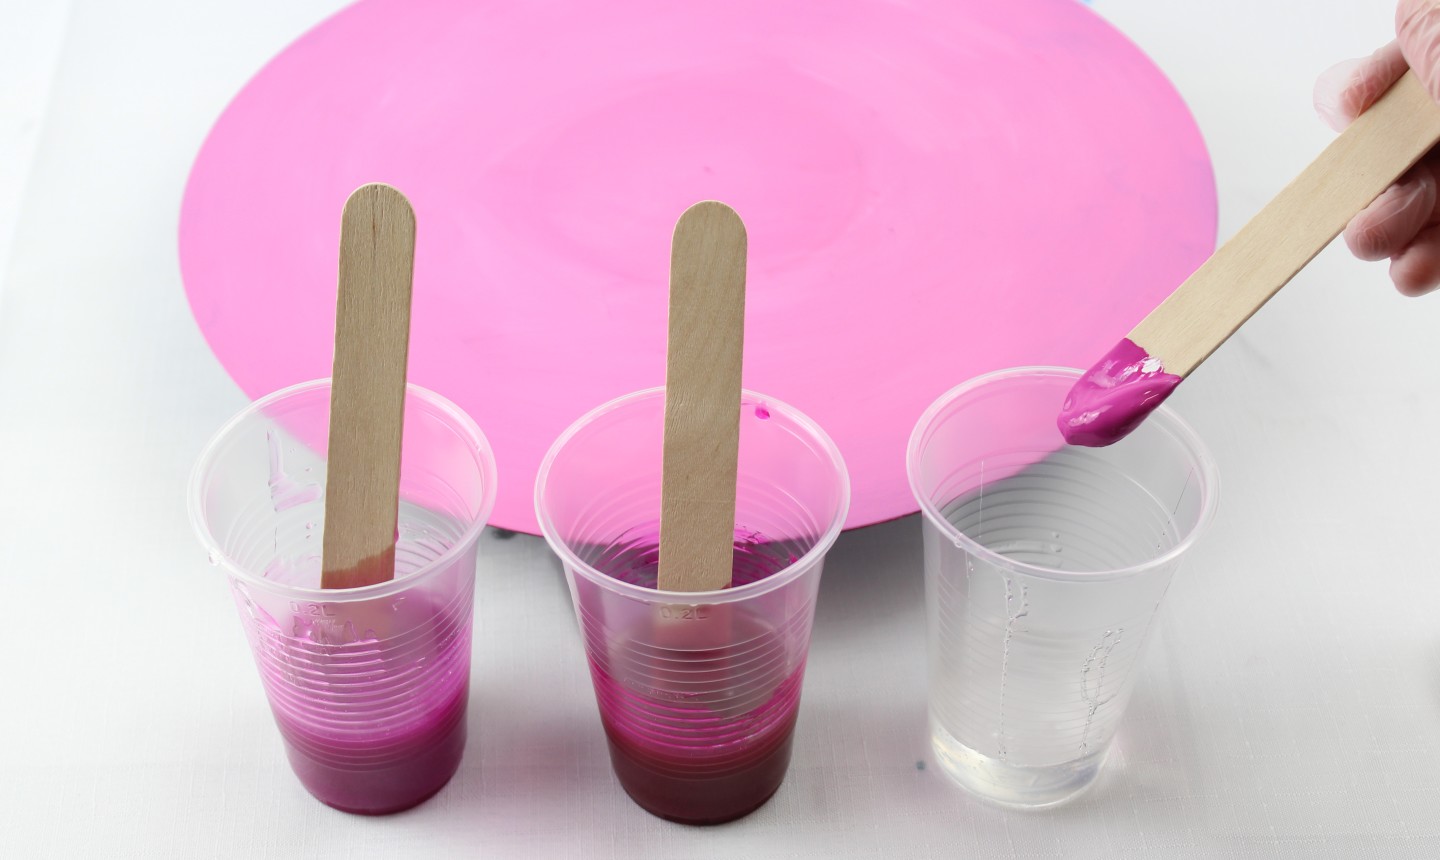
Divide the resin into four different cups. Add a small amount (we’re talking pea-sized) of acrylic paint to each cup and stir slowly and thoroughly. You can add a pinch of glitter to one or two colors for some added sparkle if you want!
5. Time to Paint!
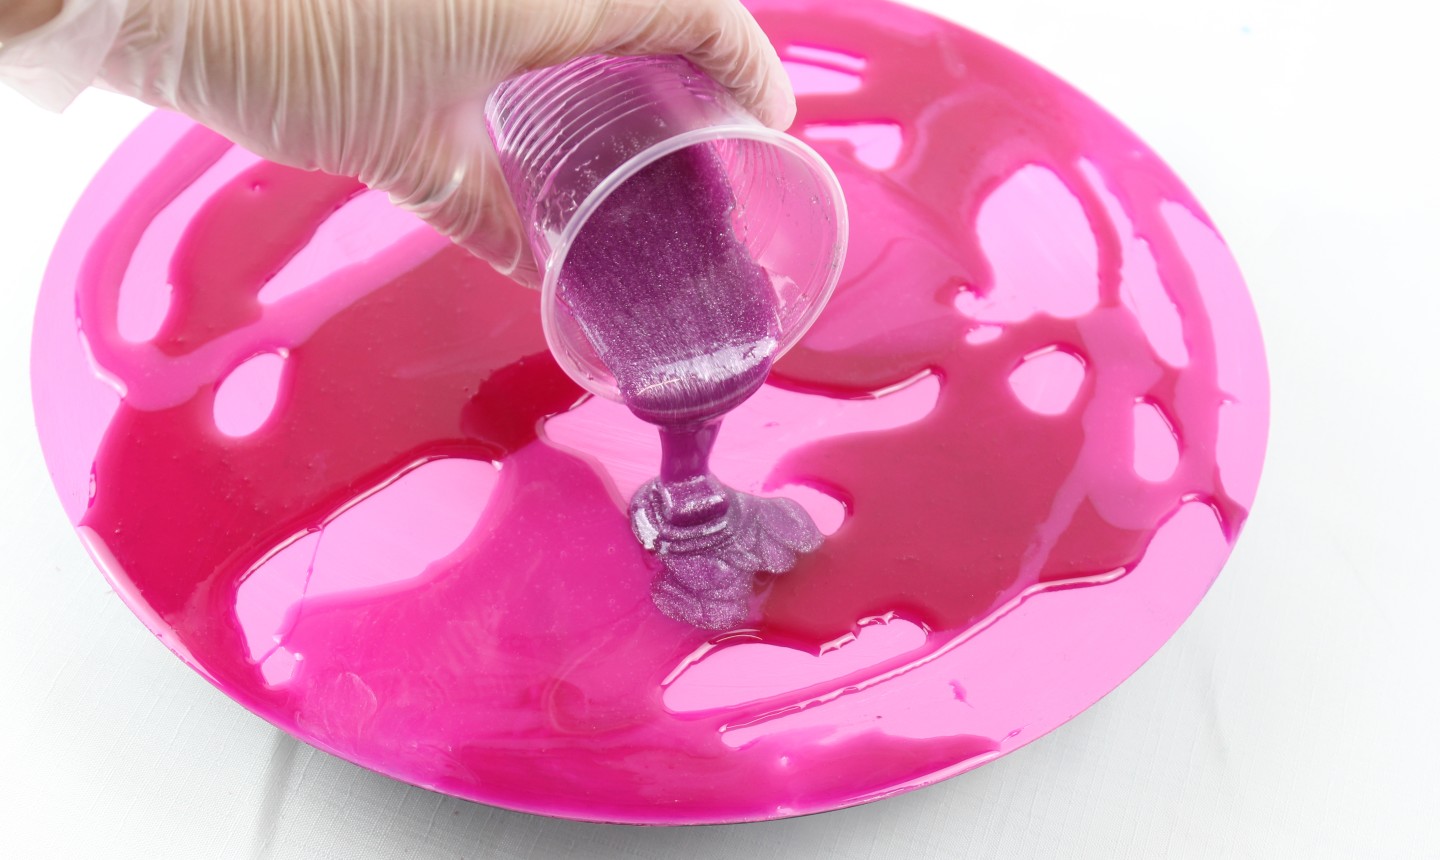
Pour the resin onto the record, using your popsicle sticks to spread the colors into whatever design you like.
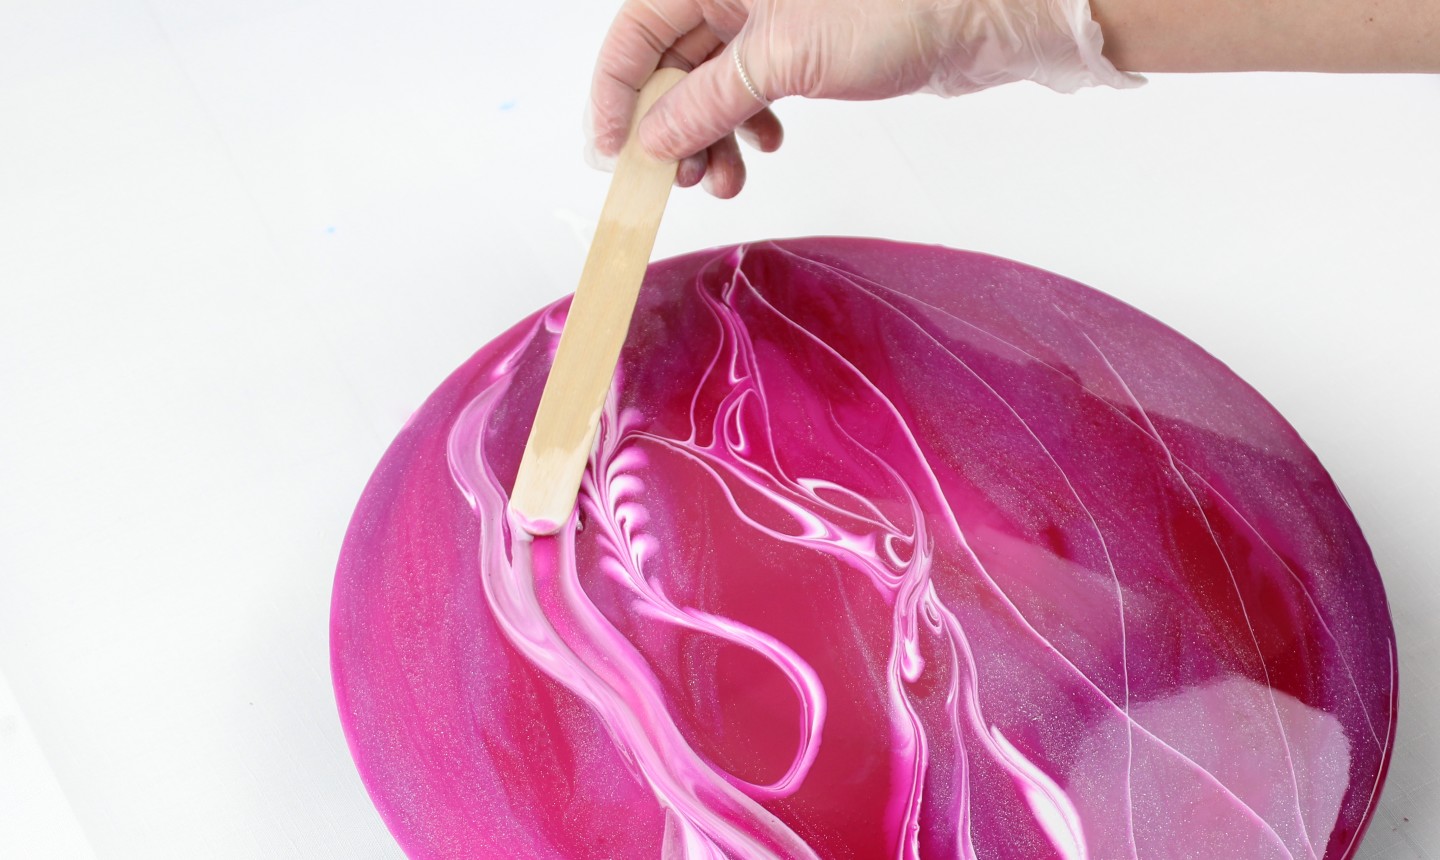
Make sure to cover the whole surface, right to the edges.
6. Let It Cure
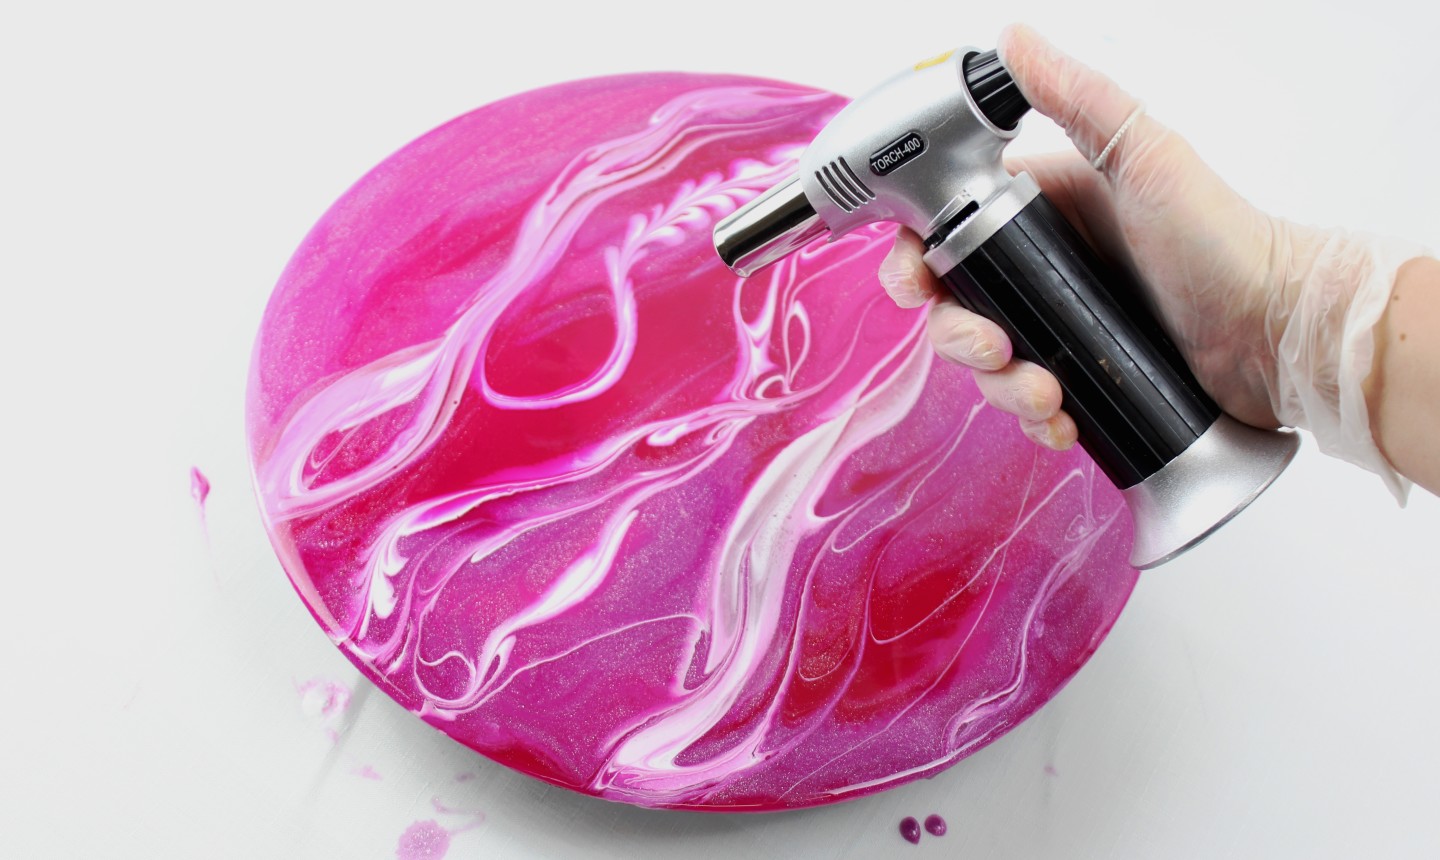
The resin will start to self-level and may drip off the sides — this is nothing to worry about. When you’re happy with your design, pass your heat tool very gently over the surface to pop any bubbles.
Carefully cover the clock with an up-turned box to protect it from dust, and leave it to cure for at least 24 hours.
7. Drill a Hole
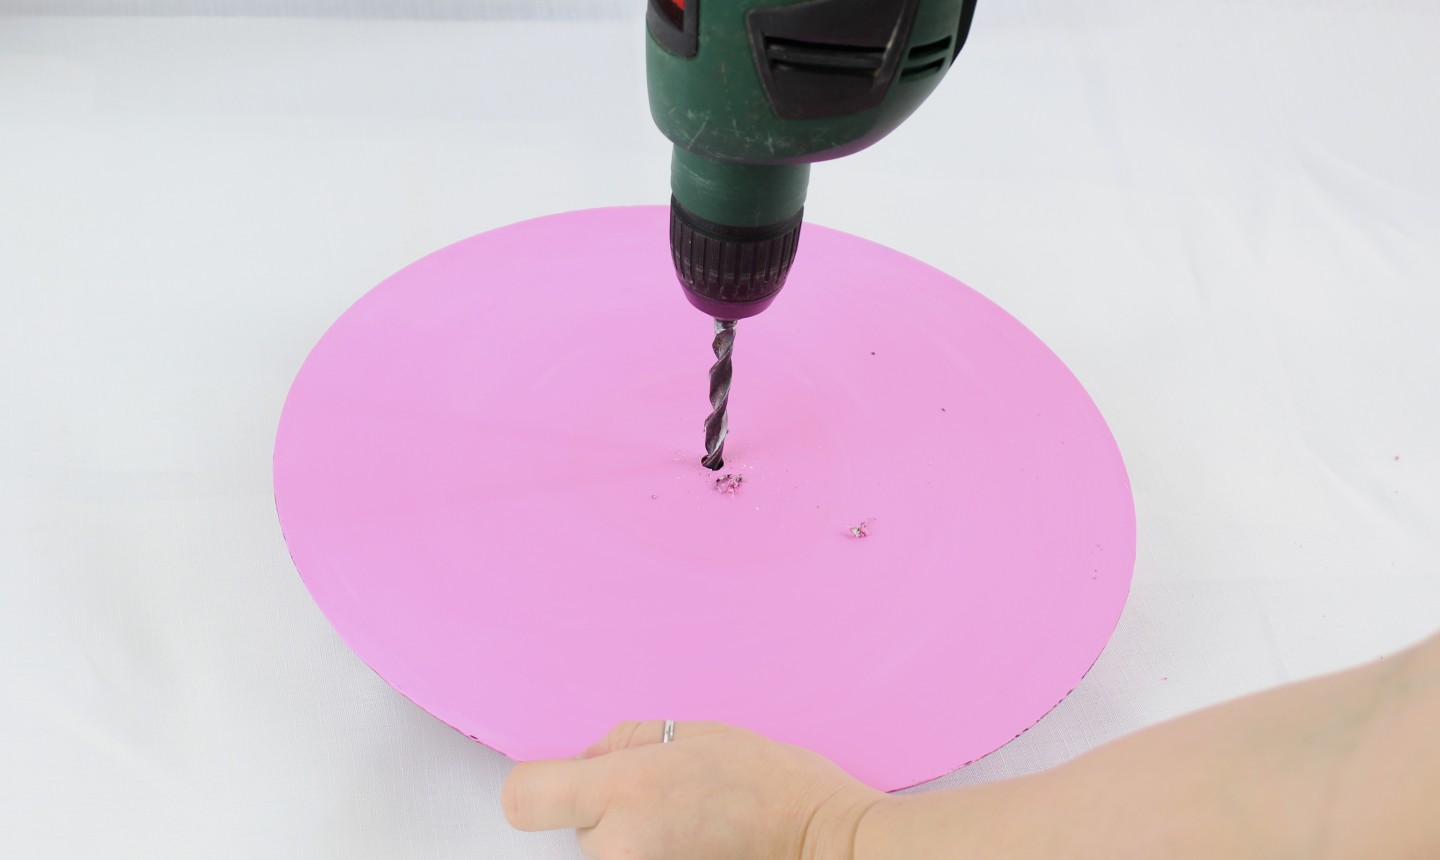
Using the existing central hole as a guide, drill an 8mm hole through the back of your record.
8. Fit the Clock Mechanism
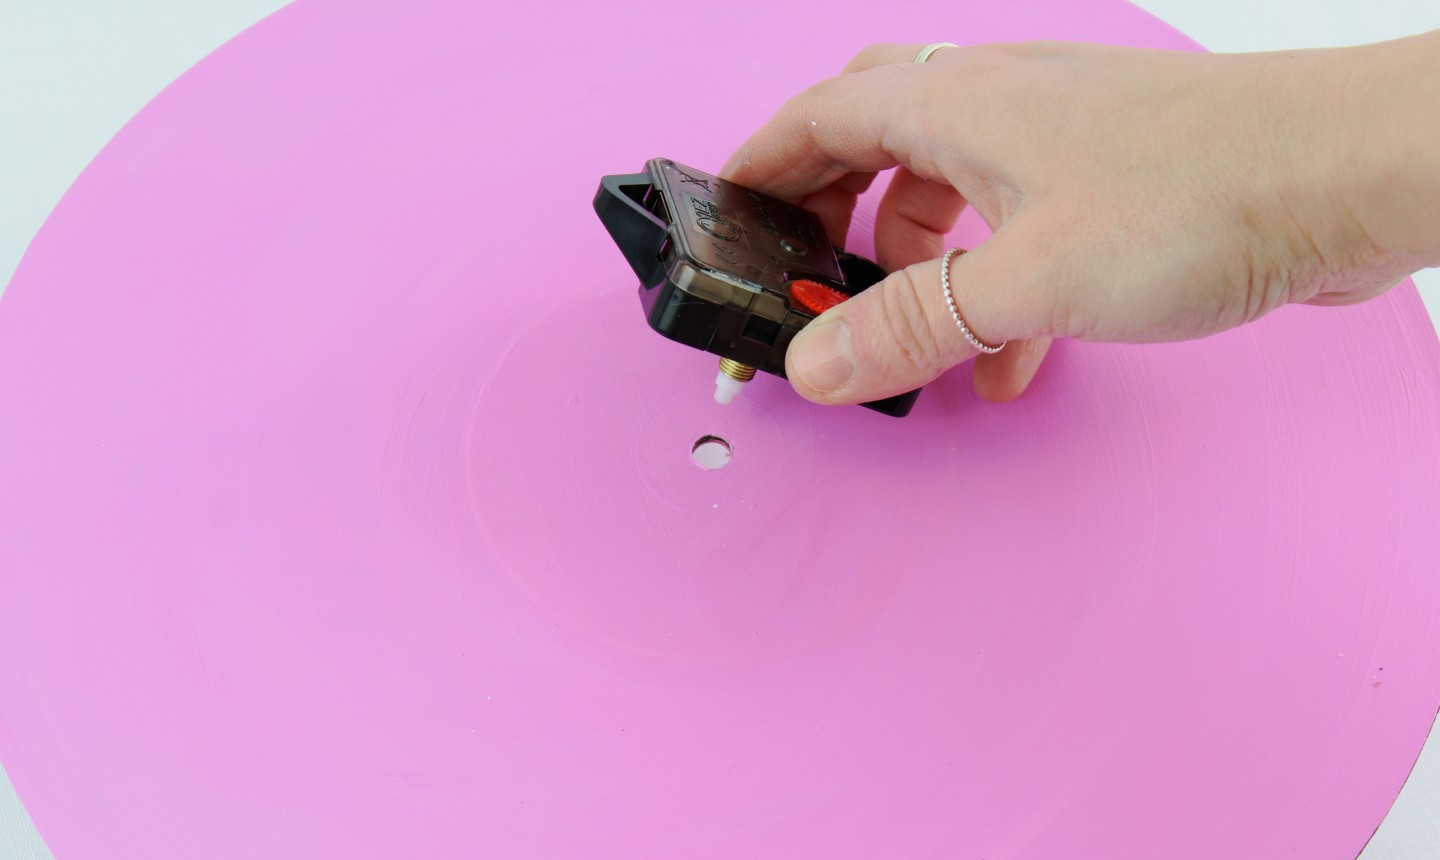
Pass the mechanism through the back and secure at the front with the nut provided.
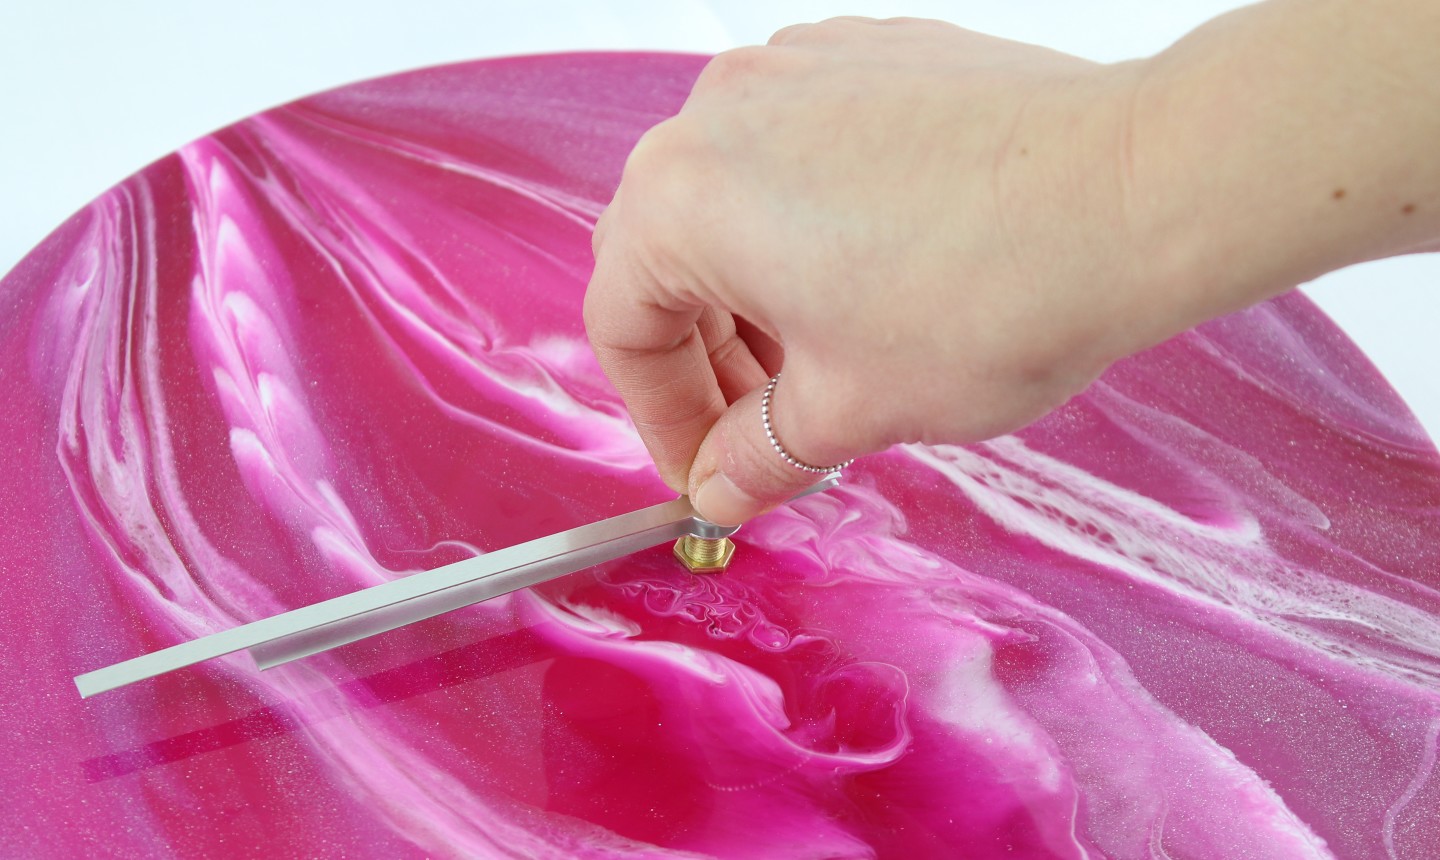
Add the end pin and adjust the hands to make sure they move freely without touching each other. Then just place in the battery, and your beautiful new clock is ready to display!
Photos by Caroline Bond
do you need a heart gun to use the resin epoxy??
how do you hang the clock?
thank you for this tutorial.