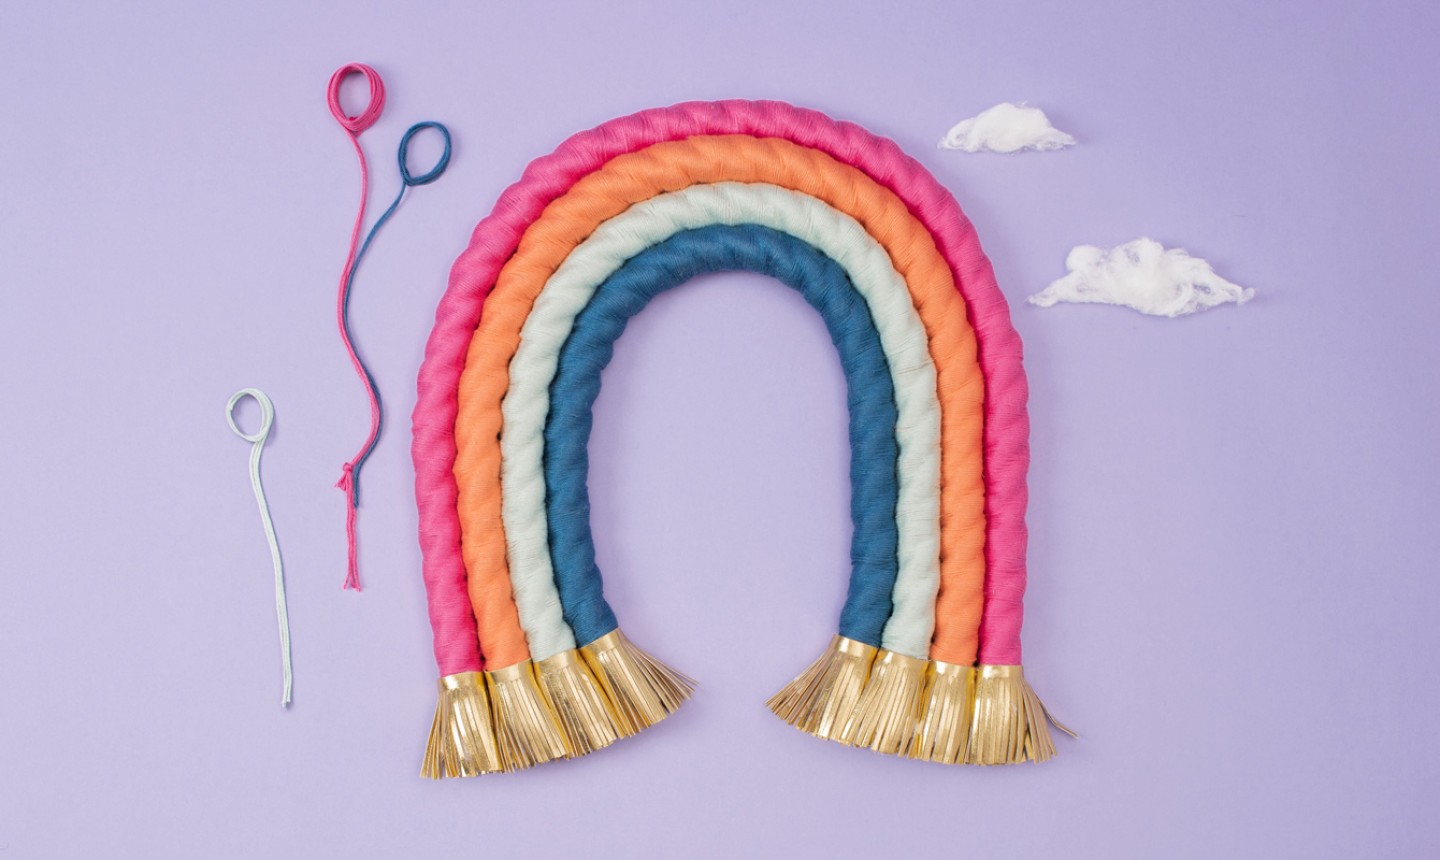
It’s hard to pass up a project that makes use of your gorgeous yarn stash. (Or gives you an excuse to buy more. No judgment!) And it doesn’t hurt that this one plays off the cheeriest trend ever: Rainbows!
DIY Rope + Yarn Rainbow
Level: Easy
What You Need
Pro Tip: Bright colors don’t work with your decor? This would look super fab in neutrals, too. Customize it however you like!
Instructions
1. Create Your Shape
Lay your rope out on a table and form it into a rainbow shape with four bands. Once you’re happy with the size and shape, cut your rope at the ends where it’s looped. You should now have four pieces of rope, each one slightly smaller than the last. Tightly wrap each end with clear tape to prevent fraying.
Cut your wire into four pieces, each about 3” shorter than each of the rainbow stripes. Secure the wires to the ropes by taping at each end and in the middle. (This should help your rainbow keep its structure, but if the ropes still feel floppy you can double up the wire.)
2. Wrap It
Using your first color of yarn, cut 6 pieces, each about 36” long. (Using six strands at once will make wrapping speedier, and cutting them to 36” in length makes them easier to work with.) Knot the six strands in place at the end of one of your ropes. Then start wrapping, taking care to keep the yarn strands right next to each other so no rope shows through. When you get to the end of your yarn, simply knot on another six strands and keep repeating until the whole rope is wrapped.
Repeat with your other yarn colors on the other pieces of rope.
3. Attach the Bands
Thread your yarn onto a needle with a large eye and whip stitch your rainbow bands together on the back. Make sure to pull your yarn tight so the bands are secured right next to each other!
4. Add the Fringe

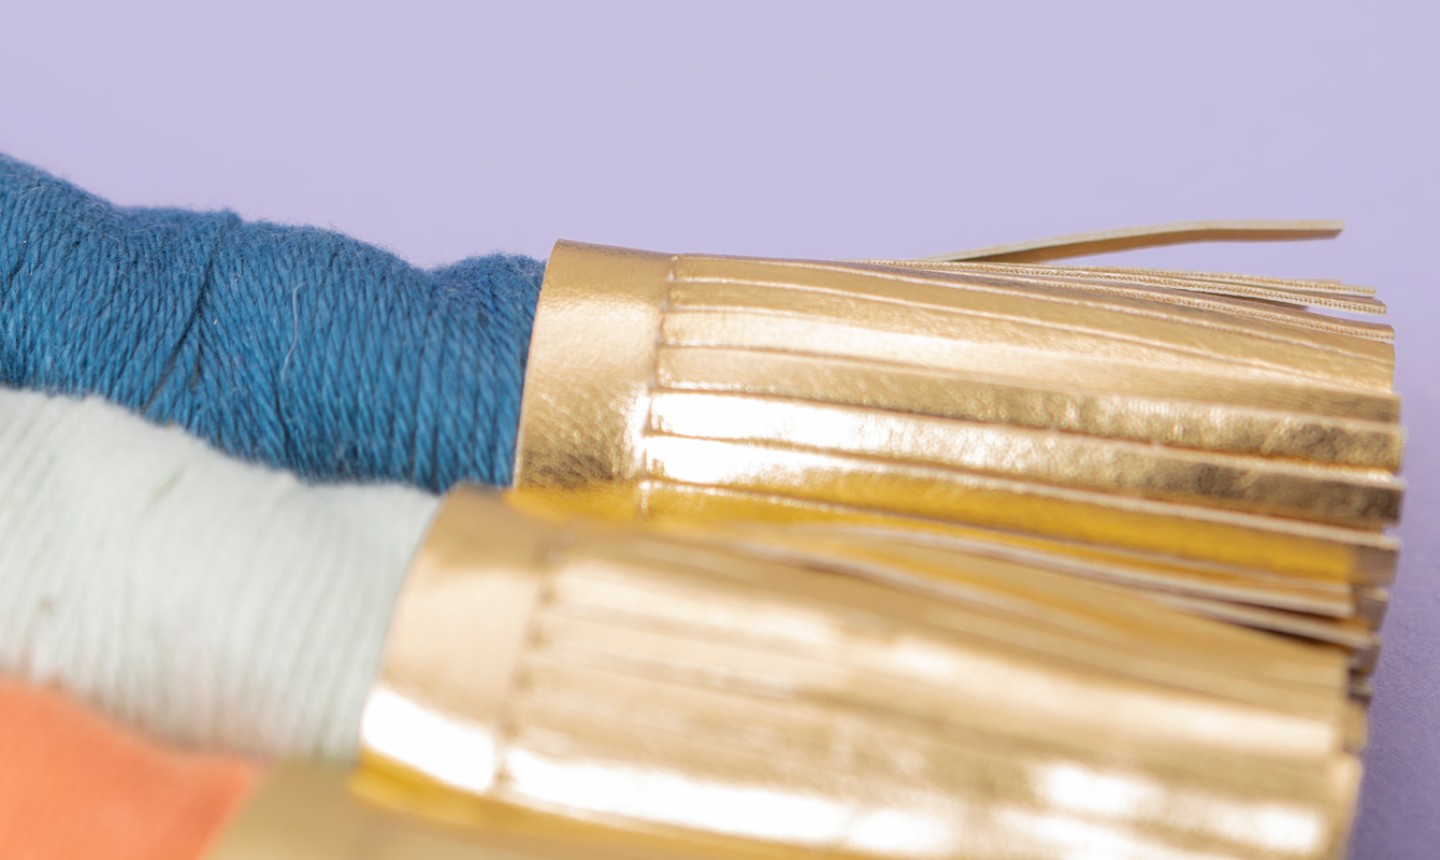
Dab some hot glue at the end of each rainbow band and wrap a piece of gold fringe around. Repeat on the other end of the rainbow.
Hang your rainbow on the wall with a simple nail. (You don’t even need a hanger on the back — you can just slot the hanging nail in between two of the rainbow’s color bands.)
Share tips, start a discussion or ask other students a question. If you have a question for an expert, please click here.
Already a member? Sign in
No Responses to “Say Hello to Color With a Rainbow Wall Hanging”