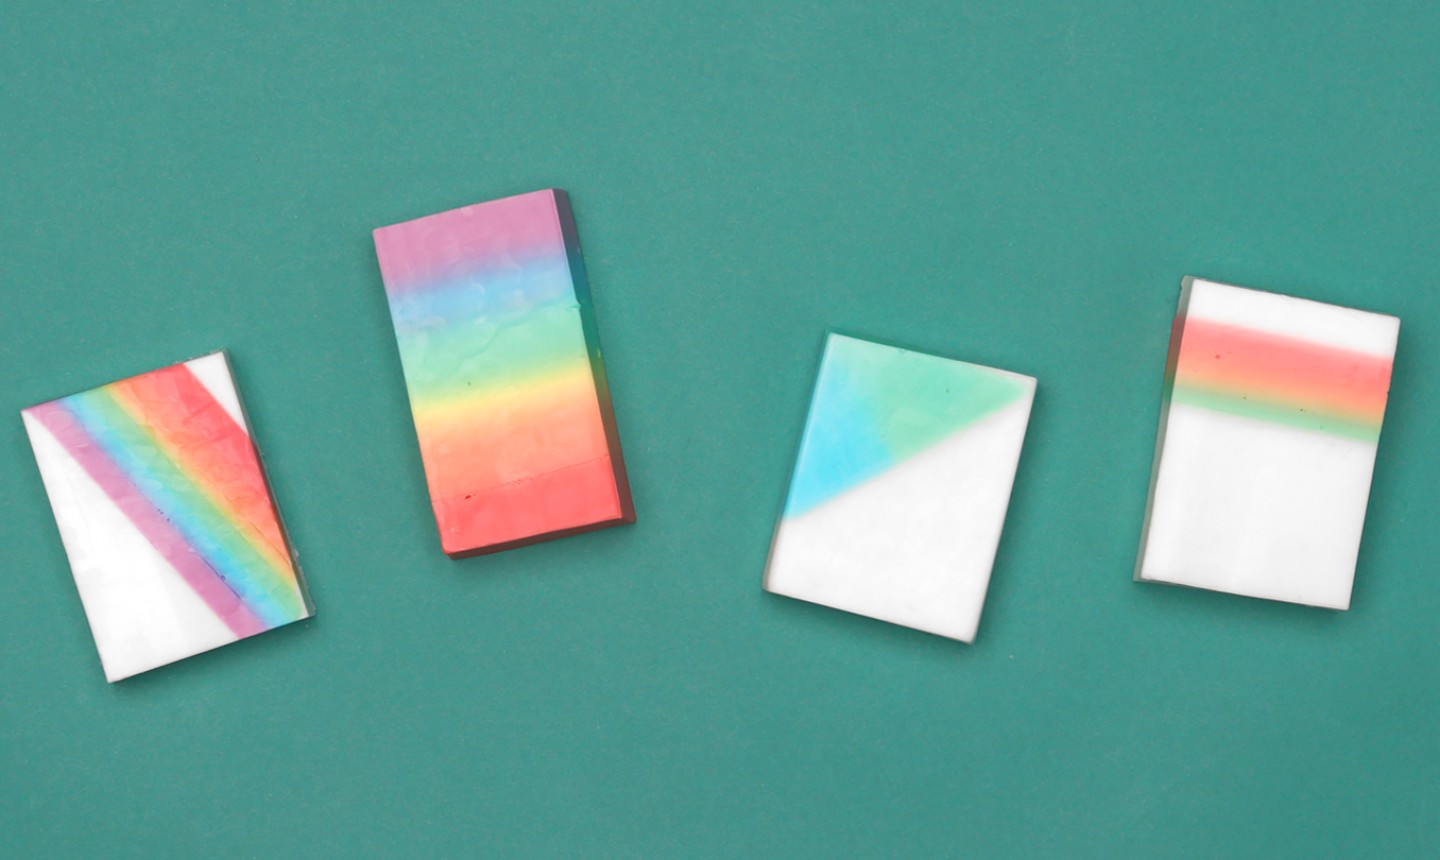
Betcha didn’t know soap could be this gorgeous. It kind of looks like an artsy rainbow on a cloudy day, right? Even if you’ve never made your own soap before, this method is extremely beginner-friendly — all you need is a handful of supplies and a little bit of patience.
Rainbow Soap
Level: Easy
What You Need
Instructions
1. Start Melting
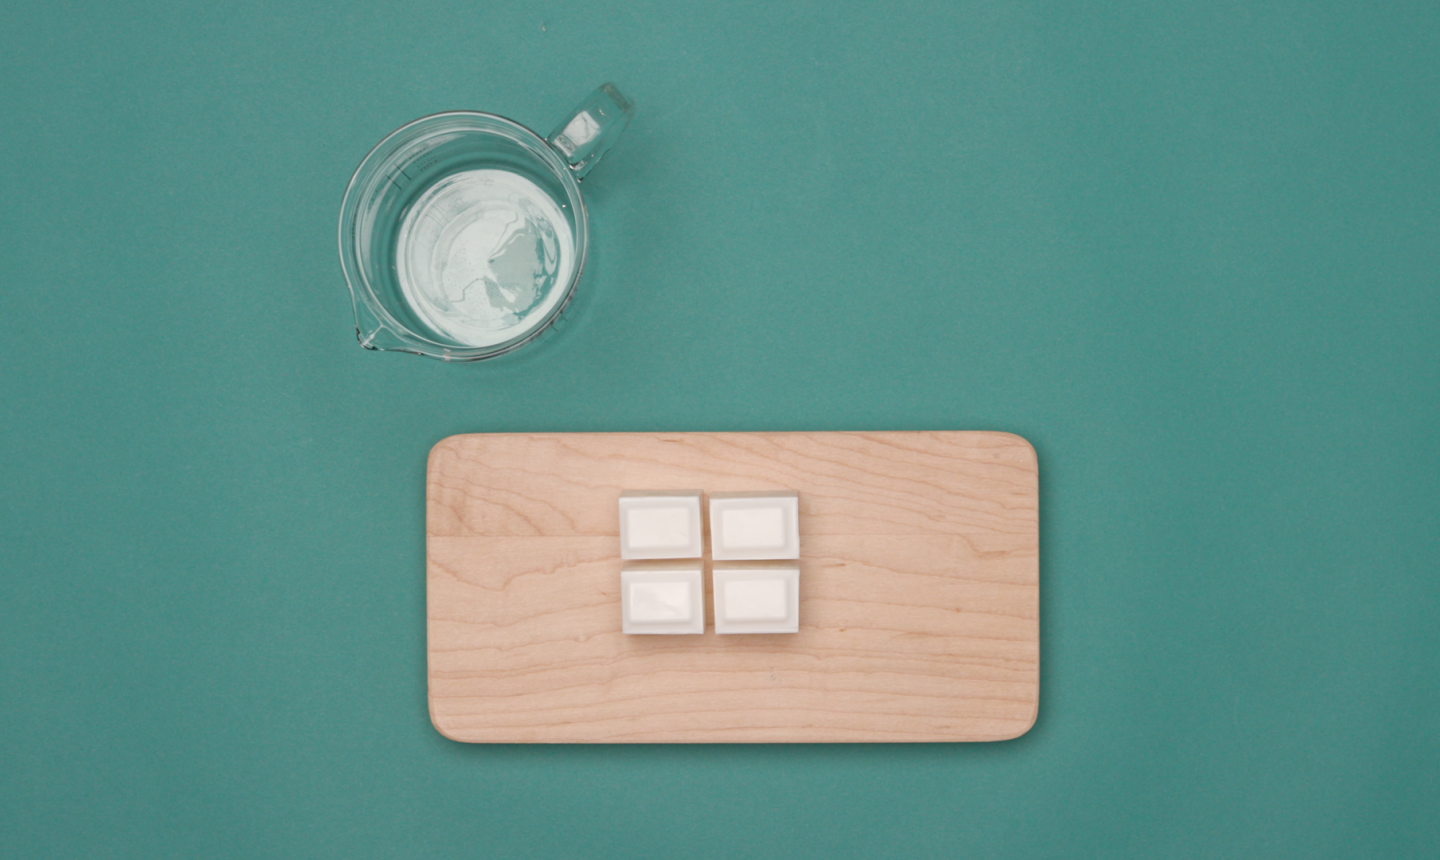
First, determine how much soap you need to melt. We used about 50 ml of soap for each of the six layers of color. Take a plain bar of soap base, cut it into pieces and toss 'em into a liquid measuring cup and melt for 30 seconds in the microwave.
2. Add Soap Colorant
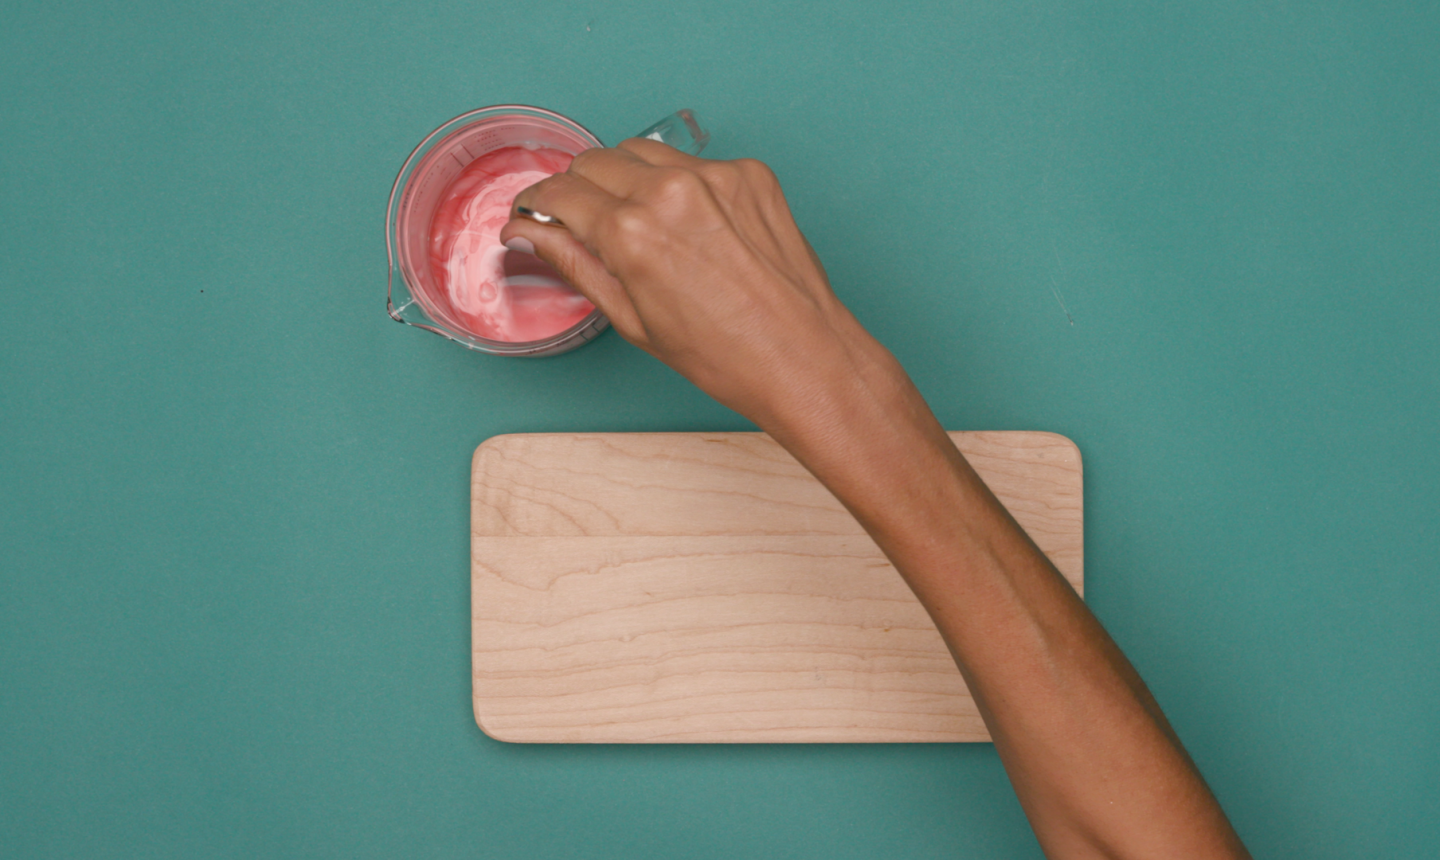
Once the soap is melted, add a few drops of red soap colorant and mix until you have your desired color. As the soap base solidifies pretty quickly, you might have to melt again for 15 to 20 seconds as you color it.
3. Pour and Cool
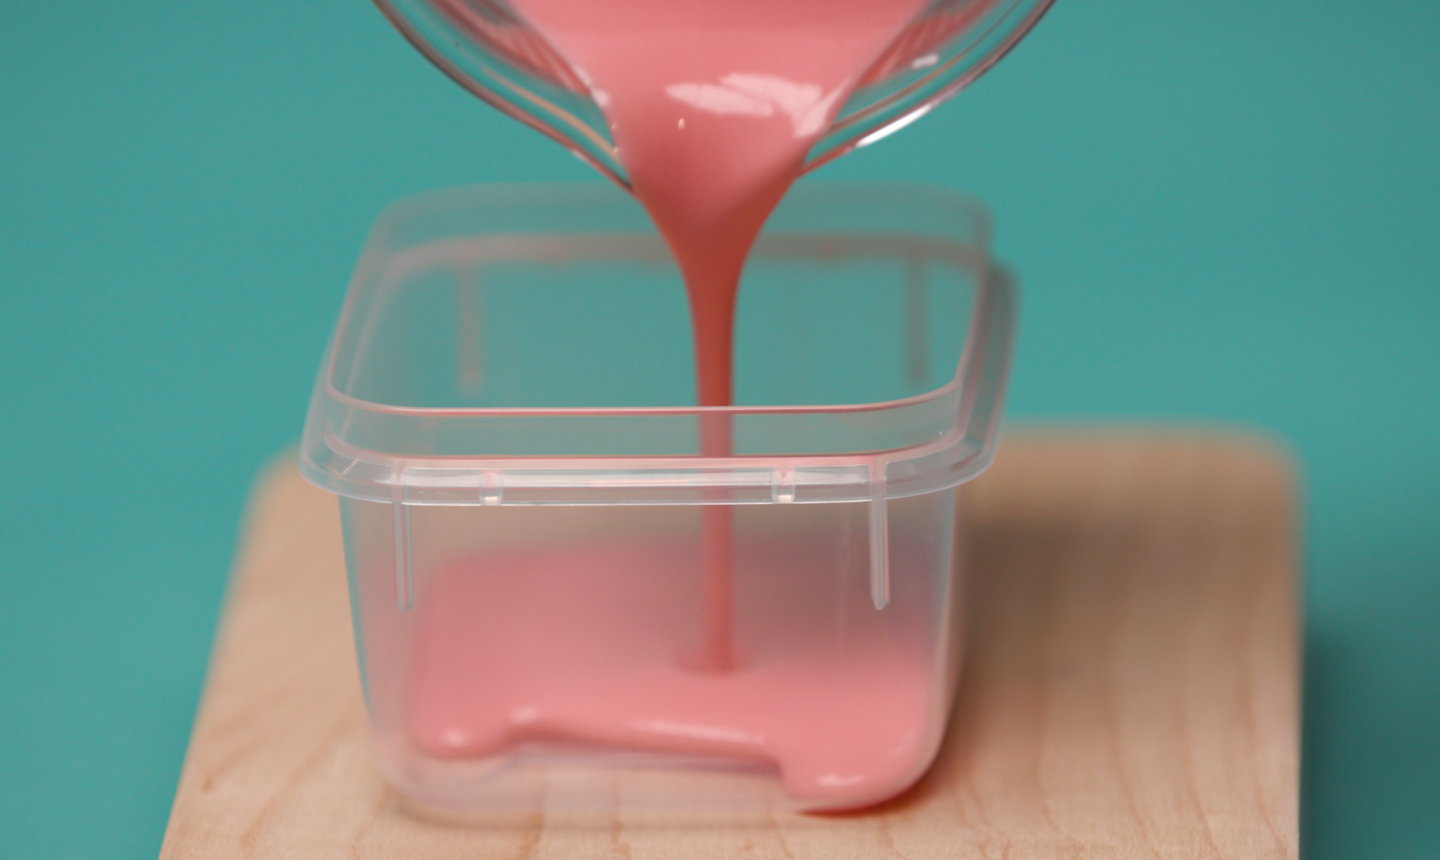
Pour the red soap into a plastic container. Repeat the process above to make each color, layering one on top of the other to make a rainbow.
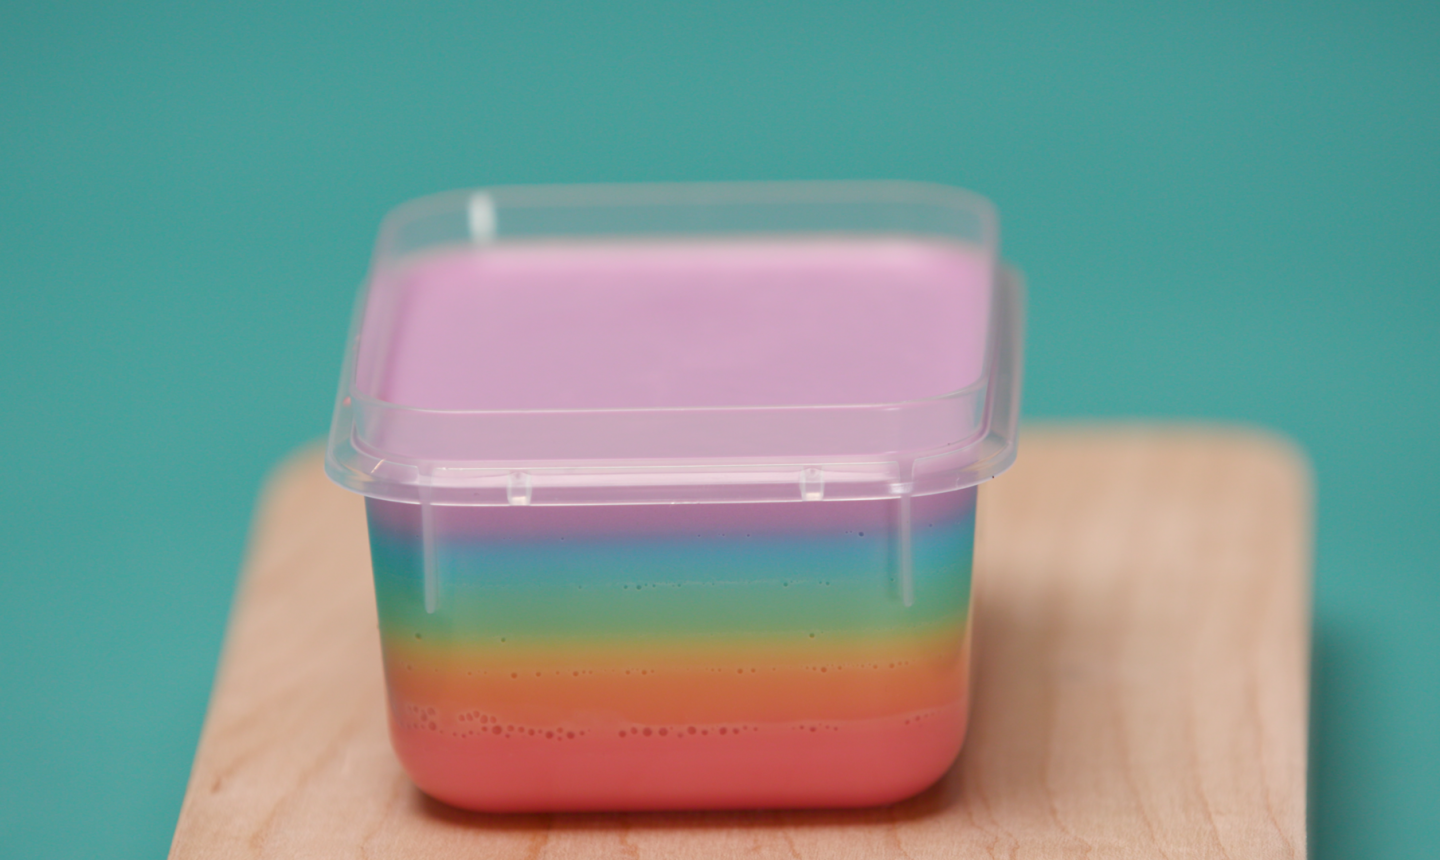
Be sure to allow each layer to cool for about 10 minutes before adding the next color. When you're finished, let the soap harden for one hour (or, if you're in a hurry, stick it in the fridge for 15 minutes).
4. Cut Out a Piece
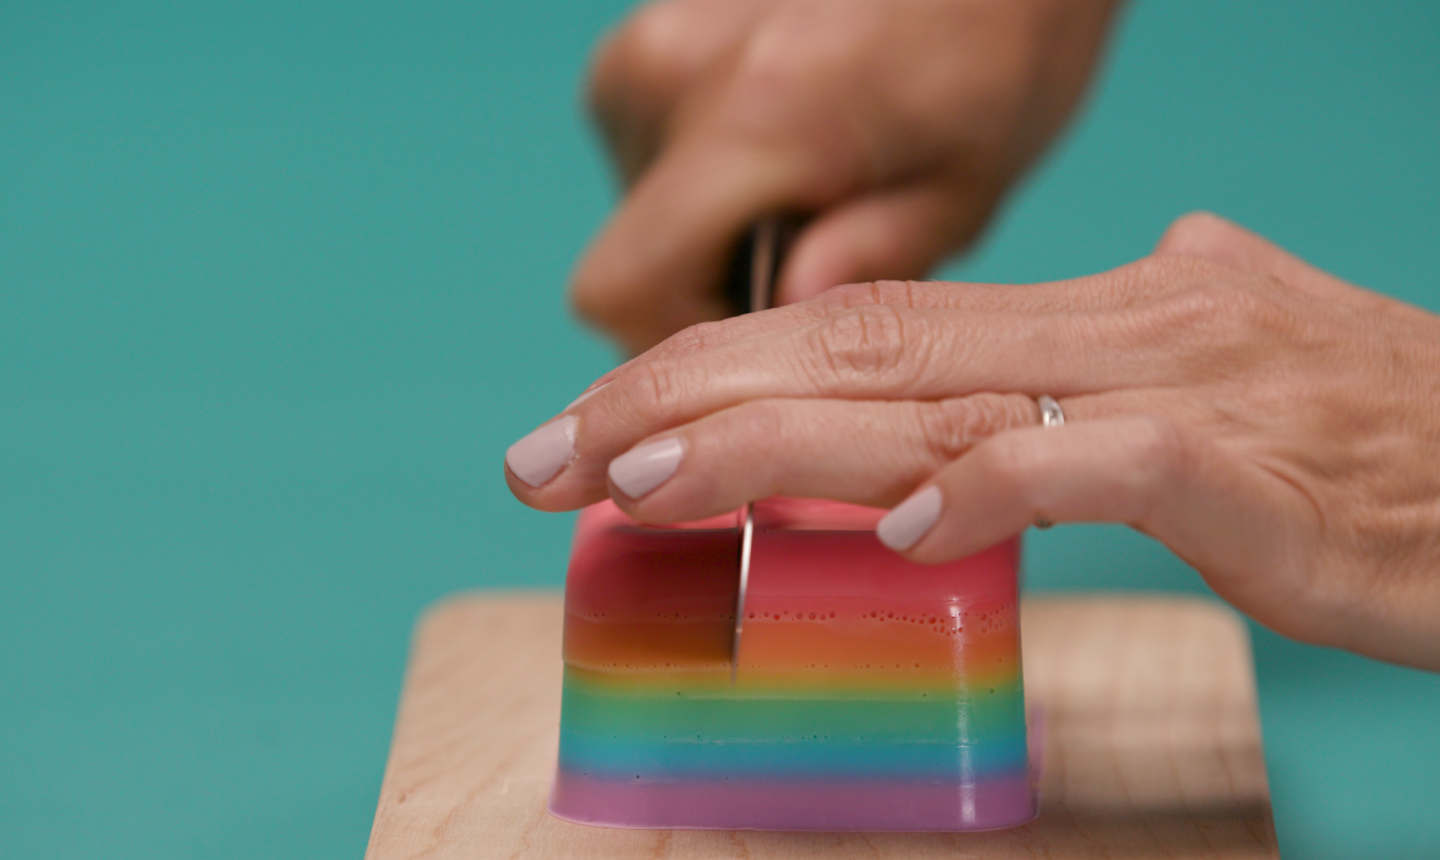
When your soap is solid, remove it from the plastic container. You can definitely leave the soap as-is and shape it into a big rainbow bar… or you can make it even more cool.
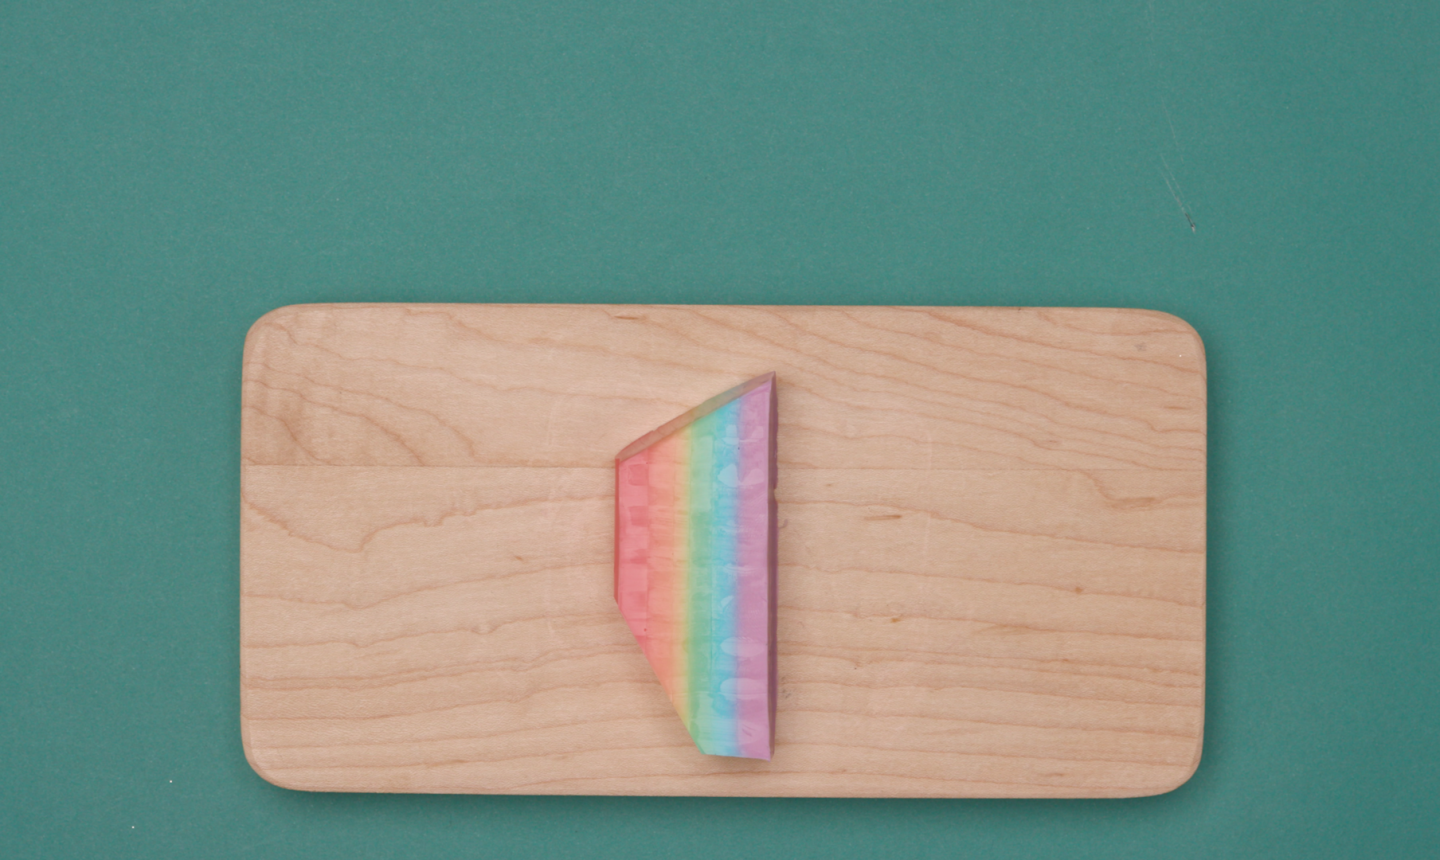
Use a sturdy knife to (carefully!!) cut out a piece of your bar. Shave it to form whatever shape you want and put it back into a plastic container.
5. Add More Soap Base
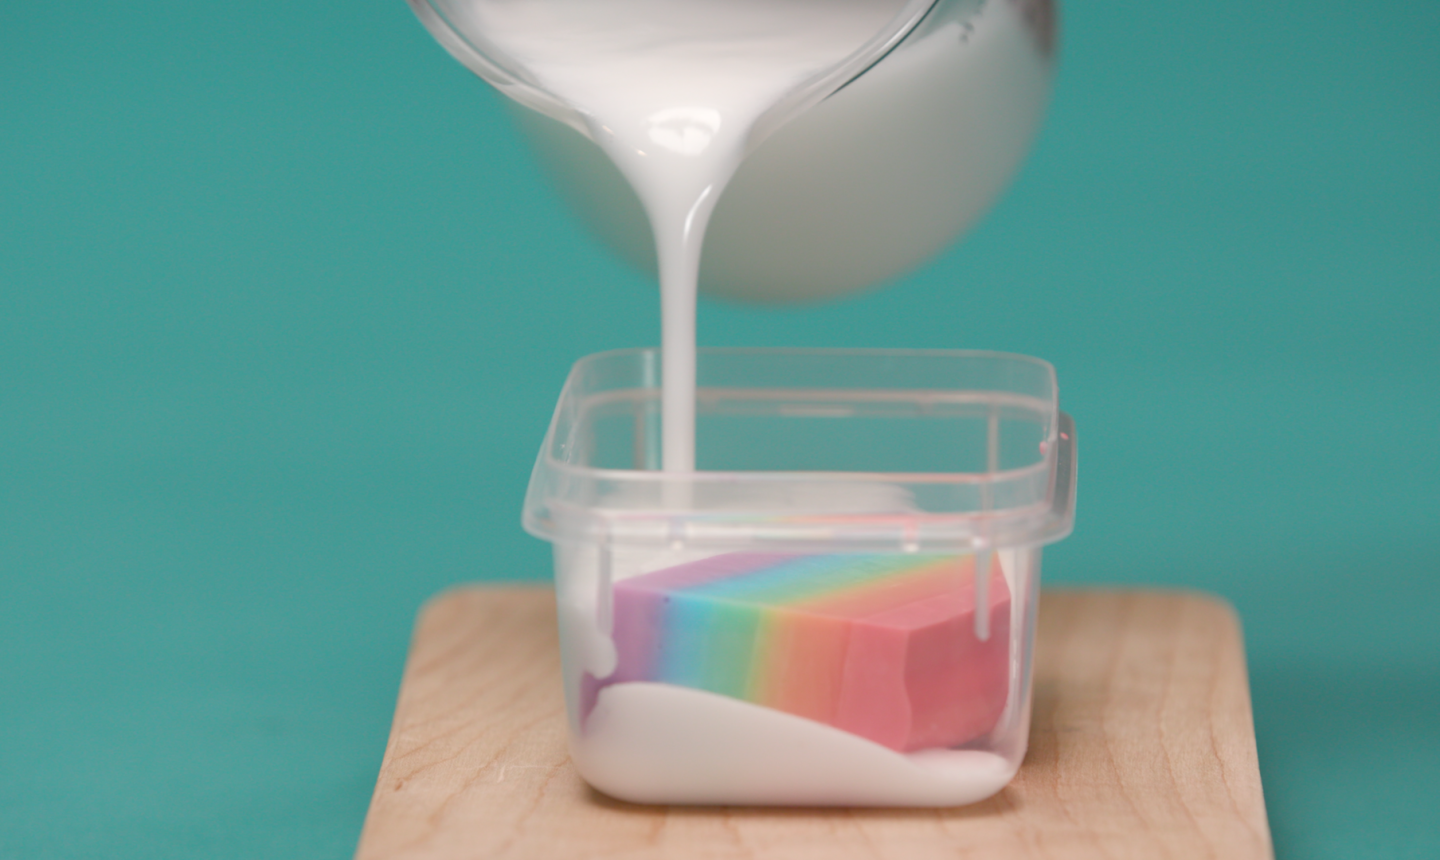
Melt another bar of white soap base (all at once this time!) and pour it over your rainbow piece. Set it aside until it’s cooled and solidified. Like before, this should take about an hour.
6. Cut a Bar
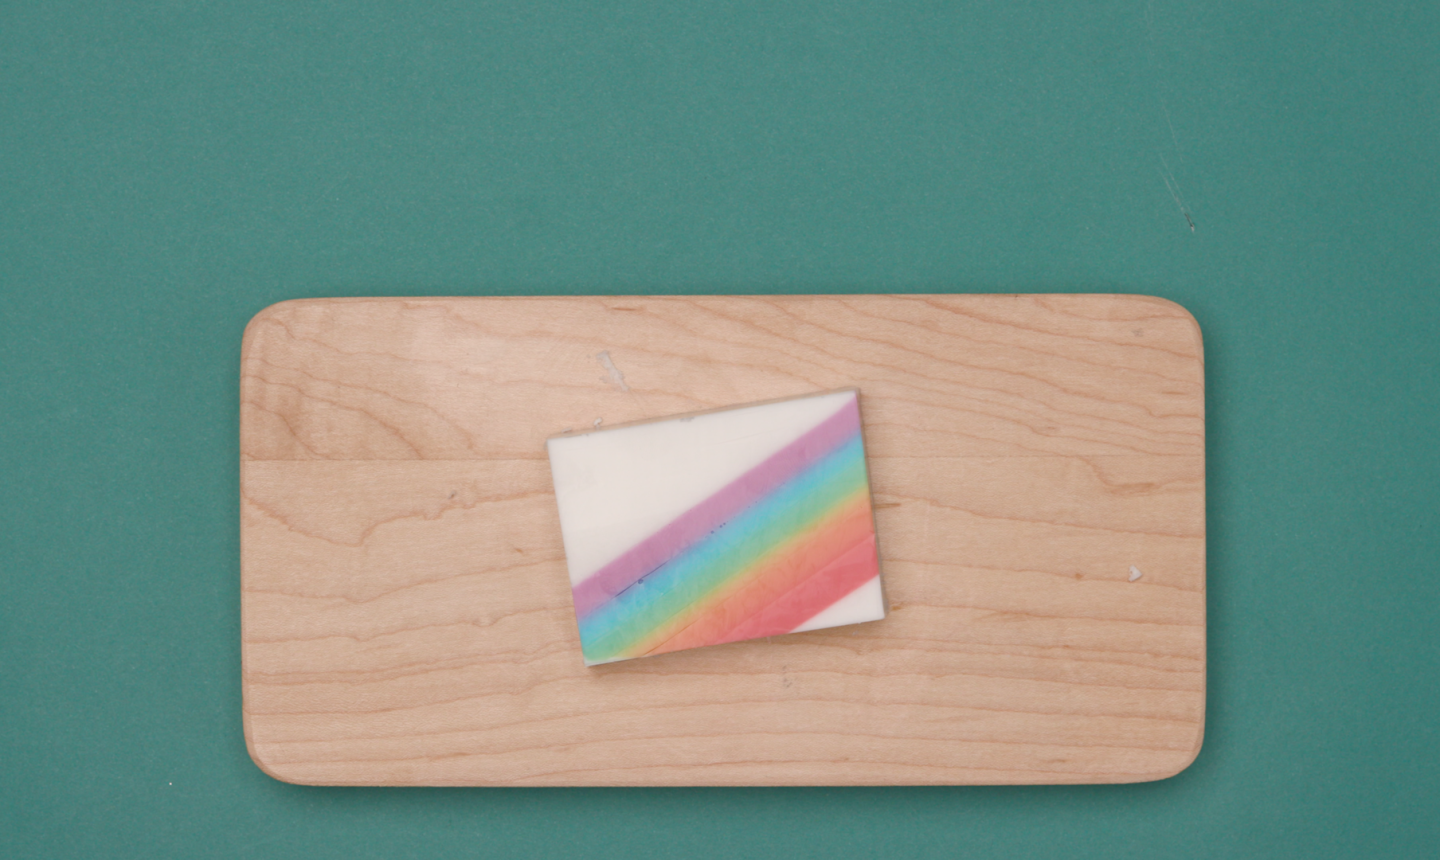
Remove the soap and cut it into bars. After you cut it, the rainbow block should shine through the white base. Gorgeous!

Does this need soap need to sit for a length of time before using
beautiful end product