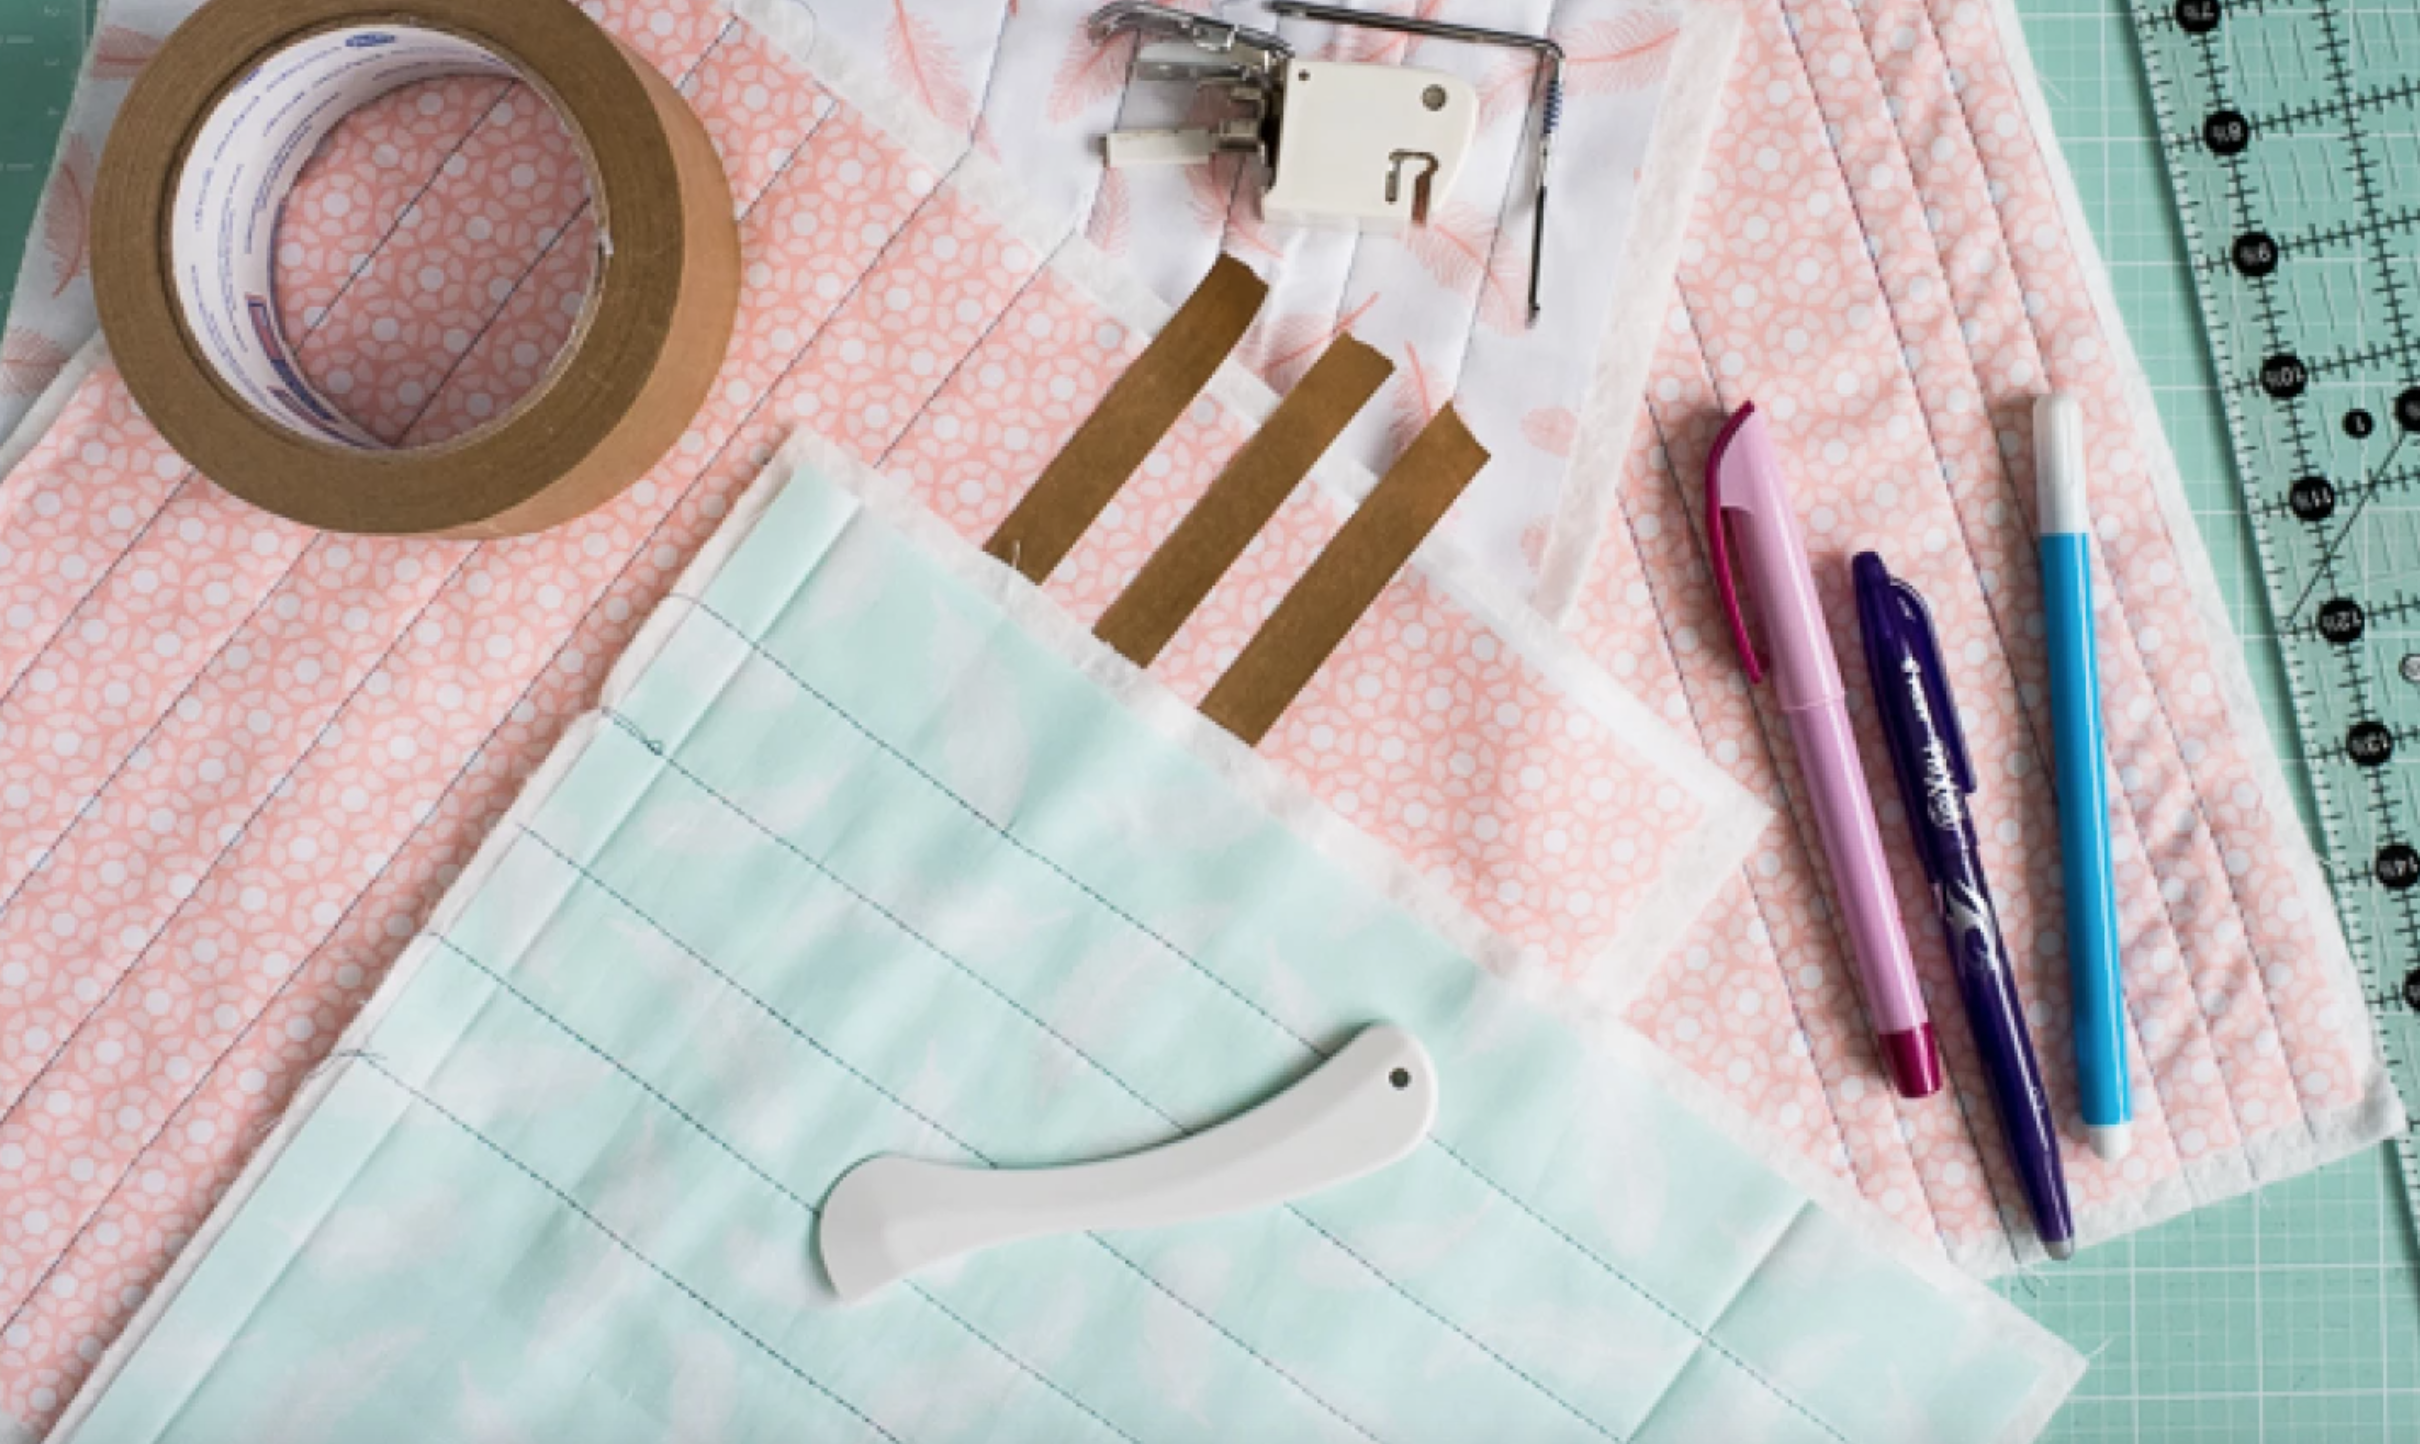
Clean, straight-line quilting is always the goal, but stitching them can be challenging. The secret to success? Marking your lines correctly. Thankfully, there's more than one way to get 'em just so. Play around with these tools and soon enough you'll have beautifully straight quilting lines every. single. time.
1. Tape
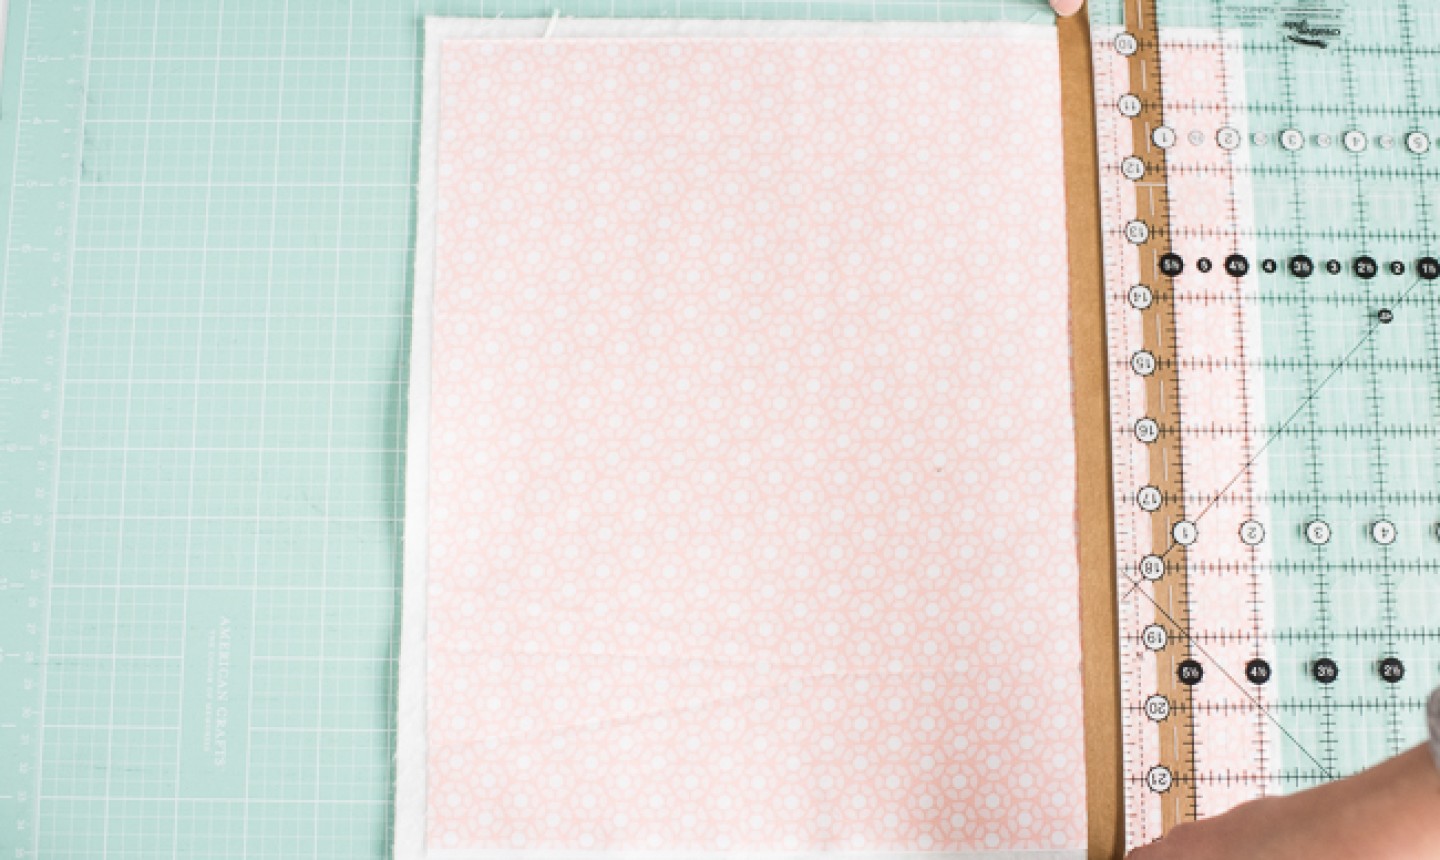
This method works best for smaller projects, like mojo minis or insanely adorable baby quilts. Using a ruler as your trusty guide, place long pieces of tape to mark exactly where you want to quilt, then simply quilt along the edge of the tape.
You can use Wash-Away Wonder Tape or, if it's already around the house, painter's, masking or even packing tape will work. And as long as it sticks firmly to the fabric, there's no reason not to reuse the same strip several times.
If you want to start quilting faster, you can also use Heat Press Batting Together Seam Tape — it eliminates the need to pin and stitch pieces of batting together to fit your project.
2. Fabric Pens and Chalk
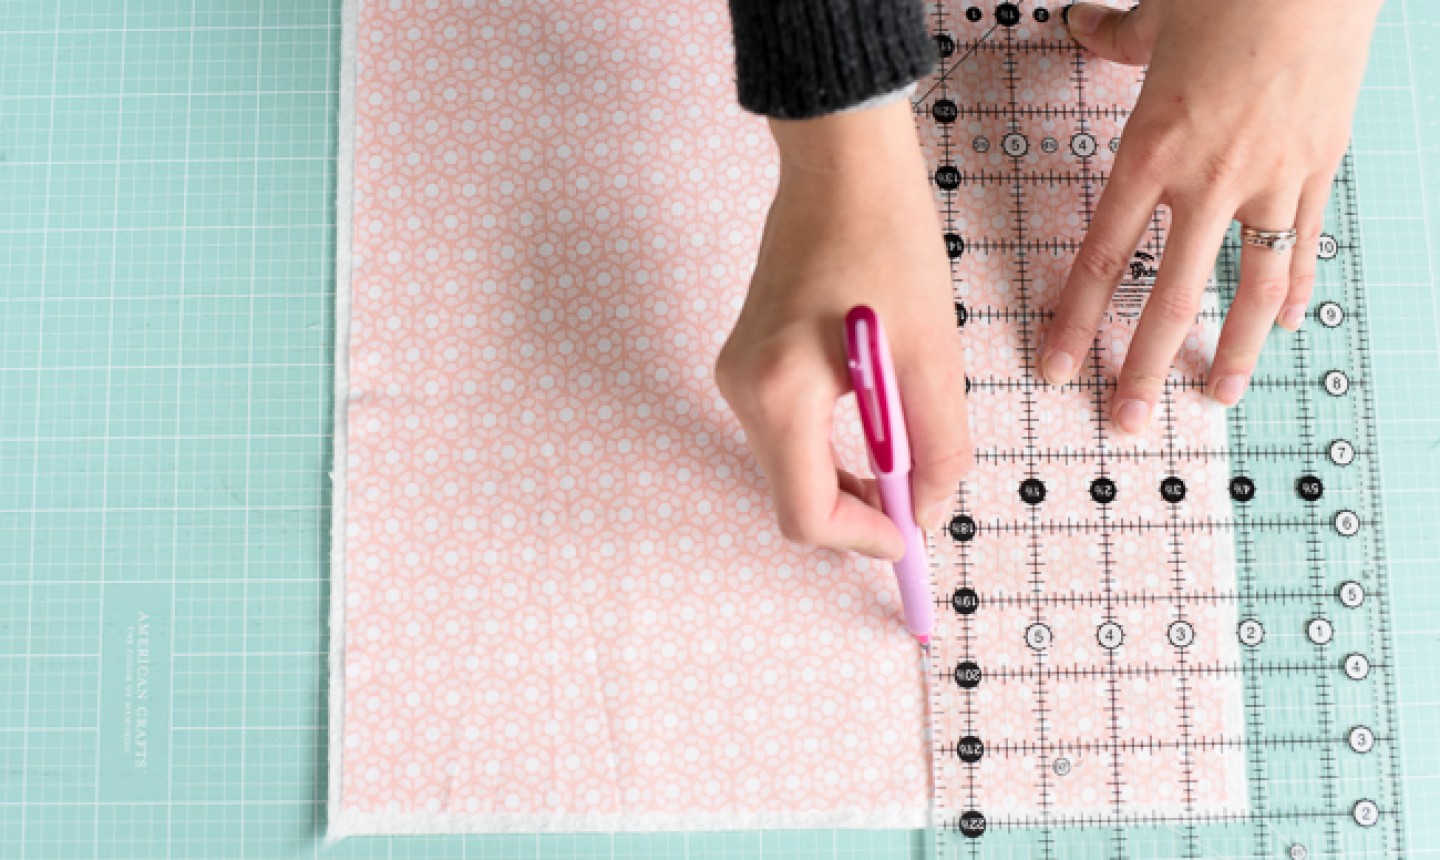
We love a good fabric marker, but take note: some pens leave long-term marks on material. So always test on a scrap before going to town with this method. (Peep the shopping label too, as it might tell you whether the ink will fade on its own, erase with heat application, or disappear with cool water). Once you've got that settled, simply draw the lines — using that ruler to keep them straight — then quilt right on top of the marked lines.
If you're using chalk, consider how it will show up on your fabric and how it's removed. Choose your color based on the fabric you're using. (For example, white chalk won't show up well on light-colored fabrics.) You can also use Chalk Powder Pounce Pads and mark your lines with a stencil. This makes marking easy, but if you're using a lofty batting the printed lines can become distorted.
3. Hera Marker
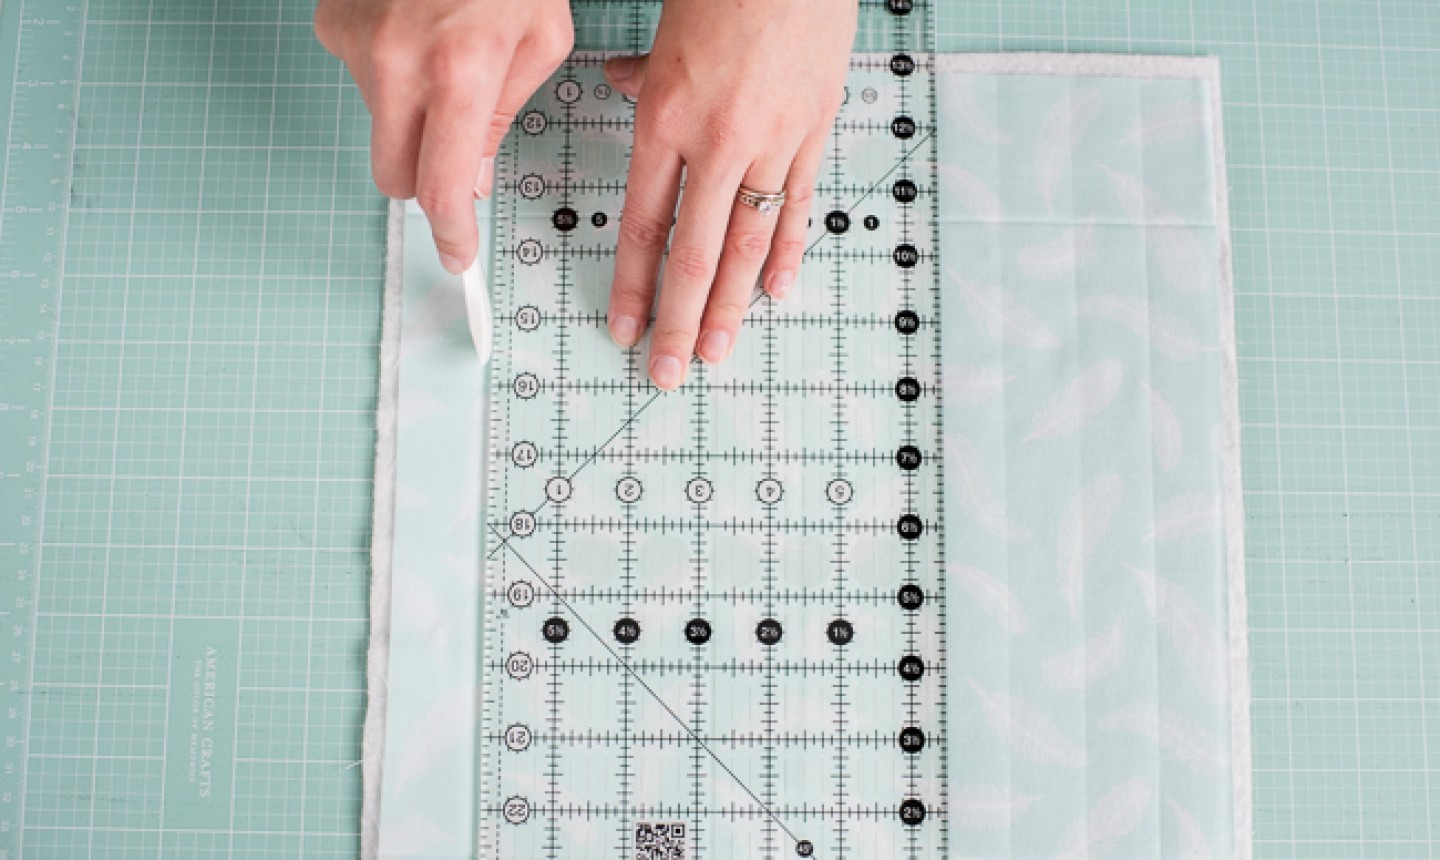
It may look like a funky piece of plastic, but this sturdy, inexpensive tool is actually perfect for creating temporary creases in fabric. Place your material on a flat, hard surface (like a table, hard floor or cutting mat — no carpet!), then lay down your ruler as a guide. Press the Hera Marker firmly along the side of the ruler to make the crease, and when you're ready, stitch right in the indented lines.
4. Walking Foot Guide Bar
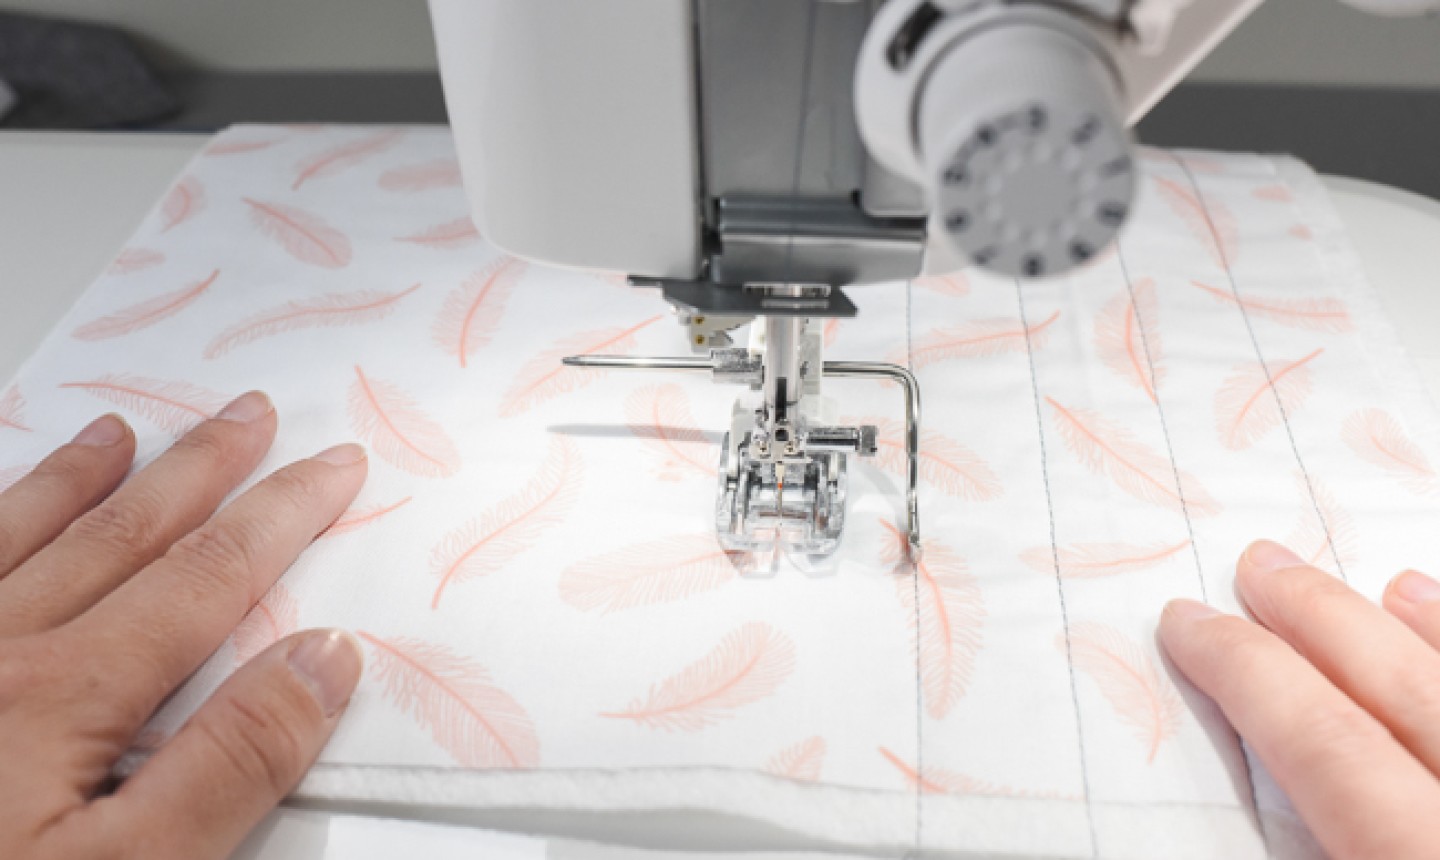
This nifty tool doesn't require any straight-line marking in advance, so you can head straight to your machine. It's particularly awesome when quilting multiple layers of fabric — all you have to do is slide the straight bar into the hole of your walking foot, adjust it to the desired width of your lines, then stitch using either the edge of the quilt top or a line of seams as your guide. Once you have the first line done, use it as your new guide. Repeat all the way through your quilt and — voila! — straight lines as far as the eye can see.

Thanks for sharing great tips. Walking foot Guide Bar looks amazing. Will try to buy one.
Great tips Thanks for sharing
Tips always helpful. I have used tape in the past.
What a great idea!
I got a relatively inexpensive laser line guide made for woodworking that I use for straight line quilting. It's the best unconventional quilting tool I own. I tape it to my machine with removable tape and I have a perfectly stable and straight line to follow for quilting.
How is the walking foot guide bar anchored so it doesn’t shift while sewing?
Gonna try my hand at rag hand quilting like my grandma did. I’m starting later in life then her. I’m 62 and have not done this before
..