In quilting, quilt sashings serve a variety of purposes. They allow quilt blocks to stand out without appearing too crowded and can also help to unify your quilt when a single quilt sashing fabric is used. And they can serve as another design element in your quilt. Additionally, a quilt that might have been on the small side can be made larger by using wide sashing strips for the setting.
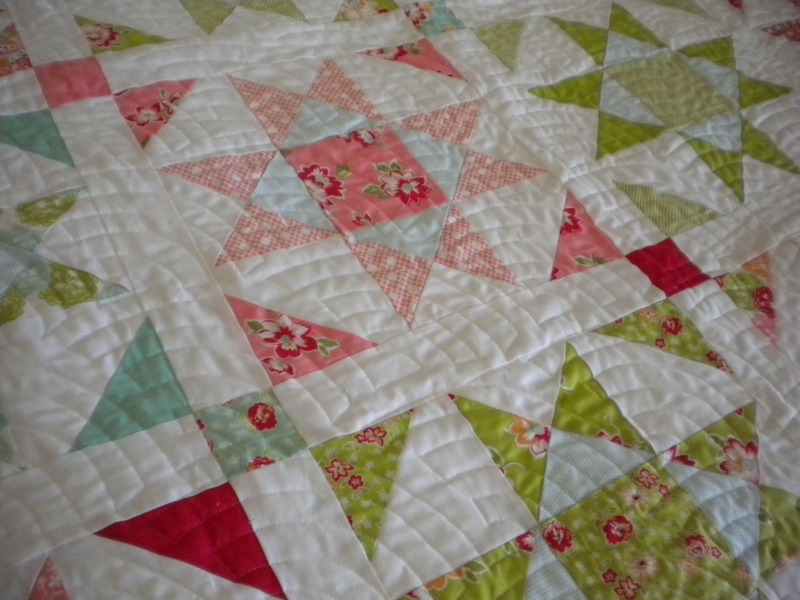
This Sampler Quilt was set together using a simple sashing; photos via A Quilting Life
How to use quilt sashings
- Strips of fabric placed between blocks or rows of blocks can help individual quilt blocks stand out. Simple quilt sashings are ideal for putting together sampler quilts and scrappy quilts.
- Quilt sashings can be narrow or wide, ranging in any width desired from 1” finished (or even smaller for mini quilts) to several inches in width. Sashings should generally be proportional to the size of the blocks — you can effectively use a wider sashing with bigger blocks.
- Sashings can be the same color as the background fabric in the blocks, creating a “floating” effect, or they can be a contrasting or unifying color.
How to add a simple sashing to your quilt
Step 1:
First measure the height of your quilt blocks. You will cut sashing strips of your desired width to this measurement to place between the blocks.
Step 2:
Sew the quilt blocks to the sashing strips, always pressing seams toward the sashing.
Step 3:
After sewing your blocks and sashing strips together into rows, you’ll need to measure the row width. Use that measurement to cut sashing strips for use between your quilt rows.
Step 4:
When you need to piece strips together to have enough length for your sashing strip, use a diagonal seam so the seam is less likely to stand out. Press the seams in sashing strips open.
Step 5:
After setting your quilt blocks together with a simple sashing, you can then start adding borders to your quilt center.
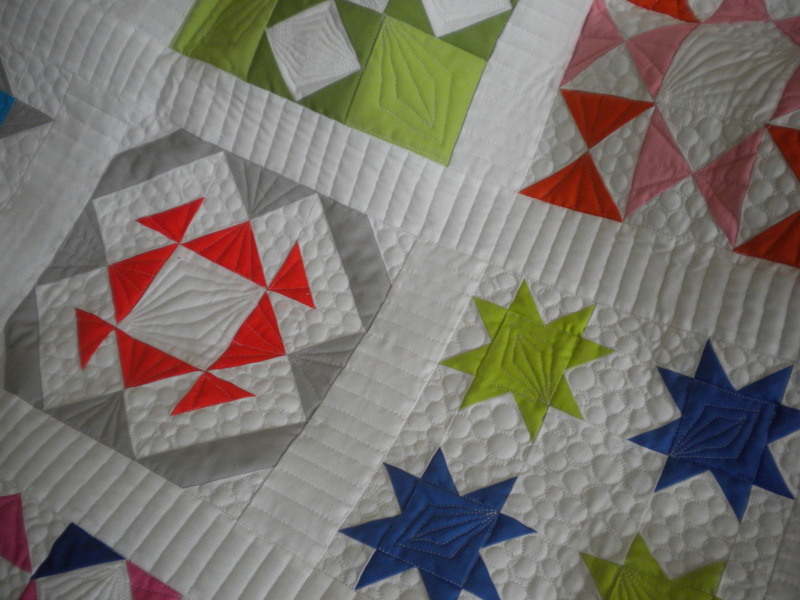
The blocks in this quilt were set together using simple sashing with scrappy posts.
How to add a quilt sashing with posts
Often you will want to add setting posts or squares to add interest and variety to your quilt setting. Using posts with your sashing also means you won’t need to cut long sashing strips to place between rows. The sashing between rows will be made up of sashing strips and square sashing post blocks that are the same measurement as the height of the sashing strips.
The sashing post fabric should contrast with the quilt sashing fabric and yet complement the overall quilt. Sashing posts can be made of a single square of fabric, or they can incorporate design elements of the quilt: a nine-patch or quarter-square triangle block can easily be used as the sashing post block.
Step 1:
First you might want to sketch out a simple layout of your quilt to assist you in counting the number of sashing strips and posts you will need to set your quilt together.
Step 2:
Quilt blocks can then be sewn together with sashing strips as when adding a simple sashing — remember to press seams toward the sashing strips.
Step 3:
Create the sashing rows by alternating sashing strips and sashing post blocks. These sashing rows can then be sewn between the quilt block rows. Again, press seams toward the sashing strips.
Step 4:
Borders can be added after the quilt center is complete.
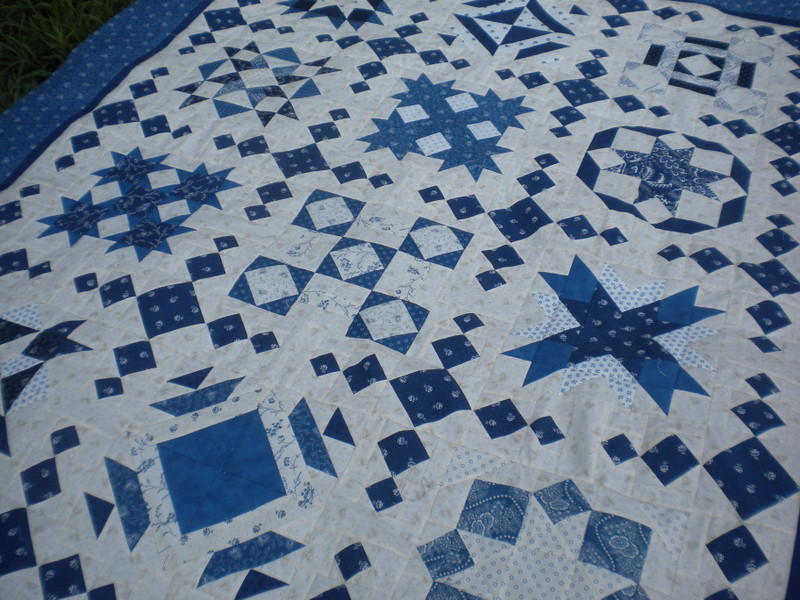
The blocks in this quilt were set with a pieced sashing.
Should you "quilt" a T-shirt quilt?